Is your website displaying a “Not Secure” warning? You are not alone. Many website owners face this issue. It is a common but serious problem. It can damage visitor trust and reduce your website’s overall performance.
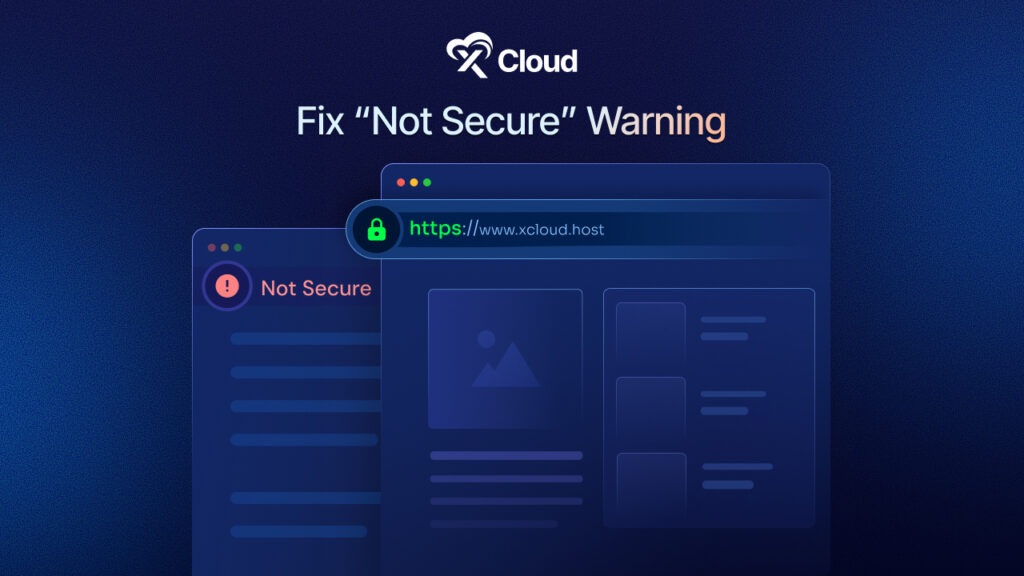
A “Not Secure” warning usually means one of three things. Your site may not have an SSL certificate. The certificate may not be configured properly. Or, the certificate may have expired and not been renewed.
At xCloud, we recognize the importance of online trust. If your site displays a Not Secure warning, you might wonder, why does my site say it is not secure? Or what does that message actually mean?
Let us see what this warning mean and how to easily fix not secure warning in just 1 click.
Why Your Website Site Shows “Not Secure” Warning
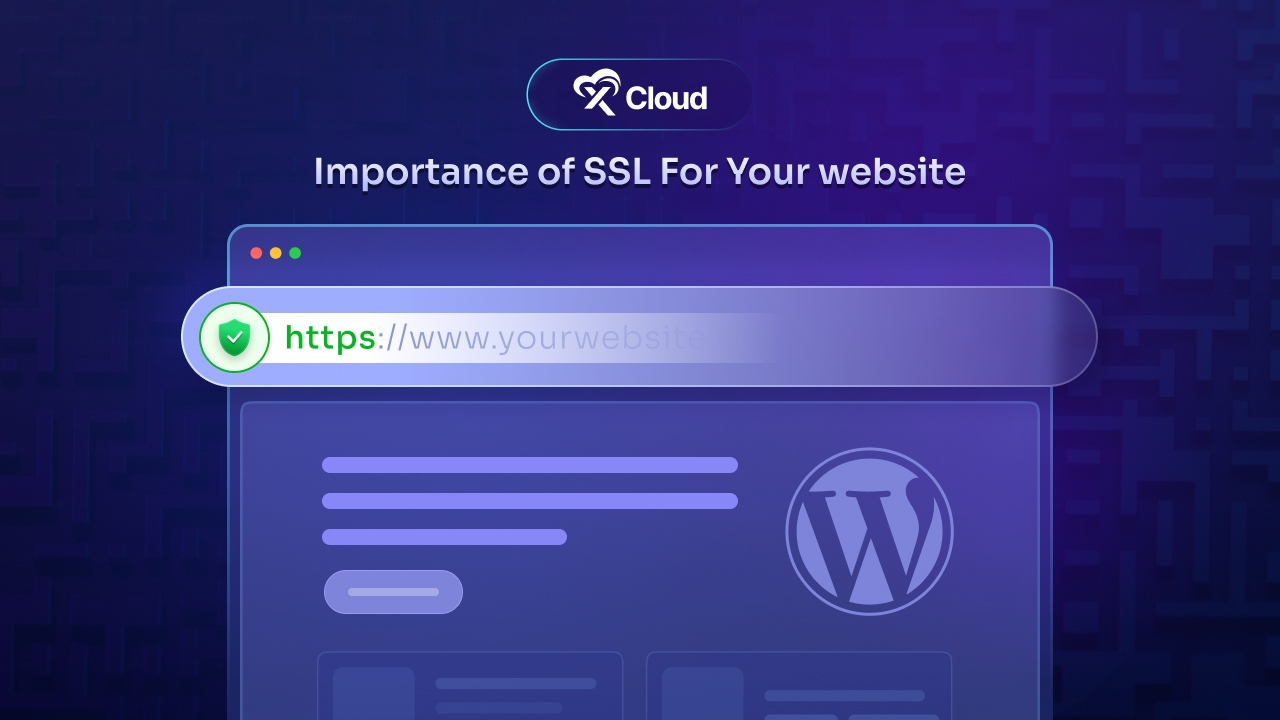
Before you learn how to fix a not secure website in WordPress, it is important to understand why this warning appears. The main reason is simple. Your WordPress site is still using HTTP instead of HTTPS.
Websites that use HTTP (Hypertext Transfer Protocol) are not secure. HTTP connections do not encrypt the data shared between the browser and the web server. This exposes personal details, passwords, and payment information to cybercriminals.
Without encryption, your data moves across the internet like an open postcard. Anyone can intercept and read it. That is why using or submitting sensitive information on an HTTP site is risky. Browsers show strong warnings to alert you.
In contrast, HTTPS (Hypertext Transfer Protocol Secure) encrypts all data transferred between your site and your visitors’ browsers. This keeps information such as passwords and credit card details safe.
Browsers like Chrome, Safari, and Firefox will mark your site as “Not Secure” if you do not install your SSL certificate correctly.
If your WordPress site shows this warning, it could be due to the following reasons:
- Your SSL certificate is missing or has expired.
- Your SSL certificate is installed but not configured correctly.
- Some parts of your site still load over HTTP, causing mixed content issues.
You can fix the not secure warning by following a few simple steps. Even if you are not very technical, you can do this easily:
- Check the status of your SSL certificate.
- If your website does not have an SSL certificate, install an SSL certificate.
- Or if your site has an SSL certificate installed, though it shows a ‘Not Secure’ warning, then you need to fix any problems with your existing SSL certificate.
- Redirect all URLs from HTTP to HTTPS.
- Replace all old HTTP links with secure HTTPS versions.
- Scan your site and fix any mixed content issues.
- Inform Google that your site now uses HTTPS.
- Clear all caches.
- Confirm that the Not Secure warning has been removed.
Check Website SSL Certificate status
If your SSL certificate is properly installed, active, and valid. If your SSL certificate is missing, expired, or incorrectly set up, your site will continue to show the “Not Secure” warning.
Checking your SSL status is easy and only takes a few minutes. Simply enter your website’s URL into a free online website SSL certificate checker tool like Qualys SSL Labs. This tool will scan your site and provide a detailed report about your SSL certificate. Here is what you should look for:
- Your SSL certificate should show a rating of A or A+ — that’s the gold standard.
- Make sure it uses strong encryption like RSA 2048-bit or higher.
- Check that the certificate hasn’t expired and is correctly linked to your domain name.
How Does This Impact Website Owners?
We understand that an insecure website does more than put data at risk. It can damage your entire business. Whether you run a small online store or manage a growing brand, the consequences of a “Not Secure” warning are serious and widespread.
Site Security
When your website is not secure, it puts every visitor’s personal information at risk. This includes passwords, payment details, and contact data. Without encryption, cybercriminals can intercept and steal this information. Your users become vulnerable, and your site becomes an easy target. Hackers may launch malware attacks or exploit other security weaknesses.
Online Sales
Trust is critical in online shopping. If your site displays a “Not Secure” warning, many customers will not trust your brand. Some will abandon their shopping carts. Others may leave your site immediately or avoid visiting altogether. For eCommerce businesses, this loss of trust leads to fewer sales, lower conversion rates, and reduced revenue.
Brand Reputation
First impressions are important. A “Not Secure” warning can make visitors question your professionalism. It sends a message that your business may not take security seriously. If a data breach happens, the damage can be long-lasting. Research shows that 65 percent of customers will not return to a website after their data has been compromised. You can protect your brand’s reputation by securing your site.
SEO Performance
Search engines like Google reward secure websites. If your site does not use HTTPS, it will likely rank lower in search results. This makes it harder for new customers to find you. Insecure sites may also be flagged or penalized, which reduces organic traffic. A secure website not only protects visitors but also improves your SEO. This helps you gain more visibility and strengthens your online presence.
How to Fix Not Secure Warning Of Website
If your website displays a “Not Secure” warning, do not worry. You can follow clear steps to fix the issue. Securing your site protects your visitors, builds trust, and improves your online performance. Follow these actions to ensure your site is fully protected.
Get an SSL Certificate for Website
Start by obtaining an SSL certificate. This is the first step to fixing the “Not Secure” warning in WordPress. You can choose between free and paid SSL certificates. Free SSL certificates, such as those from Let’s Encrypt, work well for small websites, blogs, and personal projects. They provide basic encryption at no cost. Paid SSL certificates offer more advanced features. These include extended validation, trust seals, and warranty protection. They are ideal for eCommerce sites or businesses that handle sensitive data.
Most WordPress hosting providers make this process easy. Many offer one-click SSL activation directly from their dashboards.
Install the SSL Certificate in WordPress
After you obtain the SSL certificate, you must install it correctly. This ensures your WordPress site switches fully to HTTPS. Hosting panels that use cPanel often make installation simple. You can manage your SSL certificates directly from the dashboard.
Once installed, verify that the certificate is assigned to your domain. If you prefer manual setup, you can configure SSL through WordPress settings and server files. This allows you to enforce secure connections across your website.
Force HTTPS Across Your WordPress Website
Installing SSL is not enough. You also need to force HTTPS to prevent browsers from loading the site over an insecure HTTP connection. You can do this by editing your .htaccess file. Add redirection rules to guide all visitors to the HTTPS version.
Another option is to update your WordPress Address and Site Address in the WordPress settings. Set both to use the secure https:// protocol. Without forcing HTTPS, parts of your website may still load insecurely. This can cause ongoing security warnings.
Use a Plugin to Simplify SSL Setup
You can also use an SSL plugin to simplify the process. Plugins like Really Simple SSL and SSL Zen help manage the transition. These plugins detect your SSL certificate and configure your site to redirect all traffic securely. They fix internal links, resolve mixed content issues, and maintain your SSL settings automatically.
Plugins are a great choice for beginners or anyone who wants a quick and easy solution. They can help remove the “Not Secure” warning without needing advanced technical skills.
Activate SSL Certificate with Just 1 Click
Having a not secure website can harm your trust and SEO issue that can drive visitors away and hurt your online presence. At xCloud, we believe that securing your website is one of the most important steps you can take to protect your business and your customers. A secure, HTTPS-enabled site builds trust, boosts your SEO performance, and keeps sensitive information safe from cyber threats. If your site still shows a “Not Secure” warning, now is the time to act for of cost and enjoy peace of mind.
With xCloud you can easily install the ‘Let’s Encrypt‘ SSL certificate on your site without any complexity for FREE. From SSL/HTTPS option from the site dashboard, you can enable the free SSL certificate or you can add your custom SSL certificate with just a clik. Read the step-by-step process to enable your SSL certificate with xCloud.
Post-Steps After Installing SSL certificates
After installing your SSL certificate, a few final steps ensure your website is fully secure. Let us go through a few actions that will help you eliminate security warnings, improve SEO, and maintain user trust.
Make Sure Internal Links Point to HTTPS
After you install your SSL certificate, update all internal links on your website to use HTTPS. If any links still point to old HTTP URLs, browsers may continue to flag your site as insecure. Review your entire website. Check menus, buttons, images, and embedded resources. Make sure every link uses the secure HTTPS version. It is also best to link only to external sites that are secured with HTTPS.
Redirect HTTP URLs to HTTPS
Prevent visitors from accessing the unsecured version of your site by setting up automatic redirects. Configure your web server to use 301 redirects. This ensures that anyone visiting an HTTP page is sent directly to the HTTPS version. Redirecting traffic protects your users, supports proper search engine indexing, and maintains strong site security.
Update Your XML Sitemaps
Once your website uses HTTPS, update your XML sitemaps. Your sitemap helps search engines crawl and understand your site. If it still contains HTTP links, it can confuse search engines and weaken your SEO. Make sure every URL in your sitemap uses HTTPS. After updating, resubmit your sitemap to search engines to ensure accurate indexing.
Fix Mixed Content Warnings
Even after installing SSL, your site may still load resources through HTTP. This creates mixed content warnings. To fix these:
- Use tools like WhyNoPadlock and SSL Checker to identify problem areas.
- Install a plugin such as Really Simple SSL to automatically fix mixed content.
- Manually update old links in your content, theme files, and database.
Fixing mixed content is essential. Without it, the “Not Secure” warning may continue to appear.
Ensure All URLs Redirect from HTTP to HTTPS
Once your SSL certificate is active, check that all website URLs redirect to HTTPS. Sometimes, even with .htaccess changes, users may still access both HTTP and HTTPS versions. Use 301 redirects in your .htaccess file to fix this. It will force all traffic to the secure version of your site.
Submit Your Website to Google Search Console
The final step is to submit your secured site to Google Search Console. This helps Google recognize your HTTPS pages and begin indexing them correctly. Sign in to Google Search Console. Click “Add Property” and enter your website URL. Verify ownership by adding a DNS record or uploading an HTML file. Once verified, Google will track your site’s performance, helping you maintain security, improve SEO, and build credibility.
Enable HTTPS in 1 Click – Secure Your Site, Earn Trust, and Grow with Confidence
To fix not secure warning on your WordPress website can help you protecting your visitors, improving your SEO, and building trust in your brand. By installing an SSL certificate, updating internal links, enforcing HTTPS, and resolving mixed content issues, you ensure your website remains safe, reliable, and fully optimized.
With xCloud, securing your site becomes simple, fast, and cost-free. Take action today and give your visitors the confidence they deserve while strengthening your site’s performance and credibility online.
If you have found this blog helpful, feel free to subscribe to our blogs for valuable tutorials, guides, knowledge, and tips on web hosting and server management. You can also join our Facebook community to share insights and engage in discussions.