


With xCloud, you can easily arrange a full server migration without any complexity. With full server migration, you can migrate any number of WordPress sites in bulk under the same server. Also, this is a super-fast process and unlike any basic plugin migration, this process does not cause any harm to source servers or sites.
Prerequisite To Perform A Full Server Migration With xCloud: #
- Server Configuration: Ensure that your source server is running Nginx & OLS server.
- Operating System: The source server should be running either Ubuntu 20.04 or Ubuntu 24.04 LTS x64.
- Root Access: Obtain root access to the source server. This is essential for performing the Full Server Migration.
- Disable 2FA if there are any.
- Disable additional security like Site Grounds Security optimizer from your hosting end.
- Uninstall Must use plugins of hosts.
- Clear Cache and disable cache plugins like Object Cache PRO
- Disable Wordfence or any other security plugins.
- You can migrate an existing server in xCloud. You need to install a fresh server from xCloud in order to perform the Full Server Migration feature.
NOTE: Your destination server must be provisioned in xCloud.
New update: migration from Runcloud OLS server is now also supported.
Let’s follow a step-by-step process on how to achieve it successfully.
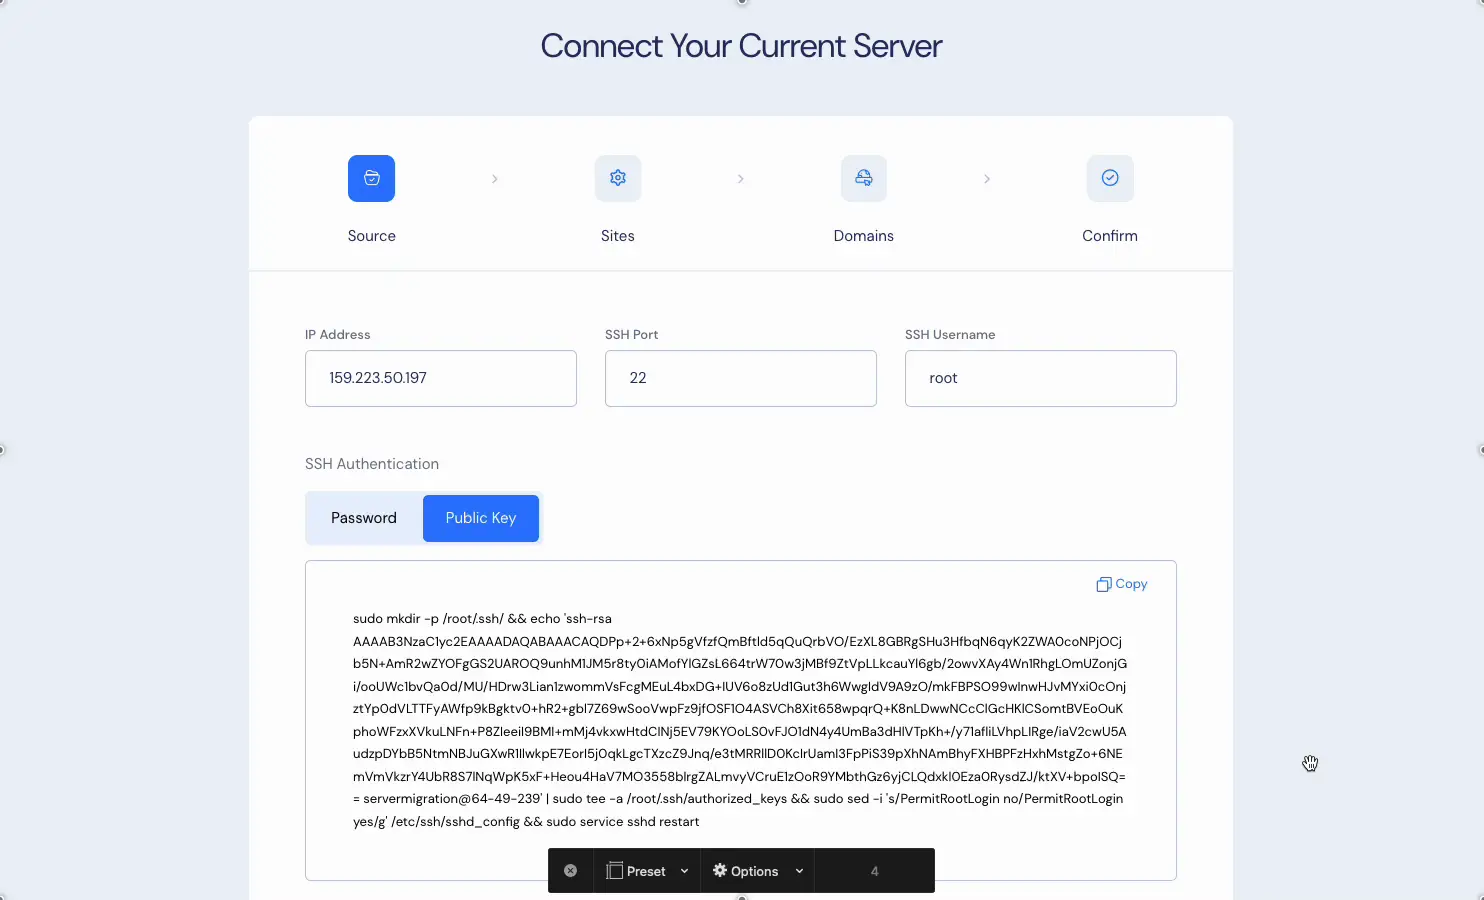
Step 1: Add Necessary Information For Full Server Migration #
To configure the connection, begin by entering the IP address of the source server, the Port number is “22” and the SSH username is usually “root”. You may visit your cloud provider to find the exact details. Then, if SSH authentication necessitates a password, choose the “Password” option and provide the required password. This will establish the connection with your source server.
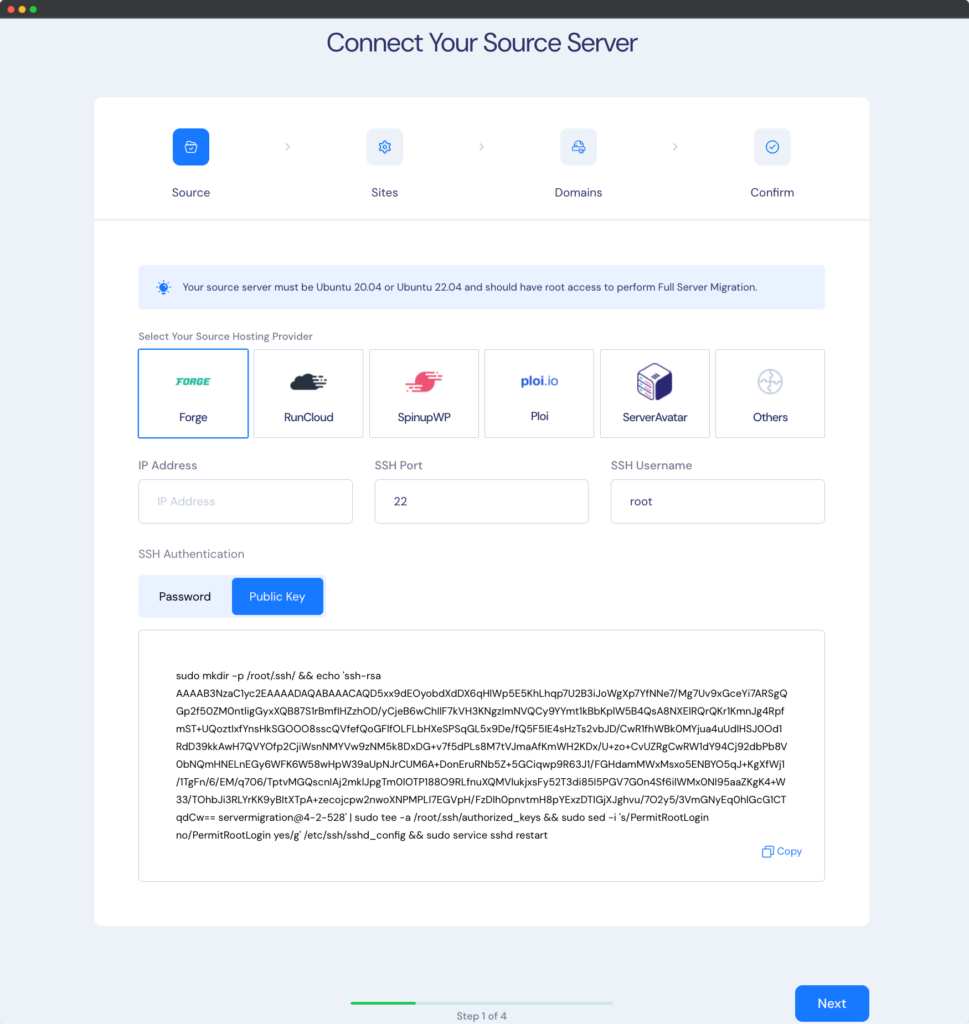
But if your server relies on public key authentication, you will need to add the xCloud’s provided public key by accessing your server via root user using the terminal. This process ensures that only authorized individuals with the corresponding private key can gain access to the server and this is more secured than the Password approach.
Therefore, to add the public key to your source server you need to follow these steps:
- Copy the public key from xCloud’s FSM dashboard.
- Access your source server as a root user via SSH.
- Paste the public key.
After adding the Public key in your source server switch back to xCloud and click next.
Step 2: Select The WordPress Site/Sites You Want To Migrate #
After you have connected your public key, you will get access to your sites for migration. Select which server to migrate, click ‘Next’, and push your site to the live site.

Step 3: Go Live Or Create Demo Site #
In this step, you can either choose a Demo site or you can opt for going live. Simply, toggle on your favorable option.
Note: Please make sure to check out the storage of your destination server. We recommend keeping your destination server with at least 1 GB free always.
Now your full server migration will start shortly.
Our development team will help you to perform full server migration from any server if you have root access to it. Please contact our support team for any assistance.


