Are you frustrated by unwanted bot traffic that hampers your website’s performance and distorts your analytics? Imagine a solution that seamlessly stops those automated threats in their tracks, so your website runs smoothly and securely.
With a simple toggle in xCloud, you can enable AI Bot Blocker and gain full control over your site’s security, ensuring that only genuine user traffic reaches your pages. Read on to discover how you can leverage the AI Bot Blocker in xCloud and take the first step toward enhanced website security.
💡 Why Enable the AI Bot Blocker in xCloud?
For any website owner, ensuring reliable website protection is crucial. Automated bot traffic can drain server resources, impact site performance, and compromise data accuracy. By enabling AI Bot Blocker in xCloud, you activate a robust security layer that not only blocks unwanted bots but also improves your website’s overall performance.
Key reasons to Enable AI Bot Blocker in xCloud:
- Automatic Traffic Control: The tool provides automated traffic control by identifying and blocking malicious bots. This ensures that your site experiences automated traffic control that keeps non-human visitors at bay.
- Enhanced Security: Prevent unauthorized scraping and reduce potential security risks by blocking unwanted bots.
- Enhanced Server Performance: With reduced bot traffic, your server can dedicate resources to legitimate visitors, helping to improve website performance.
- Accurate Data Collection: By filtering out non-human interactions, your analytics data becomes more reliable, allowing for better-informed decisions.
- Simplified Management: Accessible directly from your site settings, this feature is a user-friendly xCloud security feature that requires just a simple toggle to activate.
By integrating this essential tool, you create an environment where your digital assets remain secure and your website operates at peak efficiency.
📑 Step-by-Step Guide to Enable AI Bot Blocker in xCloud
Now that we already know the key advantages of enabling AI Bot Blocker in xCloud, let us see how we can activate the feature in a very simple way. Follow these steps to enable AI Bot Blocker in xCloud and secure your website against unwanted bot traffic.
Step 1: Access the Site in xCloud
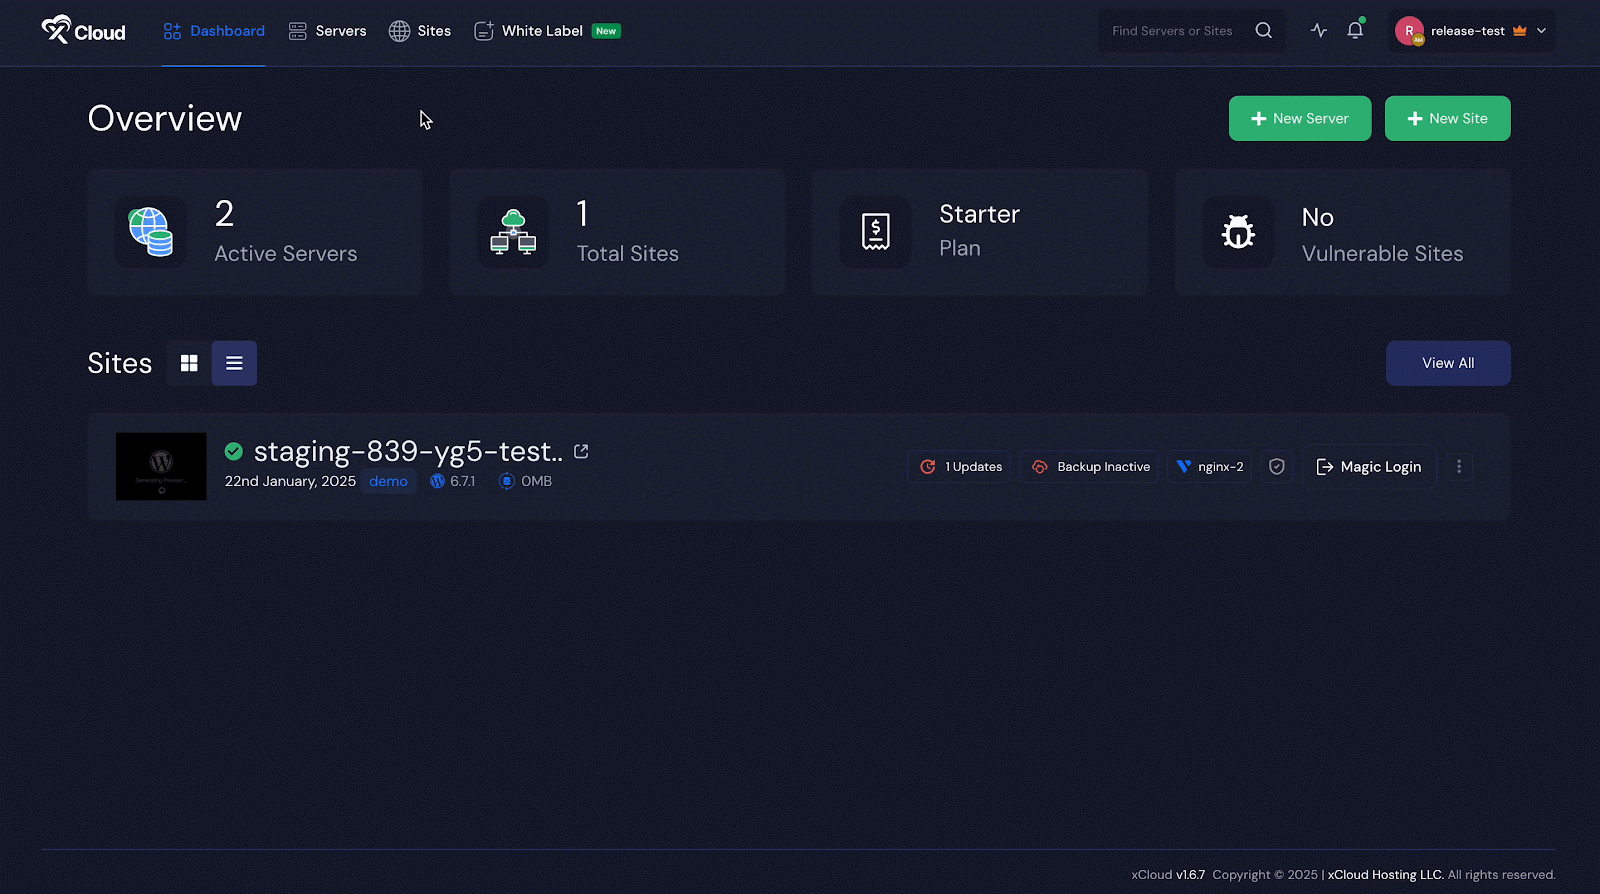
Start by logging into your xCloud dashboard. Then, go to the ‘Sites‘ section from the main menu and click on the website for which you want to enable the bot blocker.
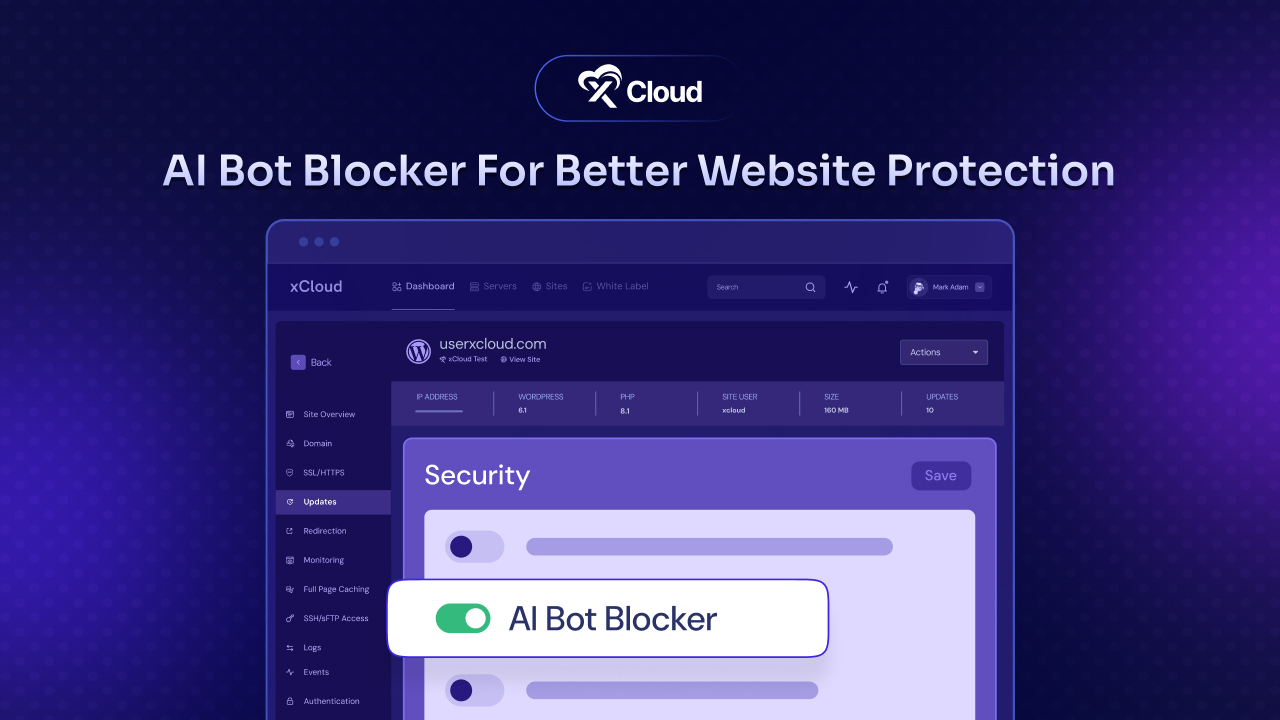
Step 2: Enable the AI Bot Blocker
Once you are on the site, the process of enabling AI Bot Blocker varies slightly based on your server type:
For Nginx Server Users
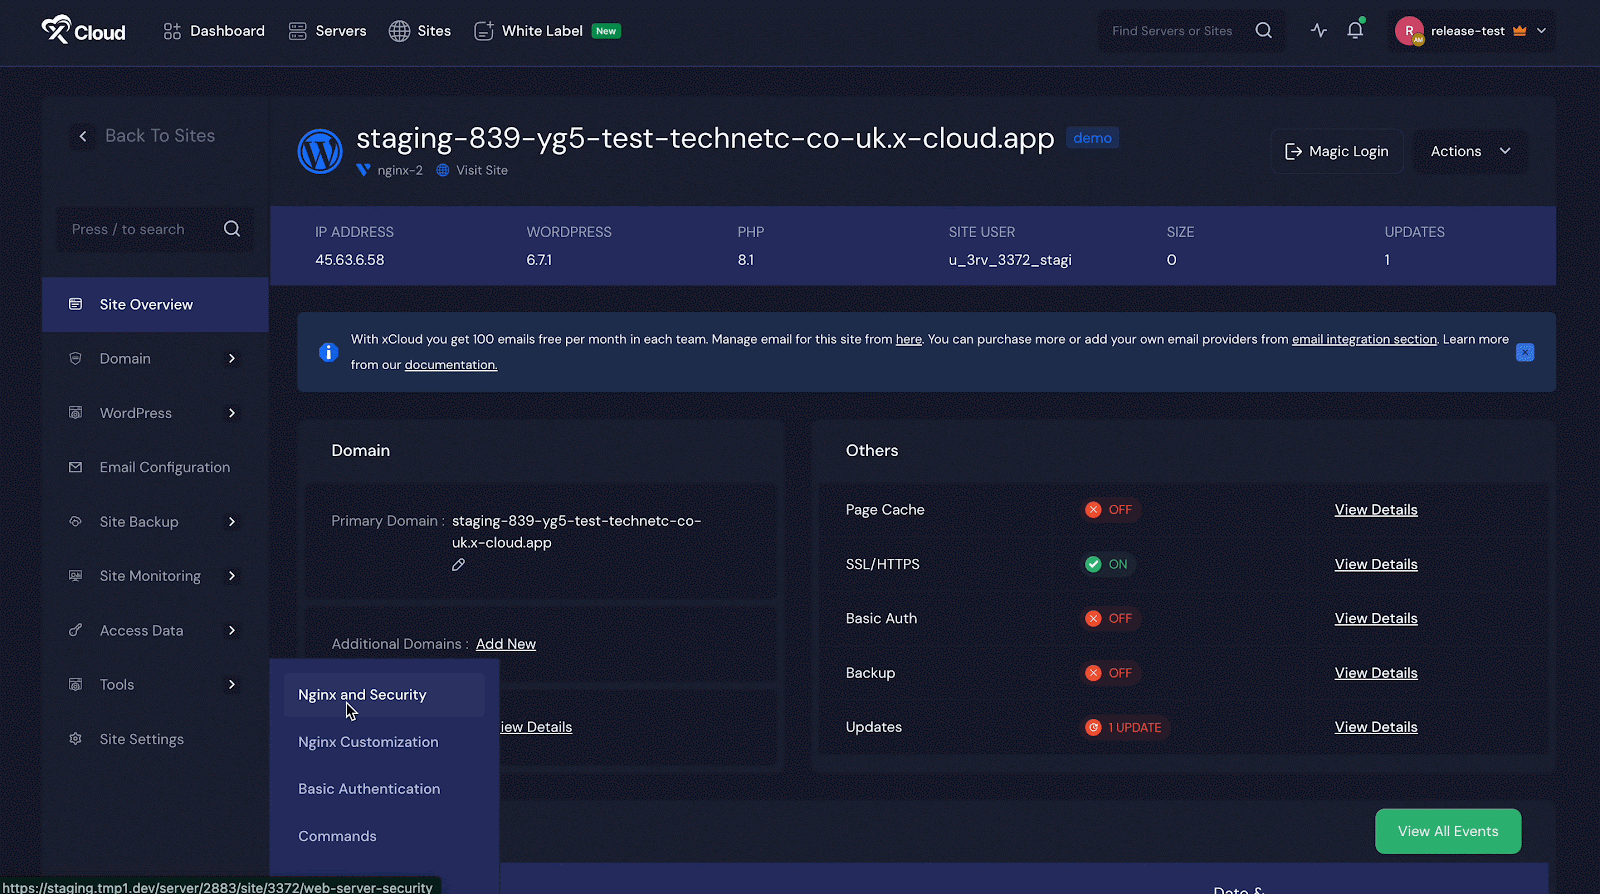
Navigate to Tools → Nginx and Security within your site settings. Locate the AI Bot Blocker option and toggle the option to enable it. Once done, click the Save Settings button.
For OpenLiteSpeed Server Users
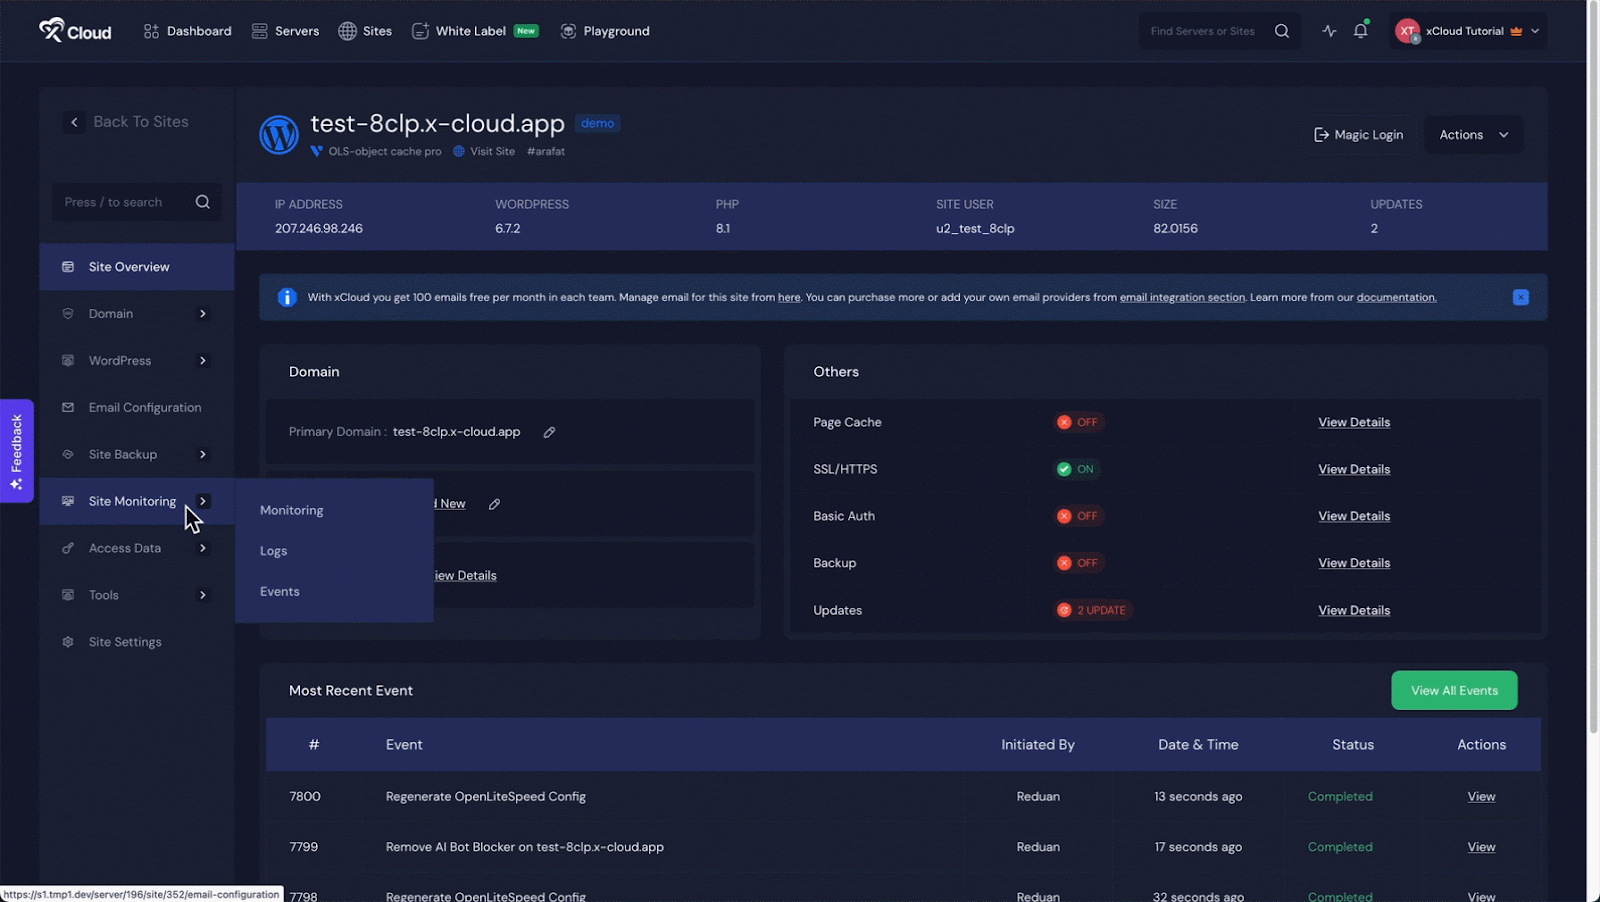
Go to Tools → Security in the site settings and find the AI Bot Blocker listing. Toggle it on to enable the feature. Once done, click Save Settings to apply the changes.
Blocked AI Bots List
Once enabled, the AI Bot Blocker automatically blocks 150+ known AI-related bots. Some of the AI Bots that our AI bot blocker blocks:
AI21 Labs, AI2Bot, Amazon Bedrock, Anthropic, BardBot, Brave Leo, Bytespider, Claude, Cohere, CommonCrawl, CopyAI, DeepAI, DuckAssistBot, FacebookBot, Gemini, Grammarly, Hugging Face, JasperAI, Meta-AI, OpenAI, Perplexity, QuillBot, Sudowrite, Wordtune, Writesonic, xAI, YouBot – and many more.
For a detailed guide and full list of the bots that are blocked by AI Bot Blocker, you can follow this documentation. Or, for further assistance, you can always reach out to our support portal.
Best Practices for Using AI Bot Blocker
A well-planned implementation not only maximizes the Bot Blocker’s efficiency but also integrates seamlessly with your overall website security strategy. By aligning this tool with other security measures and regularly reviewing its performance, you can ensure that your website remains both secure and optimized.
Before we dive into the actionable tips, consider the broader context around the ethical concerns of AI data scraping. Many content creators have voiced strong opinions about how their work is being used by AI companies.
These viewpoints underline the importance of controlling automated traffic and safeguarding your content – a core reason to enable AI Bot Blocker in xCloud.
- Regular Monitoring: Periodically review your bot activity logs to ensure that only unwanted bot traffic is being blocked. This helps maintain effective automatic traffic control.
- Combine with Other Security Measures: The AI Bot Blocker is a powerful tool, but it is important to use it alongside other security practices, such as regular updates and firewalls, to create a comprehensive security strategy.
- Test After Enabling: After toggling the feature, monitor your site’s performance to ensure that legitimate user activity is not inadvertently affected. This step is crucial for maintaining accurate analytics.
- User Feedback: Encourage users to share feedback or report any issues with site performance or accessibility after enabling the feature, ensuring that you can quickly address any unforeseen complications.
Implementing these best practices ensures that you are not only blocking unwanted bots but also continually optimizing your site for a seamless user experience. By doing so, you align with the ethical considerations raised by industry experts and content creators, reinforcing the importance of controlling automated traffic and protecting your valuable content.
🎉 Leverage AI Bot Blocker for Enhanced Website Protection
The decision to enable AI Bot Blocker in xCloud is a strategic move to improve website performance, ensure accurate analytics, and provide robust website security. With the ability to block unwanted bots and maintain effective automated traffic control, this xCloud security feature is indispensable for any website owner aiming to secure their digital assets.
From accessing your site settings to toggling the feature on for both Nginx and OpenLiteSpeed servers, the process is straightforward and user-friendly. Coupled with best practices and regular monitoring, you can create a secure environment that not only safeguards your content but also enhances user engagement.
Enable the AI Bot Blocker in xCloud today and take control of your website’s security and performance. With the rise of AI and ML bots aggressively crawling and scraping content to feed models like ChatGPT, OpenAI, and countless others, it’s more important than ever to shield your data.
If you have found this blog helpful, feel free to subscribe to our blogs for valuable tutorials, guides, knowledge, and tips on web hosting and server management. You can also join our Facebook community to share insights and engage in discussions.