











If you have been thinking about moving your websites away from cPanel, you are not alone. With rising license costs, an aging architecture, and the recent disclosure of a major security vulnerability (CVE-2026-41940), many website owners, developers, and agencies are looking for a smoother, safer hosting experience.
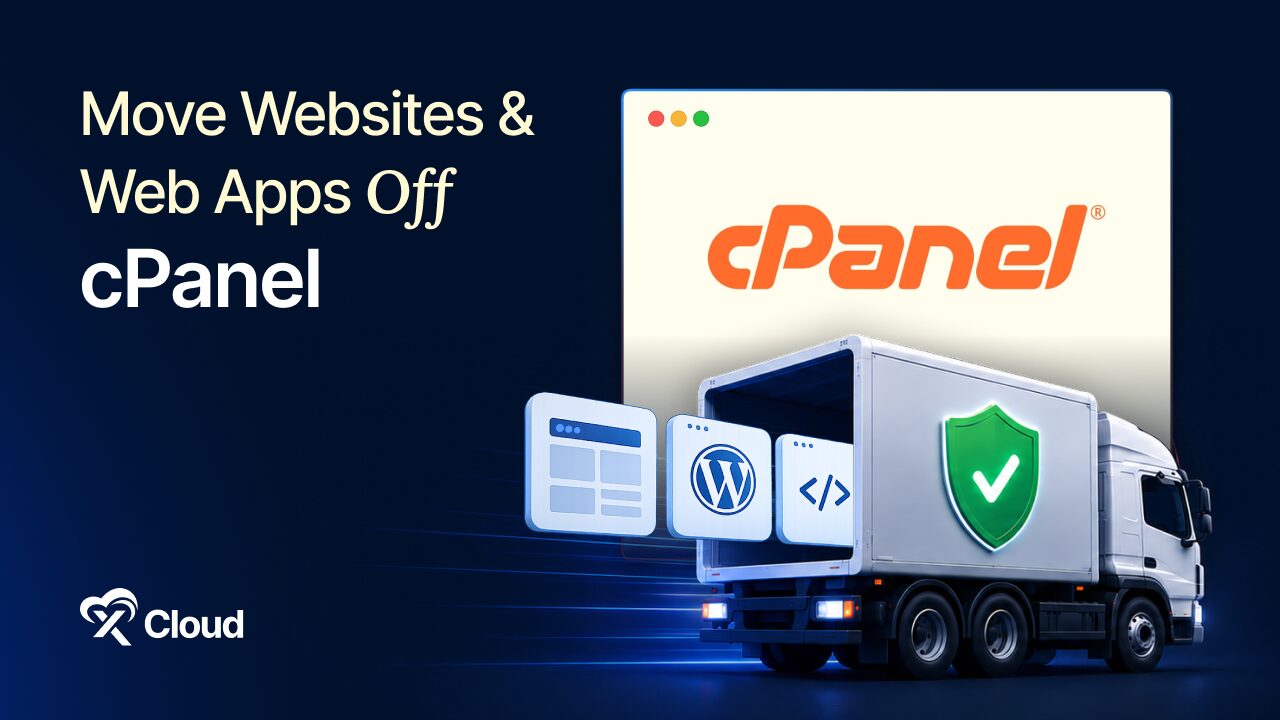
In this blog, we are going to walk you through how to safely move your websites and web apps off cPanel using xCloud. Whether you are managing a single WordPress site or a portfolio of client websites, this step-by-step guide will help you migrate without downtime, broken features, or any technical headaches. Without further ado, let us get started.
Why Move Off cPanel in 2026?
You might be wondering whether moving off cPanel is really worth the effort. After all, cPanel has been the industry standard for nearly thirty years. However, once you understand the current state of cPanel hosting, the benefits of switching become very clear. Let us explore the main reasons why so many users are making the switch.
Rising Costs
Since cPanel switched to per-account licensing in 2019, hosting costs have steadily climbed. Hosts pass these costs on to customers, which means you end up paying more every year for the same features.
Security Concerns
In April 2026, cPanel disclosed CVE-2026-41940, a critical authentication bypass with a CVSS score of 9.8 out of 10. The vulnerability was actively exploited as a zero-day for over a month before the patch landed, and major hosting providers had to block customer access to cPanel ports as an emergency response.
Outdated Stack
Most cPanel installations still run Apache by default, while modern hosting panels use Nginx or OpenLiteSpeed with built-in Redis, HTTP/3, and advanced caching. The performance difference is significant, especially for WordPress and WooCommerce sites.
Limited Flexibility
cPanel ties you to whatever server your shared host provides. With a modern panel like xCloud, you own your cloud server and can switch providers anytime without rebuilding everything.
Say Hello to xCloud
xCloud is a next-generation managed hosting control panel that helps you host, deploy, and manage websites effortlessly. Whether you want to set up a single cloud server or host multiple WordPress websites on the same machine, xCloud offers all the amazing features you need to complete the process smoothly.
You do not have to worry about writing code, configuring Nginx, or dealing with complex server management. With xCloud, everything happens through a clean, modern dashboard that is friendly to both beginners and experienced developers.
Benefits of Moving Your Websites to xCloud
Before we jump into the step-by-step process, let us look at the main benefits you will enjoy after moving your sites to xCloud.
- No Per-Account Fees: xCloud is free for one server with up to 10 sites, and plans start at just $5 per month with no per-account licensing.
- Modern Performance Stack: Enjoy Nginx or OpenLiteSpeed, PHP 7.4 to 8.3, MariaDB, Redis object cache, and native HTTP/3 support out of the box.
- Multi-Cloud Flexibility: Connect your server from DigitalOcean, Vultr, AWS, Google Cloud, Linode, Hetzner, Hostinger VPS, or any Ubuntu server.
- Built-In Security: Get the xCloud 7G and 8G WAF rules, Fail2Ban, AI bot blocker, and a vulnerability scanner for WordPress core, themes, and plugins — all included by default.
- One-Click Staging: Clone your live site to a staging environment with one click, test your changes safely, and push everything live when you are ready.
- Easy Migration Tool: Migrate your cPanel sites using xCloud’s built-in cPanel API migration tool, with no manual backup archives required.
- Free SSL & Backups: Free Let’s Encrypt SSL with auto-renewal, plus automated backups to Google Drive, AWS S3, Backblaze, Wasabi, Cloudflare R2, and pCloud.
- Team & Reseller Features: Invite team members with role-based permissions, set up white-label branding, and bill clients directly through Stripe.
Now that you know why xCloud is such an excellent choice, let us walk through the step-by-step process of safely moving your websites off cPanel.
How to Safely Move Your Websites Off cPanel: Step-by-Step Guide
In this section, we are going to show you exactly how to migrate your websites from cPanel to xCloud. To get started, first of all, you will need to sign up for xCloud. Afterward, follow the steps below to safely move your sites without any downtime.
Step 1: Inventory Your Current Websites
Before you touch anything, it is important to know exactly what you are moving. This is the single most important step to avoid surprises later. Take a few minutes to document the following for each site:
- Domain name and any subdomains
- WordPress, Laravel, or app version
- PHP version currently running
- Database name and approximate size
- Total file size including media uploads
- Email accounts attached to the domain
- Custom cron jobs configured in cPanel
- Custom .htaccess rules (if any)
- SSL certificate type (Let’s Encrypt, AutoSSL, or custom)
- DNS records, especially MX, SPF, DKIM, DMARC, and CNAME
This step usually takes 15 to 30 minutes per site. It might feel a bit tedious, but trust us — it will save you hours of “where did that setting go?” later.
Step 2: Create or Connect Your Server in xCloud
Once you have signed up for xCloud, you need to create a new server or connect your existing server to your xCloud account. From your xCloud dashboard, click on the ‘Add New’ button. You will be redirected to a page where you can either provision a new cloud server or connect an existing one.
If you want to create a fresh server, you can connect your DigitalOcean, Vultr, AWS, Google Cloud, Linode, Hetzner, or Hostinger VPS account using an API key. Alternatively, if you already have an Ubuntu server, you can connect it using SSH credentials and bring it under xCloud’s management.
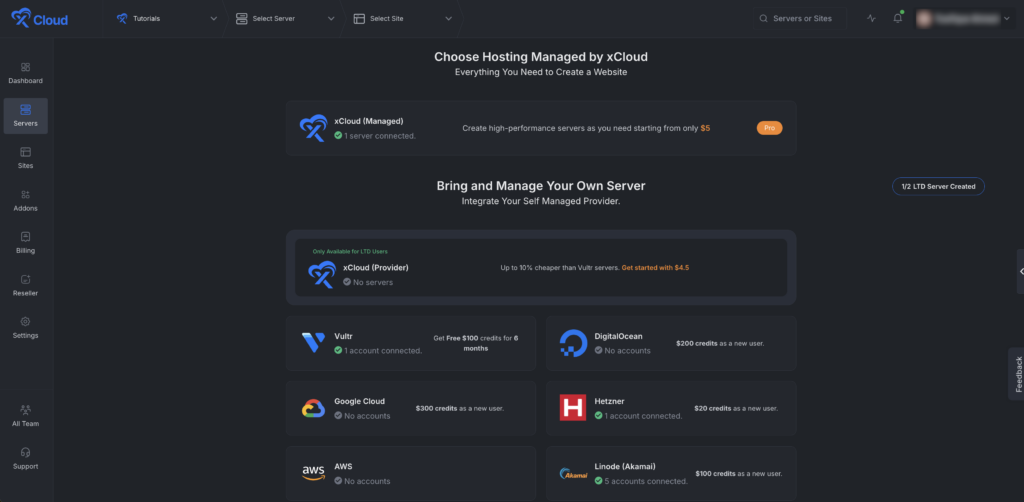
For most WordPress portfolios, a 2GB VPS works well for 5 to 10 sites. By the time you grab a cup of coffee, xCloud will have set up Nginx (or OpenLiteSpeed if you prefer), MariaDB, Redis, PHP 7.4 to 8.3, and the full xCloud security stack on your new server.
Step 3: Generate a Full Backup in cPanel
Before you can migrate using the cPanel API method, you need to have a backup available in your cPanel account. xCloud’s migration tool fetches your existing cPanel backups via the API, so this step is required first.
Log in to your cPanel dashboard and navigate to Files → Backup. Click the ‘Download a Full Account Backup’ button. On the next screen, you will see if you have any previous backups available, and you can generate a new one.
Choose a backup destination (your home directory works fine for migration purposes), optionally enter your email address for a notification when the backup is ready, and click ‘Generate Backup’. Depending on the size of your sites, the backup may take anywhere from a few minutes to an hour to complete.
Step 4: Generate a cPanel API Token
Once your backup is in progress (or completed), the next step is to create an API token. This is what xCloud uses to securely connect to your cPanel account and fetch the backup files during migration.
Log in to your cPanel account, navigate to Security → Manage API Tokens, and click the ‘Create’ button. Give the token a clear name like xcloud-migration, choose whether you want to set an expiry date (optional but recommended for security), and then click ‘Create’ again.
The API token will be generated instantly. Copy the API token and save it somewhere safe — you will not be able to see it again later. Once you have stored it securely, click ‘Yes, I Saved My Token’ to confirm.
If your hosting provider has disabled API token creation, do not worry. You can either ask them to enable it temporarily, or use xCloud’s “Upload Full Backup File” method instead, which lets you upload the backup file directly without API access.
Step 5: Start the Migration in xCloud
Now log in to your xCloud account and open the server where you want to migrate your sites. Click the ‘+ New Site’ button, and on the next screen, select the ‘Migrate Full Server’ option.
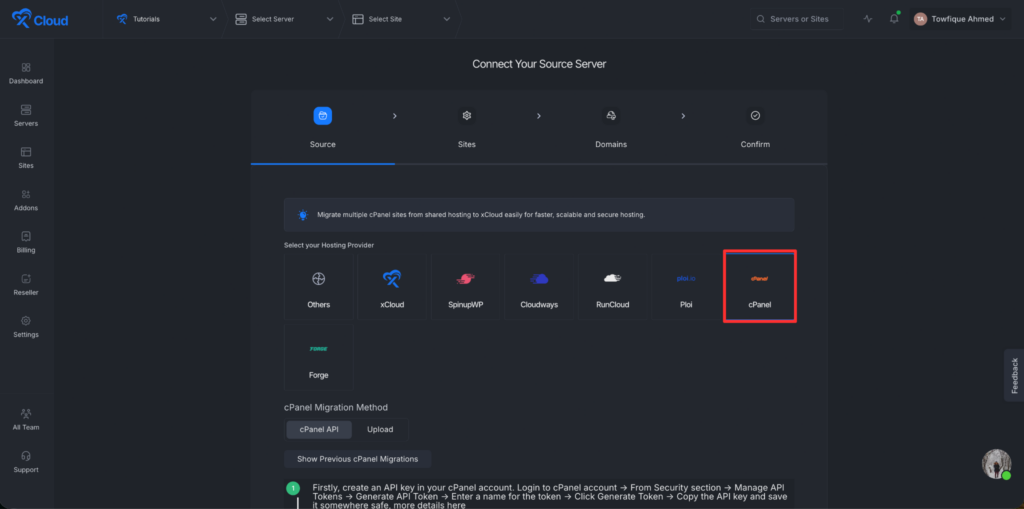
xCloud offers two migration methods:
- cPanel API (recommended): A hassle-free option that runs everything on the server side. No need to download or upload large backup files manually.
- Upload the Full Backup File: A manual option if you cannot use the API method for any reason.
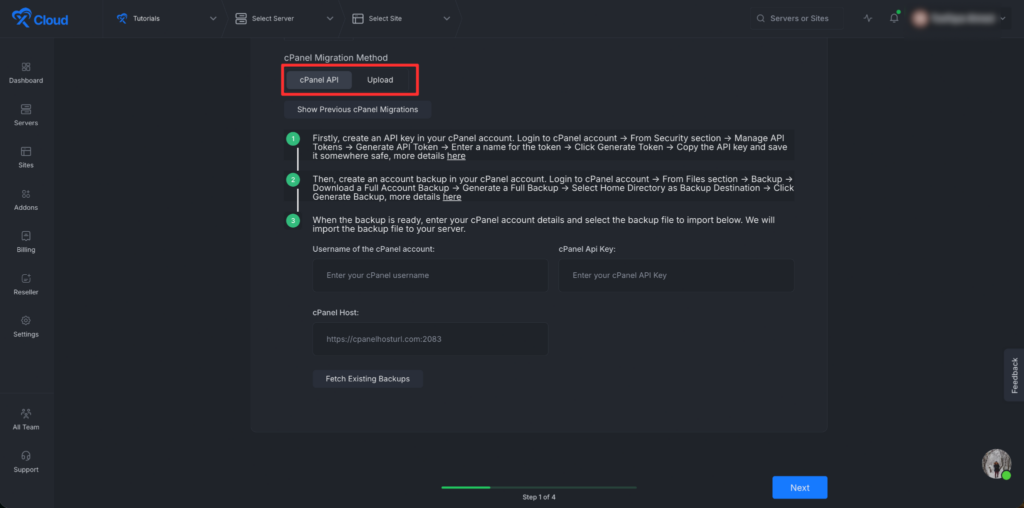
We recommend using the cPanel API method for the smoothest experience.
Select the ‘cPanel API’ option, then enter the following details:
- cPanel Username: You can find this on your cPanel dashboard, usually in the top right corner.
- cPanel API Key: The token you generated previously.
- cPanel Host: This is the URL of your cPanel login page, including the port number (for example, https://yourdomain.com:2083).
Once you have entered all the details, click the ‘Fetch Existing Backups’ button. xCloud will connect to your cPanel account and pull a list of available backups.
Step 6: Select Your Backup and Sites
You will now see a list of your existing cPanel backups. Select the backup you want to migrate from, and click ‘Next’.
On the next screen, you will see all the WordPress sites available within that backup. You can choose to migrate all of them at once by selecting the ‘Select All’ option, or you can pick individual sites by checking the boxes next to them. Once you have selected the sites you want to move, click ‘Next’.
Step 7: Choose Staging or Live, Then Start the Migration
Here is the most important rule of safe migration. Always migrate your sites to staging first. Never flip your DNS on a site you have not tested.
On this screen, you can choose whether each domain should be migrated as a staging site or a live site. For safety, we strongly recommend choosing staging for now. You can promote any staging site to live later with a single click in the xCloud dashboard, once you have verified everything is working correctly.
Click ‘Next’ to continue.
On the final screen, you will see a full overview of all the migration details — the sites being migrated, their domains, and their settings. You can edit any of the individual site details from this screen if needed. Once everything looks correct, click the ‘Start’ button to begin the migration.
xCloud will pull your files and databases server-to-server in the background. A typical 200MB WordPress site finishes in 10 to 20 minutes, while larger WooCommerce stores may take 30 to 60 minutes. The best part is that you do not need to keep your browser open. You can close the tab, grab lunch, and come back later to find your sites ready for testing.
Step 8: Test Everything on the Staged Site
This is the step that most people want to skip, but it is the most important one for a smooth migration. xCloud gives each migrated site a temporary staging URL so you can access it without changing any DNS.
Here is a quick checklist to run through on each staged site:
- Pages and Links: Click through the homepage, about page, contact page, and any landing pages. Test a deep blog post URL to make sure your permalinks work.
- Functionality: Submit a test contact form, log in to wp-admin, check that all plugin settings are intact, and verify any custom post types or fields are working correctly.
- WooCommerce: Add a product to the cart, go through checkout (stop before payment), and confirm the order flow works properly.
- Visuals: Confirm all images load, check that fonts are rendering correctly, and verify your site looks good on mobile.
- Performance: Run the staged site through PageSpeed Insights. Most sites see a noticeable performance improvement on xCloud’s modern stack.
If anything looks off, you can fix it right on staging without affecting your live site. This is the whole reason we migrate to staging first.
Real Stories from Users Who Moved Off cPanel
You do not have to take our word for it. Here is what real users have shared on Trustpilot after moving their websites from cPanel to xCloud. These reviews come from people across different regions and backgrounds, from freelancers to agency owners, and they highlight what the migration experience is actually like.
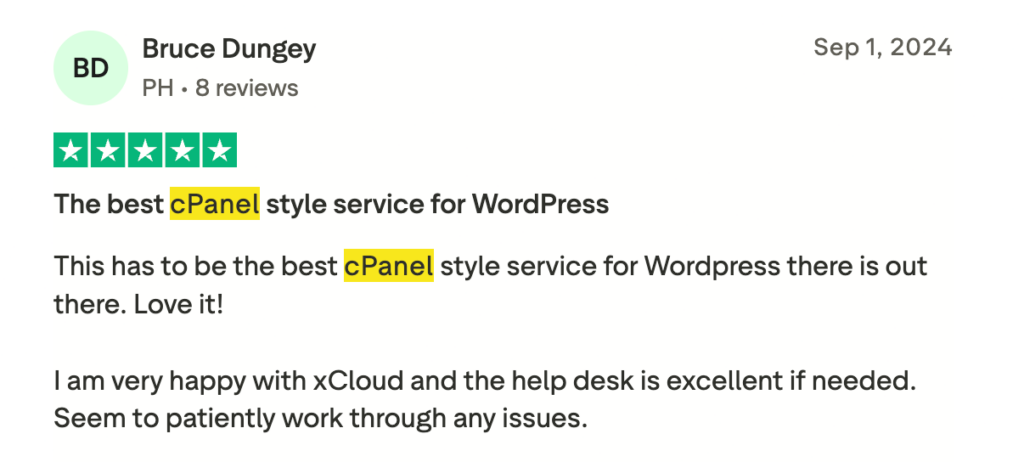
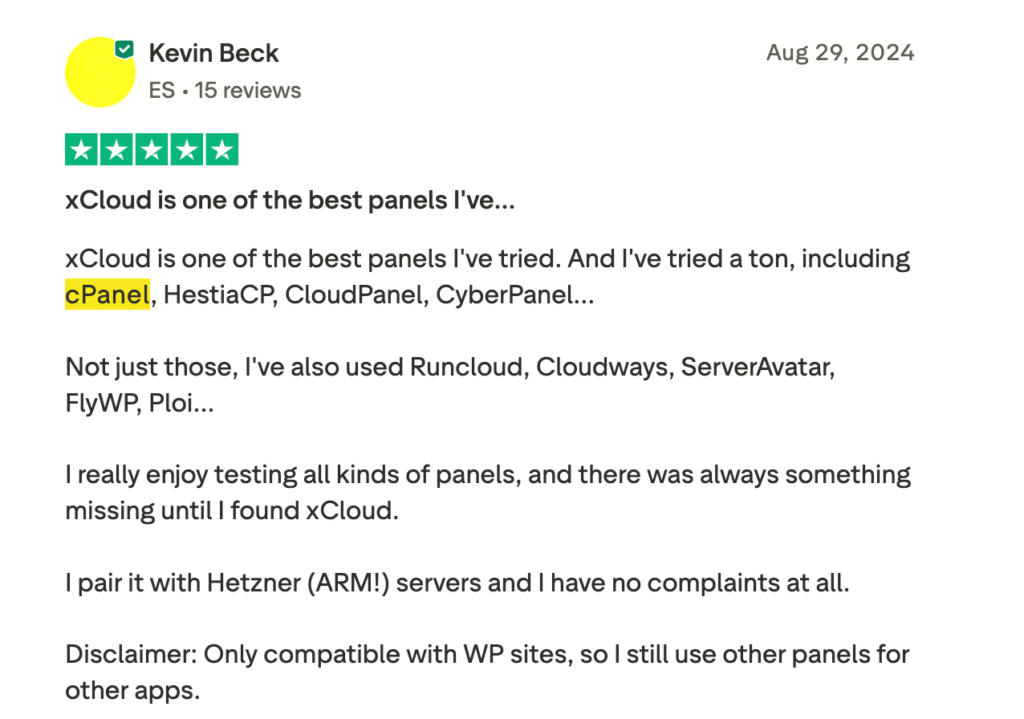
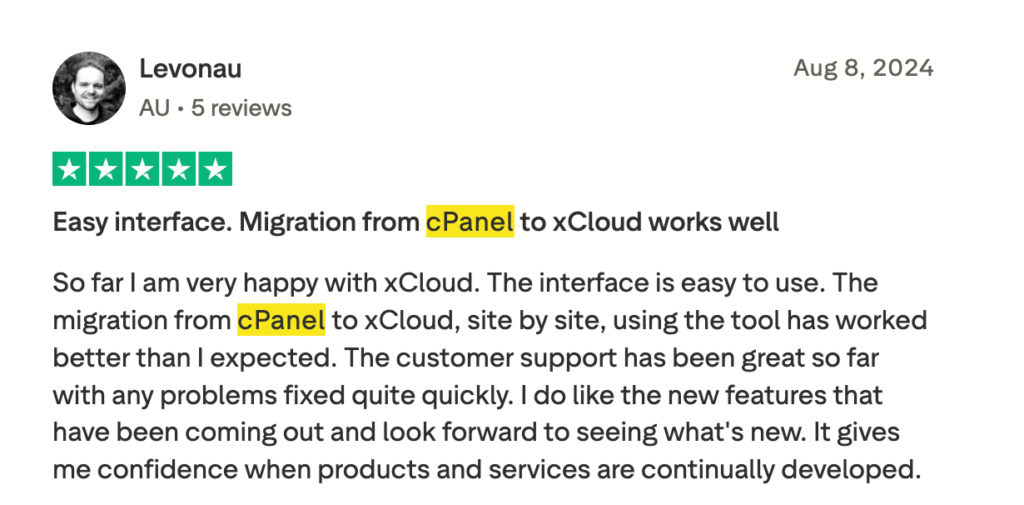
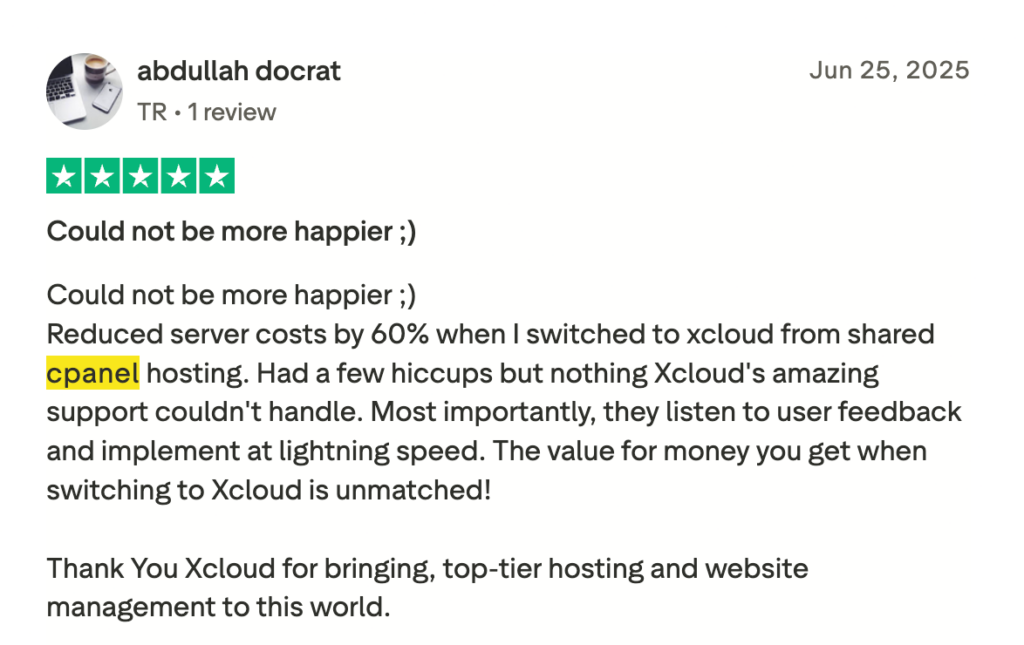
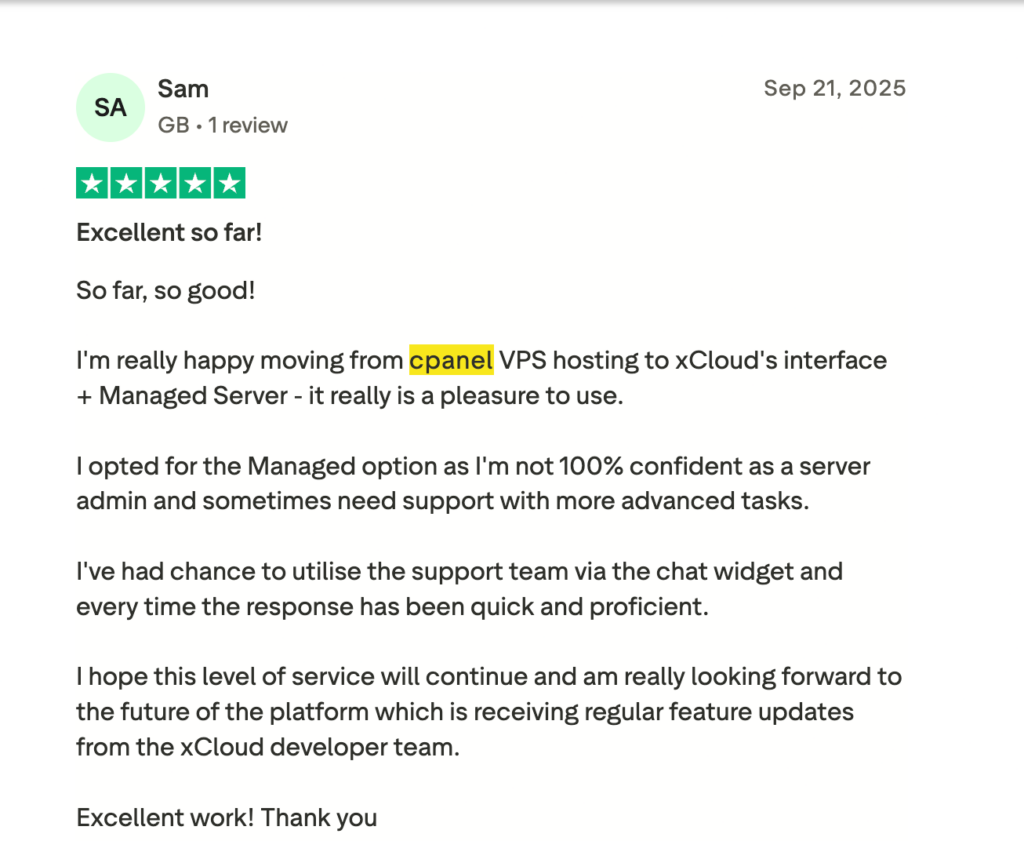
You can read hundreds of similar reviews on the xCloud Trustpilot page, where xCloud currently maintains a 4.9-star average rating across hundreds of verified customer reviews.
We hope you have learned how to safely move your websites and web apps off cPanel using xCloud from this blog. Now, start your free xCloud account, connect a cloud provider, and try migrating a single test site first to see how the flow works.
If you want to learn more about how xCloud compares to cPanel in detail, check out our xCloud Panel vs cPanel comparison guide. For deeper migration documentation, the official migration guide covers every step in detail.
Also, do not forget to subscribe to our blog for more helpful tutorials, guides, and tips on web hosting and server management. You can also join the xCloud Facebook community to share your experience and take part in discussions.
Advanced Tips for a Smooth Migration
Before we wrap up this guide, let us share a few advanced tips to help you avoid common mistakes and make your migration as smooth as possible.
Always Migrate to Staging First
We know we have said this already, but it is the single most important rule. Never flip your DNS on a site you have not tested. Staging is your safety net.
Lower Your DNS TTL Beforehand
If your TTL is set to 24 hours, the cutover window for some visitors can be a full day. Lower it to 300 seconds at least 24 hours before cutover for a near-instant switch.
Do Not Forget Email
Email accounts do not migrate automatically. If you skip this step, your client emails will start bouncing the moment DNS changes. Plan email migration as a separate workflow using the xCloud Mailbox addon.
Keep cPanel Running as a Safety Net
Storage is cheap, but a rushed cancellation can be expensive. Keep your old cPanel hosting running for at least 7 days after the cutover.
Use the xCloud Support Team
If you have a complex setup or get stuck on anything, the xCloud support team is happy to help. They handle bulk migrations, custom server configurations, and edge cases all the time.
Frequently Asked Questions
How long does the whole migration take?
For a single WordPress site under 1GB, plan around 30 to 60 minutes including testing. For 5 to 10 sites, plan an afternoon. For a portfolio of 20 or more sites, plan a weekend or split it across two evenings.
Will my site experience downtime?
If you follow this guide and migrate to staging first, your visible downtime should be measured in seconds, not hours. The DNS cutover happens after you have already verified that the new site works perfectly.
What about my SEO rankings?
If your migrated site has the same URLs and content as before, your SEO is unaffected. Google does not penalize hosting changes. In fact, the faster load times on xCloud often improve rankings slightly over the following weeks.
What if something breaks during migration?
This is exactly why we keep cPanel hosting active for at least 7 days. You can simply repoint your DNS back to cPanel within minutes if something serious goes wrong. With staging and proper testing, broken migrations are very rare.
What if my cPanel host blocks API access?
Some shared hosts disable cPanel API tokens to prevent migrations. If this is your situation, you can either ask your host to enable API access temporarily, or use xCloud’s manual cPanel backup import method instead.
Does xCloud offer migration support if I get stuck?
Yes, absolutely. The xCloud support team helps with bulk migrations and edge cases like heavy .htaccess customization or unusual server configurations. If you are moving 20 or more sites, contact the team for managed migration support.
Enjoy a Modern Hosting Experience with xCloud
Moving off cPanel does not have to be painful. With proper planning and the right migration tool, you can move a portfolio of sites in a single afternoon without downtime, without breaking client trust, and without spending the next month firefighting problems.