


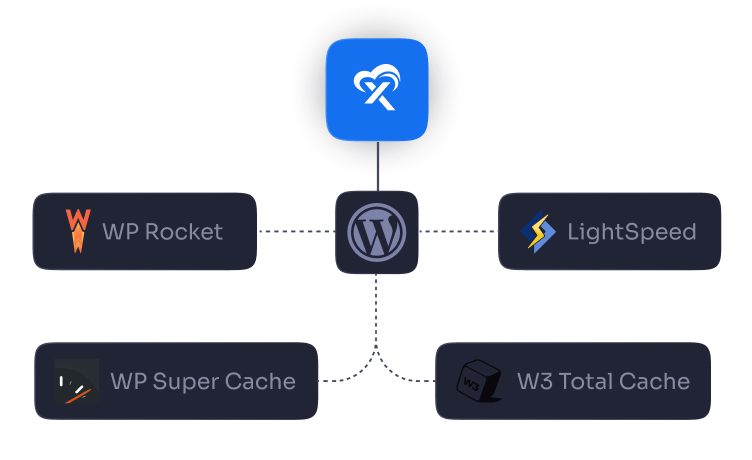
Hosting For WordPress
Lightning-fast hosting for WordPress powered by smart features like Updates Manager & more.

n8n Hosting
Manage your self-hosted n8n instances in just a few clicks, with affordable pricing.

WooCommerce Hosting
Build a high-traffic store with high speed, security, and grow a successful online business easily.

Laravel Hosting
Secure, high-performance Laravel hosting that makes it easy to deploy your projects.

Node.js Hosting
Power your Node.js application with our reliable, developer-friendly hosting solution.

OpenClaw Hosting
Run your personal AI assistant with updates, backups, firewall & more. No Docker. No Hassle.


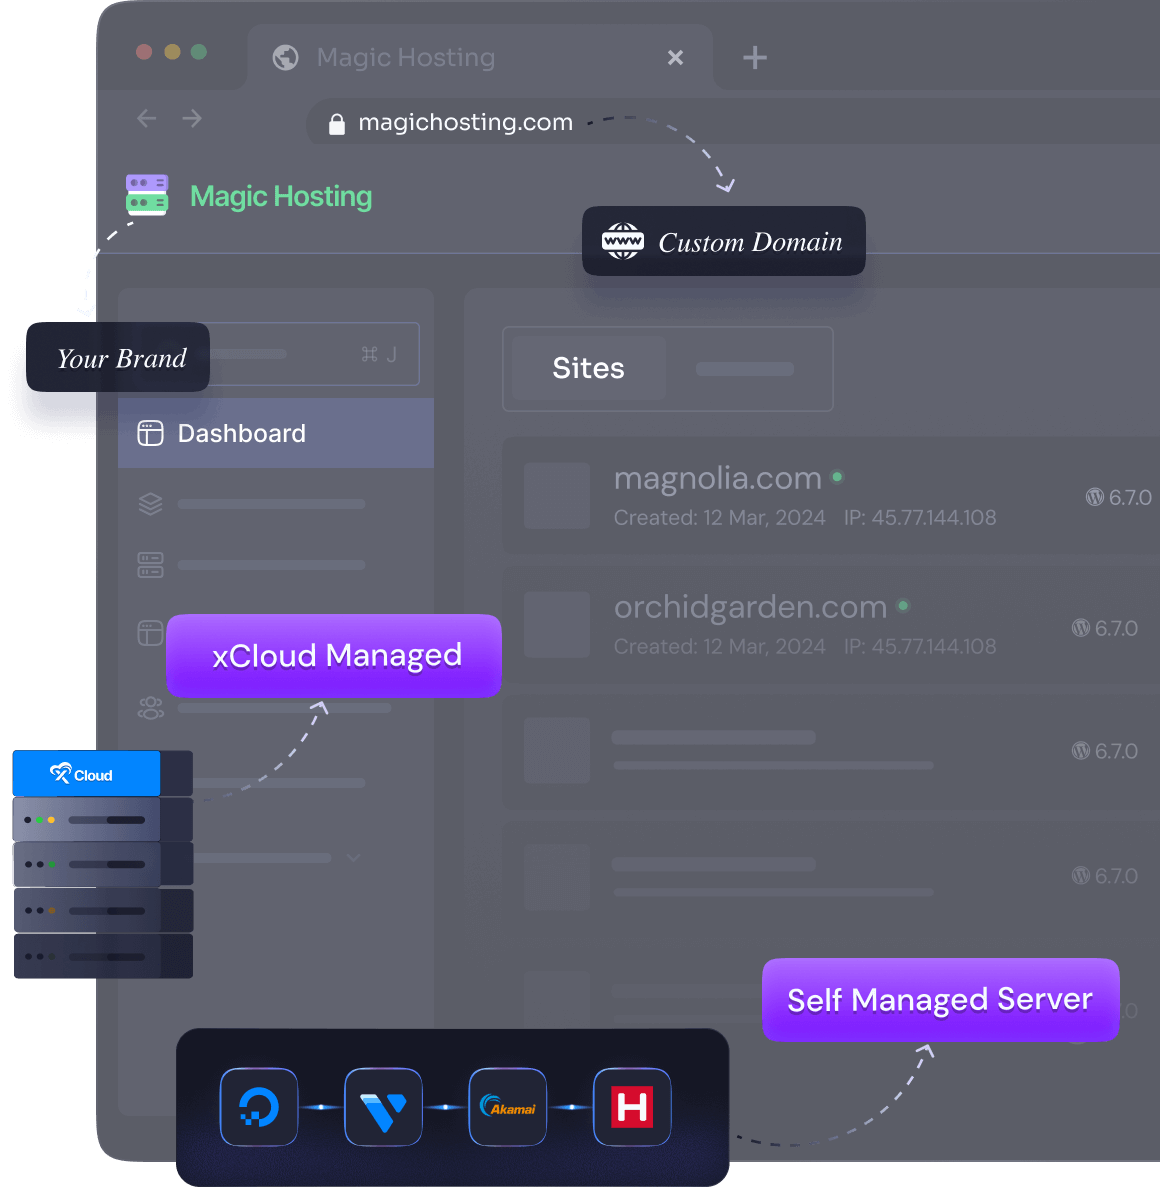
xCloud Managed Server
Self-Managed Server

All
1 GB
2gb
4gb
8GB
16gb
32gb
48GB
58GB


Tony Lewis


30+ Locations

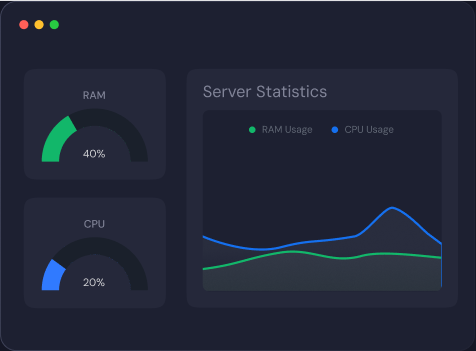
Performance

Server Management

Site Management

Security

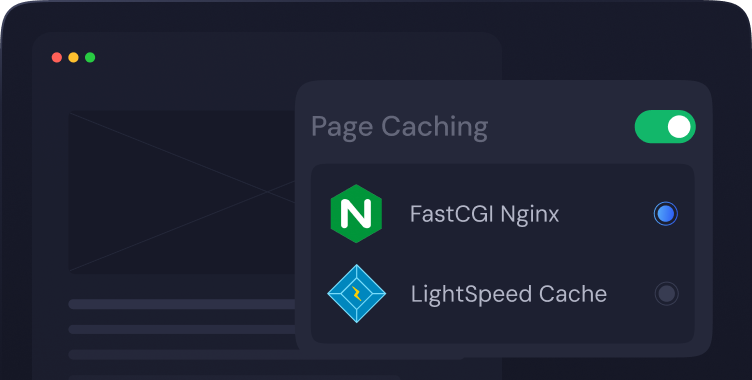
NGINX LEMP Stack
xCloud automatically installs a highly efficient LEMP Stack, optimized with PHP-FPM for superior performance.

OLS Stack
Experience a fully integrated OpenLightSpeed stack, meticulously prepared and ready to host websites seamlessly, ensuring optimal speed and reliability.


 How Wattz Web Design Saved 50% on Hosting by Migrating 140+ Sites to xCloud

 How Cloud Nine Web Elevated Client Experience While Streamlining Hosting Operations using xCloud

 How Newman Web Solutions Ensured Perfect Uptime and Seamless Scaling For 120+ WordPress Sites with xCloud

 How Advanced Web Strategies Saved Over $2,000 & Recovered 56 Hours per Month Managing 70+ Client Websites

Massimo Villa
@tlewisverdu
So far my experience has been smooth like silk. I didn’t imagine that configuring and managing a VPS would be so easy. As of today, I have deployed 8 sites. The support is good, and they treat users with respect, even if they ask stupid questions (myself included).
For the future, I hope for greater flexibility in scheduled backups and more comprehensive and consistent documentation.
I'm sure that within a few months, xCloud will become the leader in its segment. This community is amazing, and the Staff here is super helpful.

Waqar Ahmed
@tlewisverdu
xCloud isn’t just a solution. It’s like one of that friend who got your back when you screw things up pretty bad.

Tony Lewis
@tlewisverdu
I've recently taken all of my Vultr-hosted sites and gotten rid of cPanel for them to substitute it with xCloud. I have to say, I'm really impressed with xCloud so far! The interface is definitely the standout feature for me.

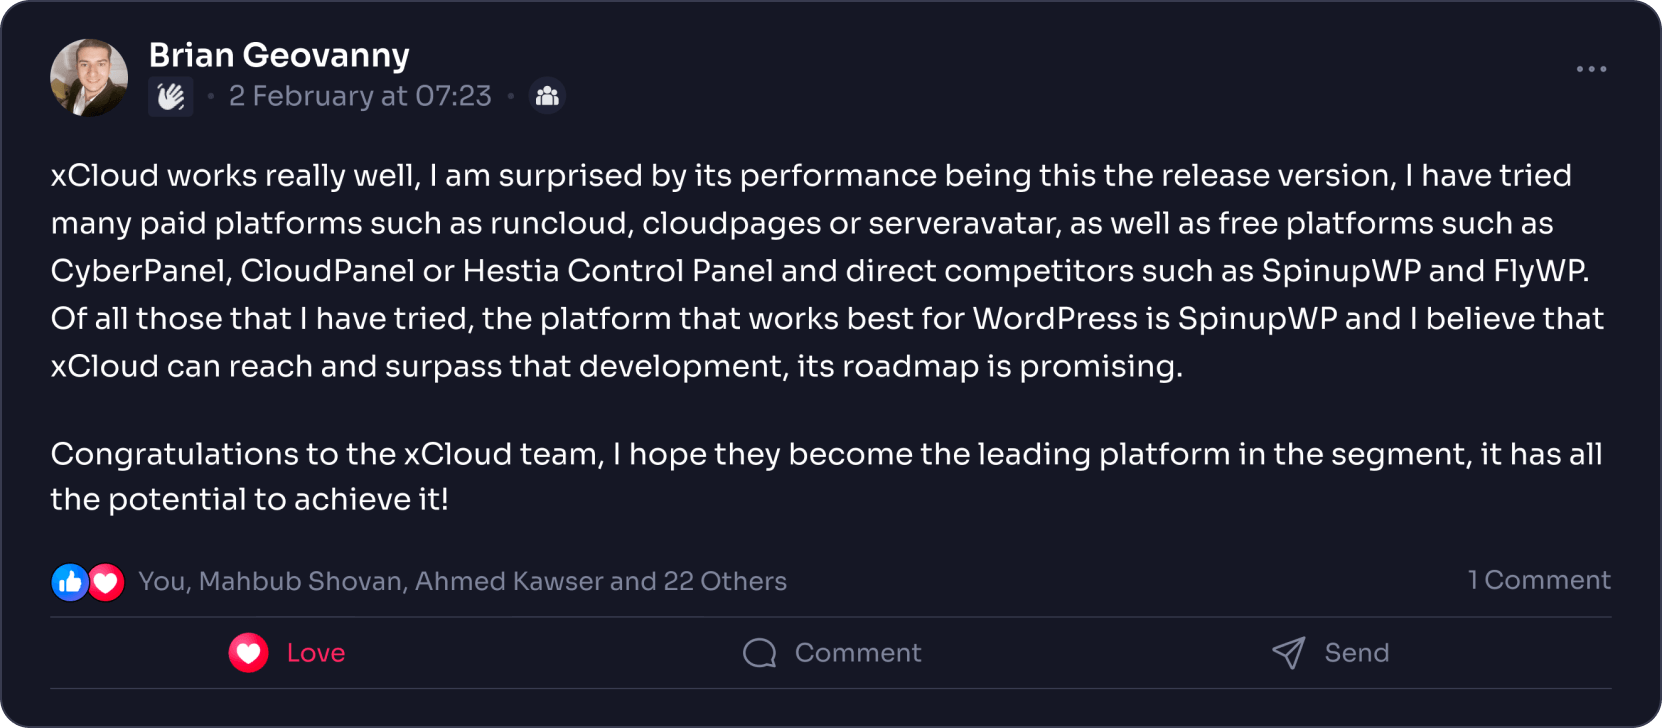
Brian Geovanny
@braingigio
xCloud works really well, I am surprised by its performance being this the release version, I have tried many paid platforms such as runcloud, cloudpages or serveravatar, as well as free platforms such as CyberPanel, CloudPanel or Hestia Control Panel and direct competitors such as SpinupWP and FlyWP. Of all those that I have tried, the platform that works best for WordPress is SpinupWP and I believe that xCloud can reach and surpass that development, its roadmap is promising.
Congratulations to the xCloud team, I hope they become the leading platform in the segment, it has all the potential to achieve it!

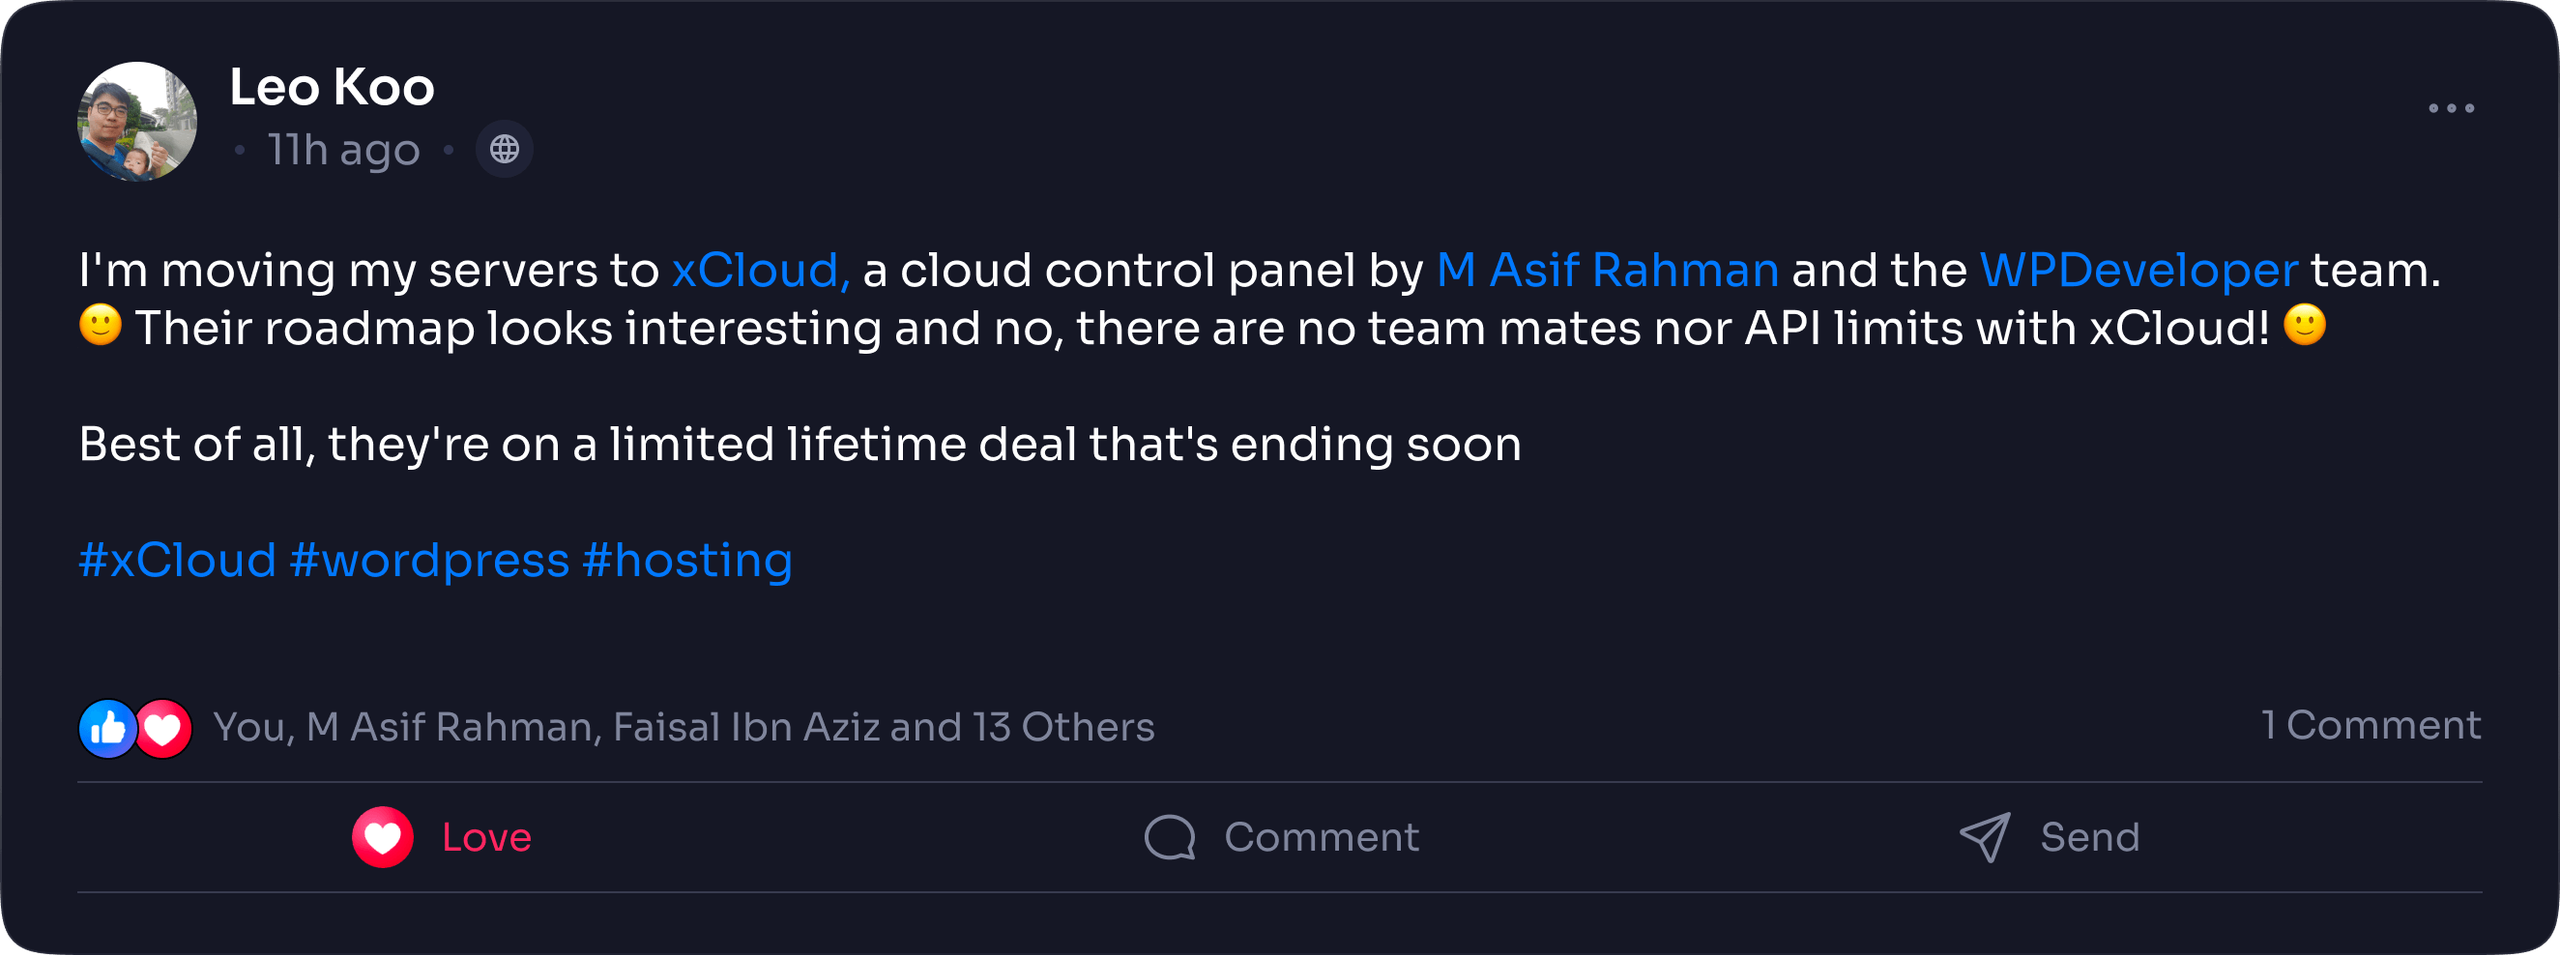
Leo Koo
@leowrites
I'm moving my servers to xCloud, a cloud control panel by M Asif Rahman and the WPDeveloper team. Their roadmap looks interesting and no, there are no team mates nor API limits with xCloud!
#xCloud #wordpress #hosting

Rahul Singh
@tlewisverdu
Trust me when I say, once people explore the potential of xCloud they gonna switch from other panels, just keep delivering the best tech, lots of love for the team 😍😍

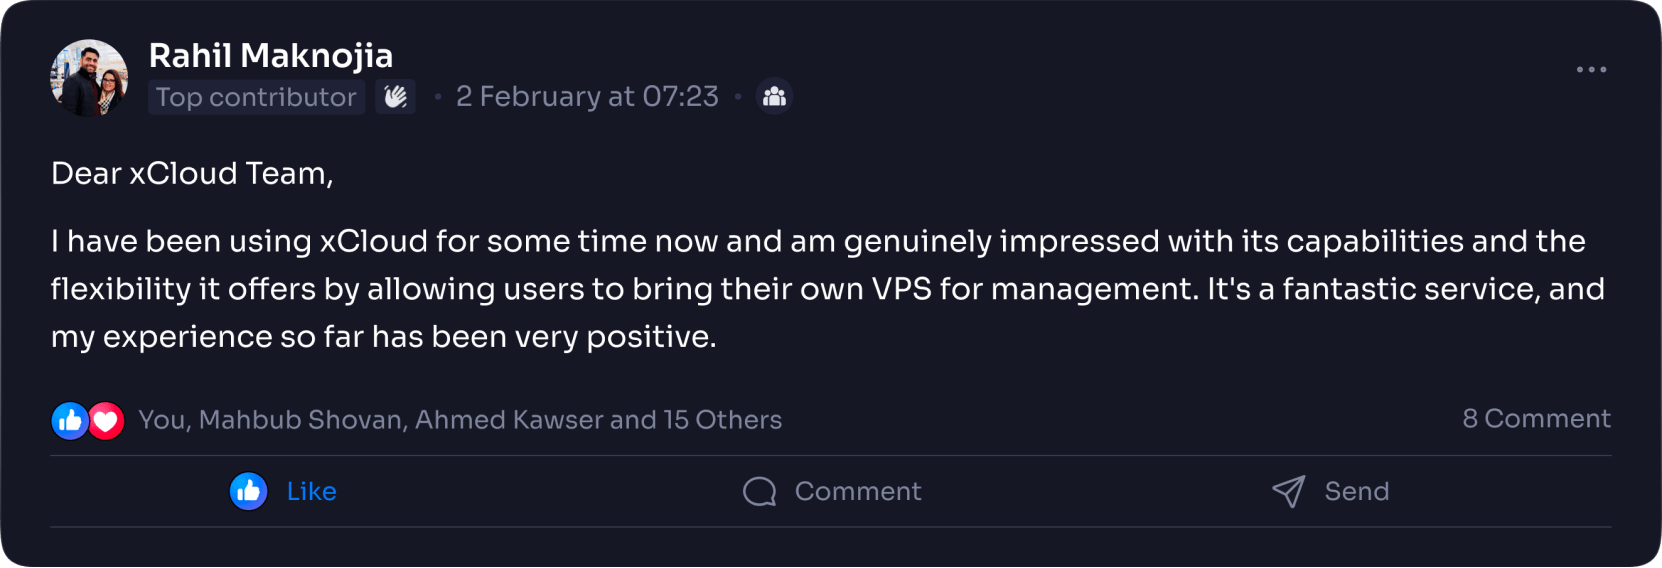
Rahil Maknojia
@rahilmaknojia
Dear xCloud Team,
I have been using xCloud for some time now and am genuinely impressed with its capabilities and the flexibility it offers by allowing users to bring their own VPS for management. It's a fantastic service, and my experience so far has been very positive.
Successful migrated 5 sites on a single server. Xcloud migration tool worked great. There were few hiccups with security plugin like MalCare but disabling the plugin prior to migration worked just fine.

Dan Spinoza
@tlewisverdu
I had 150 sites on cloudways and am in the process of moving them to xcloud. Much faster and better priced.