Browser caching is a mechanism that allows web browsers to store essential web resources locally on a user’s device. By doing so, it significantly reduces the time required to load web pages on subsequent visits, minimizes server load, and provides a seamless browsing experience. This not only keeps visitors satisfied but also plays a significant role in boosting a site’s overall performance and revenue potential. In this blog, we will explore to leverage browser caching on WordPress is essential for web developers and site owners aiming to optimize their websites for speed and user satisfaction.
Server Caching vs. Browser Caching
Let us talk about server and browser caching – two important techniques that help speed up web experiences in different ways.
Server Caching
As you might guess from the name, server caching happens on the server side. It is all about storing frequently accessed data or computed results so they can be quickly retrieved.
Imagine a busy restaurant kitchen. Instead of cooking every dish from scratch for each order, the chefs might prepare some common ingredients or sauces in advance. That is essentially what server caching does for web content.
When a user requests a web page, the server can quickly serve up the cached version instead of generating everything anew. This is especially helpful for dynamic content that requires database queries or complex calculations.
Browser Caching
Now, let us shift our focus to the user’s device. Browser caching occurs on the client side, right in the web browser itself.
Think of browser caching as your personal cookbook. Once you have looked up a recipe, you might jot it down or bookmark it for future use. Similarly, when you visit a website, your browser can store certain resources locally – things like images, CSS files, or JavaScript.
The next time you visit that site, your browser can use these stored resources instead of downloading them again. This not only speeds up page load times but also reduces the amount of data transferred over the network.
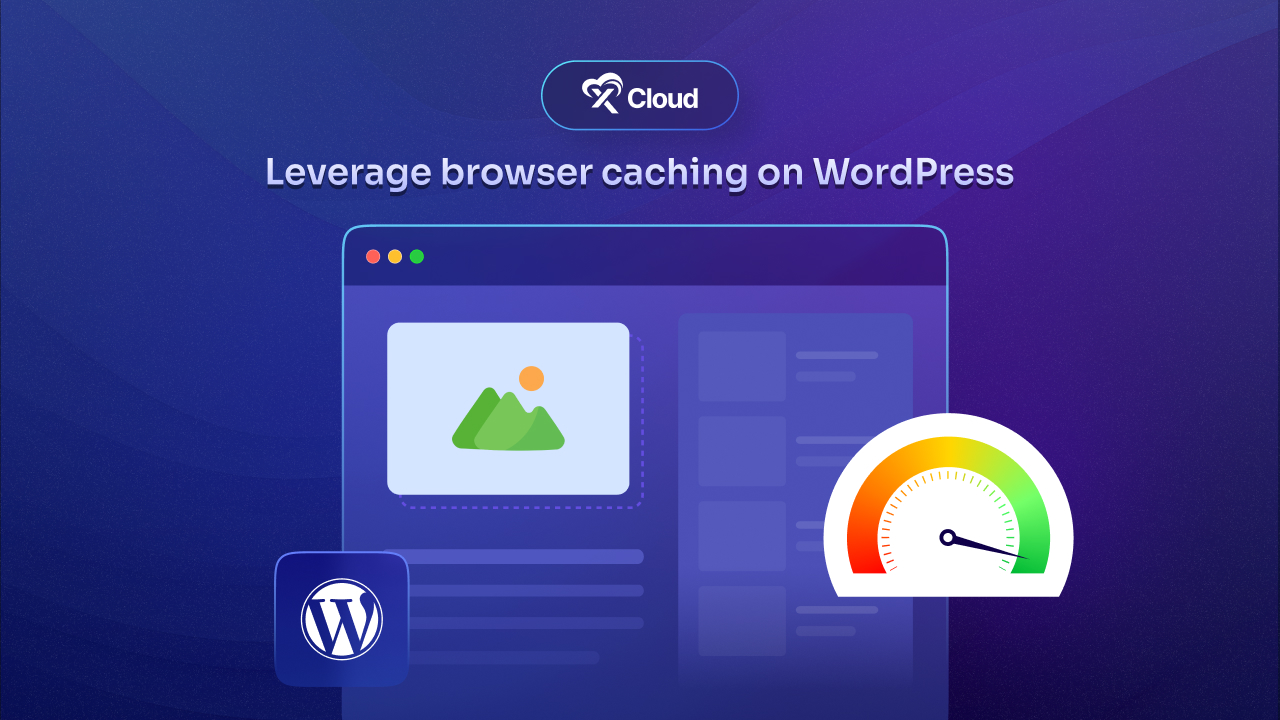
What Is Browser Caching?
Browser caching is like having a little storage area on your computer where your web browser keeps copies of web pages, images, and other resources. Think of it as a temporary storage space that helps your browser remember and quickly access the things you have seen before. This means that when you visit a website, your browser does not have to download everything from scratch each time you visit. Instead, it can pull up the saved copies from its cache, making the whole process much faster.
When you are visiting a website for the first time, your browser has to fetch all the necessary files from the web server, including HTML pages, images, stylesheets, and JavaScript files. This can take some time, especially with a slow internet connection. However, once your browser has downloaded these files, it saves them in its cache.
The next time you visit the same website, your browser checks its cache to see if it already has the files it needs. If it does, it will load them from the cache instead of downloading them again from the server. This significantly speeds up the loading process because accessing files from your local storage is much faster than downloading them over the internet.
To manage this process effectively, browsers follow a set of rules known as caching policies. These policies dictate how long a file should be kept in the cache (cache duration), when the browser should check if the cached file is still up-to-date (validation), and when to discard old files (cache expiration).
Why Leverage Browser Caching?
Leveraging browser caching on your WordPress site can significantly improve its performance, and here is why you should consider it:
Improved Load Times
Your browser has to download all the resources like images, CSS files, and JavaScript to display the page. This process can take a while, especially if the site has a lot of content. Now, if you revisit the same site, wouldn’t it be great if your browser didn’t have to download all those resources again? That is exactly what browser caching does—it stores these files locally on your device after your first visit.
When you return to the site, your browser can load these resources from the local cache rather than fetching them from the server again. This reduces the number of HTTP requests and speeds up the page load time significantly. Faster load times mean a better user experience. Users are more likely to stay on your site and explore more pages if they do not have to wait long for each page to load.
Enhanced User Experience
A fast-loading website is crucial for keeping visitors engaged. Studies have shown that users start to lose patience and abandon a site if it takes longer than a few seconds to load. For instance, a load time of just three seconds can be a tipping point where visitors decide to stay or leave your site. By leveraging browser caching, you ensure that returning visitors have a smoother and faster experience, which can lead to higher engagement and lower bounce rates.
Reduced Server Load
When your site’s resources are cached in the user’s browser, it reduces the number of requests that hit your server. This is particularly beneficial during traffic spikes when lots of users are accessing your site simultaneously. By offloading some of the resource requests to the user’s browser, your server can handle more concurrent users without slowing down. This not only improves performance but can also save you money on server resources.
Better SEO Performance
Google and other search engines favor fast-loading websites. Page speed is a critical factor in search engine rankings. By improving your site’s load times through browser caching, you can potentially boost your SEO performance. This can lead to higher visibility in search engine results, driving more organic traffic to your site. Additionally, a faster site provides a better user experience, which can further enhance your SEO efforts by reducing bounce rates and increasing user engagement.
How to Leverage Browser Caching on WordPress
To enable browser caching on a WordPress site, you can follow these steps. There are two main approaches: using a plugin or manually configuring your server files.
Using a Caching Plugin
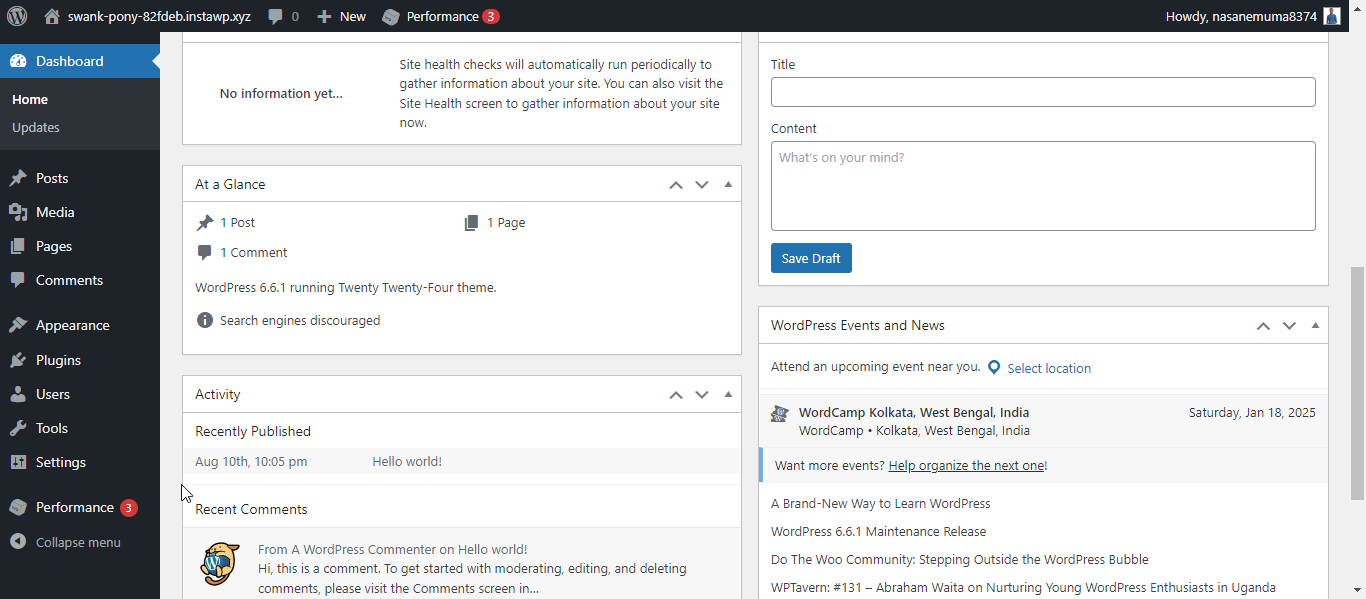
You can leverage browser caching on WordPress by using plugins like WP Rocket, W3 Total Cache, and WP Fastest Cache, on your site in a few simple steps. For this tutorial purpose, we are going to use W3 Total Cache:
Step 1: Install And Activate the Plugin:
Before you start using the plugin to leverage browser caching on your WordPress site, make sure the plugin is installed correctly and activated.
Step 2: Configure the Plugin:
Go to Performance > General Settings, enable the Browser Cache option, and configure settings like setting expires headers and cache-control headers.
Manually Configuring Browser Caching
There is another way to configure browser caching. In case if you want to go manual approach here is how to do it:
- Access Your Server Files: Use an FTP client like FileZilla to access your website’s files, or use the file manager in your hosting control panel.
- Edit the .htaccess File (for Apache servers):
- Locate the .htaccess file in the root directory of your WordPress installation.
- Add the following code to enable caching:
<IfModule mod_expires.c>
ExpiresActive On
ExpiresByType image/jpg “access 1 year”
ExpiresByType image/jpeg “access 1 year”
ExpiresByType image/gif “access 1 year”
ExpiresByType image/png “access 1 year”
ExpiresByType text/css “access 1 month”
ExpiresByType application/pdf “access 1 month”
ExpiresByType application/javascript “access 1 month”
ExpiresByType application/x-shockwave-flash “access 1 month”
ExpiresByType image/x-icon “access 1 year”
ExpiresDefault “access 2 days”
</IfModule>
3. Edit the Nginx Configuration (for Nginx servers):
Add the following to your server block:
text
location ~* \.(jpg|jpeg|gif|png|svg|css|js)$ {
expires 30d;
add_header Cache-Control “public, no-transform”;
}
Test Your Configuration: After making changes, use tools like Google PageSpeed Insights to test your site and ensure browser caching is correctly implemented.
By following these steps, you can effectively leverage browser caching to improve your WordPress site’s performance, reducing load times and enhancing the user experience.
Common Mistakes to Avoid to Leverage Browser Caching
Implementing browser caching on WordPress can significantly enhance site performance, but common mistakes include incorrectly configuring the .htaccess file, such as misplaced directives and conflicting headers, which can lead to ineffective caching.
Also, failing to set comprehensive HTTP cache headers or using improper cache-control directives can prevent efficient caching. Misconfigurations in caching plugins, such as relying on default settings or encountering conflicts with other plugins, can also hinder performance.
To avoid these issues, ensure proper placement and consistency of .htaccess directives, set appropriate cache headers, customize plugin settings, and regularly check for conflicts.
If you have found this blog helpful, feel free to subscribe to our blogs for valuable tutorials, guides, knowledge, and tips on web hosting and server management. You can also join our Facebook community to share insights and engage in discussions.