


Have you ever dreamt of a hassle-free and cost-effective WordPress hosting solution? Well, xCloud is here to give you the next-gen cloud hosting and server management experience. And not just that, partnering with Vultr, this solution brings you advanced features to bring your provider to xCloud and manage it effortlessly.
The best part? You can sign up for Vultr with the code ‘XCLOUD25’ and you will get $100 free credit from Vultr & 6 months of FREE hosting.

But that is not all. In xCloud, upon new signups, you can create one server and host up to 10 sites for free using our Bring Your Own Server service. So, are you ready to elevate your WordPress hosting experience using Vltr at the most affordable price? Join xCloud today without any delay.
xCloud And Vultr Partnership: Get $100 Free Credits While Simplifying Your Hosting Experience
xCloud’s partnership and seamless compatibility with Vultr take the complexity of hosting and server management. You can bring your own provider (Vultr) in xCloud & seamlessly manage your servers without any hassle directly from the xCloud dashboard. No need to bounce between xCloud and Vultr—everything you need is right there in your xCloud dashboard. It is hassle-free server management at your fingertips.
Along with that, the xCloud and Vultr partnership also makes hosting and server management all the more affordable for you. As mentioned earlier, you can get $100 free credit from Vultr and use it in xCloud to host your website for FREE for 6 months. Now, let us dive into the process – it is pretty simple, all you need to do is follow some easy steps.
Step-by-step Guide: Get $100 Free Credit from Vultr Using xCloud
We will show you how to set up your server effortlessly while saving big in just a few steps. No more pricey hosting fees, and get on board with a seamless solution that puts money back in your pocket. Let us get started.
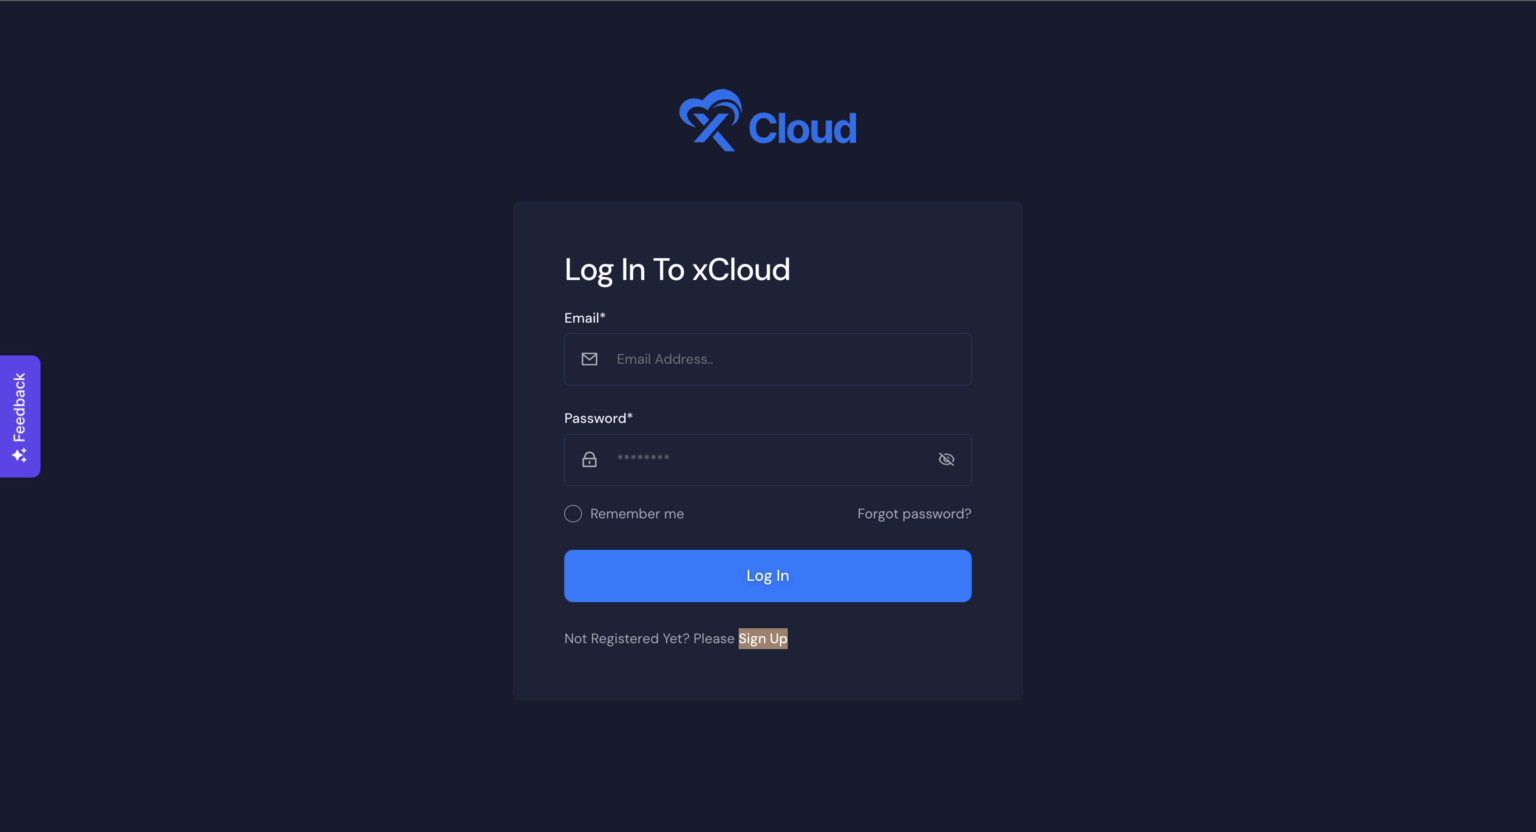
Step 1: Sign Up in xCloud
To kickstart, To get started, first, you have to sign up for xCloud. Simply put your credentials and get started.
Step 2: Bring Your Own Provider (Vultr) in xCloud
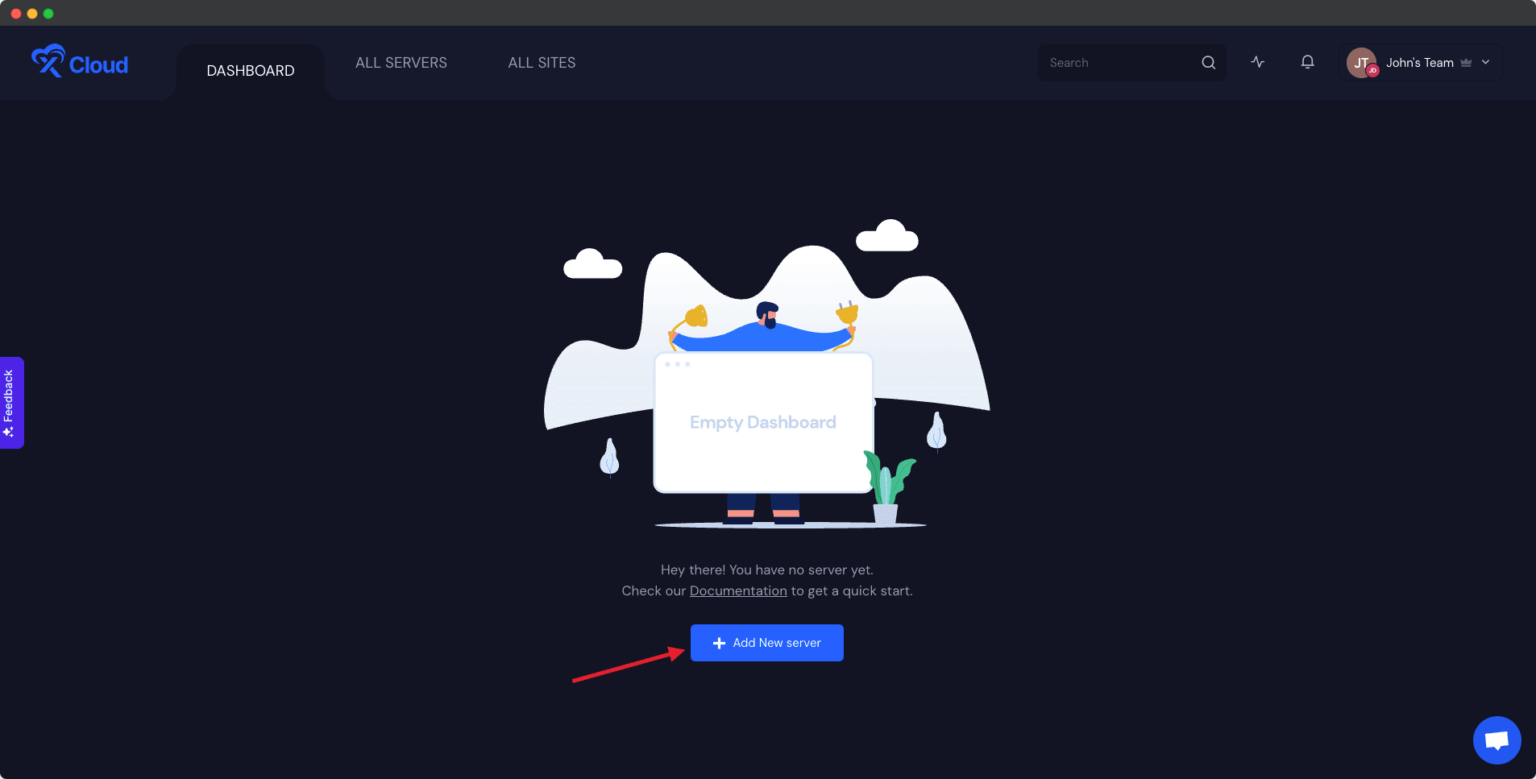
Once you are logged in to your xCloud account, start your hosting journey by adding a new server. Simply head to your dashboard and hit the ‘Create New Server‘ button.
Next, you will see a list of available services. For this tutorial, opt for a Vultr server by selecting the Vultr option under ‘Bring your own server service.’ The best part? Billing for this server will be managed through your Vultr account, and with xCloud, there is no charge for the first server. It is that easy!
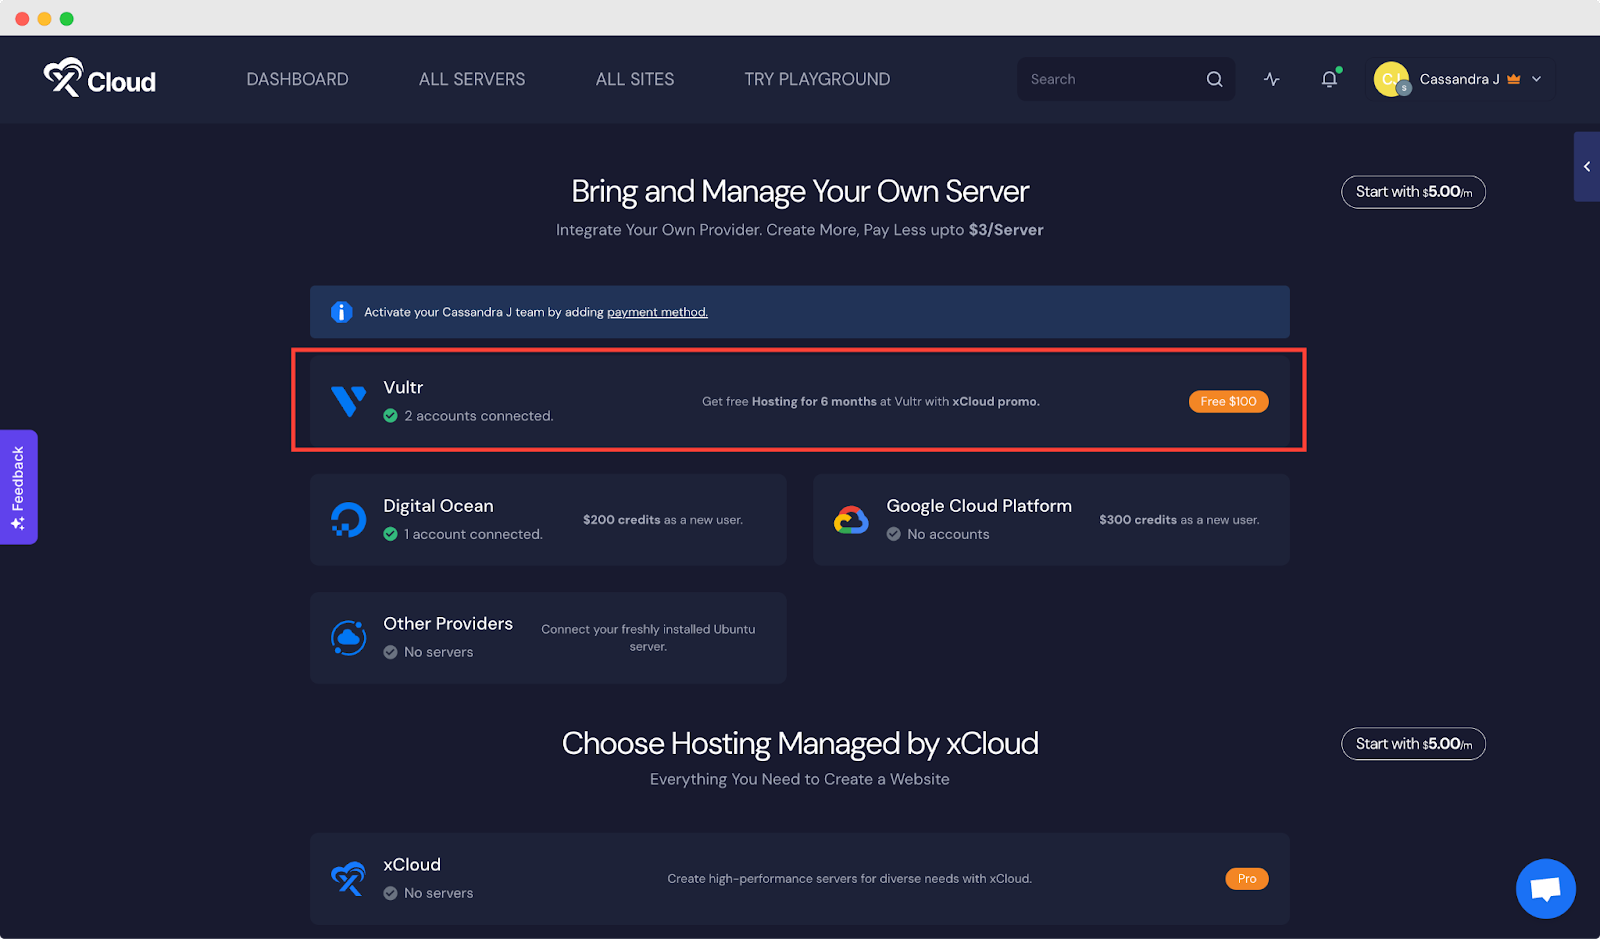
Note: Not only just Vultr, you can also bring other providers to xCloud, such as Digital Ocean and Google Cloud Platform & manage your servers without any hassle. Learn more 👇🏻
- How To Set Up a Server with Digital Ocean in xCloud?
- How To Setup a Server With Google Cloud Platform in xCloud?
Step 3: Signup in Vultr with xCloud Promo
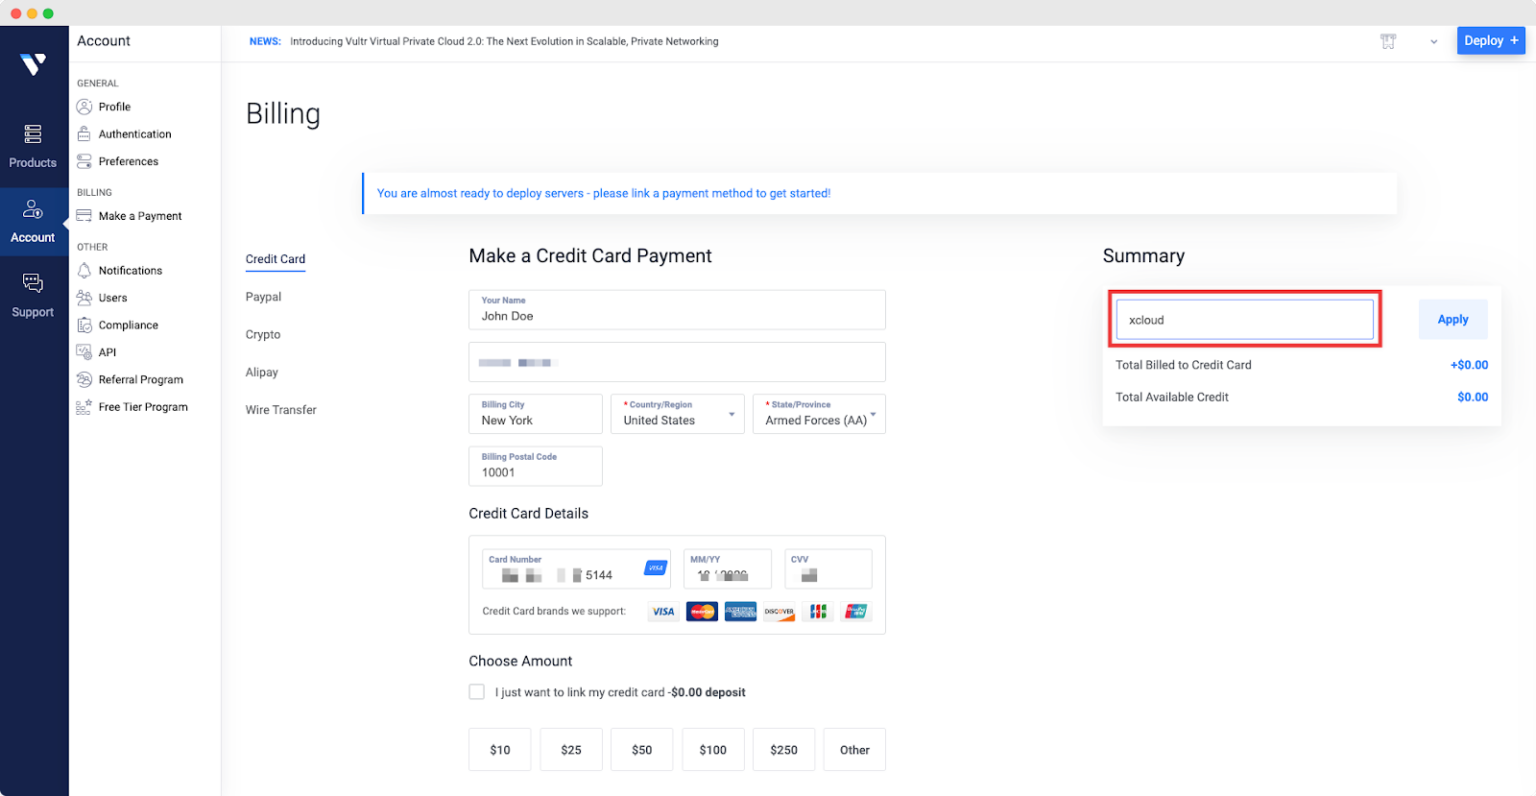
Now unlock your 6-month free hosting offer by signing up on Vultr with the xCloud promo. Simply add your payment method and apply the ‘XCLOUD25‘ coupon during signup to claim your $100 credit for the next six months. Do not miss out—seize the opportunity with the ‘XCLOUD25‘ coupon now.
Note: If you are already a Vultr user, feel free to skip this step and proceed to the next step to collect the API from Vultr.
Collect API Key from Vultr
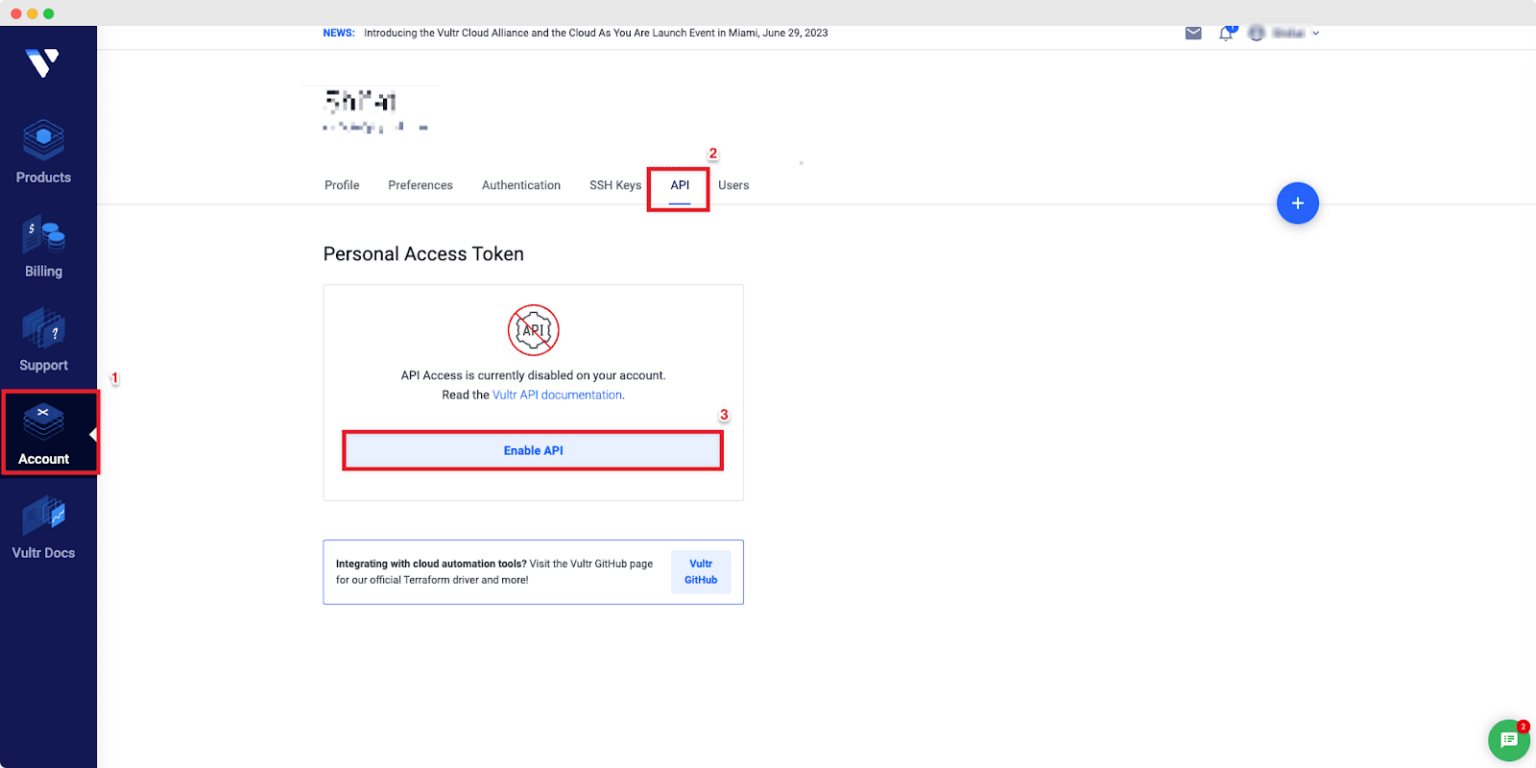
Once you have set up your billing method, the next step is to collect your Vultr API key, which you will need to integrate with xCloud for free server and site management. Head over to your Vultr dashboard and navigate to the Account → API tab. From there, simply click on the ‘Enable API’ button.
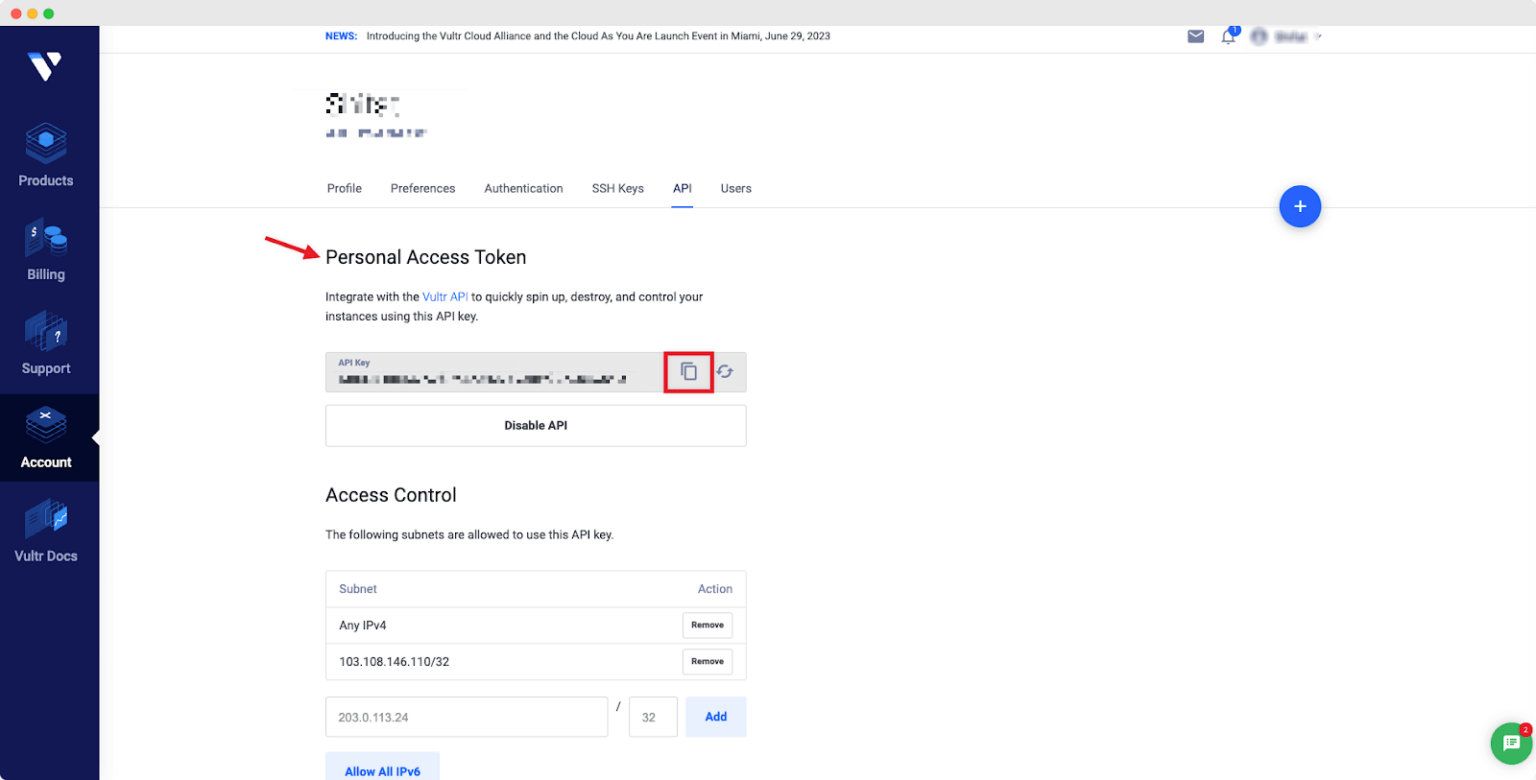
Your ‘Personal Access Token’ will be automatically generated as shown below. Make sure to copy this API key/token.
Once you have obtained your API key, return to the xCloud dashboard, where you will need to add your Vultr Label and API key for seamless integration.
Add Team Members in Vultr
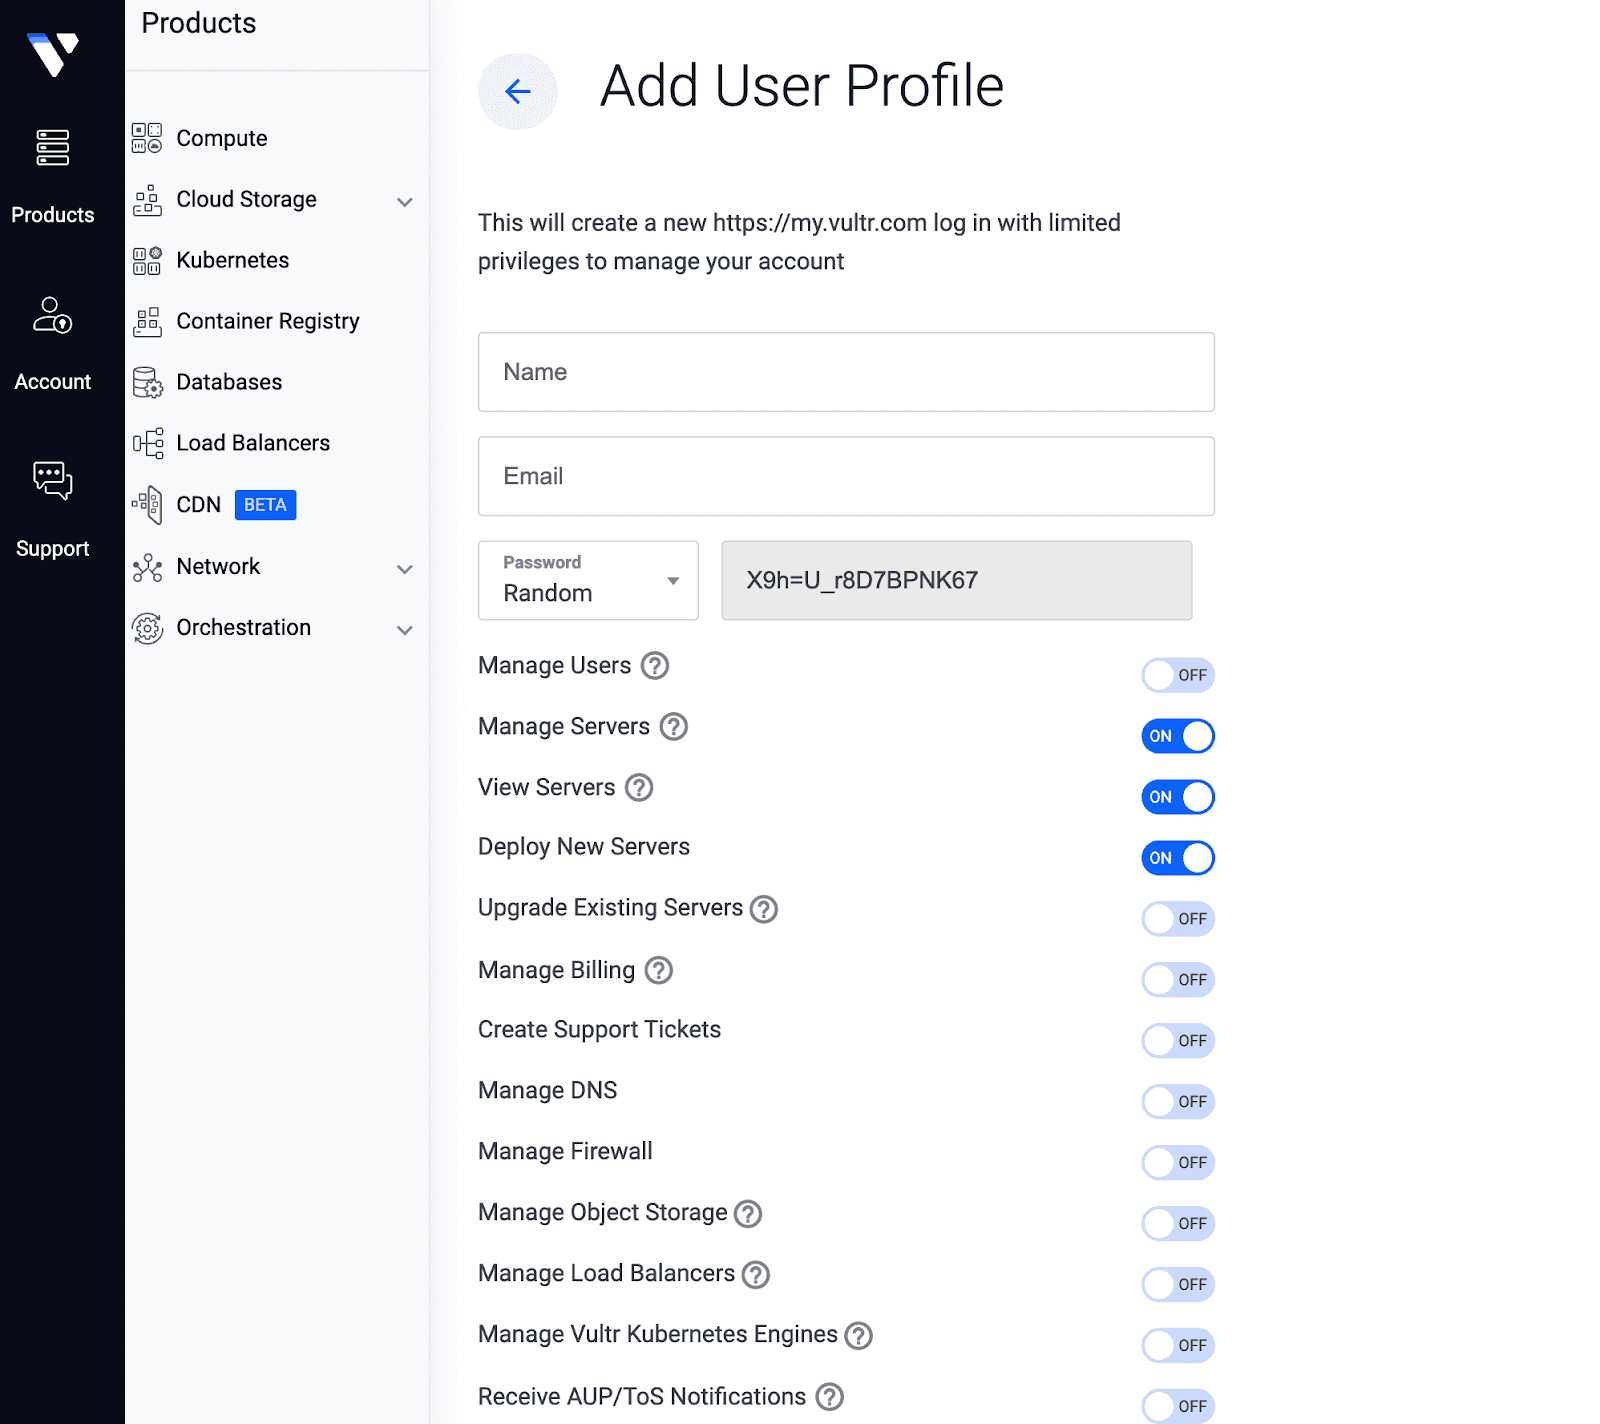
To grant your team members access to xCloud via Vultr, ensure they have the necessary permissions set up. This ensures smooth collaboration and usage.
Add Vultr API Key in xCloud
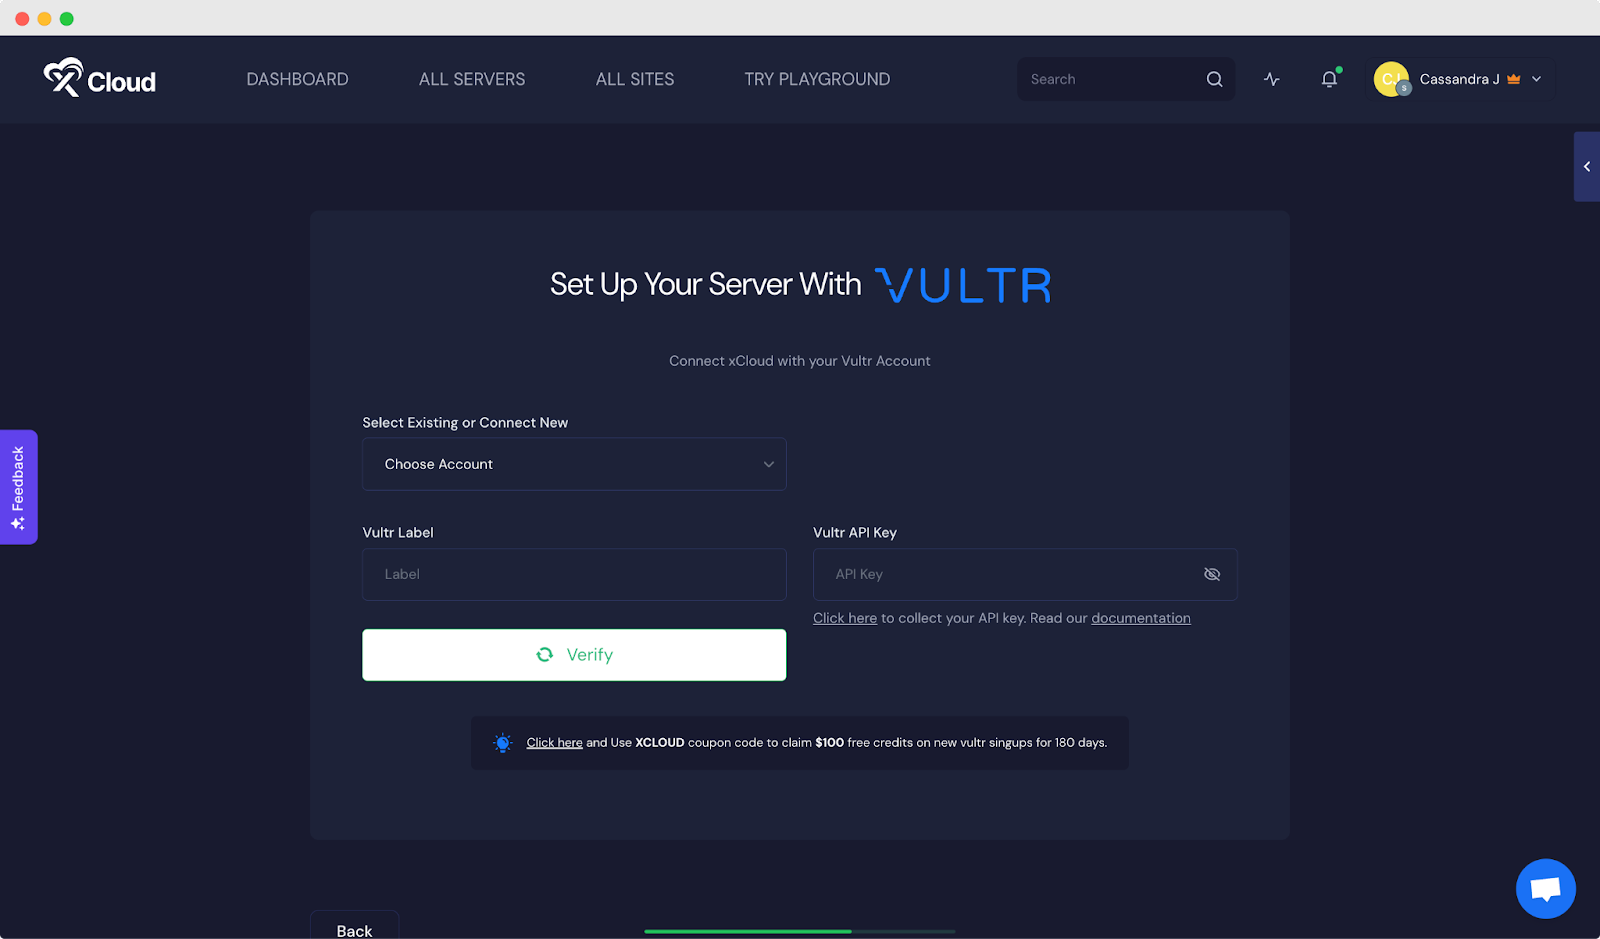
With xCloud, you can kickstart your server creation process without any initial investment. Simply navigate to the xCloud dashboard and click on ‘Add New Server’. This action will redirect you to the server selection screen, where you should choose ‘Vultr’ to proceed.

Once you have selected ‘Vultr’, input your details including the ‘Key’, ‘Vultr Label’, and most importantly, your ‘Vultr API Key’. Click on ‘Verify’ to finalize the setup and begin harnessing the power of xCloud seamlessly integrated with Vultr.
Step 4: Create a Vultr Server in xCloud
Once your Vultr account is verified, the next step is to add additional details to set up a server using xCloud. From the user-friendly dashboard, you can select your preferred Region, Database Server, Server Size, and more—all in one convenient location.
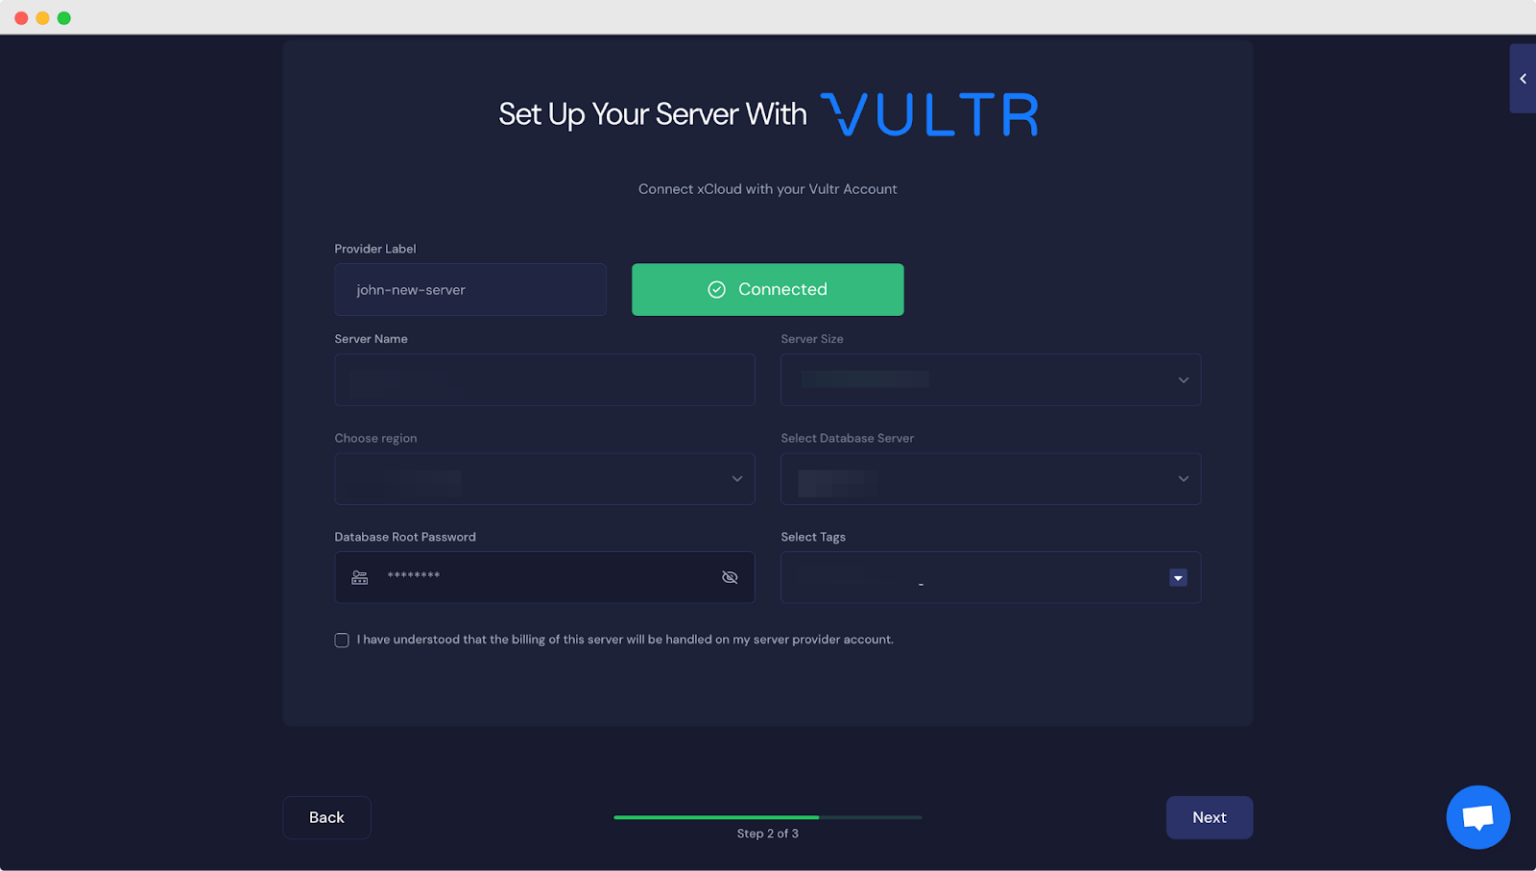
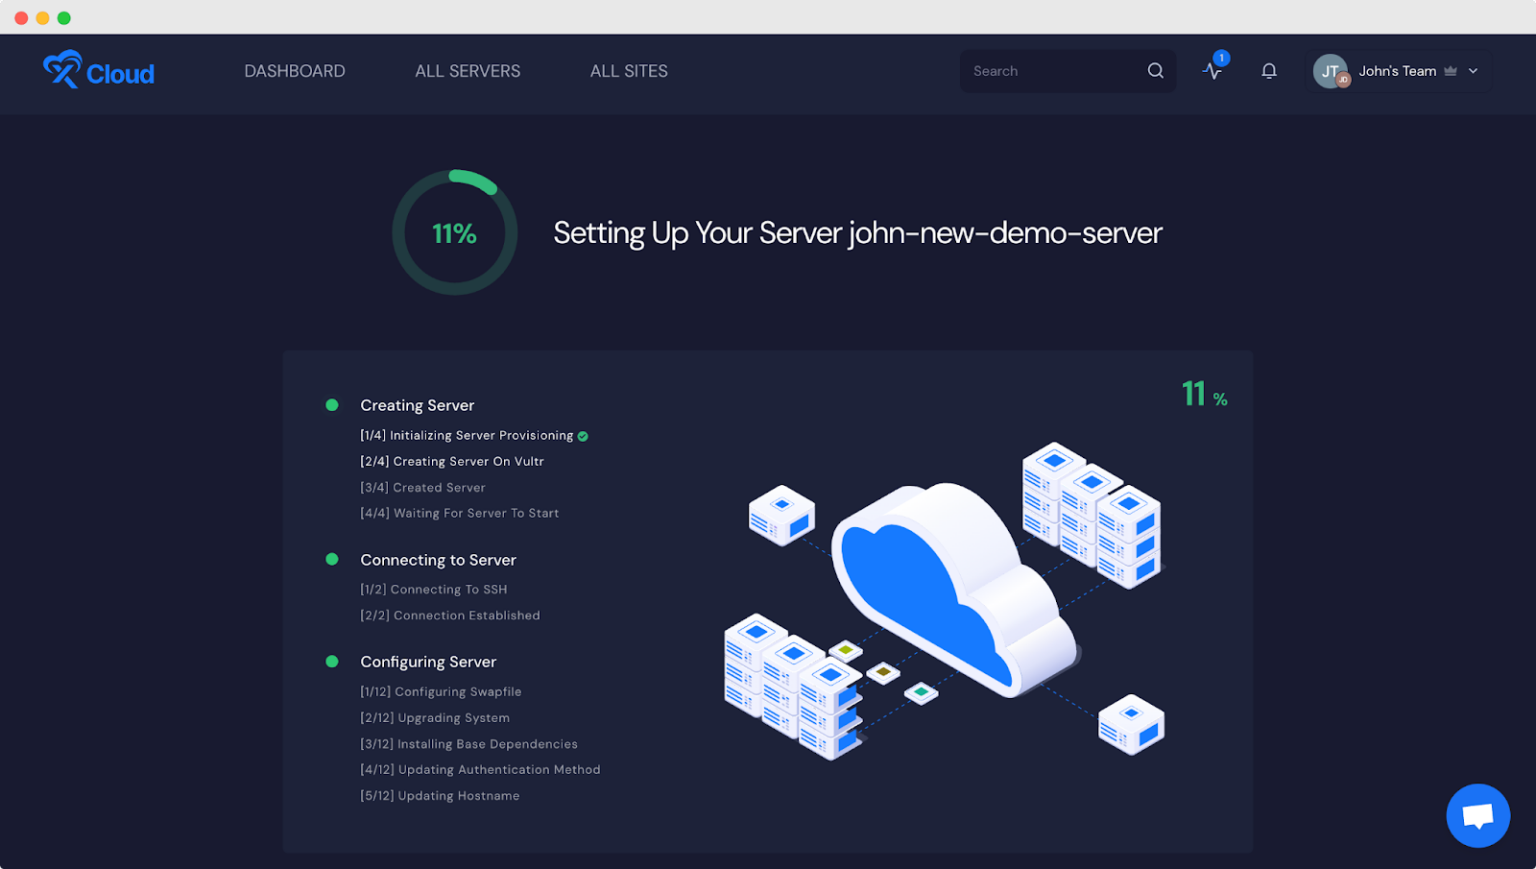
Once you have filled in all the necessary information, simply click on ‘Next,’ and let xCloud take care of the rest. In just a few minutes, xCloud will automatically install and configure everything for you, making the process smooth and hassle-free.
Set Your Vultr Server in xCloud & Enjoy a $100 Free Credit
xCloud offers the dream solution for and budget-friendly WordPress hosting & server management. Partnering with Vultr grants you six months of free hosting on their servers, and signing up with the code ‘XCLOUD25’ earns you $100 in free credits.
In xCloud, bringing any provider (e.g., Vultr) is easy; all you need to do is follow the above-mentioned steps. If you are ready to elevate your WordPress hosting & server management, join xCloud today. Hope the blog helps you; please subscribe to our blog and join our Facebook community to stay updated.