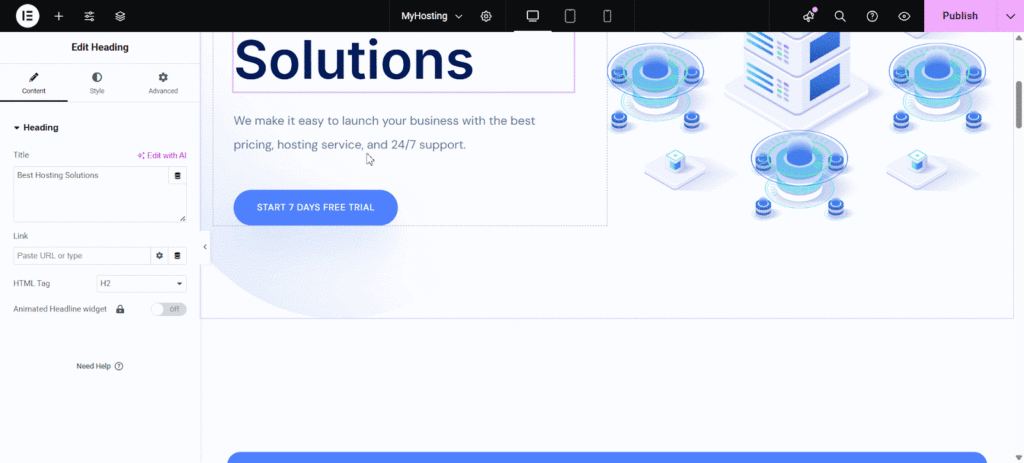
With xCloud, you can create a custom sales landing page tailored to your business needs. This landing page allows you to showcase your products and link them with pricing as per your preferences. By following a few simple steps, you can seamlessly integrate your products with a user-friendly checkout process, enhancing customer experience and increasing conversions.
To get started, you will need one domain for the landing page and one subdomain for the dashboard — for example, hosting.com for the landing page and app.hosting.com for the dashboard.
Follow the steps to setuup the process of setting up your custom sales landing page, and linking with your custom products.
Step 1: Insert the Custom Landing Page #
To begin, log in to your xCloud dashboard and navigate to the ‘White Label’ tab. From there, go to ‘Access Dashboard & Website’ and select ‘Domain Settings’. This will redirect you to the ‘Custom Domain Name’ setup page, where you need to enter your dashboard link. This link will be the access point for your clients to manage their servers and sites.
After entering your link, you will need to add the provided DNS records to your DNS provider. Wait for the DNS records to propagate globally, then click on Verify and Save to complete the setup.

Step 2: Access the xCloud White Label Dashboard #
Next, access the xCloud White Label dashboard and go to the ‘Products’ section in the side navigation menu. Here, you will find a list of your created products. Select the product you wish to link to your custom sales landing page.

Step 3: Go to Your Custom Sales Landing Page’s Dashboard #
After selecting your product, go to your site hosting.com and add the products directly to your custom sales landing page. Then, access your site’s dashboard and navigate to ‘Pages’. Locate the page you are using as your landing page and find its pricing section.

Step 4: Add Your Product Link to the Custom Landing Page #
Once you find the pricing section, go to the pricing option where you want to add the product link. Paste the checkout link of the selected product from the xCloud White Label dashboard and paste it into the appropriate pricing section.

Once done, click on the ‘Save’ button to confirm your changes. To ensure that everything is working correctly, visit your custom sales landing page and verify that the checkout links redirect users properly to the checkout page.
And that’s it. This is how easily you can set up a custom sales landing page with xCloud is quick and easy. Just connect your domain, link your products, and add the checkout links. In a few steps, you’ll have a branded custom page ready to drive sales and boost conversions.
Still stuck? Contact our support team for any of your queries.


