


In xCloud, you can easily use Cloudflare R2 storage for site backup. It is a reliable and secure option that integrates seamlessly with xCloud. Plus, it’s budget-friendly, costing at least 10% less than S3 Standard. You even get 10GB of free storage with each account, which can be shared across different buckets. After the free 10GB, you’ll only be charged for the extra storage you use.
Ready to set up Cloudflare R2 Storage in xCloud? Let’s dive into the step-by-step guide.
Step 1: Create A Cloudflare Account #
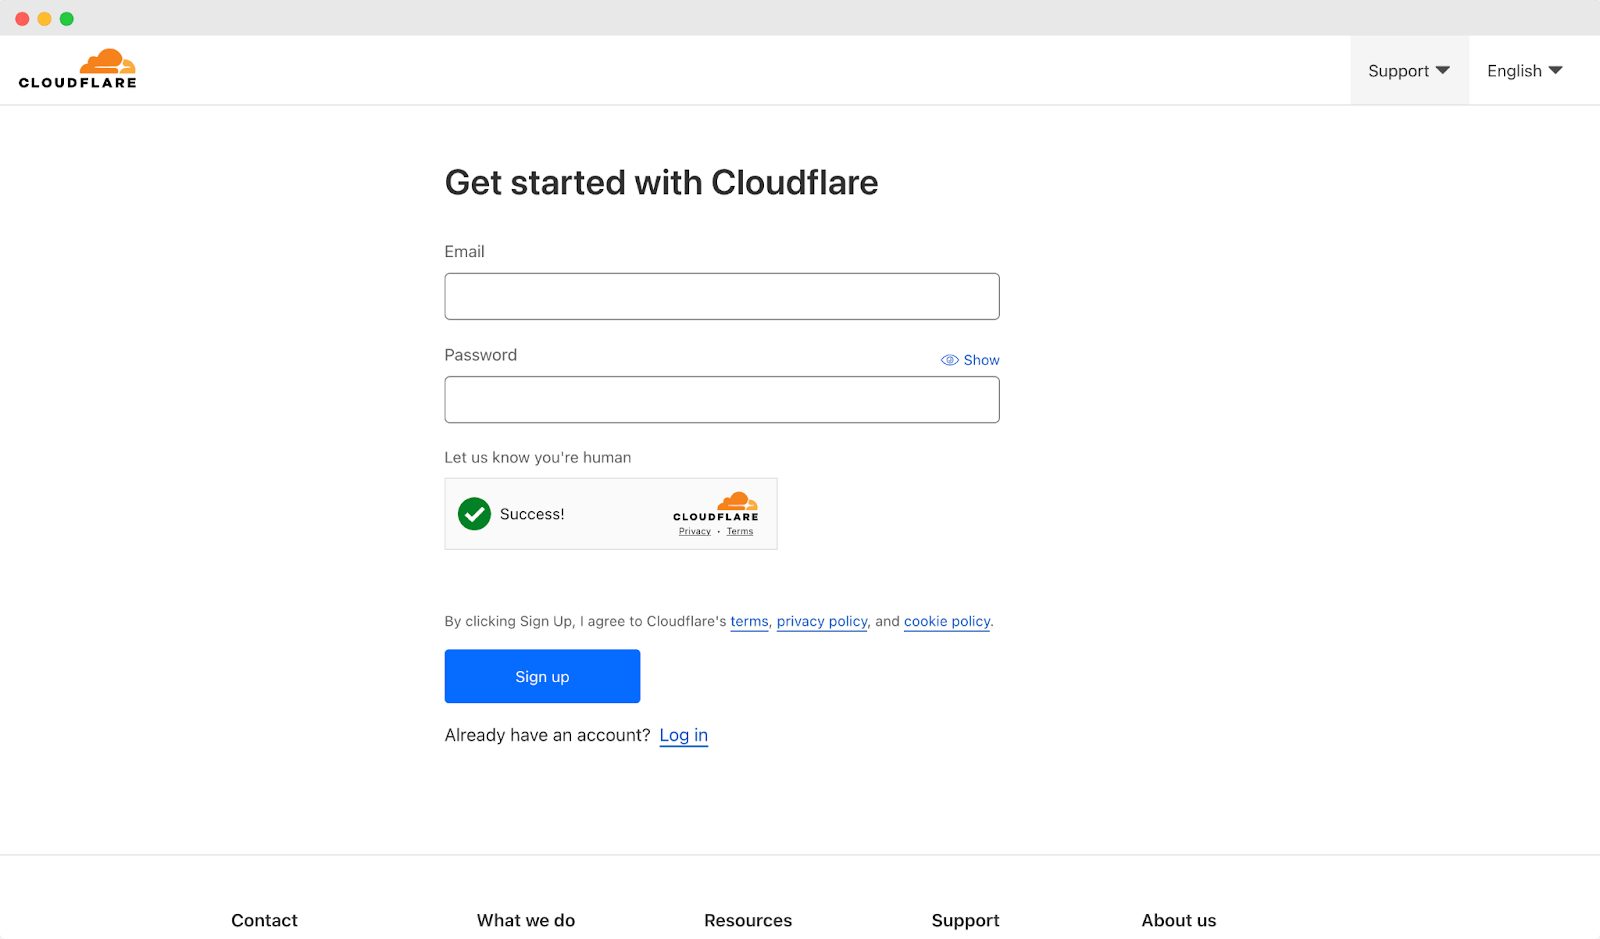
If you don’t have a Cloudflare account already, you need to create one. Creating a Cloudflare account is so easy – all you need to do is visit Cloudflare’s website, click on the ‘Sign Up’ button & fill up all the necessary information.
Step 2: Create an R2 Storage Bucket #
Once you’re signed in Cloudflare account, navigate to ‘R2’ → ‘Overview’ from the left panel of the dashboard. Now, click on the ‘Create Bucket’ as you need to create an R2 storage bucket for your site backup in xCloud.
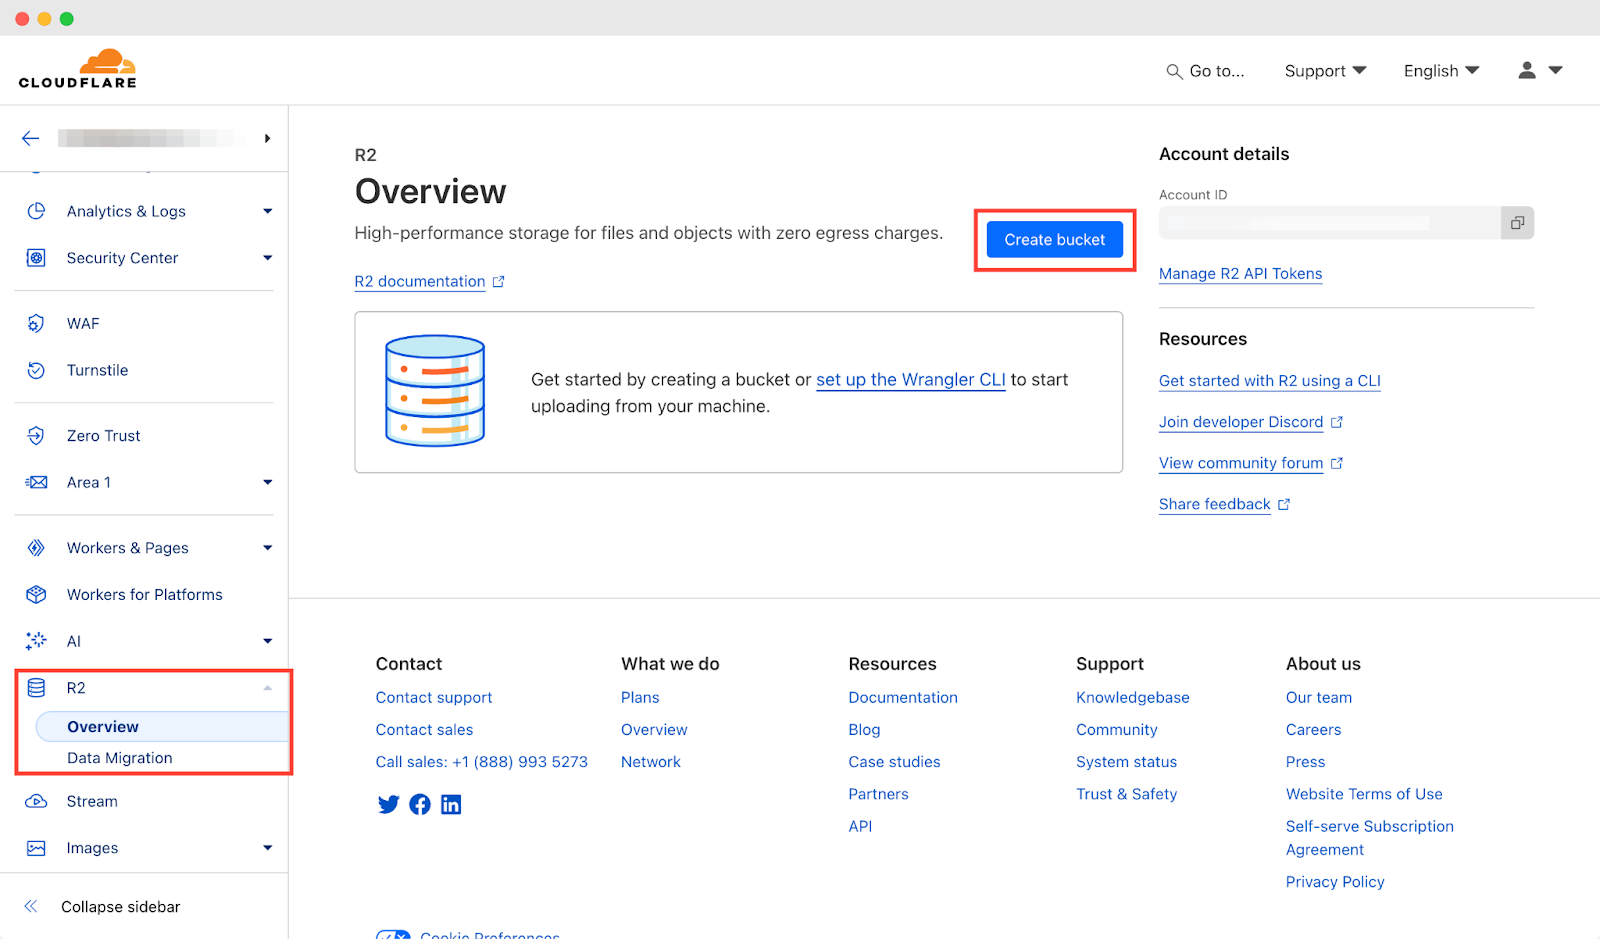
Name your bucket and remember it for later recognition. Though it is optional (because R2 automatically places your bucket in the closest available region based on your location) can set your location hint. Complete this by clicking on ‘Create bucket.’
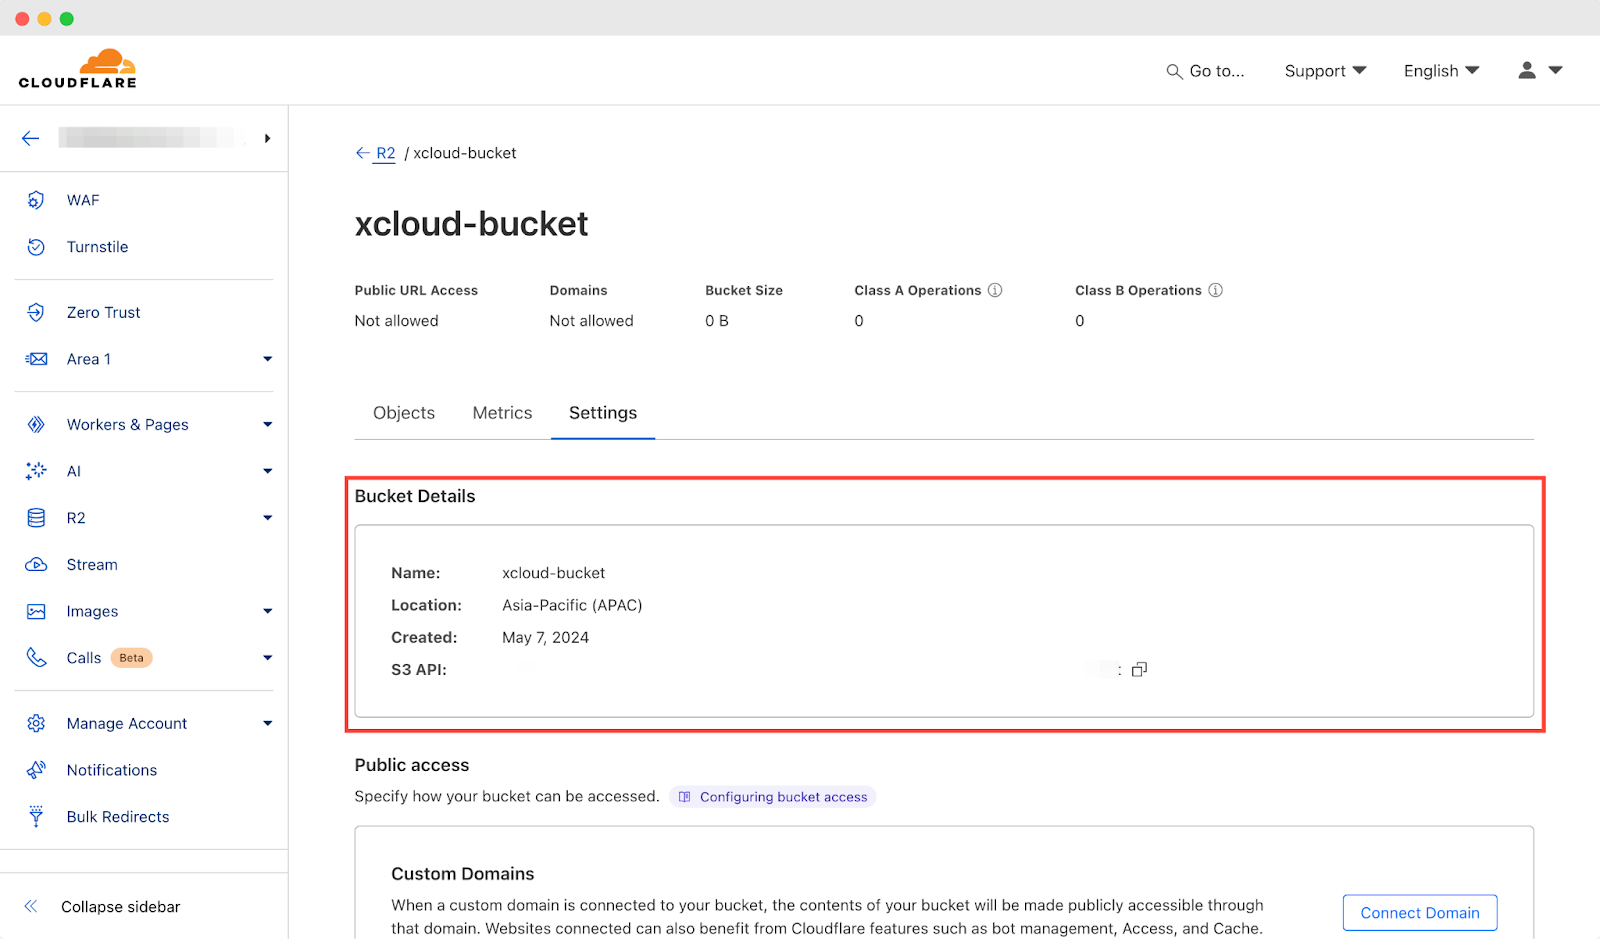
Your bucket will be completed. Now go ‘Settings’ option & see your bucket details. If you want copy your bucket name & S3 API somewhere else for further use.
Step 3: Get Your R2 Credentials (Access Key ID, Secret Access Key) #
The next step is to get the Cloudflare R2 credentials (Access ID, Access Key) to use in xCloud.
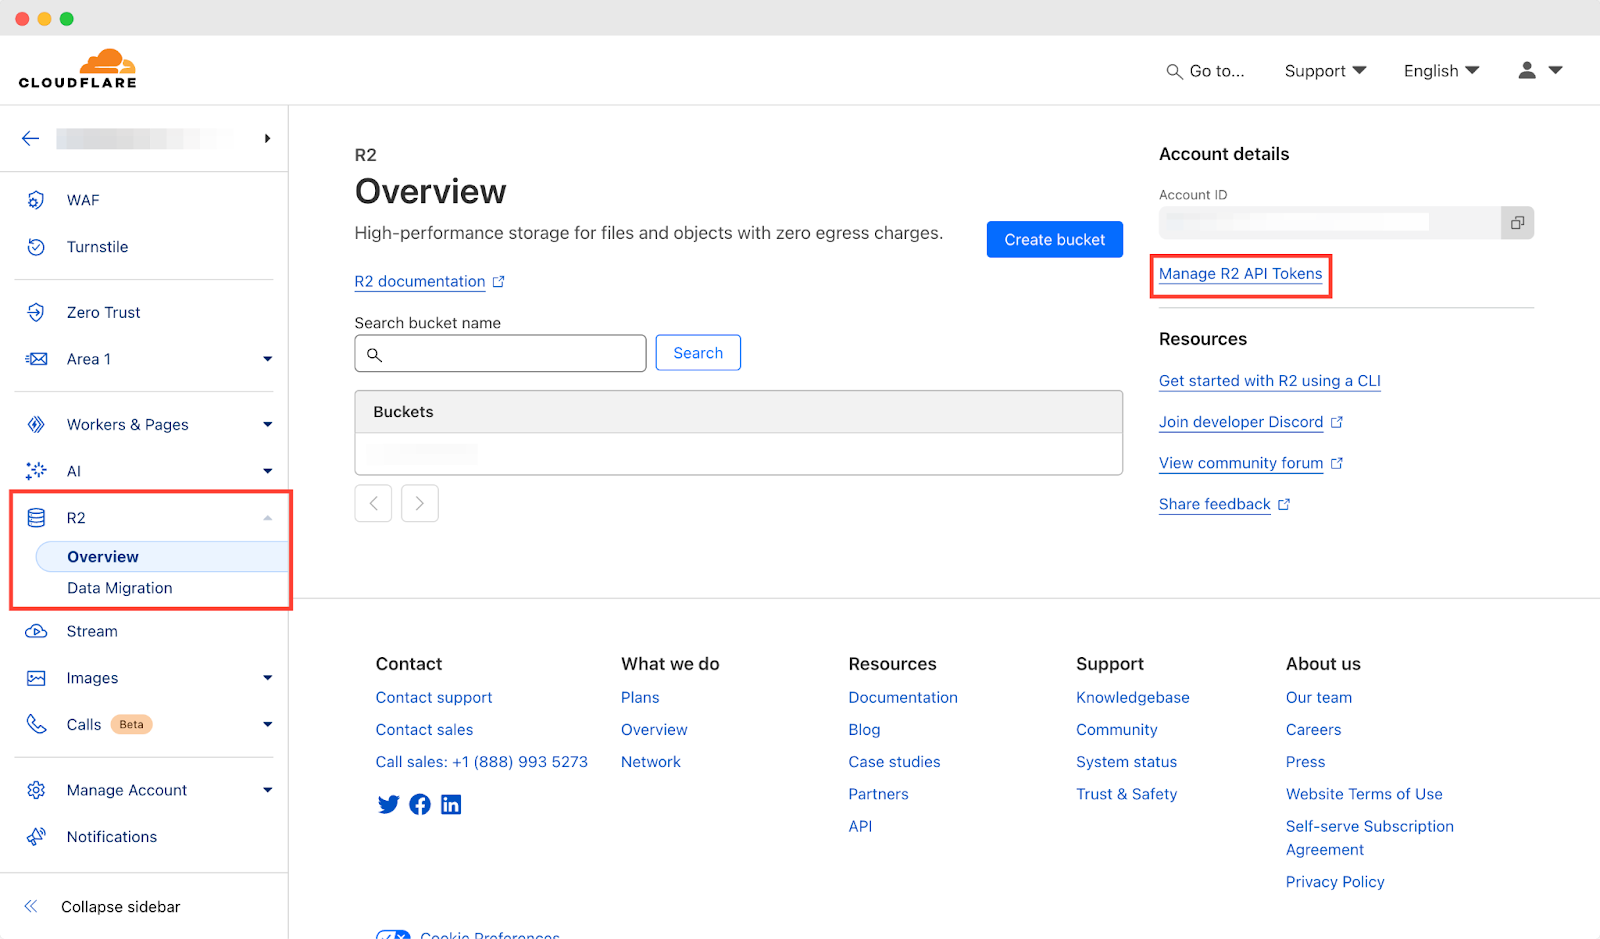
To do so, again navigate to ‘R2’ → ‘Overview’ from the left menu, and click on ‘Manage R2 API Tokens’ from the right corner.
Now click on the ‘Create API token’ button from the right of your screen. On the resulting page, choose your Token name, select the ‘Admin Read & Write’ under the Permissions, and leave the TTL as it is ‘Forever.’ Once you set all things up, click on the ‘Create API token’ button from the bottom of the page.

Here comes the most important part. You’ll only be able to access the below screen once. Be sure to copy the below details, and keep them somewhere safe for further use.
- Token value
- Access Key ID
- Secret Access Key
- Use jurisdiction-specific endpoints for S3 clients
***Note: When using the S3 API with an R2 bucket, the region is automatically set. Specifying an empty value or “us-east-1” will also default to the correct region. Plus, they don’t provide any region name or code when creating the API.
Step 4: Configure Cloudflare R2 Storage for Site Backup in xCloud #
Since you have collected everything that you need from Cloudflare end, now let’s see how you can configure Claoudflare R2 storage for site backup in xCloud.
1. Login & Access New Provider #
Login to your xCloud dashboard, and navigate to ‘Team Settings’ → ‘Integrations’ → ‘Storage Provider’ & click on ‘Add New Provider.’
2. Select Cloudflare As Storage Provider #
On the resulting page, click on ‘Select Provider‘ to expand the dropdown option. And select ‘Cloudflare R2‘ as your storage provider.
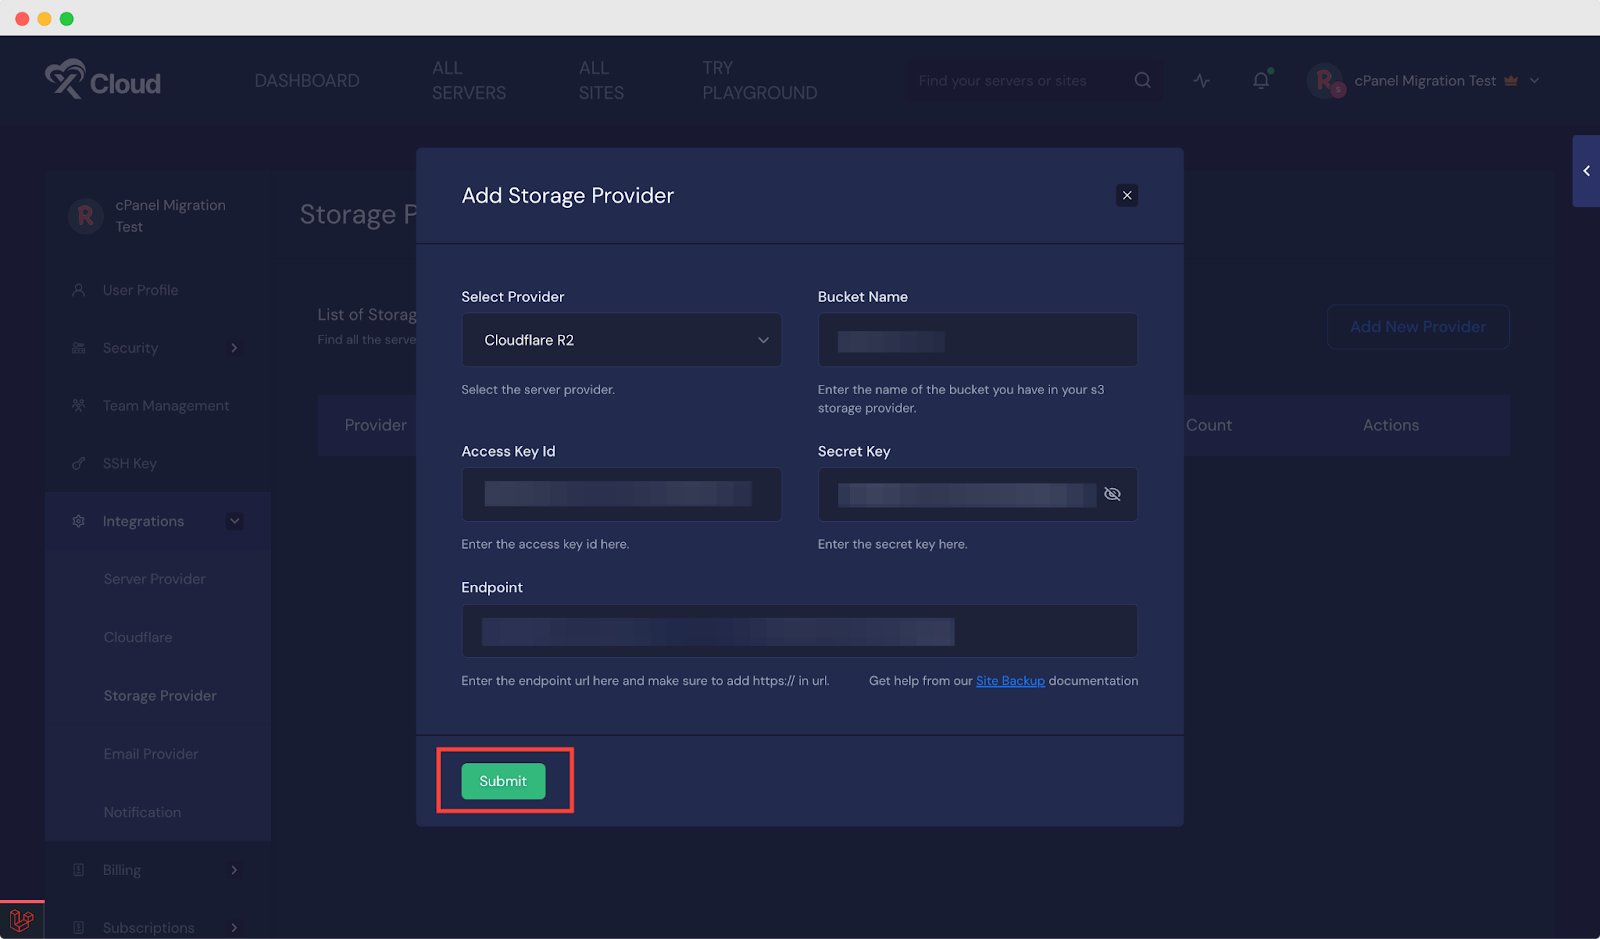
3. Fill Up All the Necessary Information #
Now, fill in your ‘Bucket Name’, ‘Access Key ID’, ‘Secret Key’, and ‘Endpoint’ that you are supposed to save anywhere. Once everything is done, click on ‘Submit.’
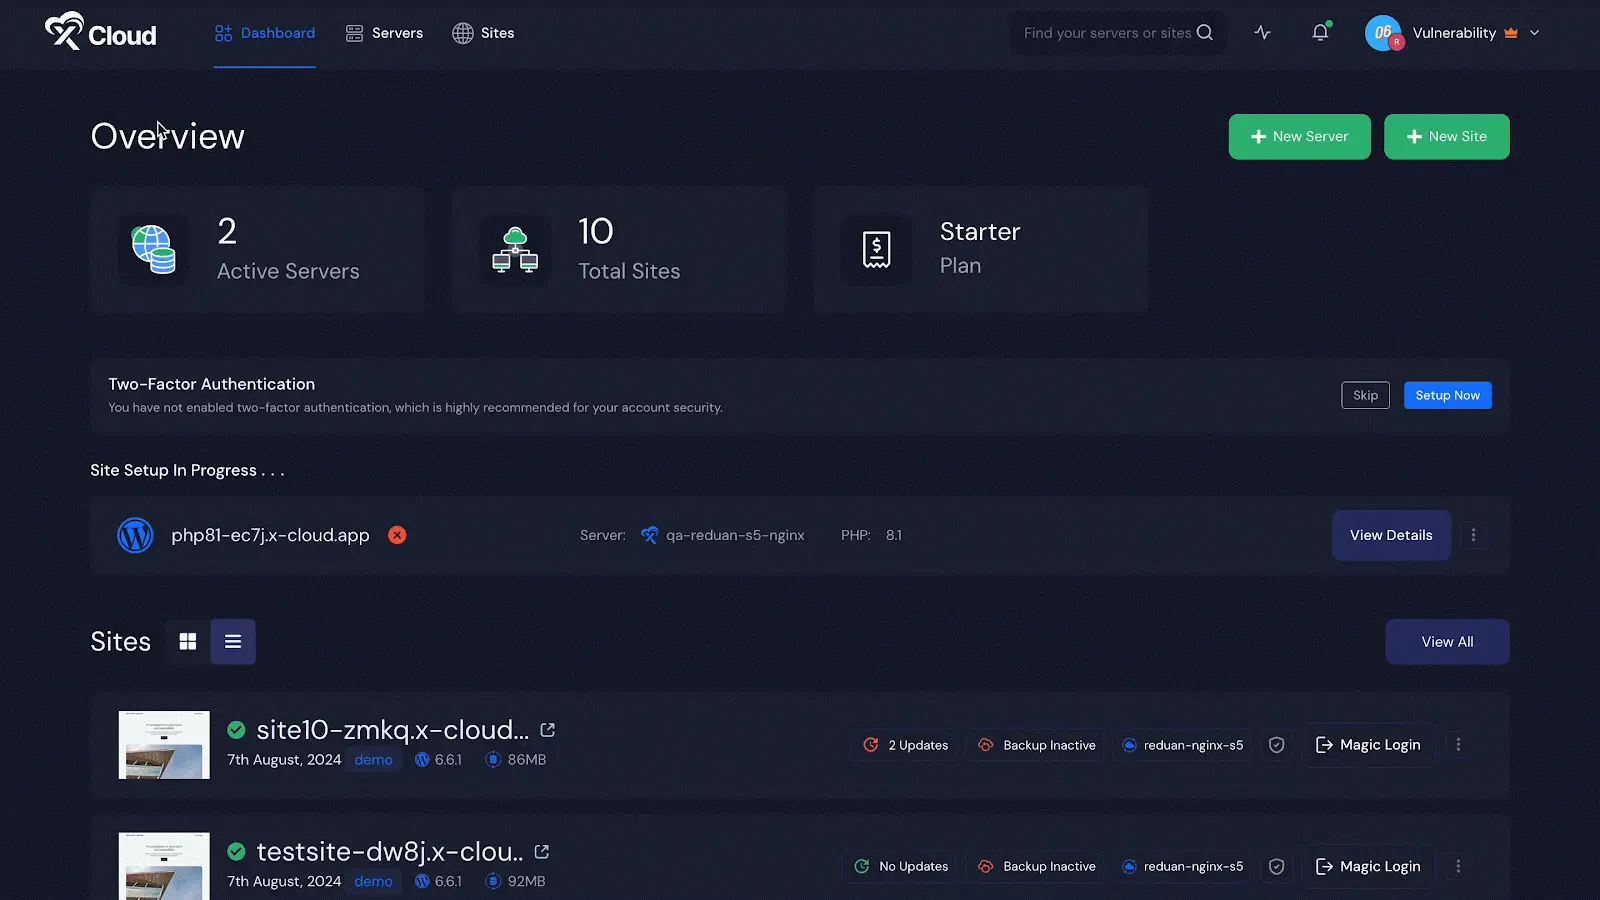
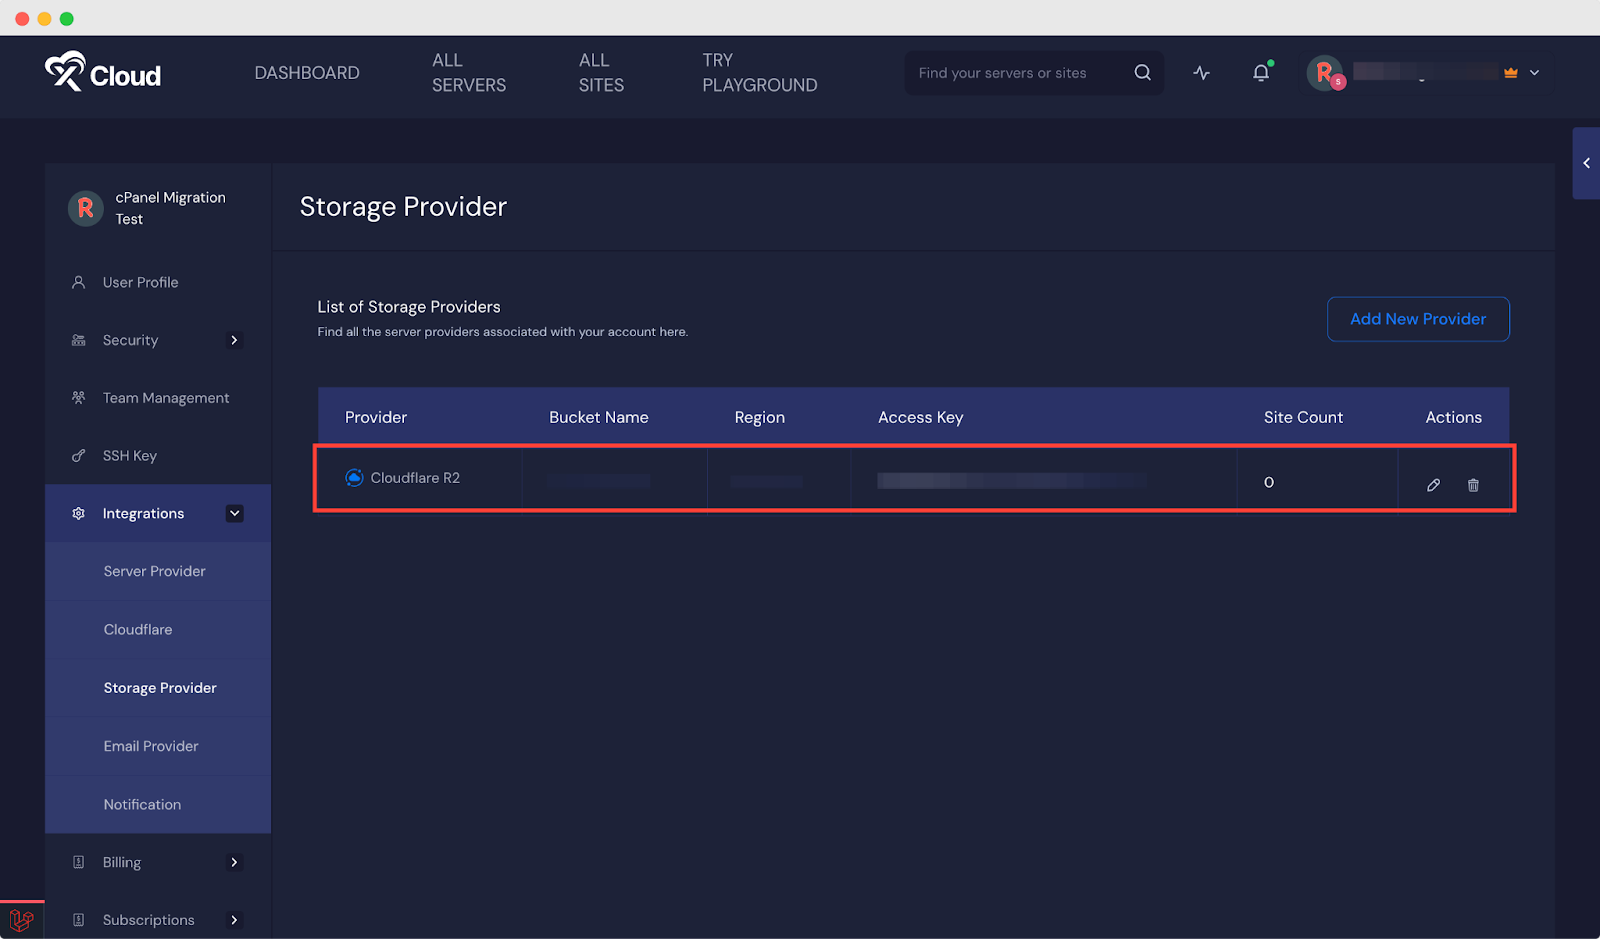
If everything is okay, your Cloudflare R2 storage will be added to xCloud, you can use it for site backup. Here’s how it looks in your dashboard once it gets connected successfully.
4. Configure Site Backups Settings in xCloud #
Once the integration process is done, you can move on to backup your site. As you can integrate more than one storage provider, choose one if you have multiple. For the Remote Backup Settings, choose your Bucket.
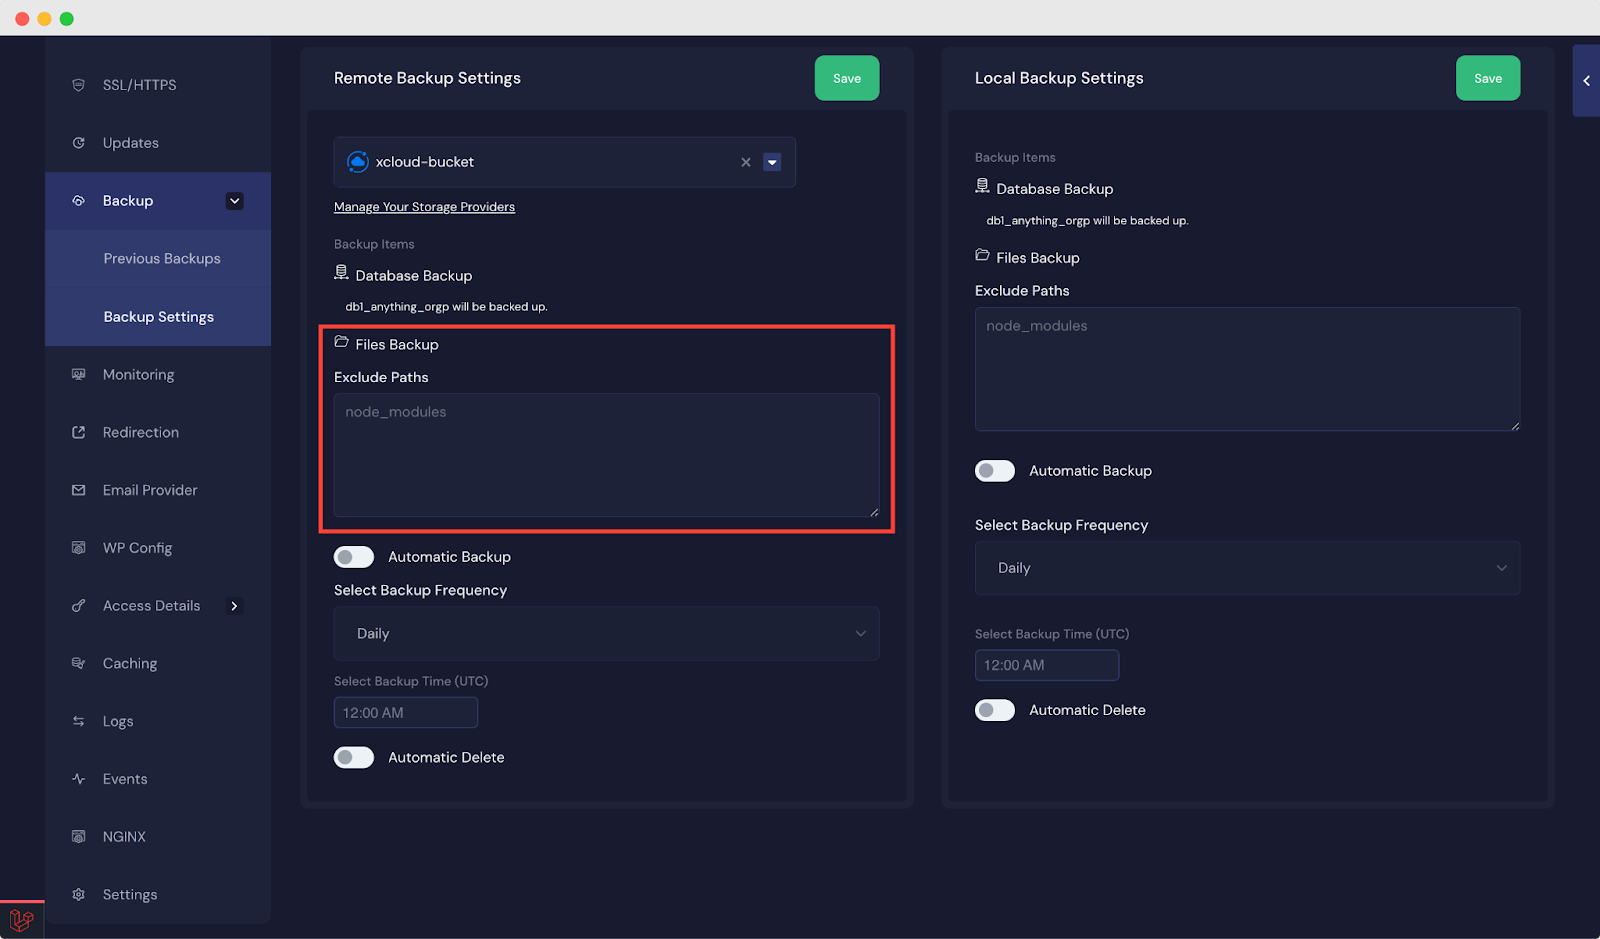
After that, you can exclude paths if required. You will find the box below the ‘File Backup’ field as shown below.
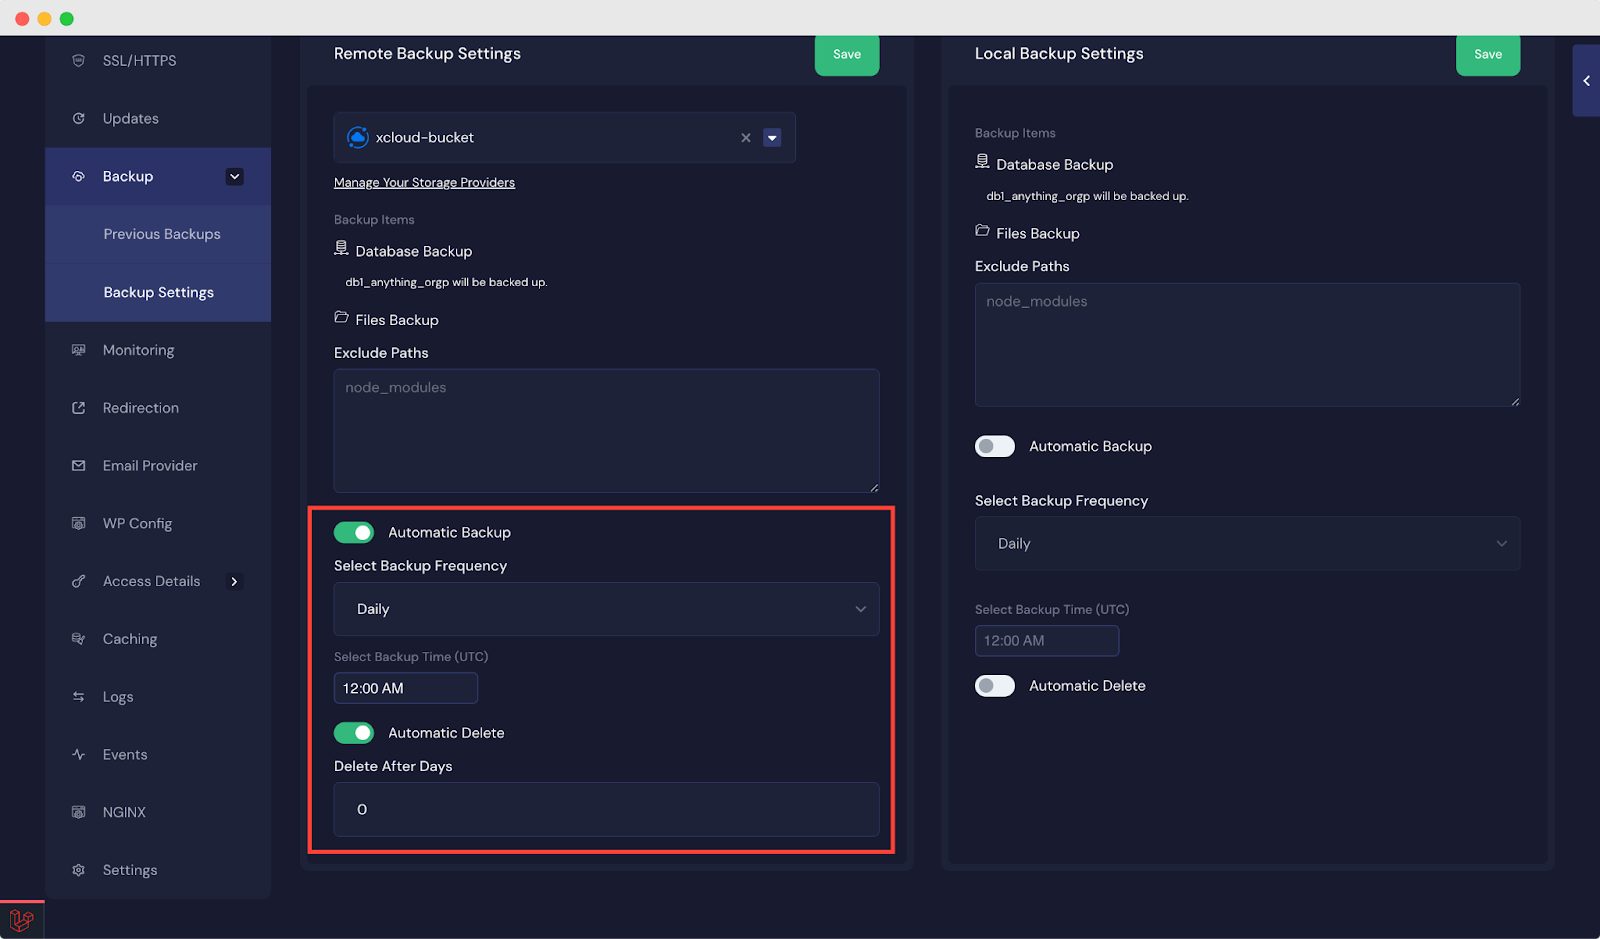
You can also choose to schedule ‘Automatic Backup’ and ‘Automatic Delete’. For automatic backup, you need to select backup frequency and backup time. On the other hand, you can set a value for how many days after a backup will be deleted automatically.
This is how you can easily configure and use Cloudflare R2 storage for site backup in xCloud.
Still stuck? Contact our support team for any of your queries.


