

Configure NinjaFirewall on an OpenLiteSpeed Server
Updated June 23, 2025 · 2 min read
NinjaFirewall is a powerful application firewall designed to enhance the security of WordPress websites, offering advanced protection against threats. By following this guide, you will learn how to enable and configure the necessary files, set up the required configurations, and ensure NinjaFirewall is properly integrated with your OLS server.
To configure NinjaFirewall on a server running OpenLiteSpeed server, follow the steps below:
Step 1: Access Your File Manager
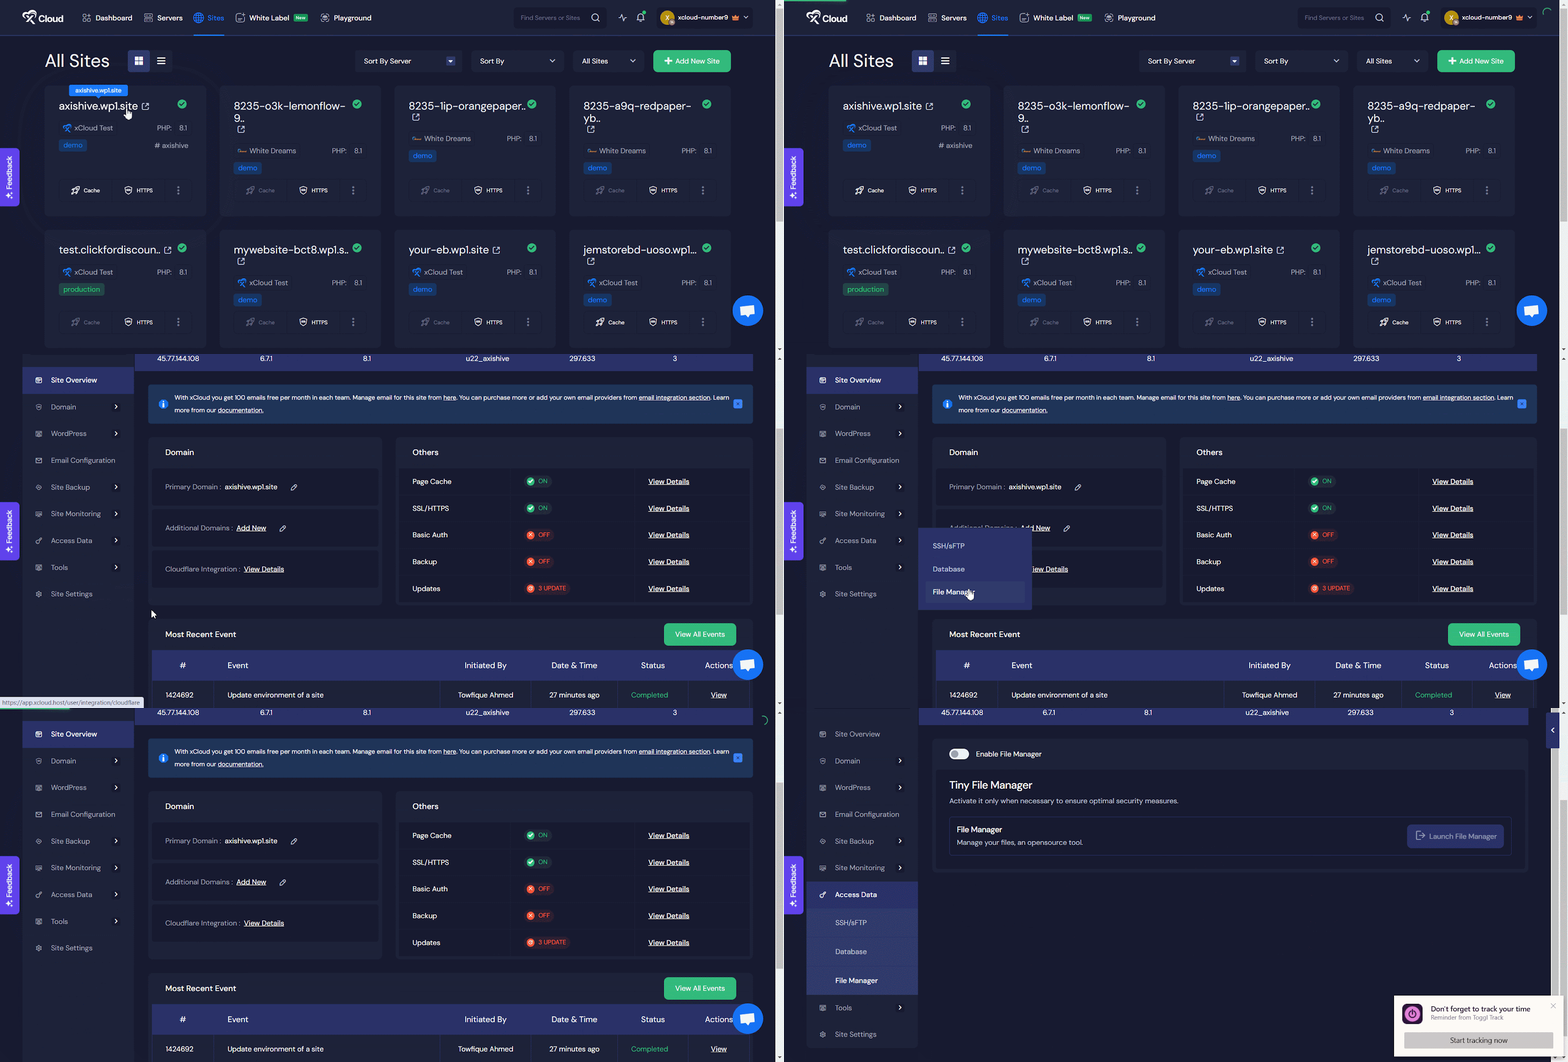
Log in to your xCloud account and navigate to your site’s dashboard. In the left-hand menu, go to Access Data → File Manager.
Step 2: Open Your File Manager
Now, toggle on the ‘Enable File Manager’ button to access your file manager and click on the ‘Launch File Manager’ button to go to your file manager.
Step 3: Show Hidden Files
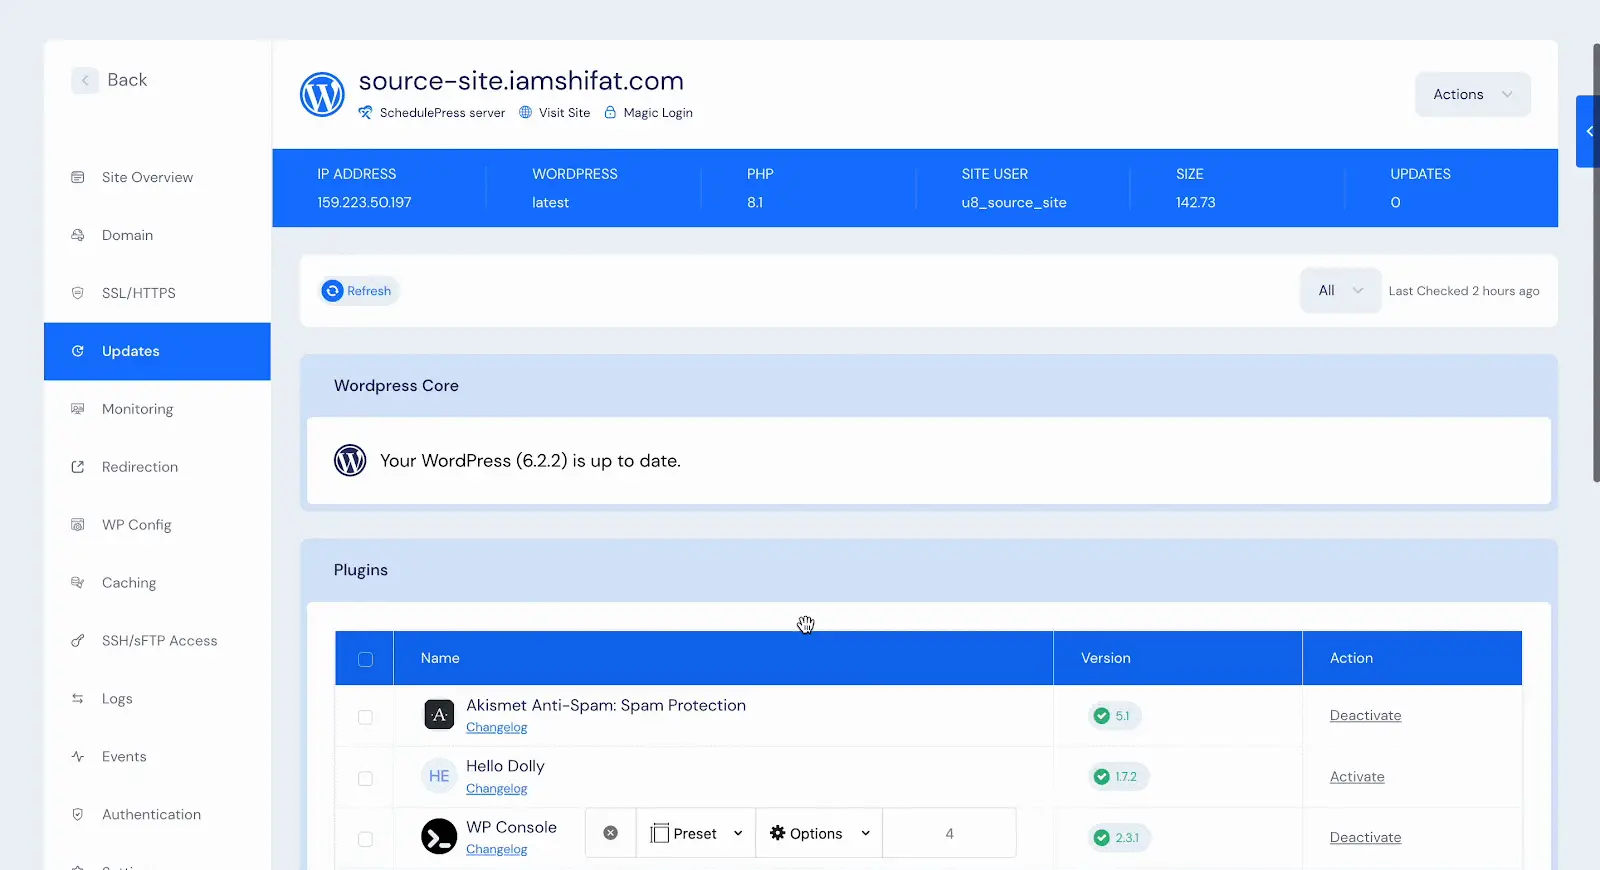
In the File Manager, first go to your Profile → Settings and enable the option to ‘Show Hidden Files’ to view and edit configuration files like .htaccess or user.ini. After that click on the ‘Save’ button.
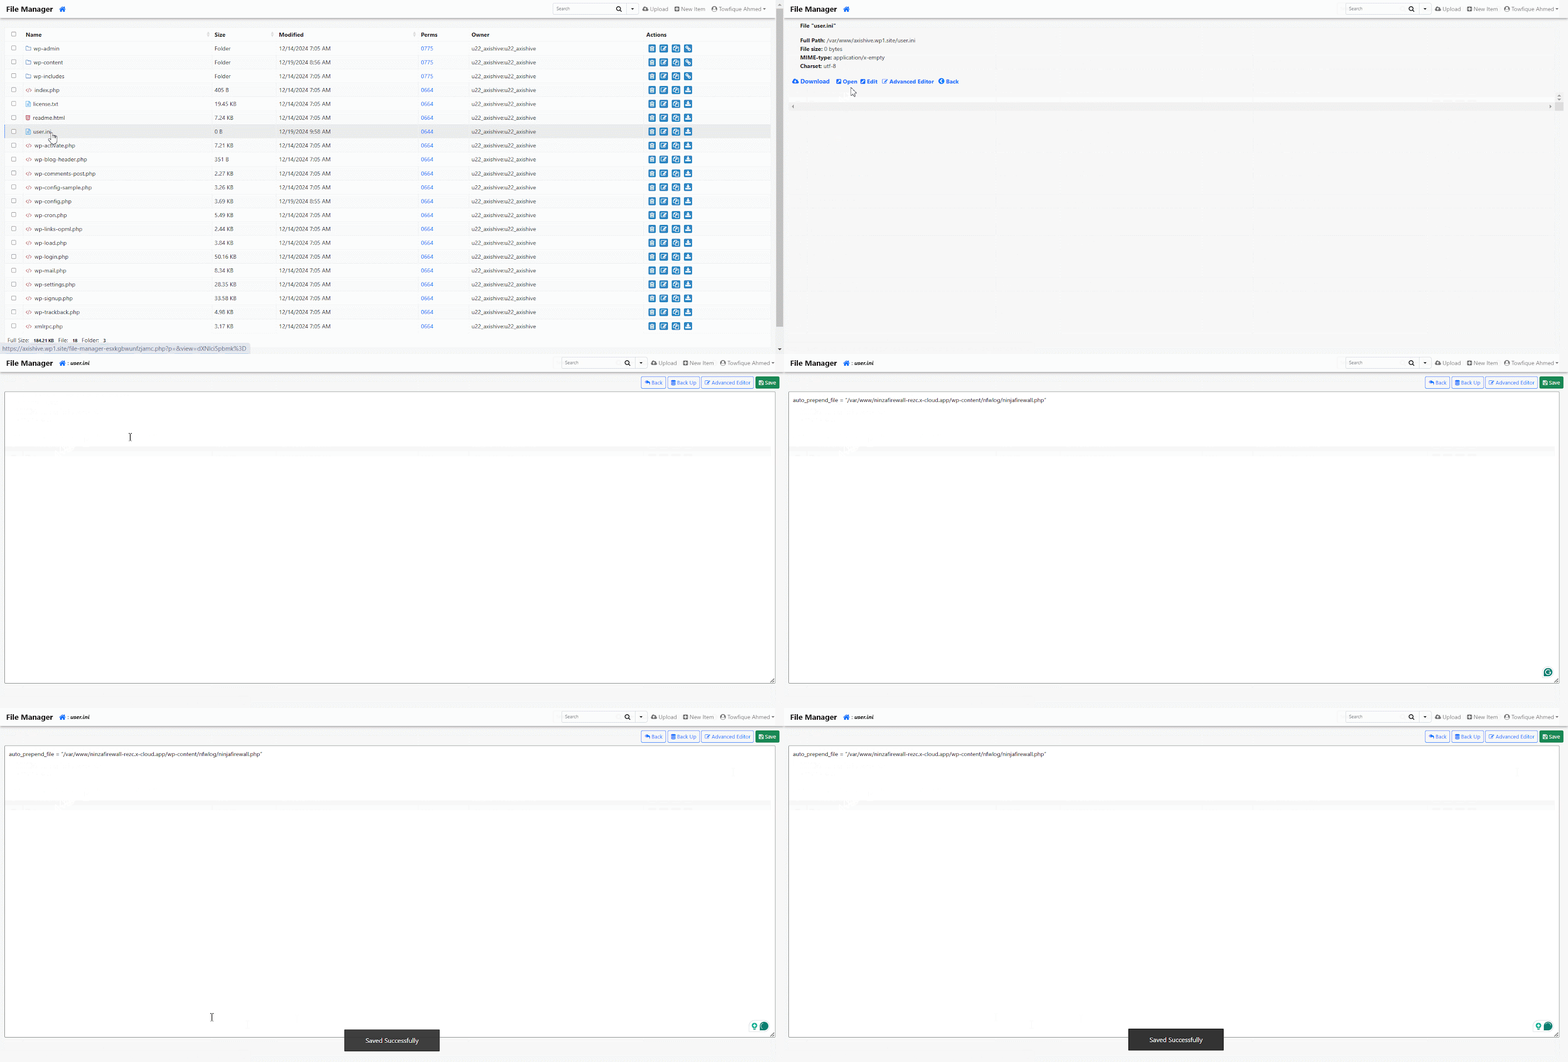
Step 4: Create the user.ini File
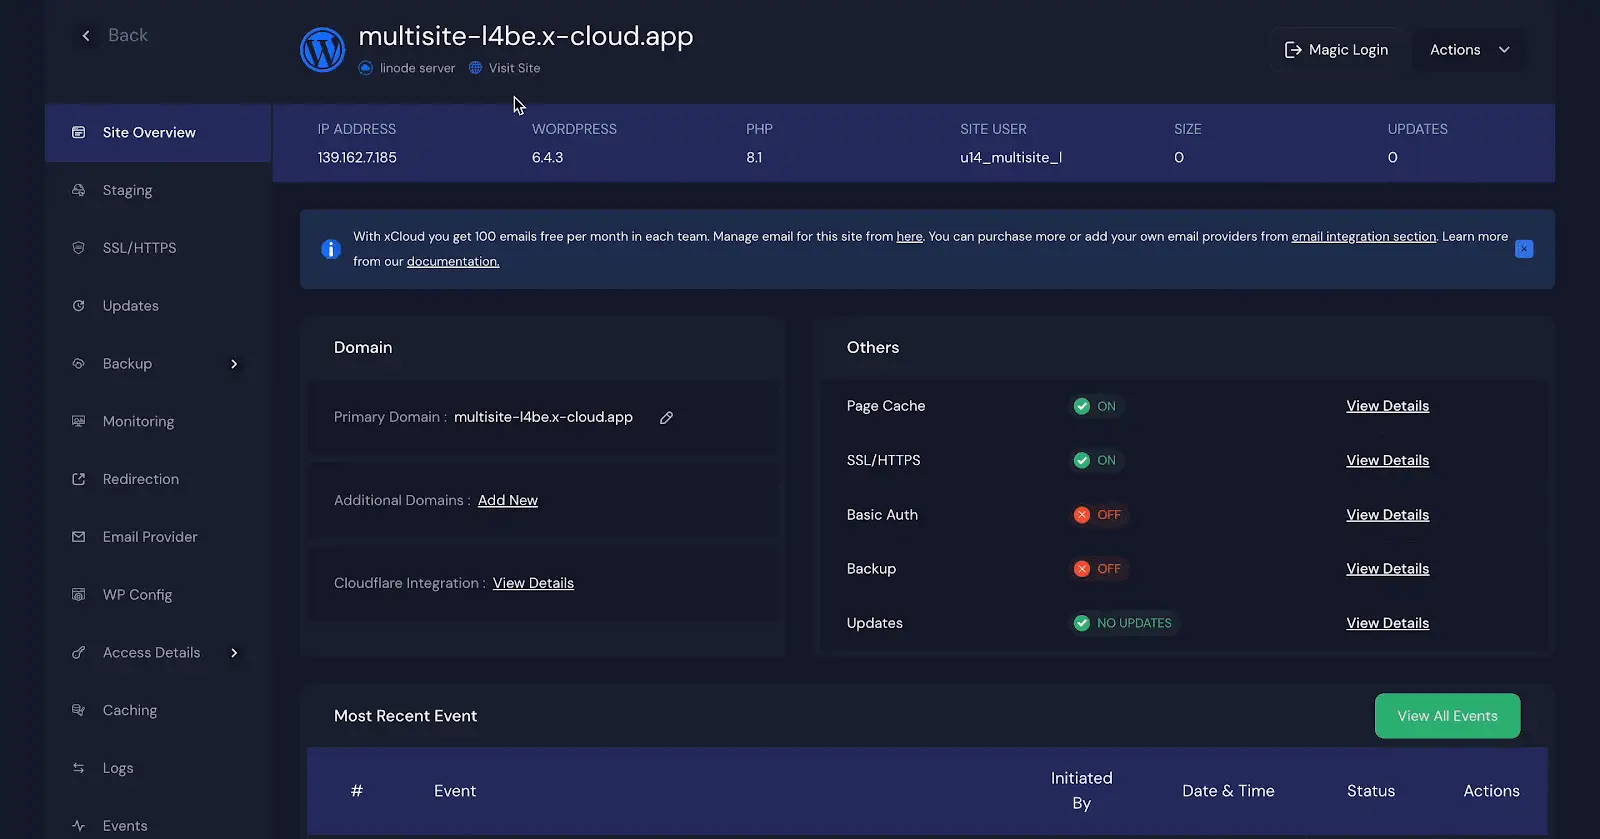
Navigate to the root directory of your WordPress site (typically /var/www/
Step 4: Add the Configuration Line
Now click on the ‘.user.ini’ file and choose ‘Edit’ button. Then add the following line to the file and click on the ‘Save the changes’.
auto_prepend_file = "/var/www/[YOUR_DOMAIN]/wp-content/nfwlog/ninjafirewall.php"Note: Do not use the auto-prepend line suggested in the NinjaFirewall UI, as it might not work correctly on the OLS server. Use the line provided above instead using your domain.
Step 5: Restart the OLS Service
Access the server where your site is hosted. Restart the ‘LiteSpeed service to apply the changes. Use the following command:
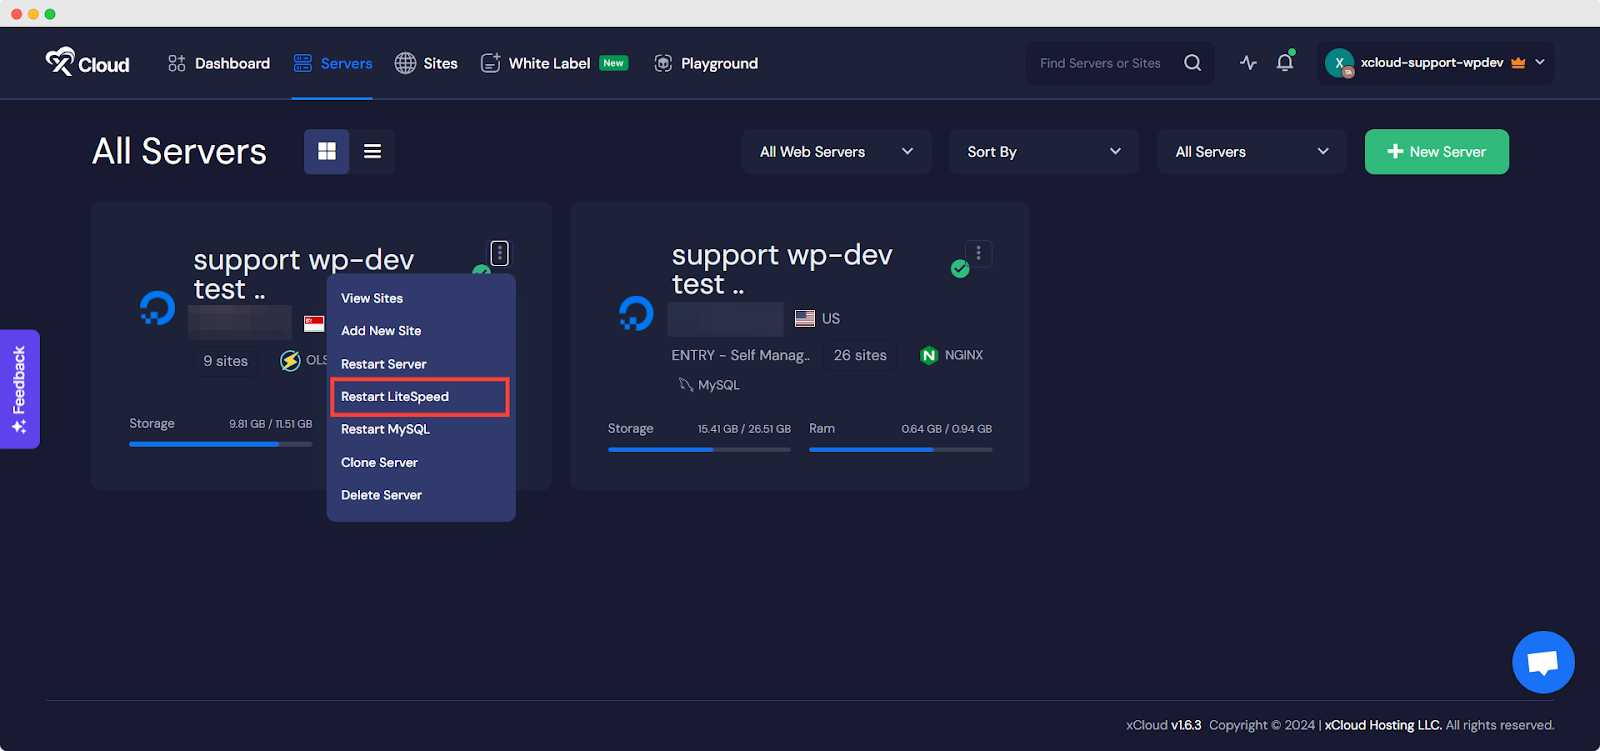
Or you can run this command using xCloud command runner.
sudo systemctl restart lsws
Read this detailed documentation to learn how to run this command:
👉 How to Run Commands in Your Site And Server Easily with xCloud?
Step 6: Verify the Configuration
Finally, visit the NinjaFirewall settings in your WordPress admin panel. Ensure that the firewall is active and functioning correctly.
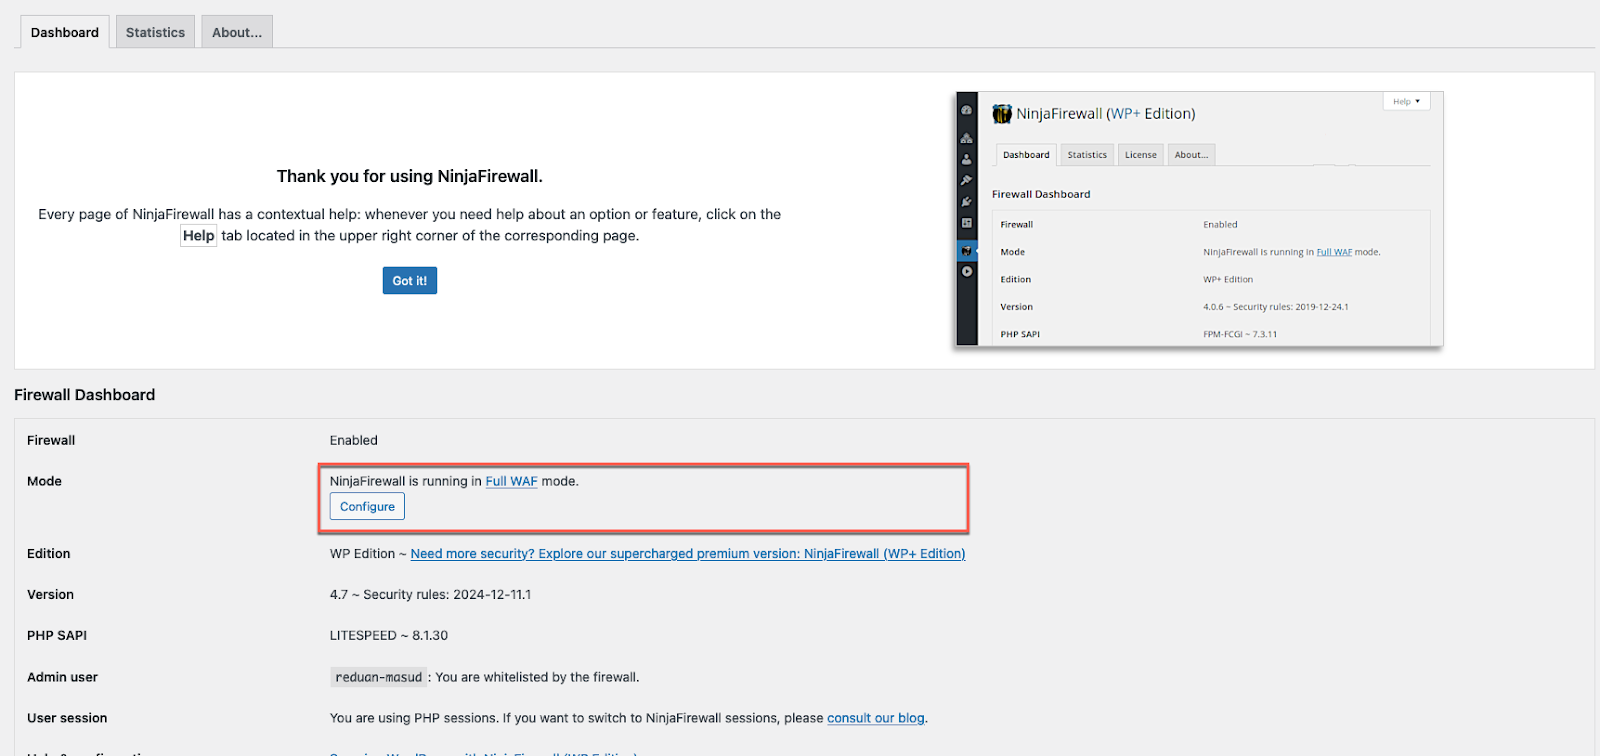
And that’s it, this is how easily you can successfully configure NinjaFireWall on your OpenLiteSpeed server and actively protect your site.
Still stuck? Contact our support team for any of your queries.