


Custom cron jobs are like personal assistants for your website, executing specific tasks at predefined intervals. Whether it’s updating content, sending out emails, or performing maintenance, custom cronjobs tailor automation to your unique needs, saving time and ensuring efficiency in your online operations.
In xCloud, adding a custom cron job is a straightforward process that can be done directly from the xCloud dashboard. Let’s see the complete guide on how to add a custom cron job in xCloud.
Add A Custom Cron Job In xCloud: Step-By-Step Guide #
Simply follow the below steps to add a custom cron job in xCloud to manage & execute specific tasks at a predefined timeframe.
Step 1: Login To Your Hosting Panel #
With the right credentials, log in to your xCloud dashboard.
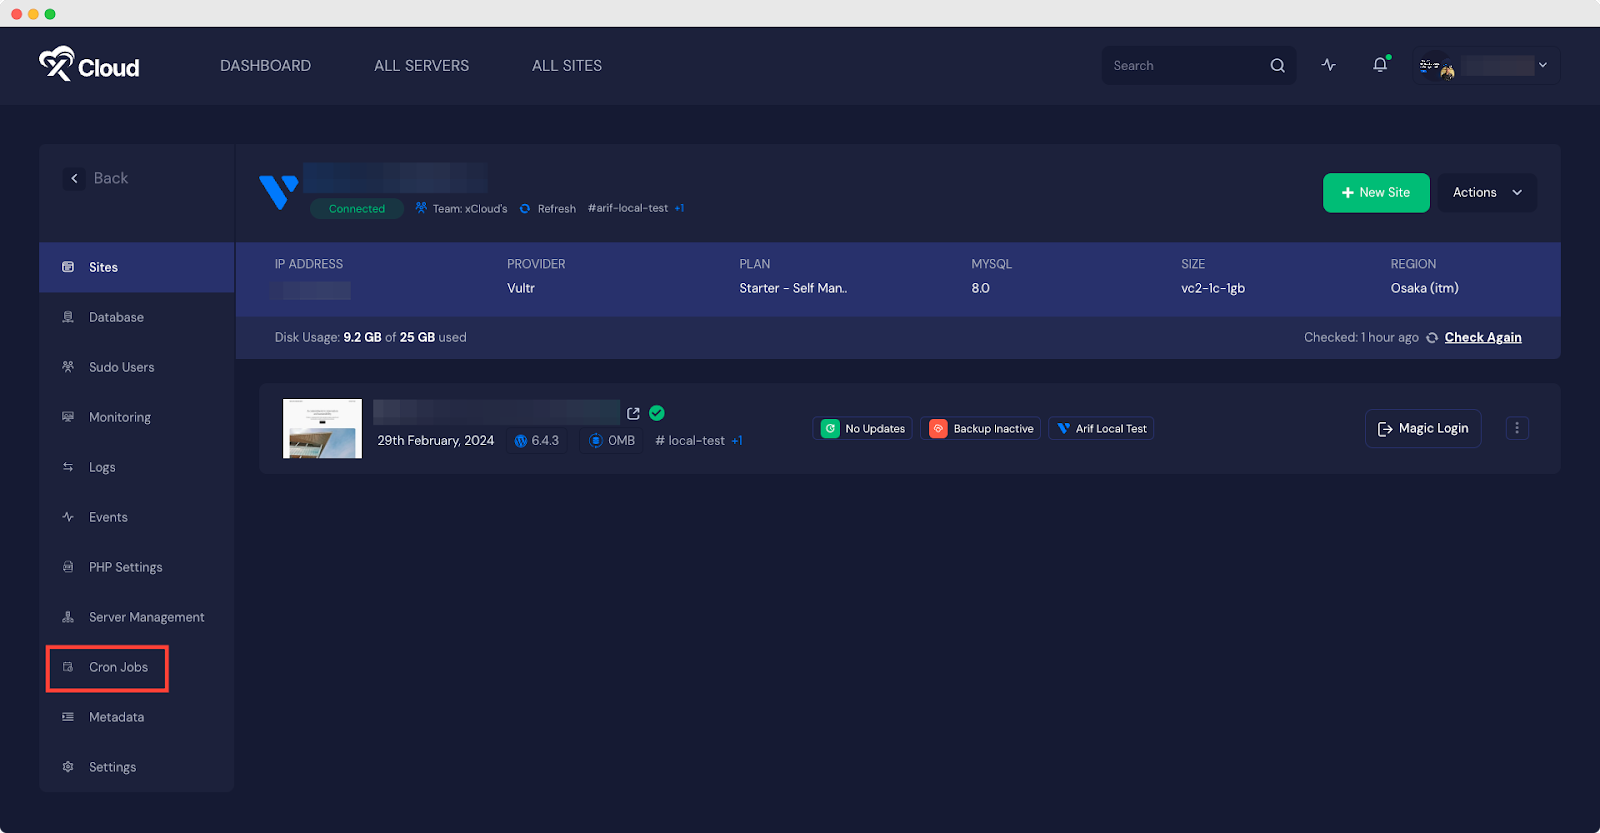
Step 2: Locate The Cron Job Settings #
From your xCloud dashboard, navigate to ‘All Servers’, click on any server (if you have many), & get the Cron Jobs on the left sidebar of your server dashboard.
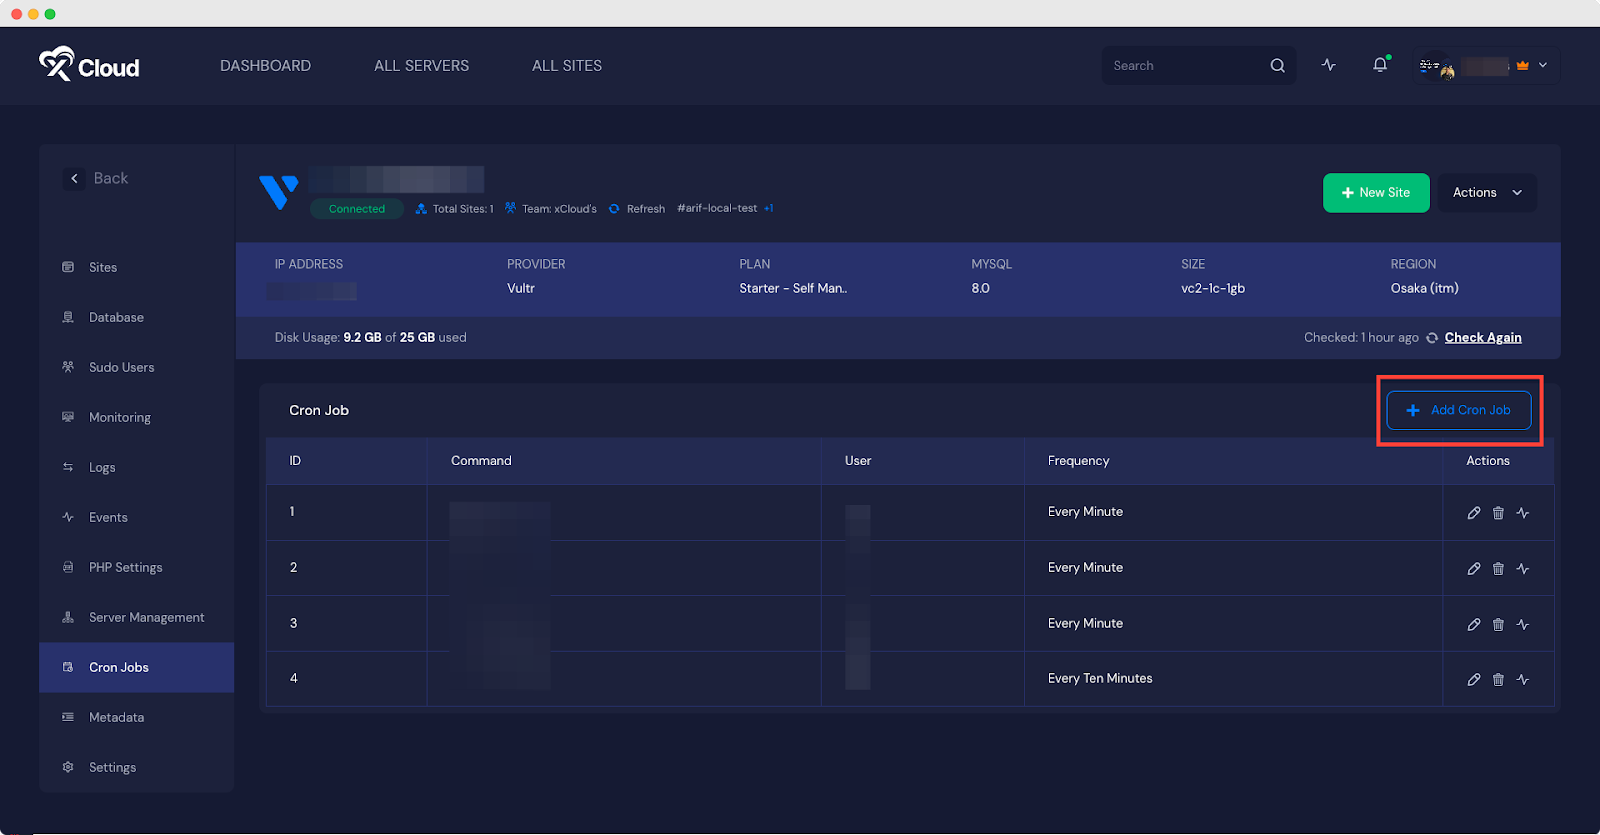
Step 3: Create a New Cron Job #
To create a new cron job, click on the ‘Add Cron Job’ on the following page. It will redirect you to the next of adding a custom cron job in xCloud.
Step 4: Specify The Schedule #
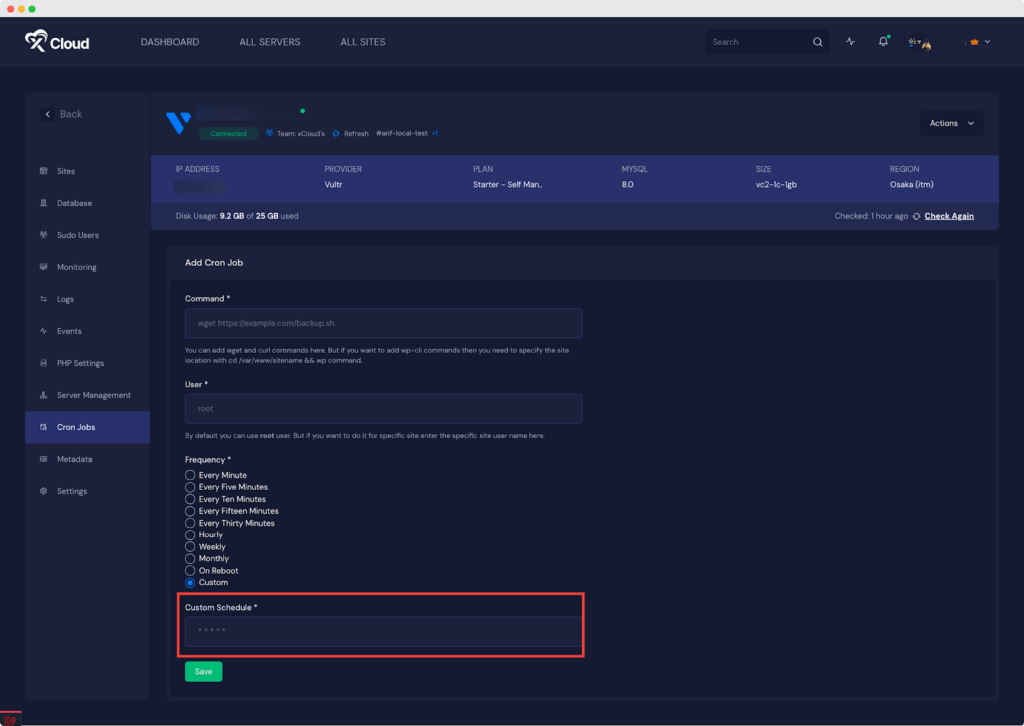
On the resulting page, execute the command, set the user, & determine the frequency of the cron job using the provided drop-down menu with predefined values.
In the ‘User‘ field, you can set both the root user & non root (site user, sudo user) user.
Note: If you want to execute WP-CLI command, you need to make it with site users.
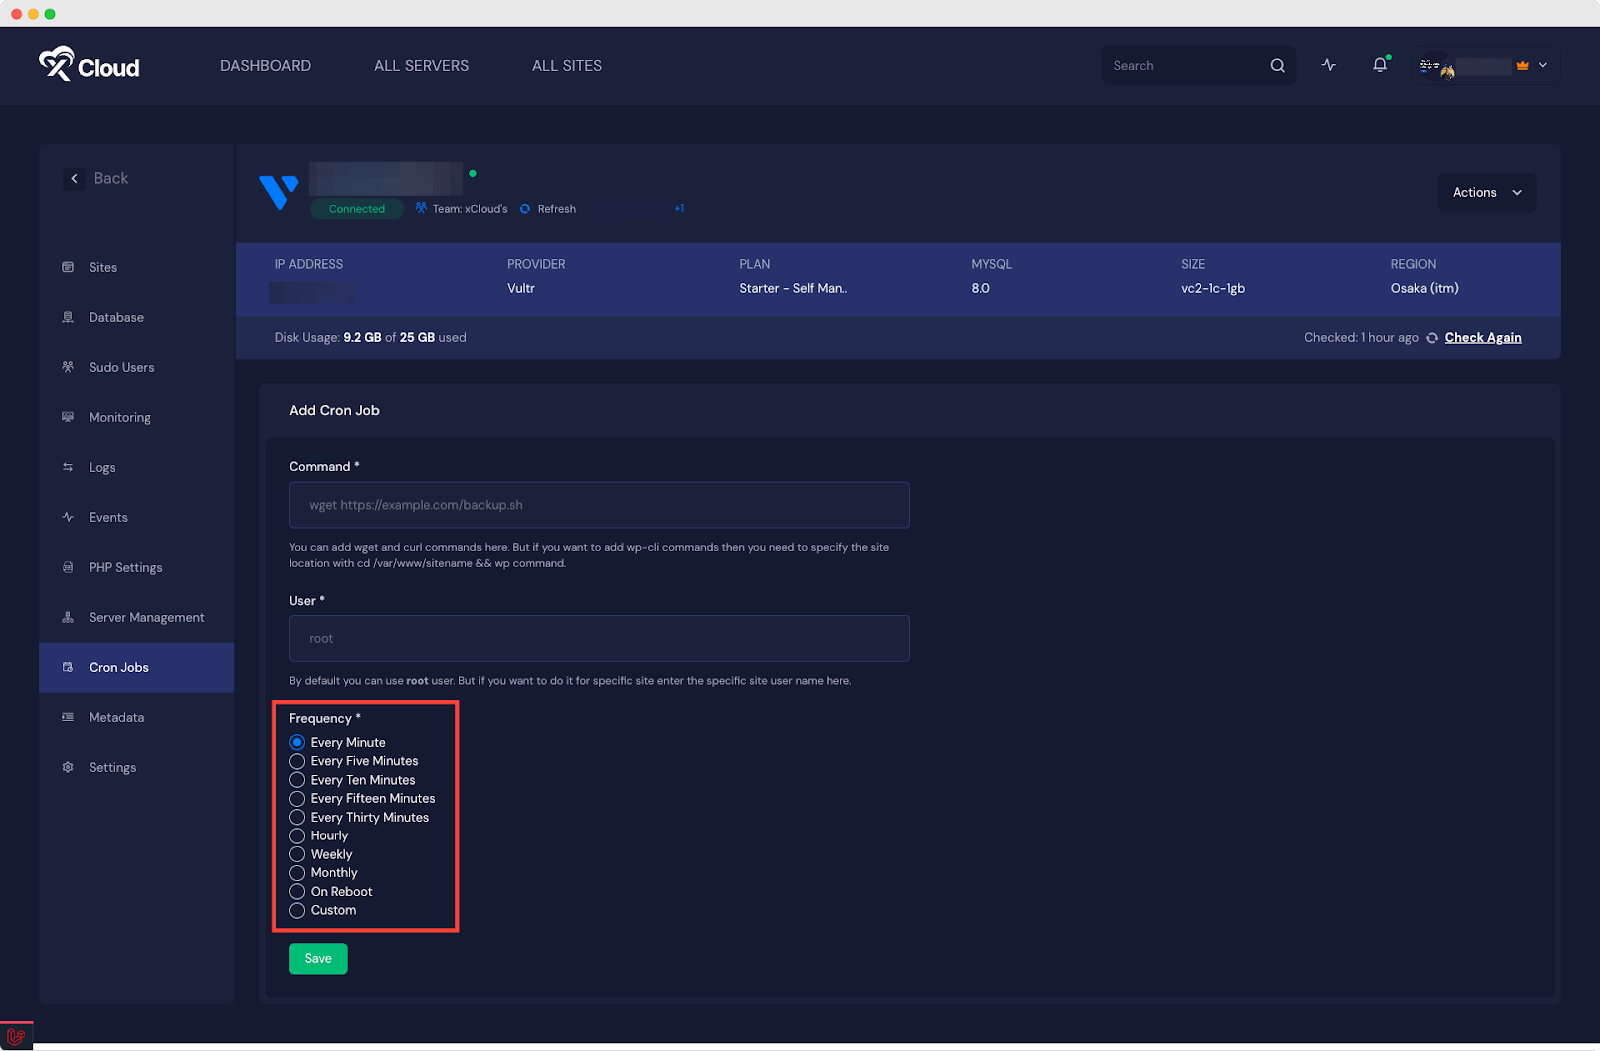
After choosing the type of script to run (PHP, curl, or wget) and specifying the command to execute. Once all this is done, click on ‘Save’ to save your configuration.
Moreover, you can set a custom schedule too. To do so, click on the ‘Custom’ option as shown below & set the ‘Custom Schedule.’ With the below syntax in ‘Custom Schedule’, you can create any scheduling need.
1* * * * * /path/to/script.sh 2* * * * * command
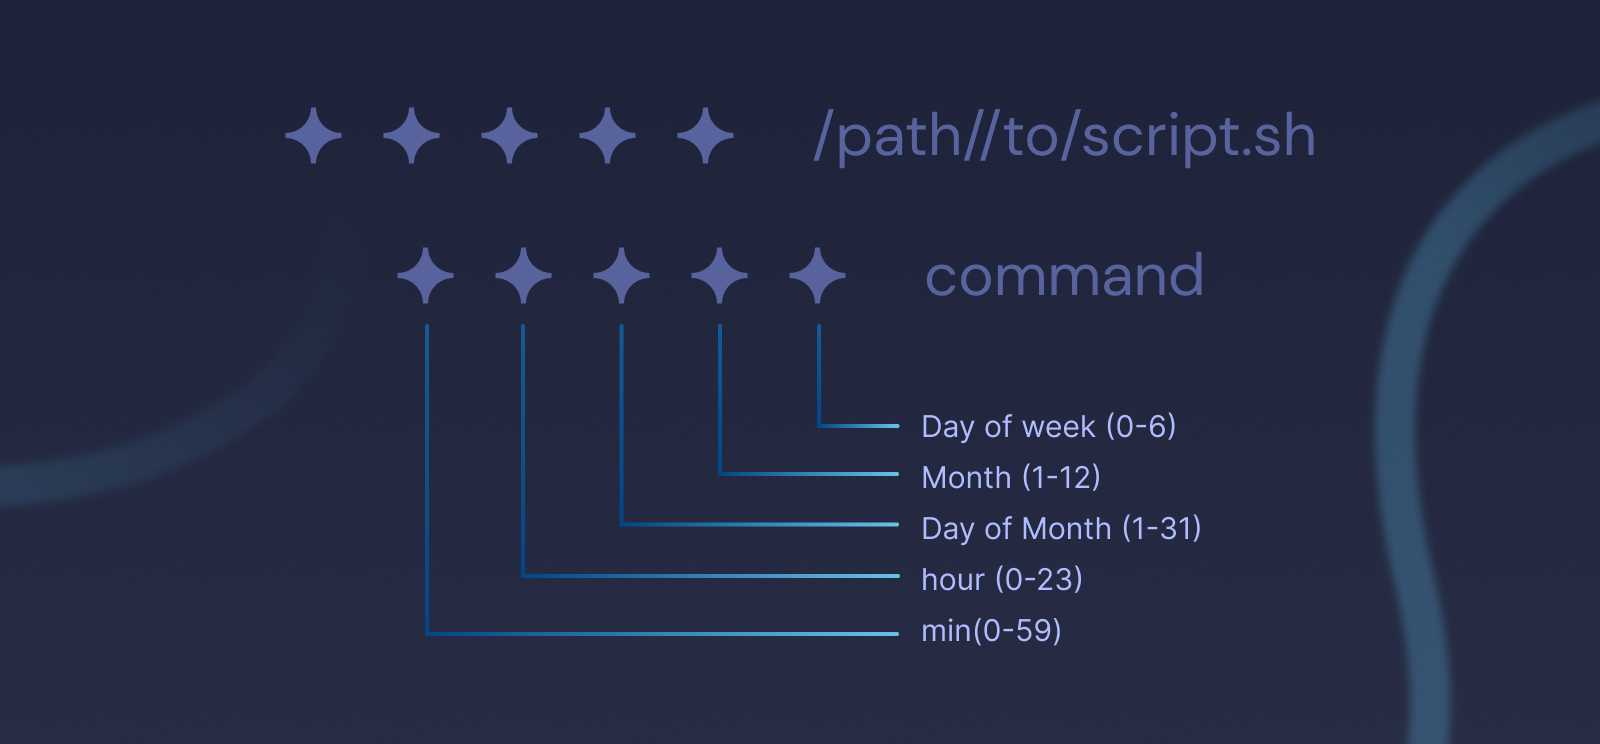
In the above command, the 5 asterisk signs allow you to control minutes, hours, days, months, and days of weeks. The range includes:
- Minute (Range: 0 to 59)
- Hour (Range: 0 to 23)
- Day of month (Range: 1 to 31)
- Month (Range: 1 to 12)
- Day of week (Range: 0 to 6, Sunday will count as 0)
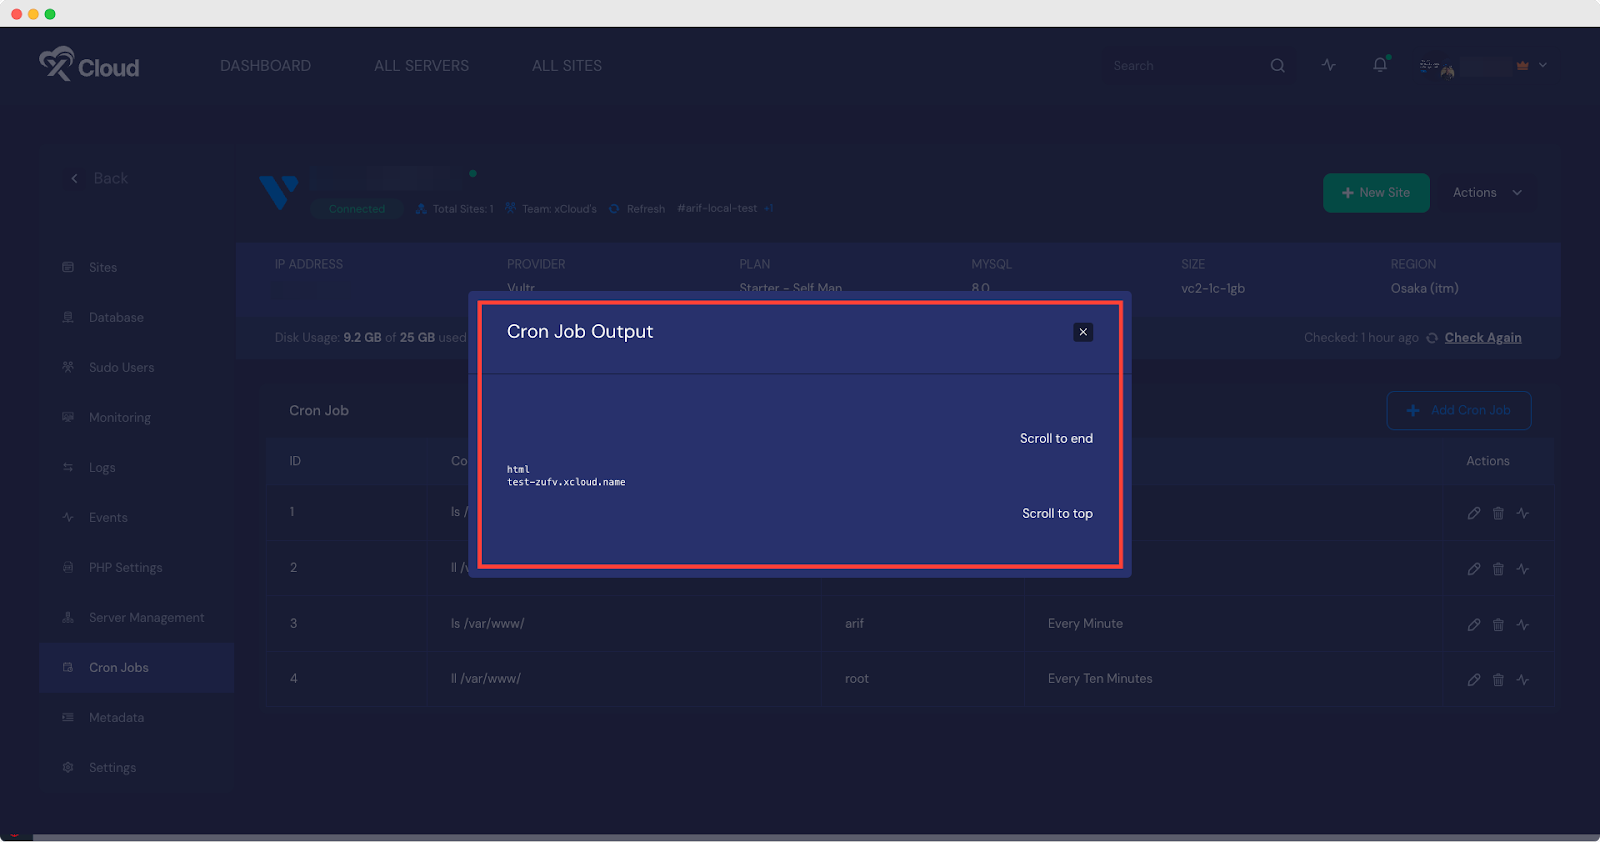
Step 5: Save The Cron Job & See The Output #
Once everything is configured, your cron job will be listed under the Basic tab in xCloud.
Add A Custom Cron Job For Your Site: Step-By-Step Guide #
Follow the steps below to add a custom cron job in xCloud and run specific tasks at a scheduled time on your site.
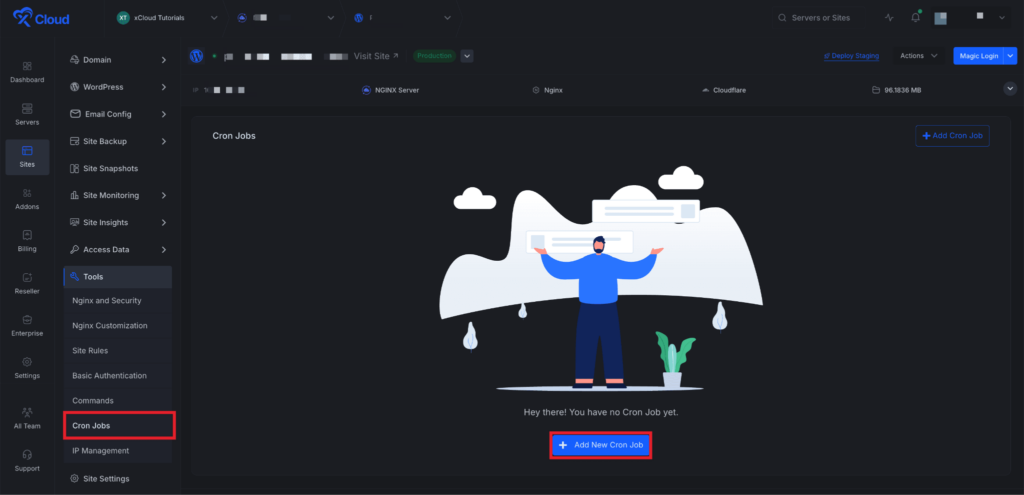
From the xCloud dashboard, open your site dashboard and navigate to Tools → Cron Jobs from the sidebar. Click Add New Cron Job to create a new cron job. This will take you to the configuration page where you can set it up.
In the Command field, enter the command you want to run.
Common examples:
# Run Laravel task scheduler

php artisan schedule:run

# Run a WP-CLI command (must specify the site path)

cd /var/www/yoursite && wp cron event run --due-now

# Fetch a URL (useful for WordPress cron via wget)

wget -q -O - https://yourdomain.com/wp-cron.php?doing_wp_cron

# Run a custom PHP script

php /var/www/yoursite/scripts/cleanup.php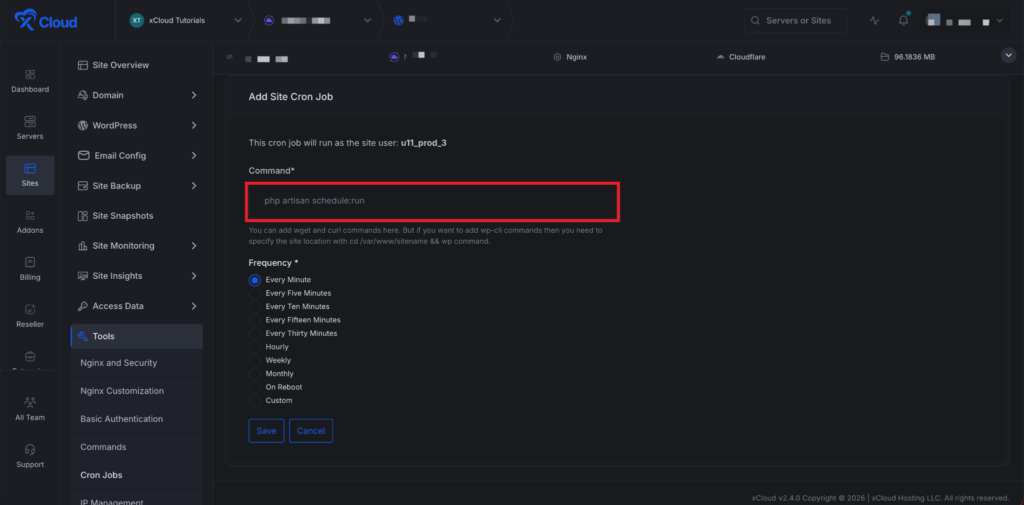
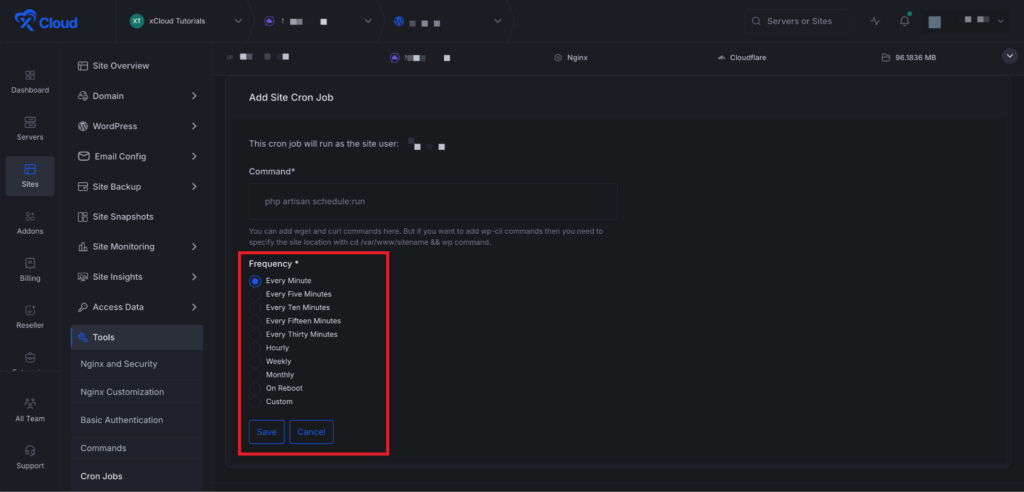
Next, select how often the cron job should run using the Frequency radio buttons:
| Frequency | Cron Expression | Description |
| Every Minute | * * * * * | Runs once per minute |
| Hourly | 0 * * * * | Runs at the start of every hour |
| Daily | 0 0 * * * | Runs once per day at midnight |
| Weekly | 0 0 * * 0 | Runs every Sunday at midnight |
| Monthly | 0 0 1 * * | Runs on the 1st of every month |
| Custom | (your expression) | Enter your own cron expression |
If you select Custom, an additional Custom Schedule field appears where you can enter any valid cron expression (e.g., */15 * * * * for every 15 minutes).
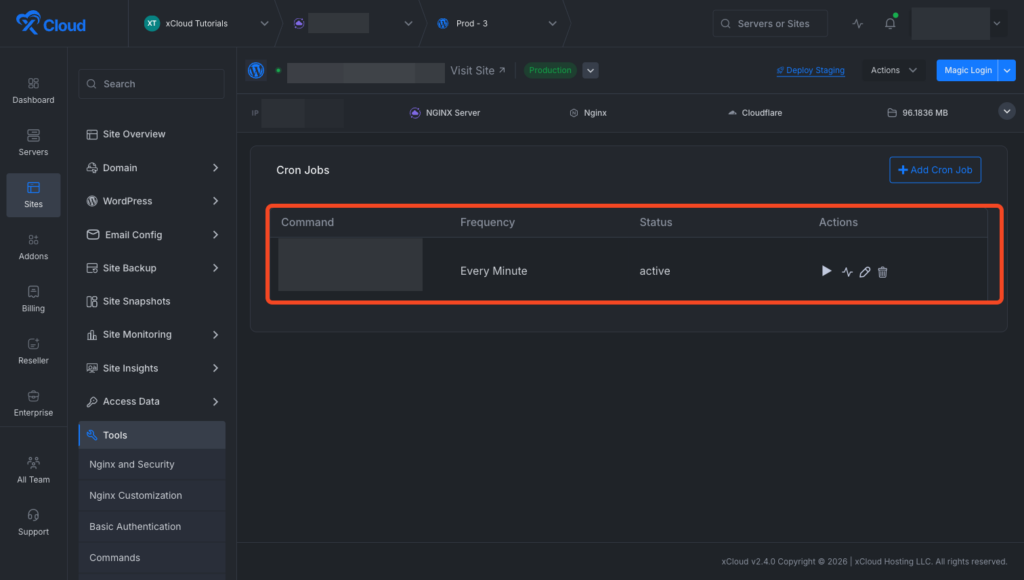
Managing Existing Cron Jobs #
You can easily manage your cron jobs. From the Cron Jobs list, ‘Run Now’, ‘View Output’, ‘Edit’, ‘Delete’ for each of the cron jobs.
This is how you can easily add a custom cron job in xCloud.
Still stuck? Contact our support team for any of your queries.
Where Cron Jobs Can Help You? #
Cron jobs are super handy for server admins, but they’re also pretty useful for web developers like you. Here’s how they can make your life easier:
Membership Management: Got a website with memberships? Set up cron jobs to handle account expirations. You can automatically deactivate or delete accounts based on their expiration dates.
Newsletter Automation: If you’re running a blog, cron jobs are great for sending out newsletter emails without you having to lift a finger.
Tracking Website Traffic: Keep tabs on your website traffic by saving every page visit in a database table. Cron jobs can help you store daily traffic summaries for easy analysis.
Managing Cached Data: Need to clear out old cached data files? Cron jobs can handle that task for you, keeping your website running smoothly.
Checking for Broken Links: Worried about broken links on your massive website? Cron jobs can automatically check for broken links and send you a report every day.
Handling Big Tasks: Sending tons of emails or encoding videos can take a while. Cron jobs can run command line scripts to handle these tasks efficiently in the background.
Social Media Updates: Social media marketers can use cron jobs to fetch recent tweets and cache them in a text file, making it easy to keep your website’s social content up to date.


