

How to Configure Global Settings for File Manager and Adminer in xCloud
Updated February 18, 2025 · 2 min read
Managing global settings for your features ensures that your xCloud account operates according to your preferences. Whether you want to customize accessibility options for the File Manager or adjust Adminer settings, xCloud provides an easy way to make these changes.
Follow the step-by-step process below to access and configure your feature settings efficiently.
Step 1: Go to Your Profile Settings
To begin, log in to your xCloud account and navigate to the top-right corner of your dashboard. Click on the ‘Profile Settings’ option to access your account settings.
Step 2: Access Features Customization Option
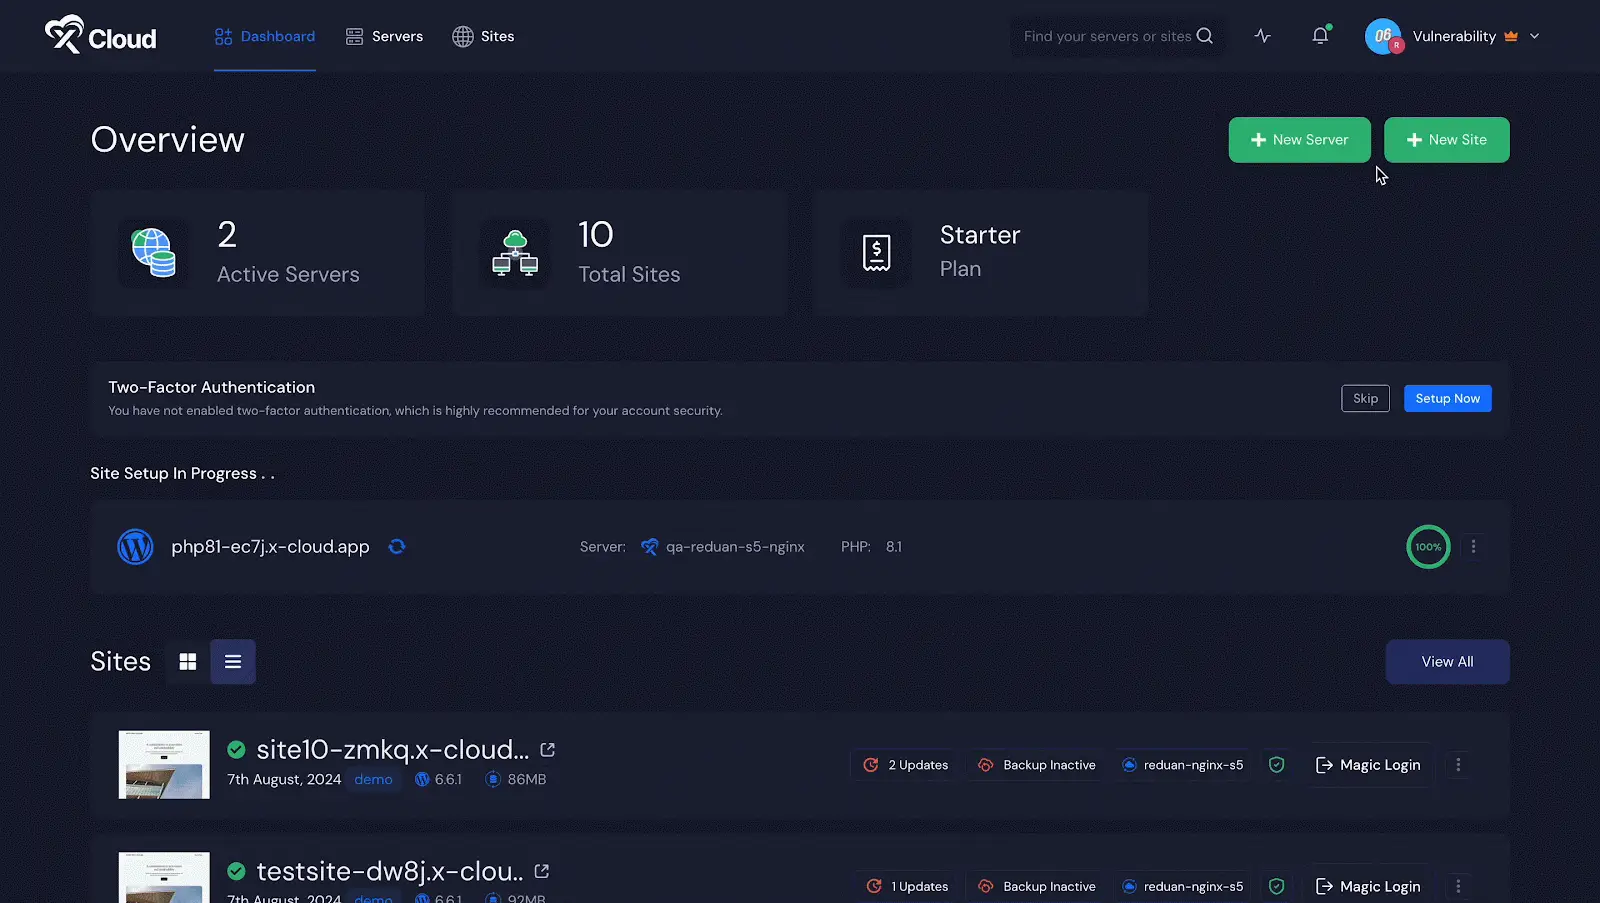
From there, go to the left navigation menu and select ‘Team’ → ‘Customization’, to access the global settings for your File Manager and Adminer customizations.
Step 3: Customize File Manager Settings
If you wish to customize the File Manager settings, locate the ‘Access File Manager’ option from the dashboard to adjust settings as you prefer. To keep the File Manager always accessible, select the ‘Always Enabled’ option.
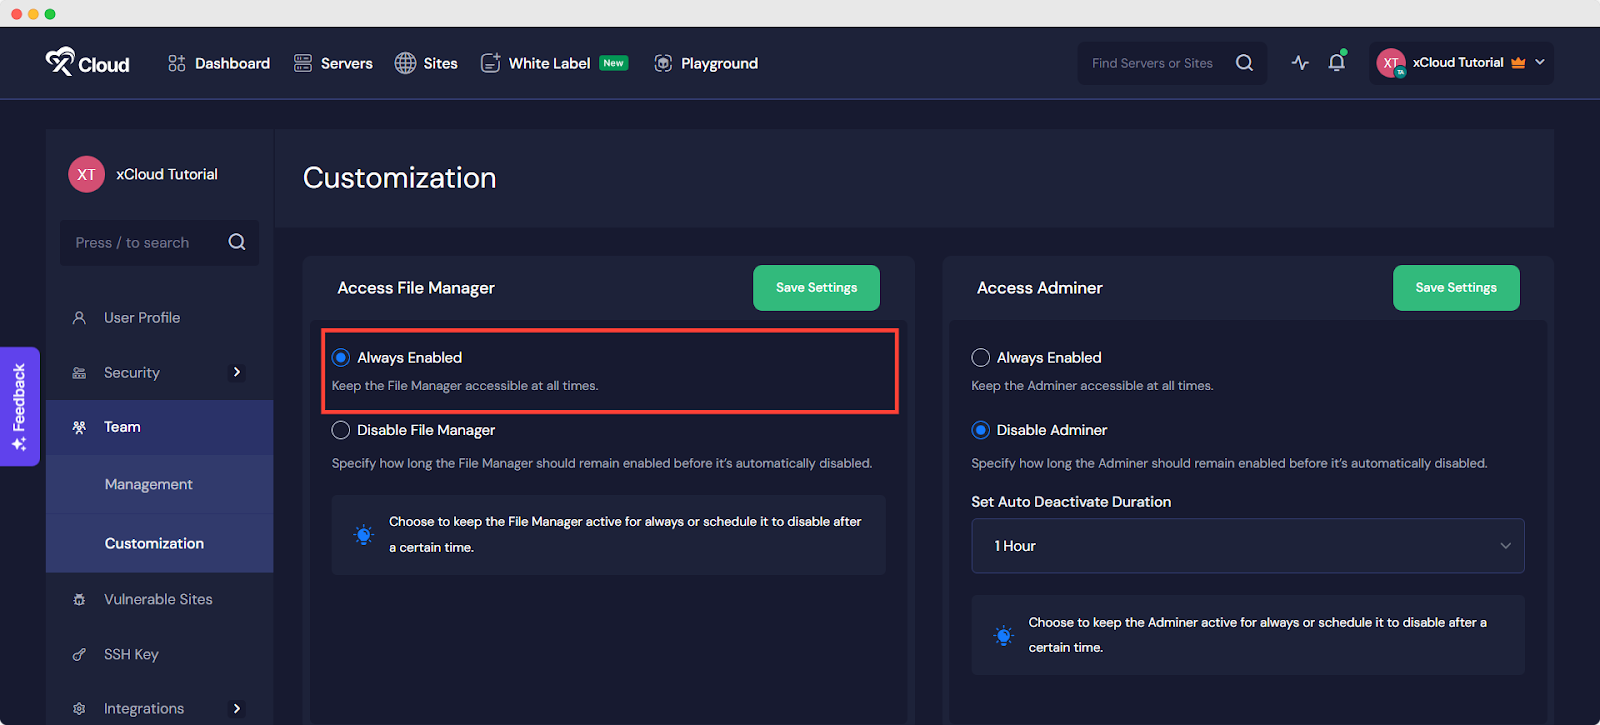
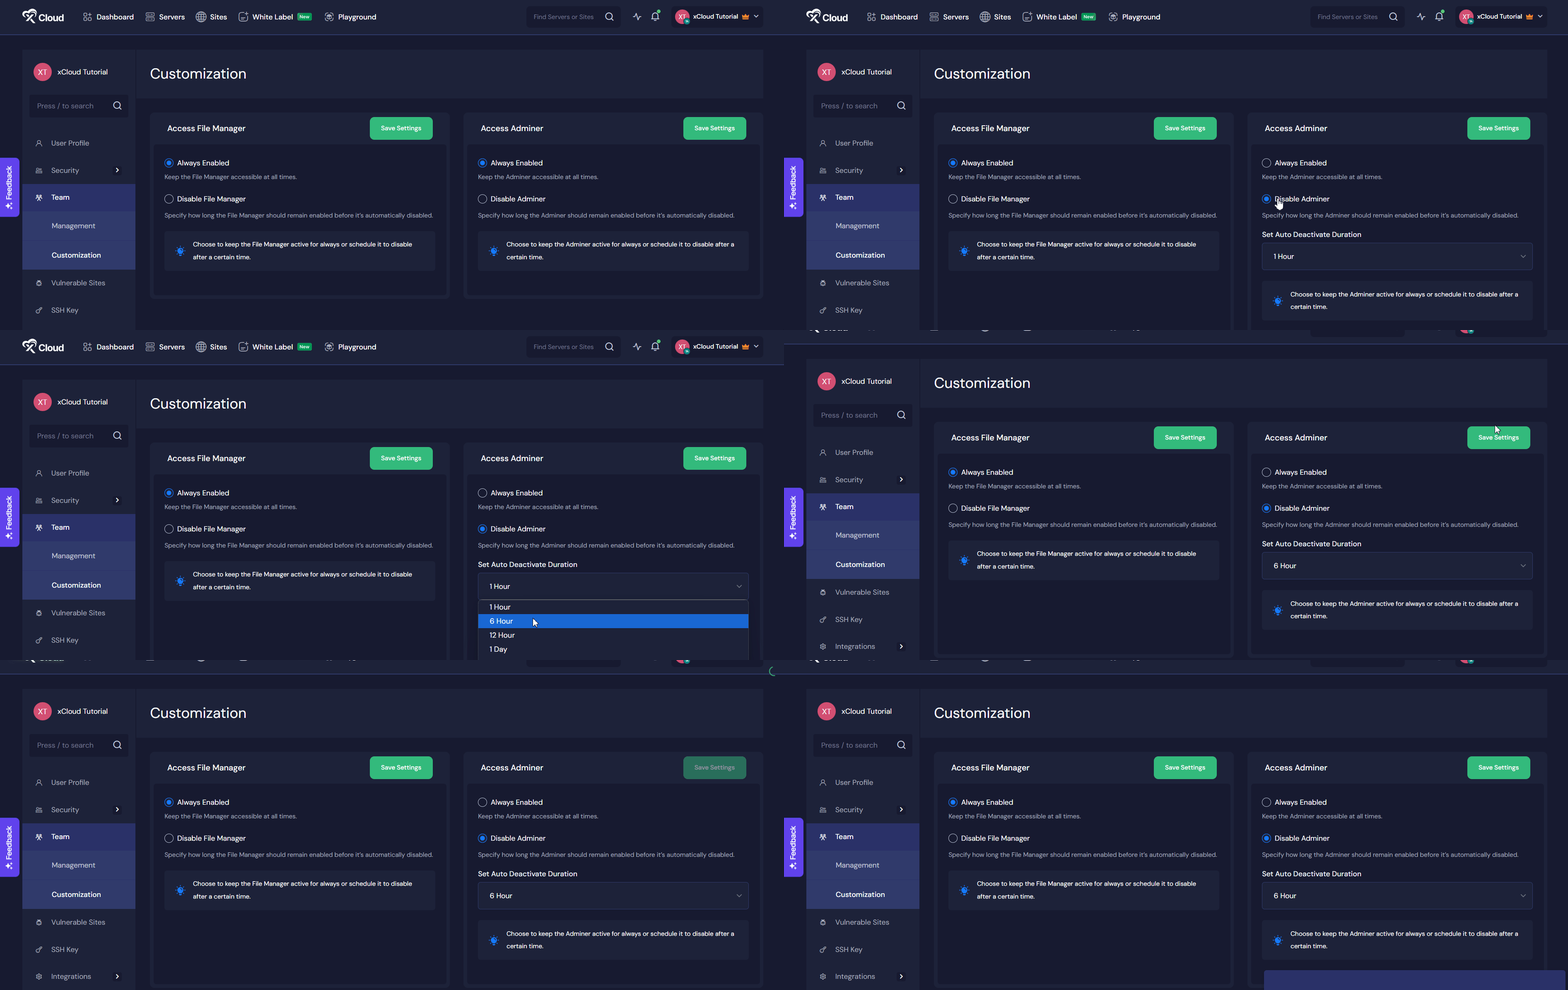
Alternatively, if you prefer to disable the File Manager after a specific duration, choose the ‘Disable File Manager’ option. A dropdown menu will appear, allowing you to select the duration after which the File Manager will be disabled. Once you’ve made your selection, click ‘Save’ to apply the changes.
Step 4: Customize File Manager Settings
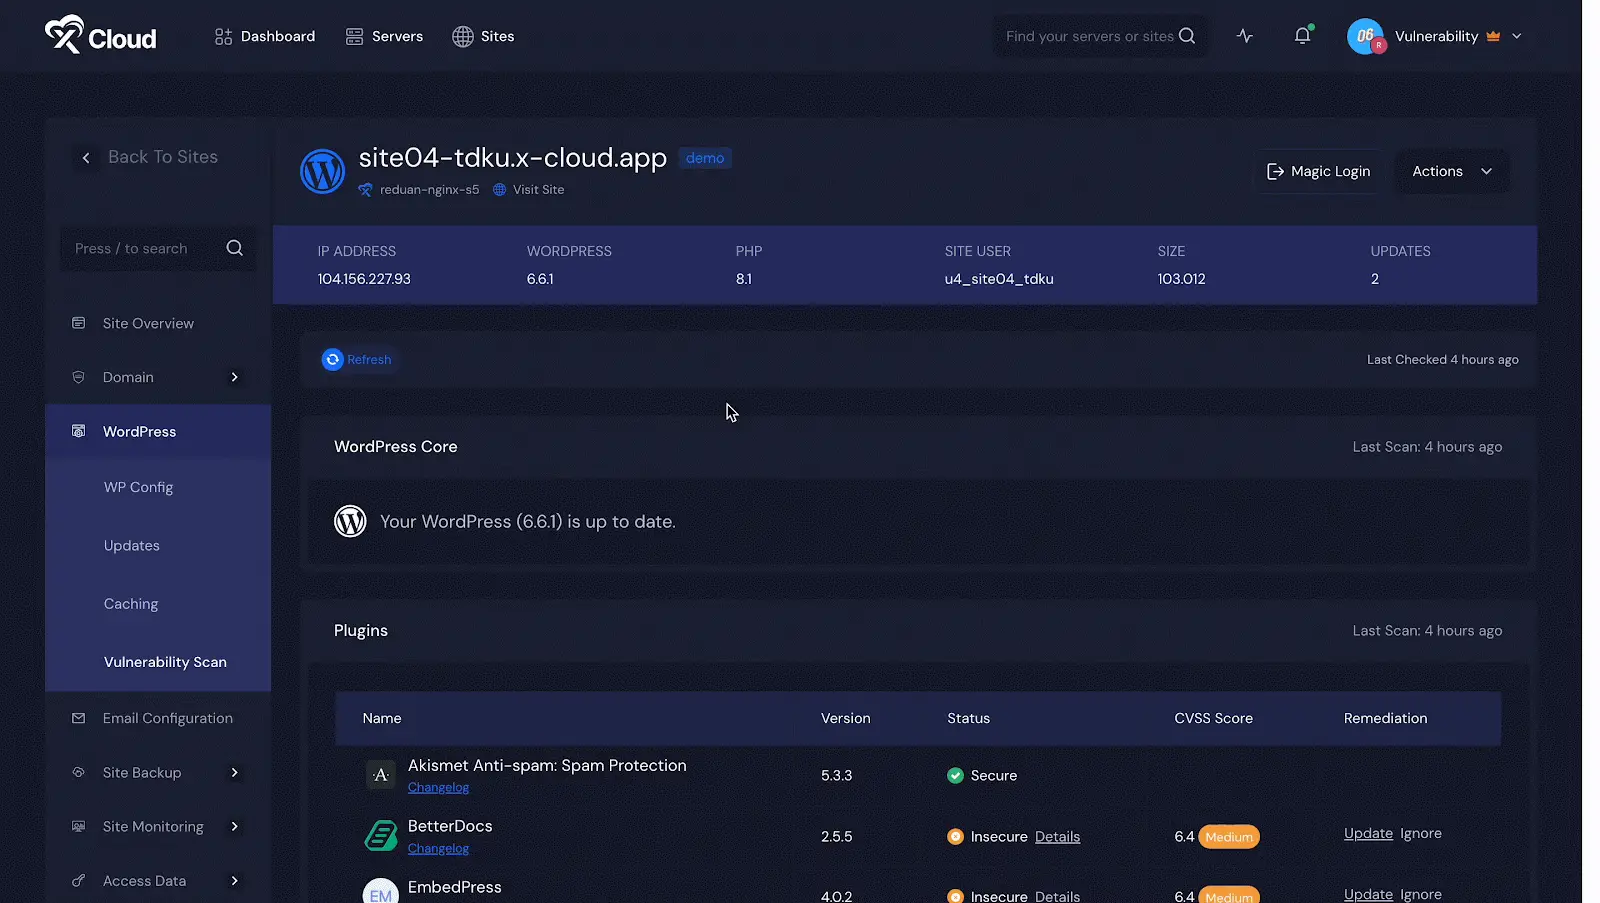
For customizing Adminer settings, locate the ‘Access Adminer’ option from the dashboard. To keep Adminer always accessible, select the ‘Always Enabled’ option.
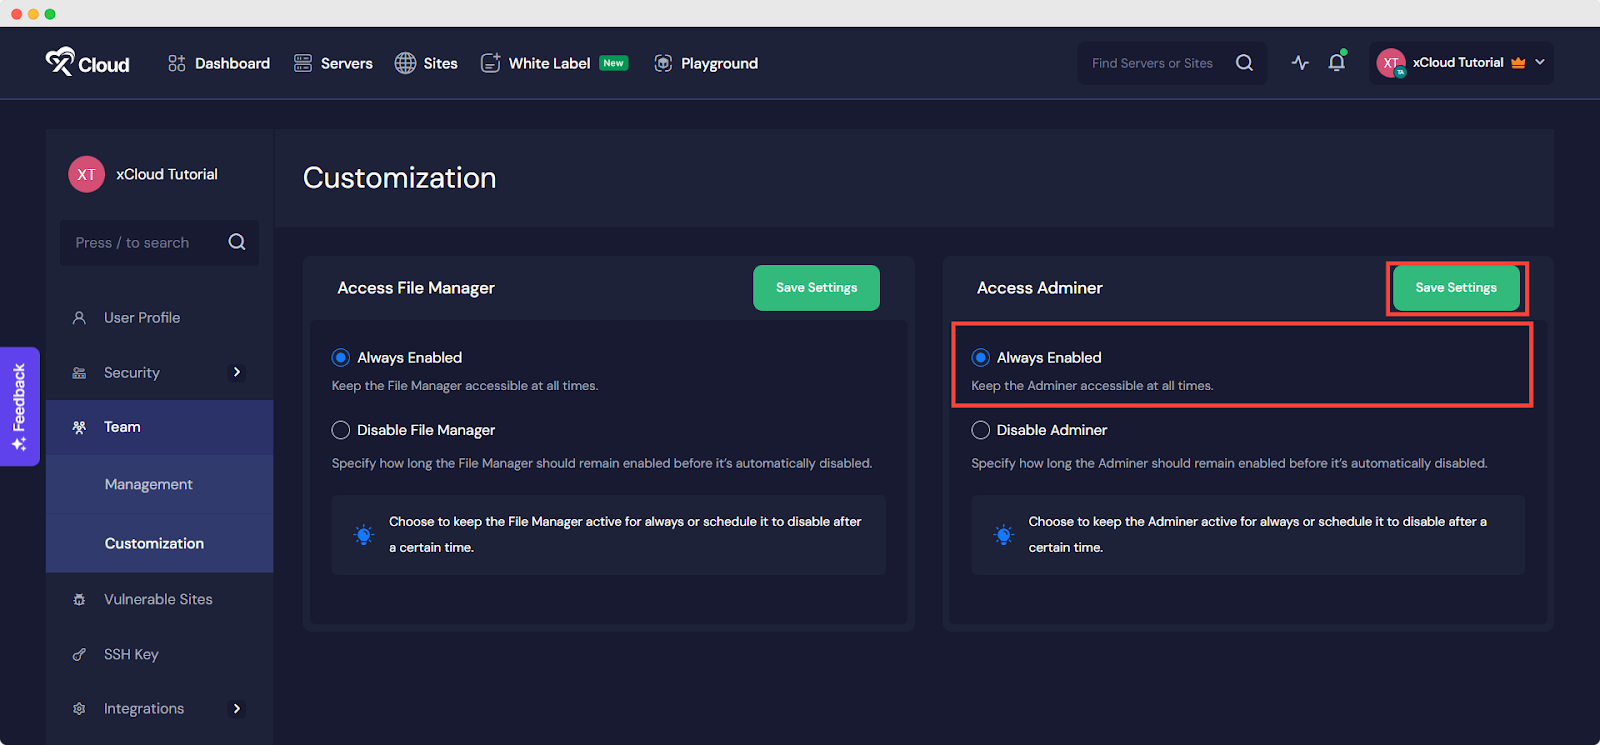
If you want to disable Adminer after a specific duration, choose the ‘Disable Adminer’ option. A dropdown menu will appear, enabling you to select the duration after which Adminer will be disabled. After selecting your preferred duration, click ‘Save’ to confirm your settings.
And that’s it. This is how easily you can configure the global settings for your File Manager and Adminer in xCloud.
Still stuck or have any questions? Contact our support team for any of your queries.