


WordPress Multisite simplifies website management into a single hub. With it, you can manage large agency or department web pages or a franchise’s location pages – all from one dashboard! If it is under subdomains, it can streamline updates, offer user control per site, and enforce network-wide branding.
With xCloud, you can easily set up WordPress Multisite with subdomains straight from the dashboard. We have also added Wildcard SSL support for this.
Follow this step-by-step guide to learn how you can set up WordPress Multisite with subdomains in xCloud.
💡Note: xCloud currently supports WordPress Multisite only with subdomains. Multisite setups using separate primary domains are not supported at this time.
Step 1: Add A New Site In xCloud #
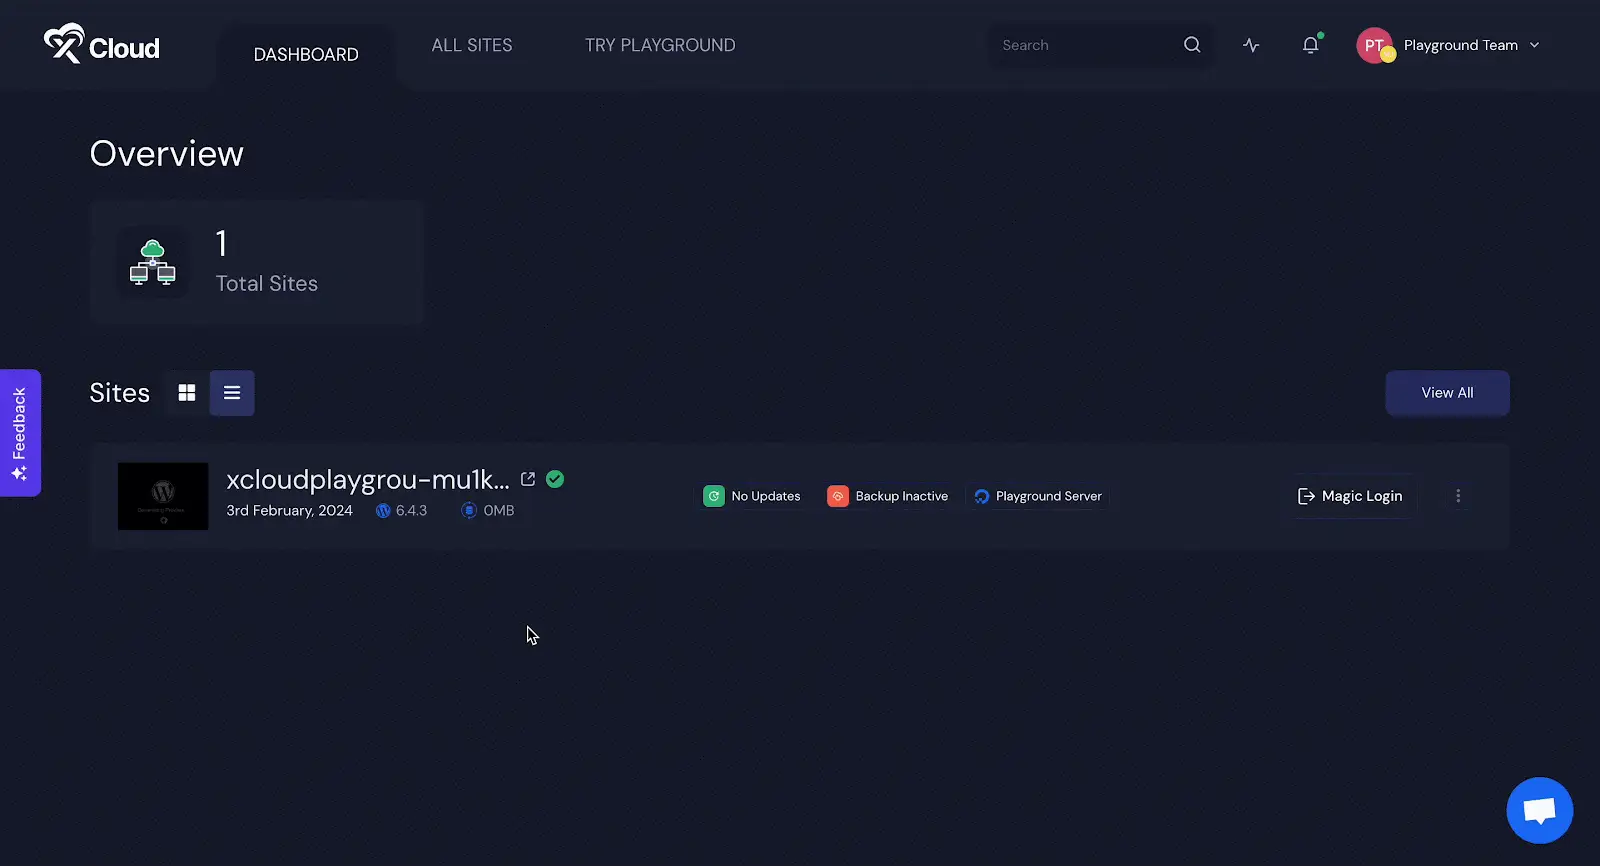
Log in to your xCloud dashboard and navigate to Sites. Here, ‘Add A New Site’ by tapping on the button.

Now, select your server from the next screen and hit the ‘Next’ button.
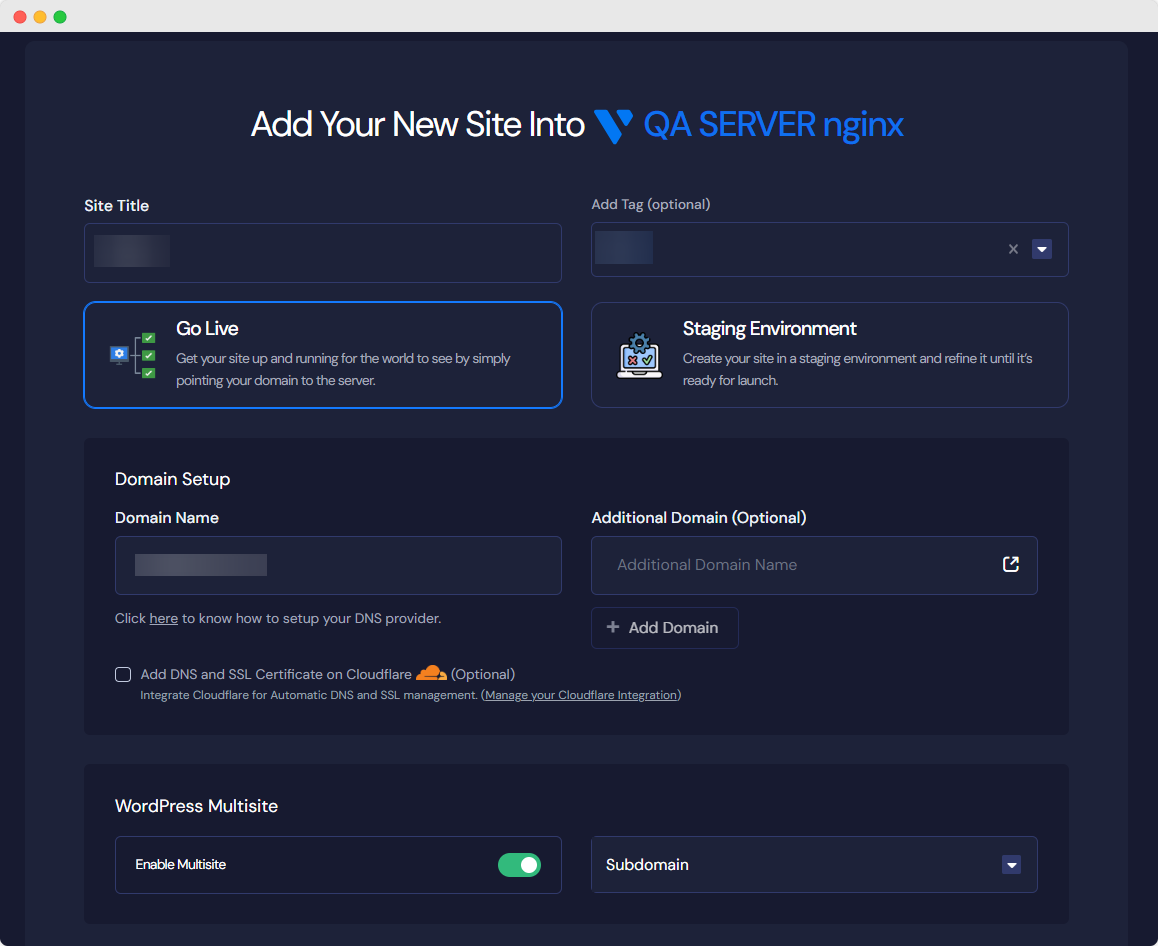
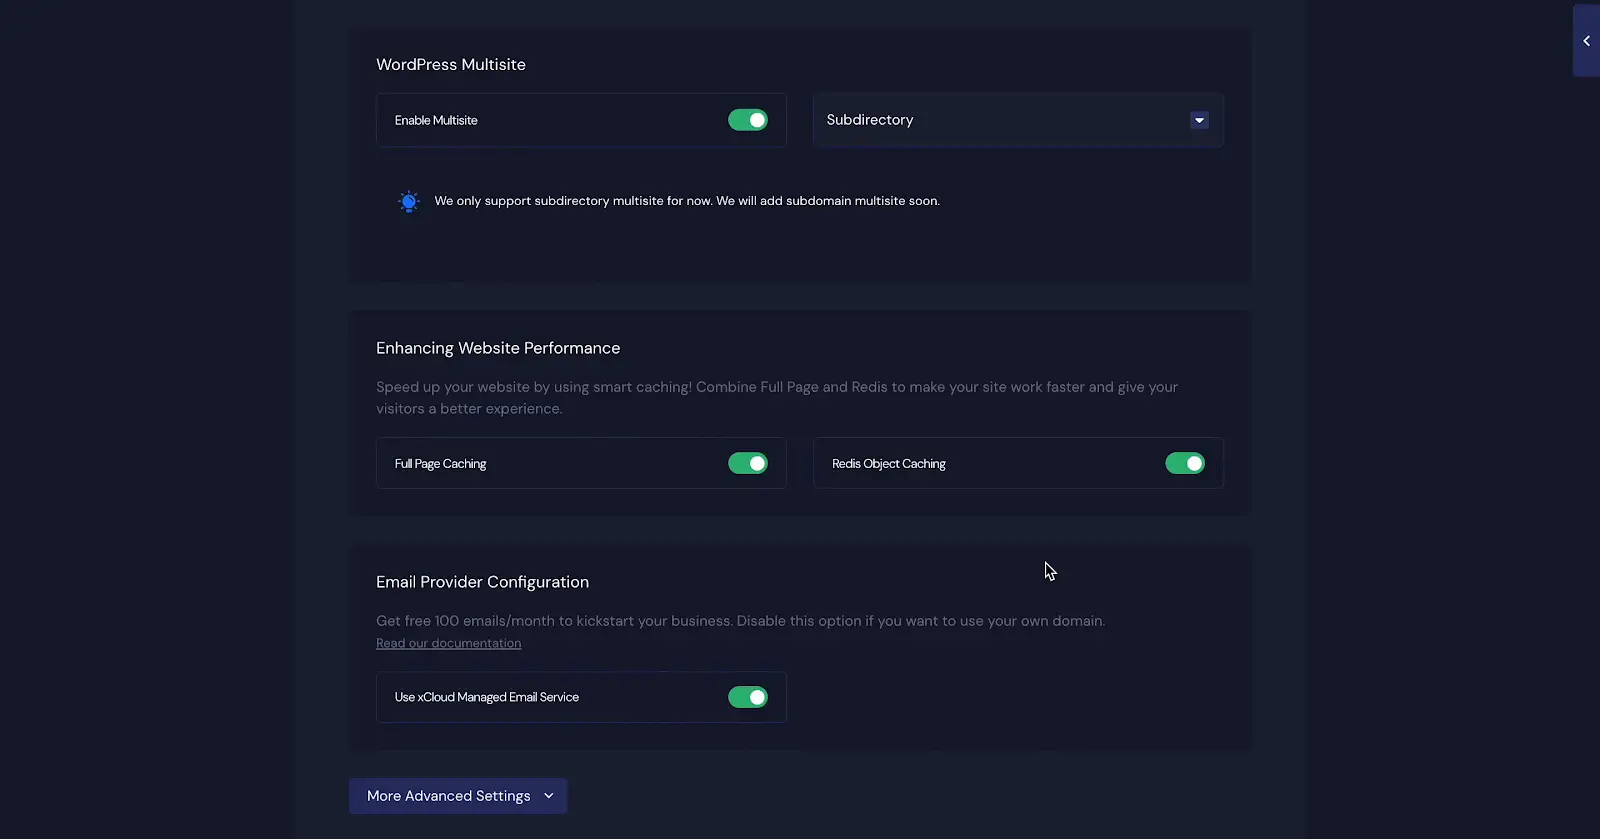
Now, set a title for your site, and provide a domain name in the ‘Domain Name’ field. Then, enable the ‘WordPress Multisite’ button and select ‘Subdomain’.
Now, you need to verify your DNS records. For tutorial purposes, we will be showing verifying DNS records for Cloudflare. However, you can do the same for Namecheap, or any other provider.
Step 2: Verify Your DNS Provider #
Here, we are using Cloudflare as our DNS provider for tutorial purposes. Log in to Cloudflare account and select your account. Then, navigate to DNS → Records. Now, tap the ‘Add record’ button and input your domain name and IP address (which can be found in the xCloud’s DNS Setup section).
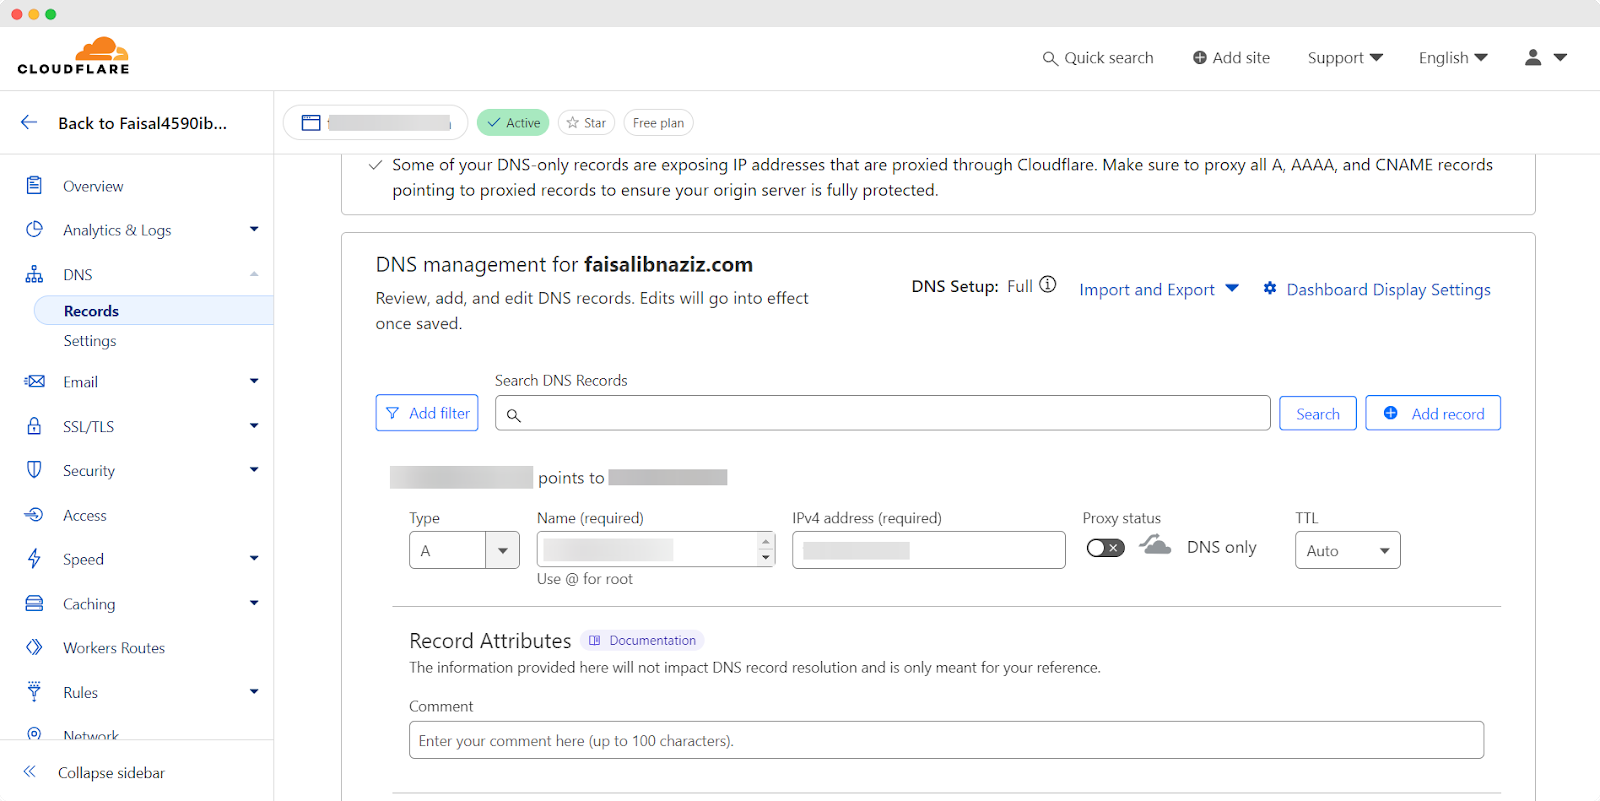
Similarly, add another record. Remember to turn off the ‘Proxy Status’ for both to use the SSL provided by xCloud. Once done, hit the ‘Save’ button.
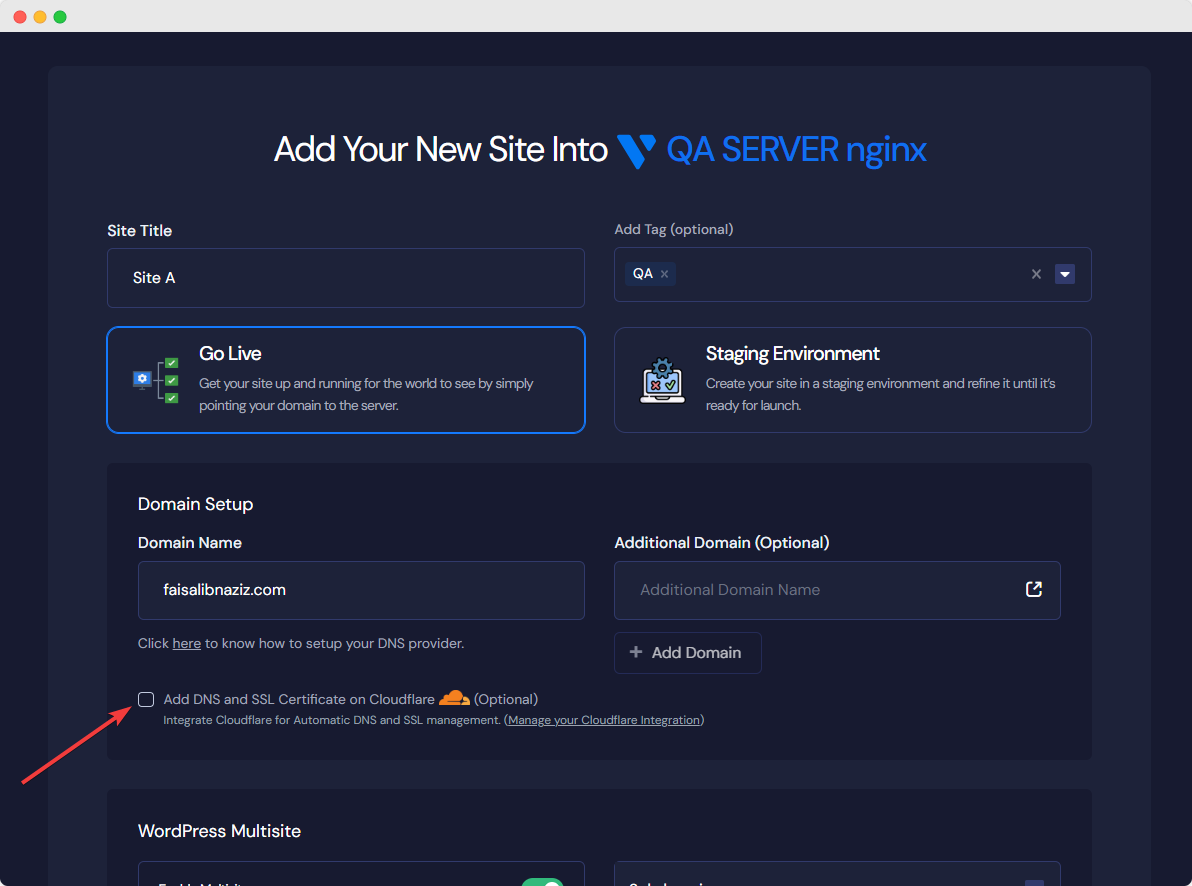
However, if your DNS provider is Cloudflare, you can also Add DNS and SSL certificates on Cloudflare straight from the ‘Add New Site’ button, as shown below.
For that, you need to integrate Cloudflare into xCloud from the ‘Integrations’ page if you have not configured it yet. You can access the page by navigating to Team Settings → Integrations → Cloudflare.
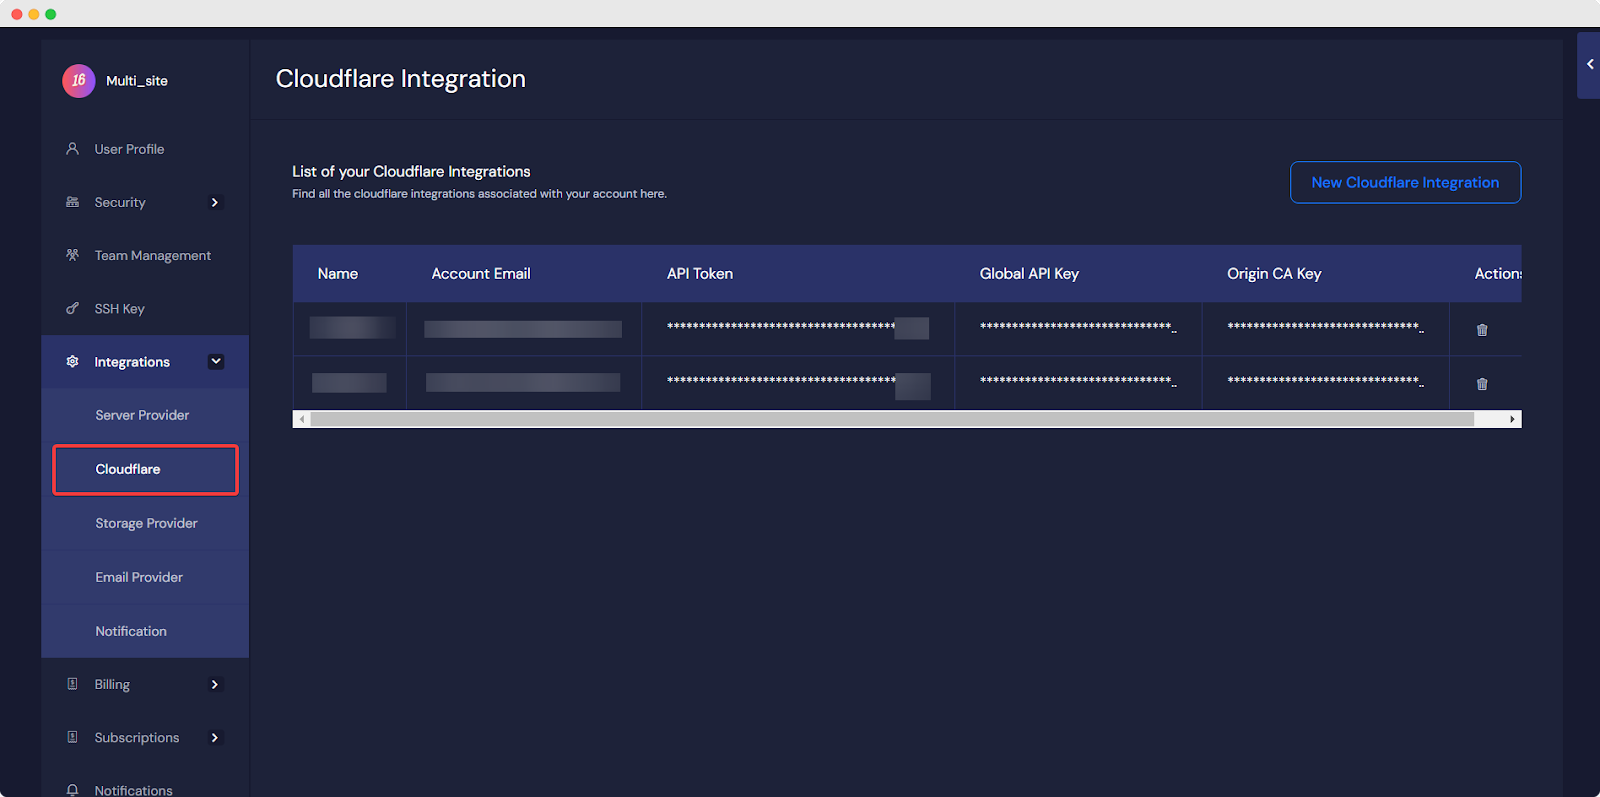
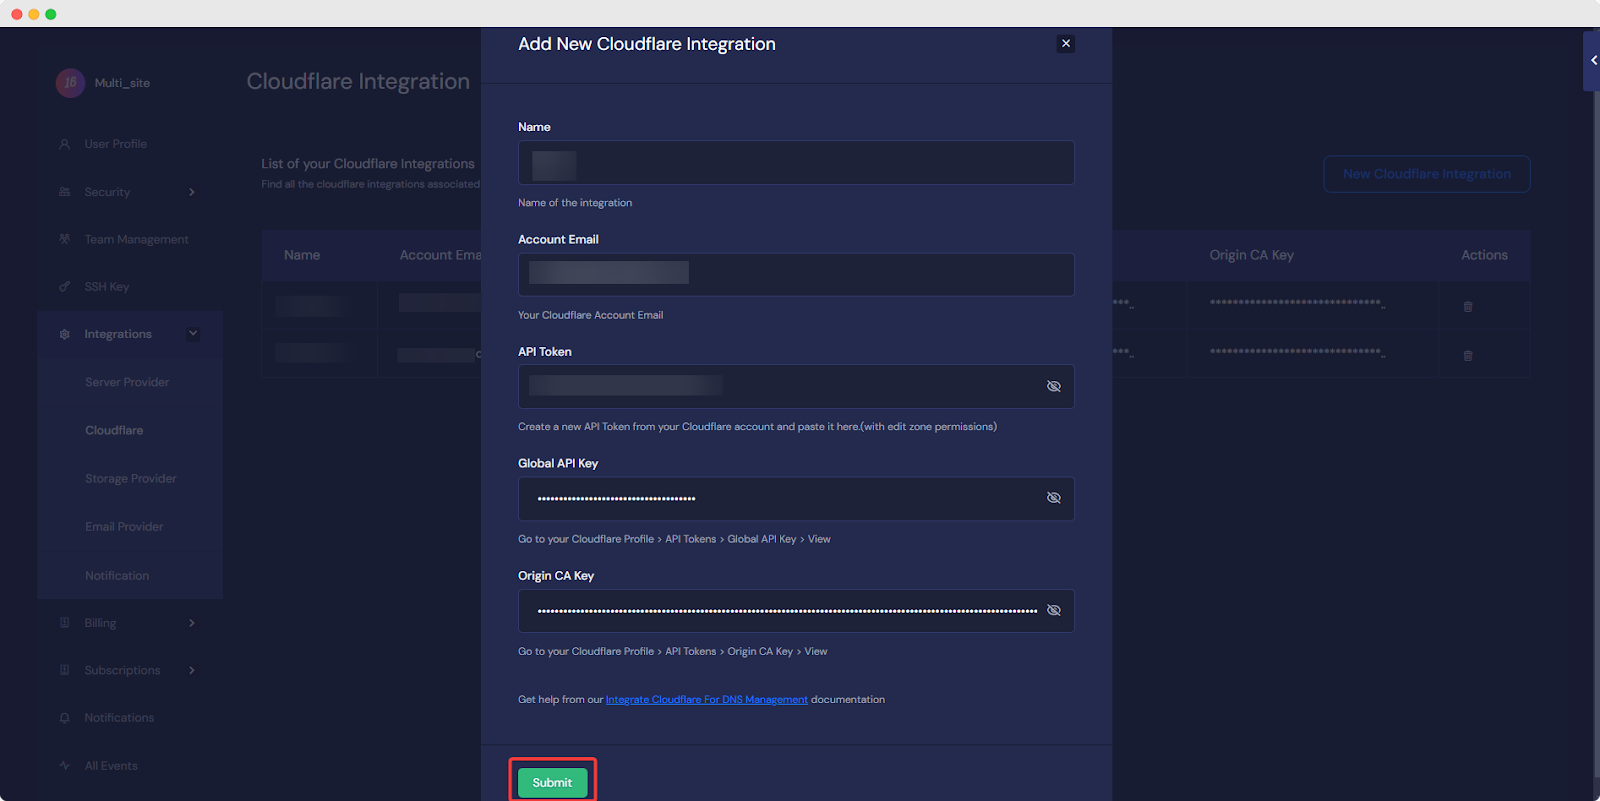
Here, tap on the ‘New Cloudflare Integration’. Now, add a name for your integration and provide your Cloudflare account email address. Then, you need to provide API Token, Global API Key, and Origin CA Key. To get these keys, navigate to My Profile → API Tokens from your Cloudflare account.
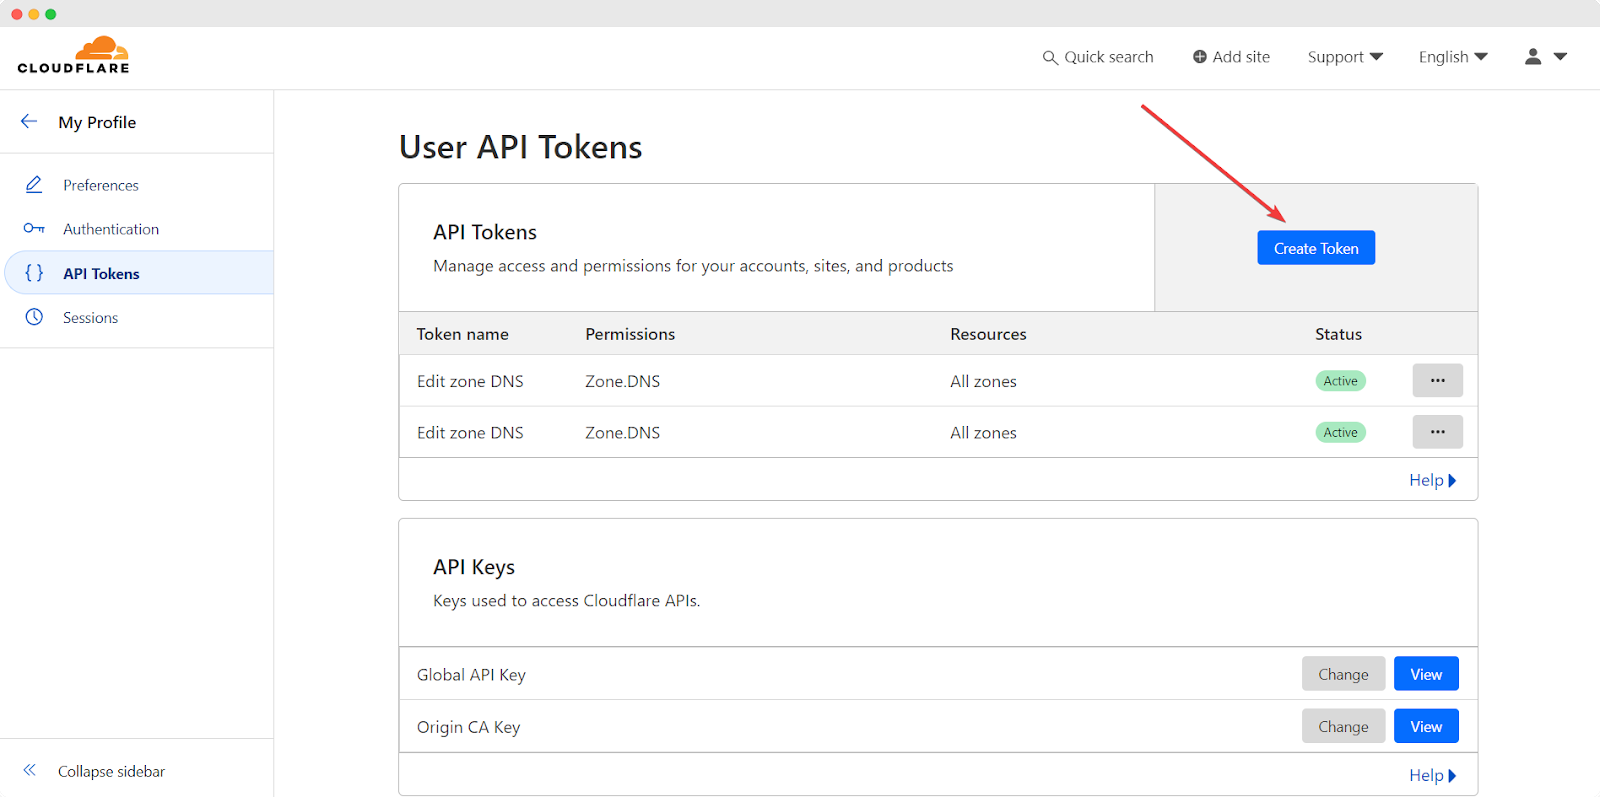
Now, tap the ‘Create Token’ button and pick the ‘Edit Zone DNS’ template. Select the ‘Include’ option from the ‘Zone Resources’ section and select ‘All Zones’. Drop down and tap the ‘Continue to Summary’ button. On the next screen, you will find the ‘Create Token’ button. Hit that, and your API Token will be generated instantly. Copy that Token for using on the xCloud integration page.
Now to get the Global API Key and Origin CA Key, go back to the User API Tokens page on Cloudflare. Tap the View buttons for those, and you will see those keys upon providing Cloudflare account passwords.
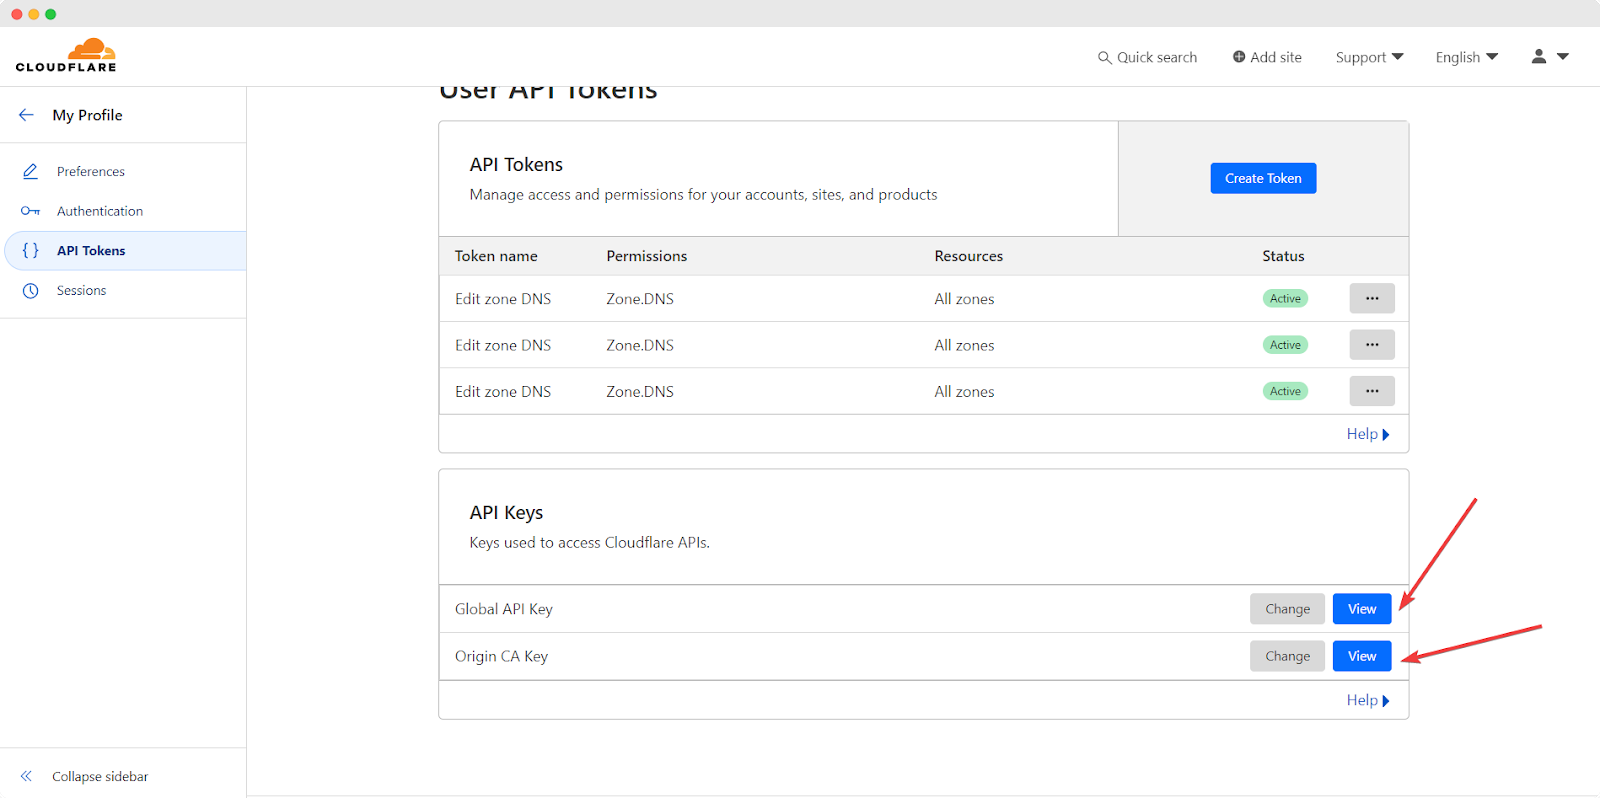
Then, copy those keys and paste them into the ‘Add New Cloudflare Integration’ popup on xCloud.
If you have added DNS records manually, now you need to verify your DNS Setup, getting back straight to the ‘Add New Site’ page on xCloud.
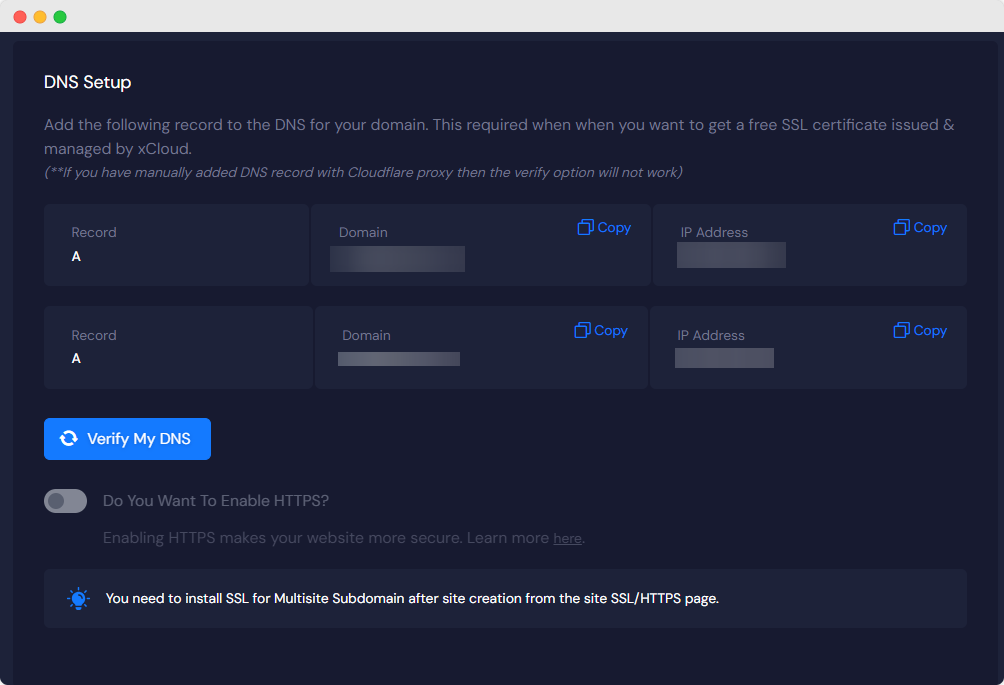
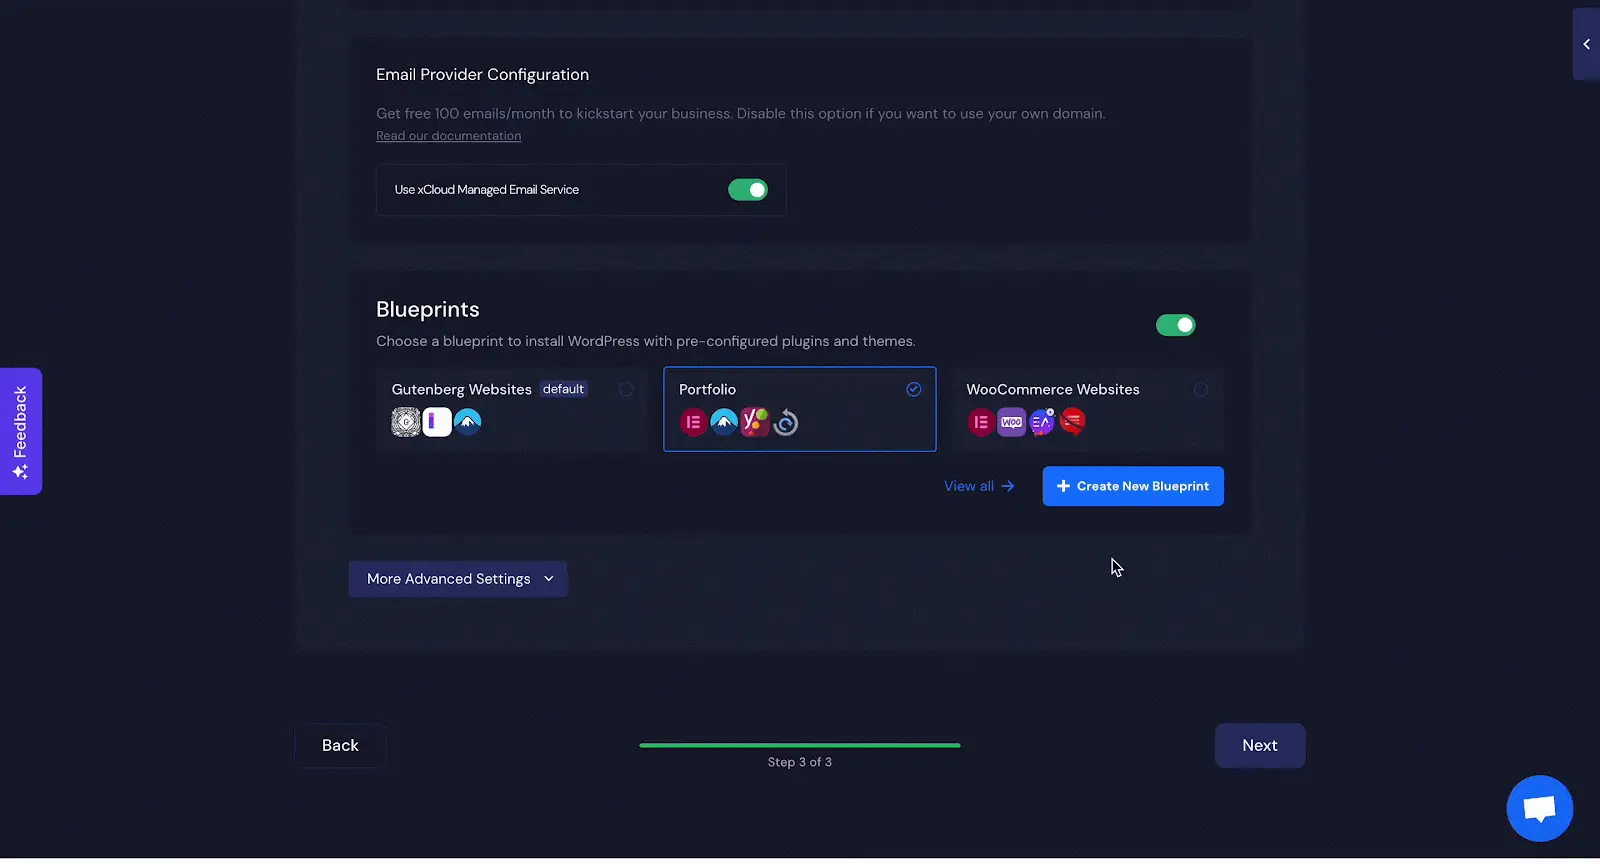
Now, hit the ‘Verify My DNS’ button. Your DNS will be verified in a few seconds. Once done, you can skip the Caching, Email Provider Configurations, and Blueprint options later.
Once done, hit the Next button. It will start setting up your new WordPress Multisite with Subdomain, and will be completed in a while.
Step 3: Configure SSL From xCloud #
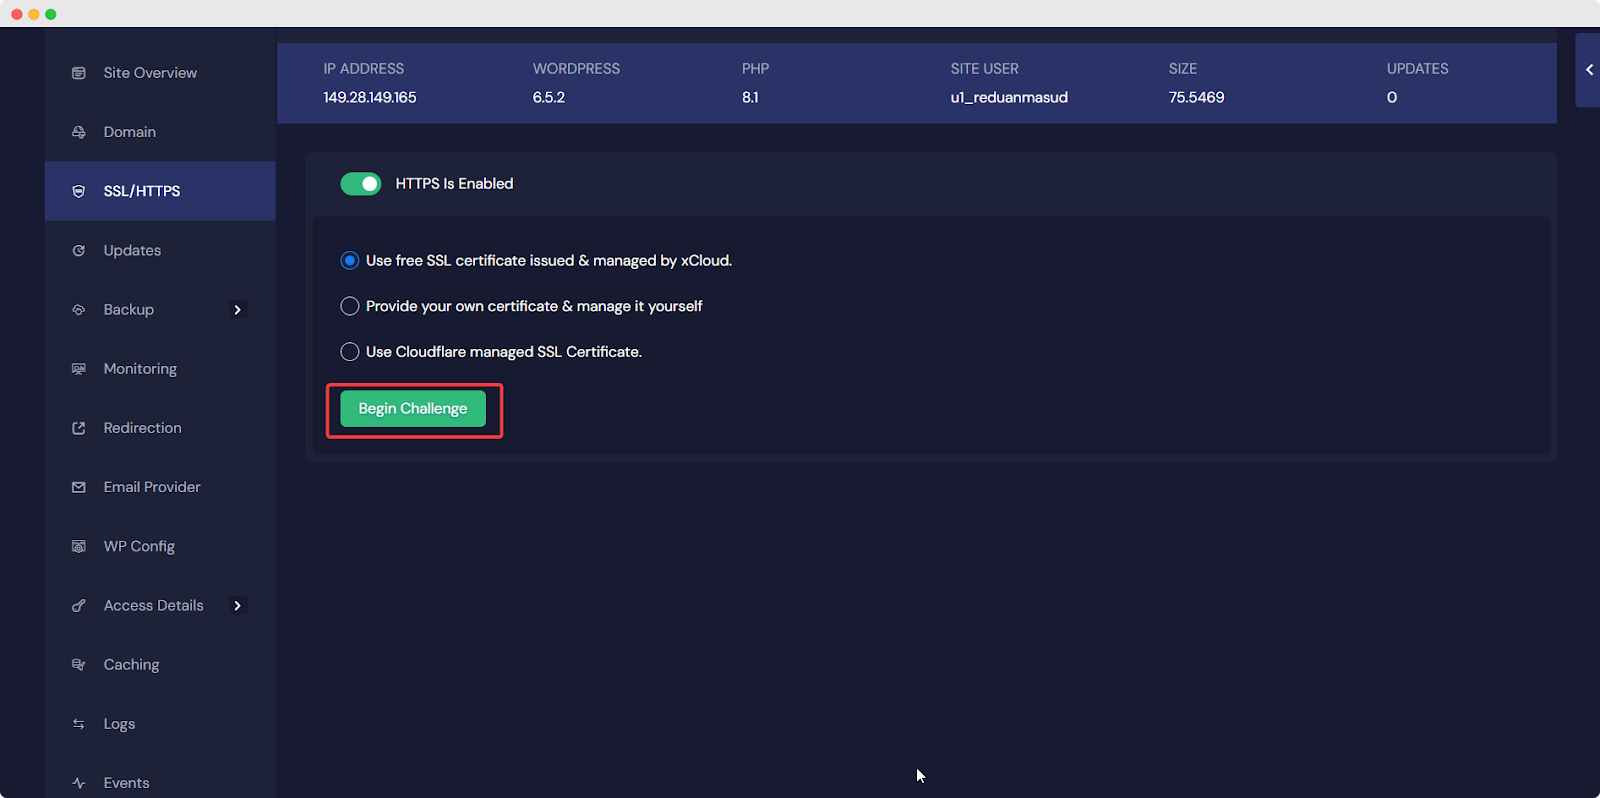
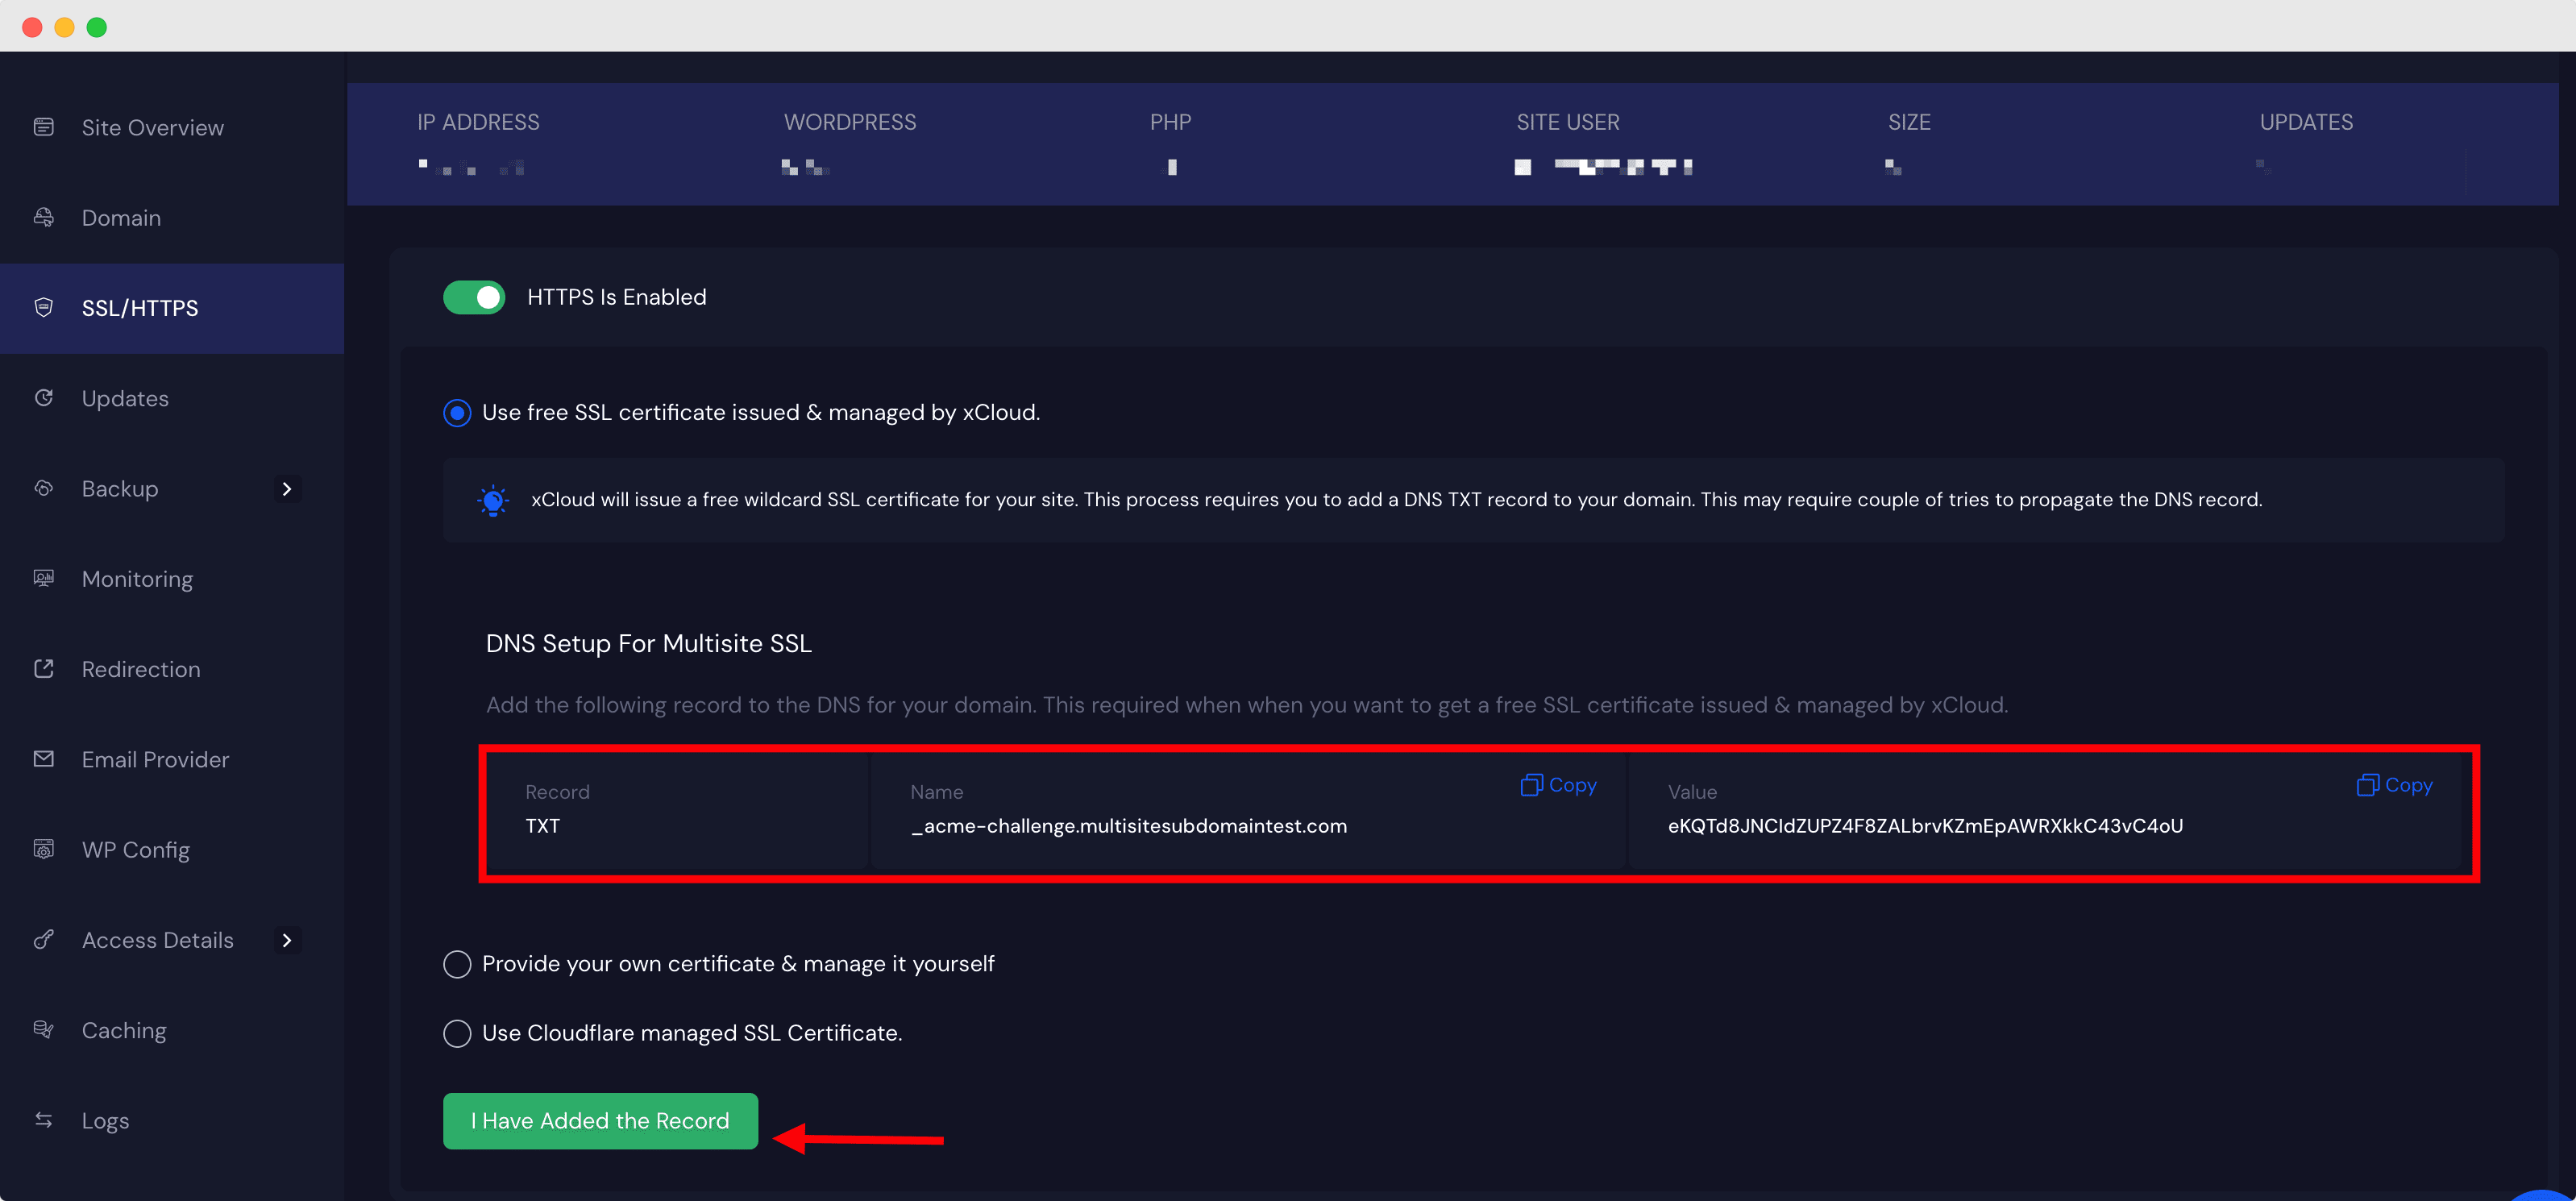
Once done, you will be taken to your site overview page in the xCloud dashboard. Here you need to configure SSL certificates by tapping the SSL/HTTPS button on the left panel. Here, you need to enable the HTTPS button. Now, select the ‘Use free SSL certificate issued & managed by xCloud’ and tap the ‘Begin Challenge’ option.
[Note: This process is handled by the DNS/SSL provider. Depending on the availability and provider responses, it can take a few seconds to a few hours for this process to complete.]
Once done, you will see the ‘Installed’ status.
Step 4: Add TXT record on DNS provider #
After a while, you will see the TXT record which is needed to add on your DNS management provider.
After saving the TXT records come back to xCloud and click verify.
Note: It might take some time to verify also and this depends on your provider.
Step 5: Check & Add Subdomains To Your Site #
Once done, you can click the ‘Magic Login’ option from your Site Overview screen. Now, from the WordPress dashboard, you can navigate to My Sites → Network Admin → Sites page.
Here, you can add the required information, such as site address, site title, and site URL. Once done, hit the ‘Add Site’ button. Your WordPress Multisite with subdomain will be created instantly.
Here is how you can set up WordPress Multisite with subdomain.
Still stuck? Contact our support team for any of your queries.


