


If your virtual private server (VPS) isn’t set up right, it can be open to cyber attacks. Even with strong security from your hosting provider, it’s important to take extra steps to keep it safe. That’s where the firewall management comes in.
With xCloud hosting you can activate UFW (Uncomplicated Firewall) to regulate incoming and outgoing traffic with just a single click. Our easy dashboard allows you to configure firewall settings with ease, putting you in full control of your server’s security. This new feature helps block any harmful traffic trying to get into or out of your server. You can disable, delete, and create new firewall management rules with xCloud. xCloud utilizes UFW for WordPress-specific Firewall rules, enhancing security against unauthorized access and malicious attacks.
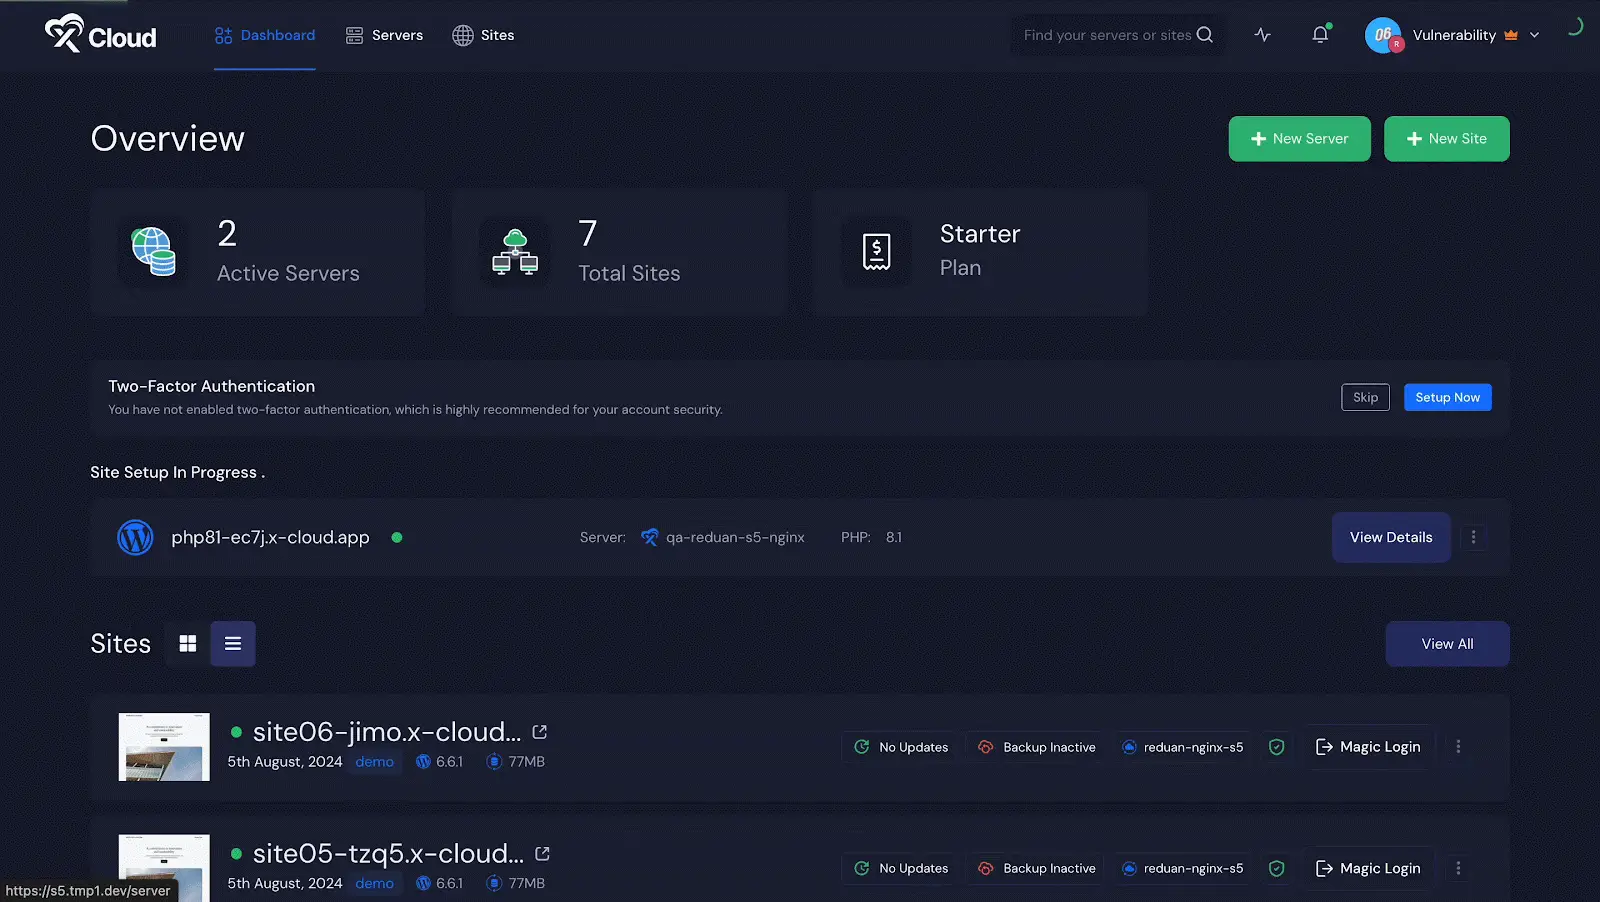
Step 1: Configure Firewall Management From Server Dashboard #
Now navigate to your All Server dashboard. From here, go to the ‘Security’ section from the sidebar menu. Under this menu, you’ll see an option labelled ‘Firewall Management’. Click on that.
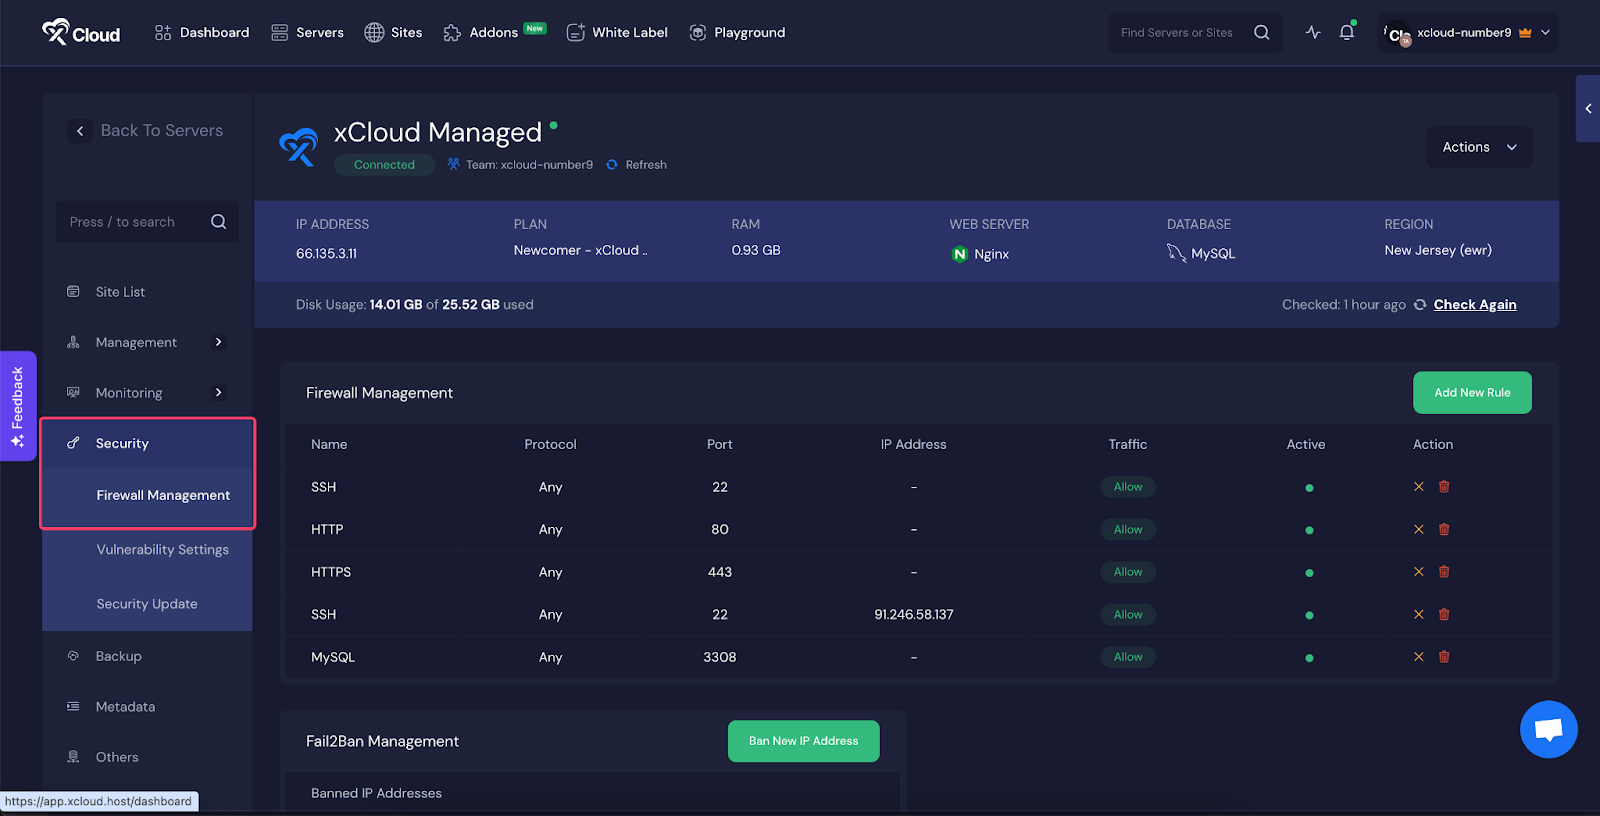
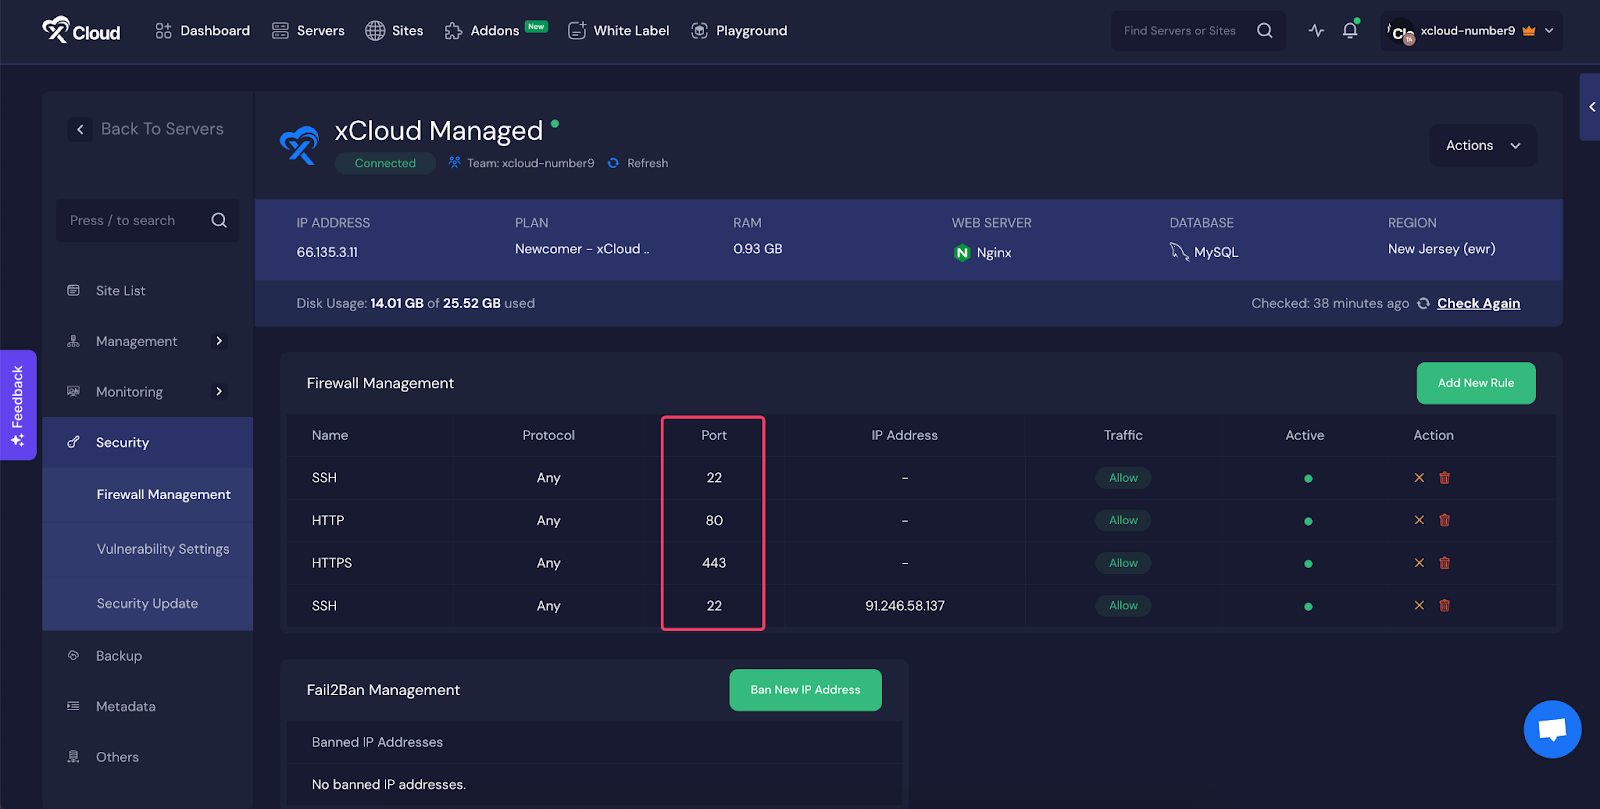
Here, you’ll see all your current Firewall rules. From this section, you can create new rules, delete existing ones, or disable rules as needed.
By default, we set up three rules to open specific ports:
- Port 22 for SSH.
- Port 80 for HTTP, and
- Port 443 for HTTPS
For security reasons, all other ports are automatically closed.
Add New Rule: To add a new rule, just click on ‘Add New Rule‘. This will open up a form where you can fill in the details: ‘Rule Name’, ‘Port’, ‘IP Address’, ‘Protocol’, and ‘Traffic options’. Fill out these fields according to your needs, then click ‘Add Rule‘ to apply the new rule.
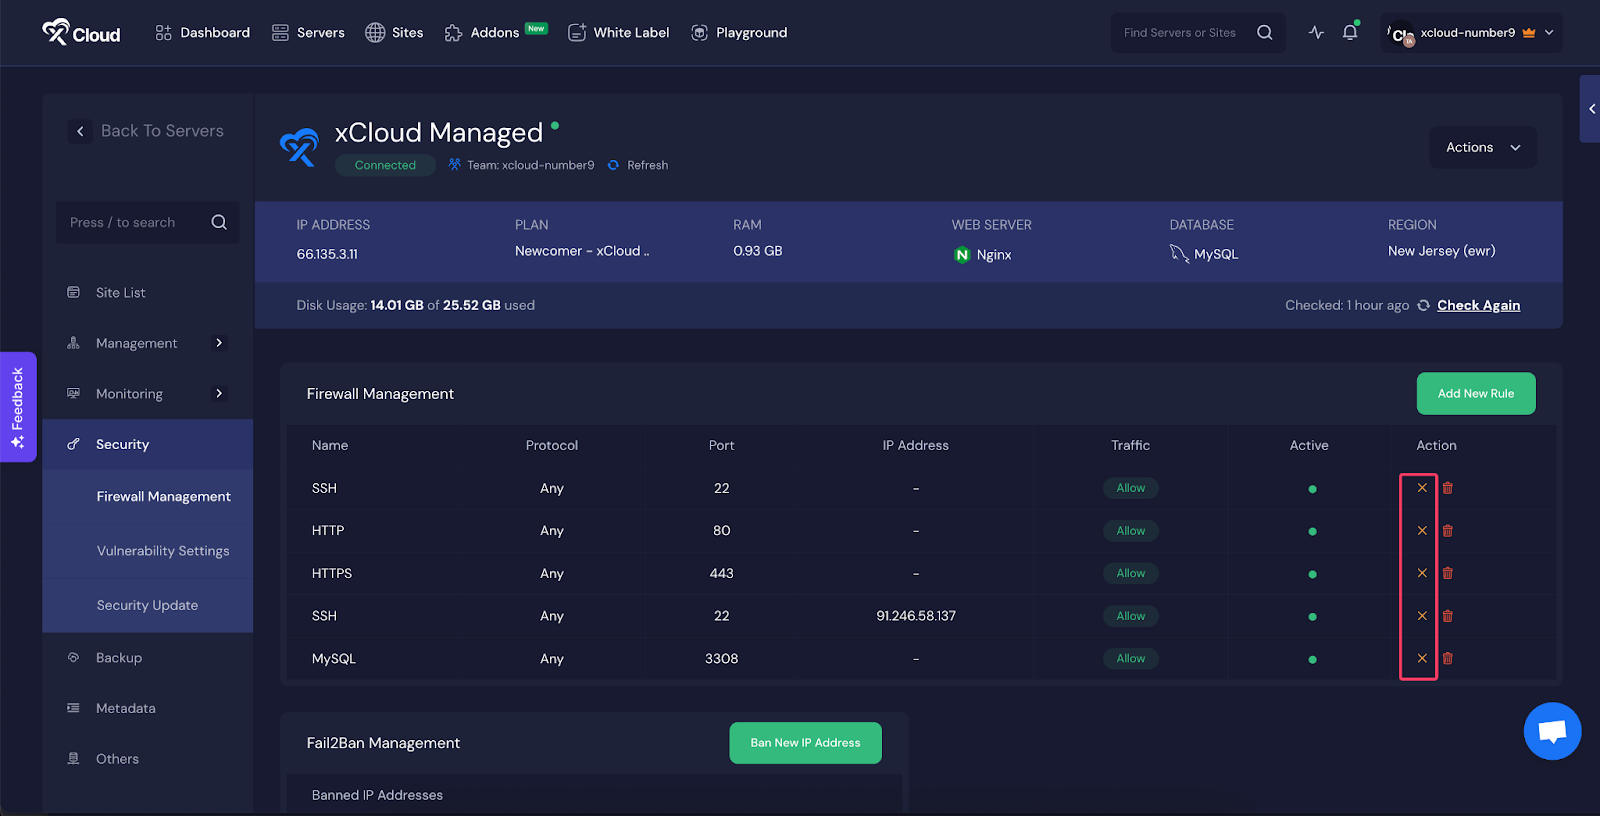
Disable & Enable Firewall Rule #
By clicking this option, you’ll temporarily disable the rule. You can easily enable it again whenever you need to.
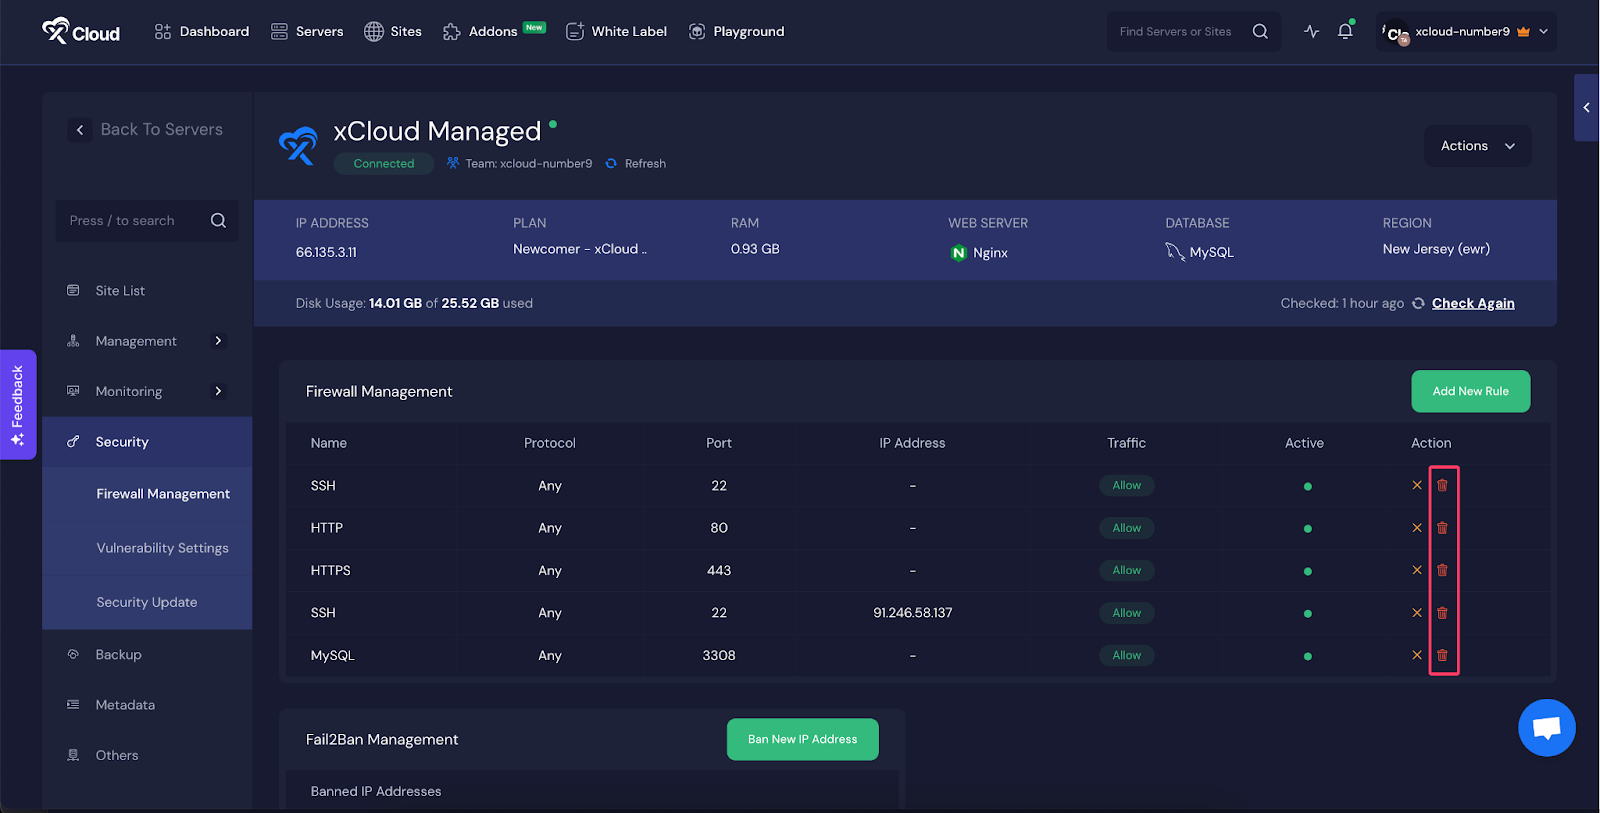
Delete Firewall Rule #
Choosing this option will permanently delete your firewall rule. Be sure to take the necessary precautions before proceeding with this action.
Firewall Rule Risk Warnings #
You won’t get locked out by accident anymore! xCloud now warns you before you add risky firewall rules, like blocking port 22 (SSH) or all IP addresses. You will see a clear warning and must confirm before saving any rule that might prevent you from accessing your server or the xCloud panel.
SSH Rule Deletion Warning #
If you try to delete the SSH (Port 22) rule, xCloud will show you a warning first. Deleting this rule can lock you out of your server and stop SSH access. You need to confirm before xCloud allows the deletion. This step helps prevent accidental disconnection from your server.
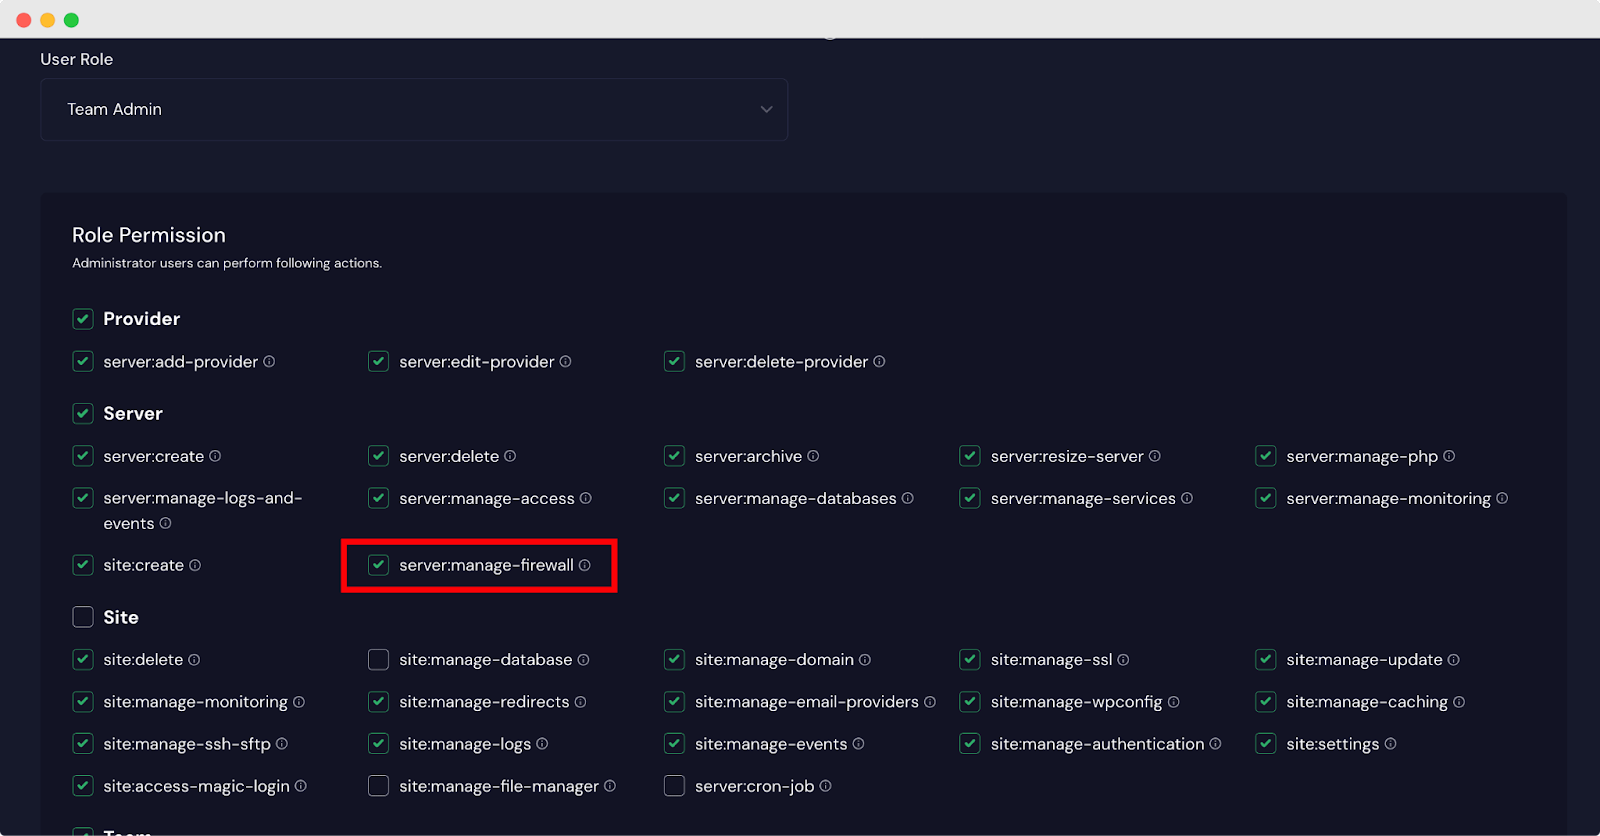
Give Permission To Configure Firewall Management #
If you want your team members to be able to set up firewall rules, just go to the team page and enable it there. To get started, log in or sign up for your xCloud account using your username and password. Once logged in, click on your account dropdown and select the ‘Team‘ page. There, you’ll see an option to tick the box for ‘server:manage-firewall‘. Don’t forget to save your settings after ticking the box.
This is how you can easily configure firewall management with xCloud.
Still stuck? Contact our dedicated support team for any of your queries.


