


Adding an SSH (Secure Shell) key to your server is a security measure and a method of authentication. SSH keys are used for secure, encrypted communication between your local computer (or client) and a remote server. With xCloud, you can easily generate and add SSH keys to your server to keep the server secure from unauthorized access.
How To Add SSH Keys To Your xCloud Account #
Follow the step-by-step instructions below to generate and add SSH keys, and delete them as well from your xCloud server.
Step 1: Access Your xCloud Settings #
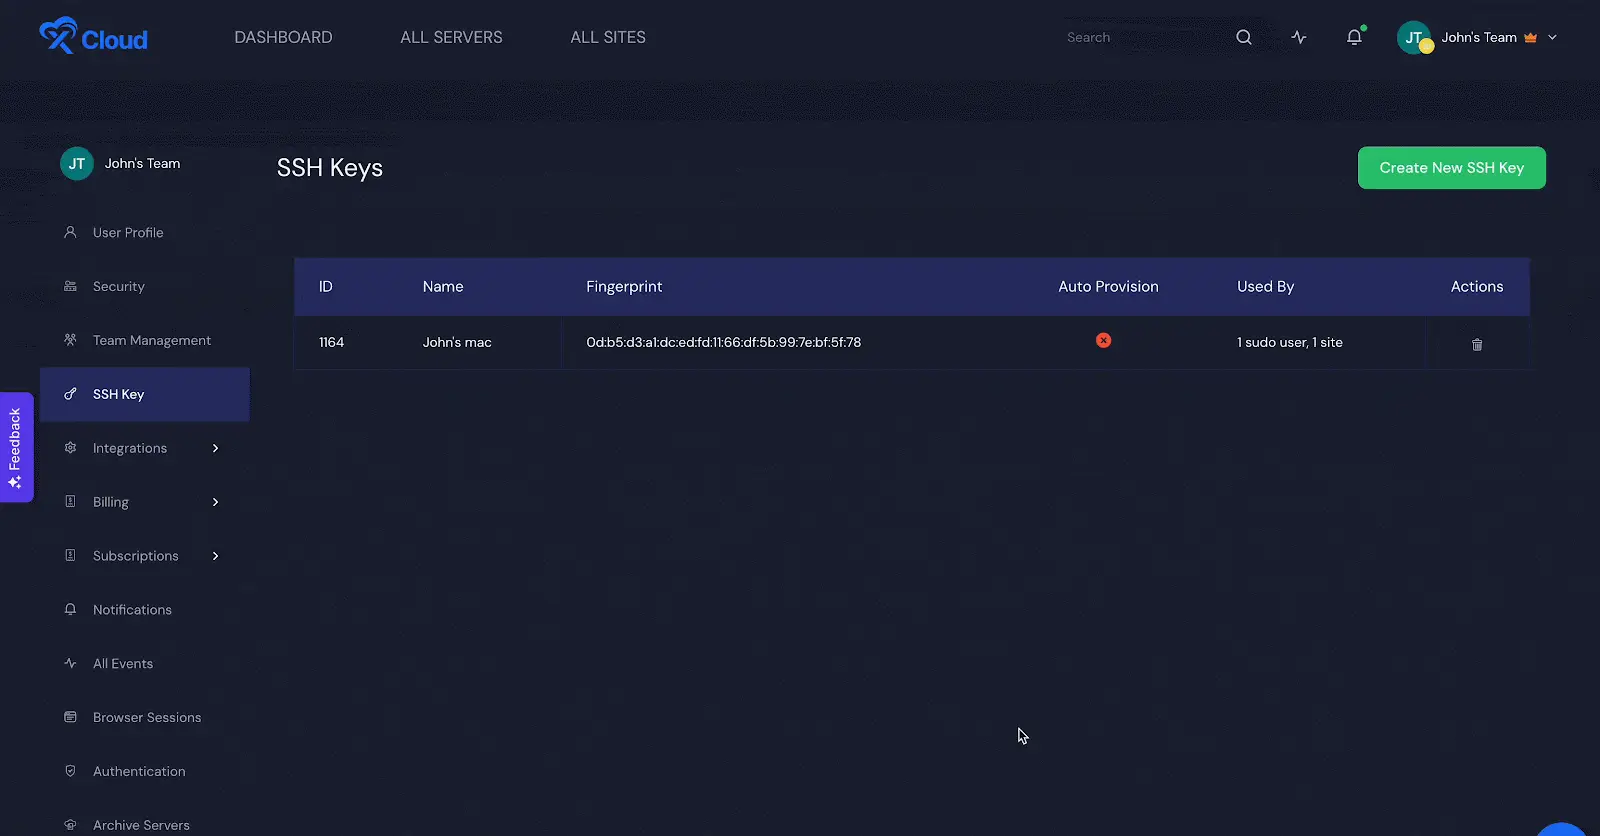
Log in to your xCloud account and visit the ‘SSH key’option under your account settings.

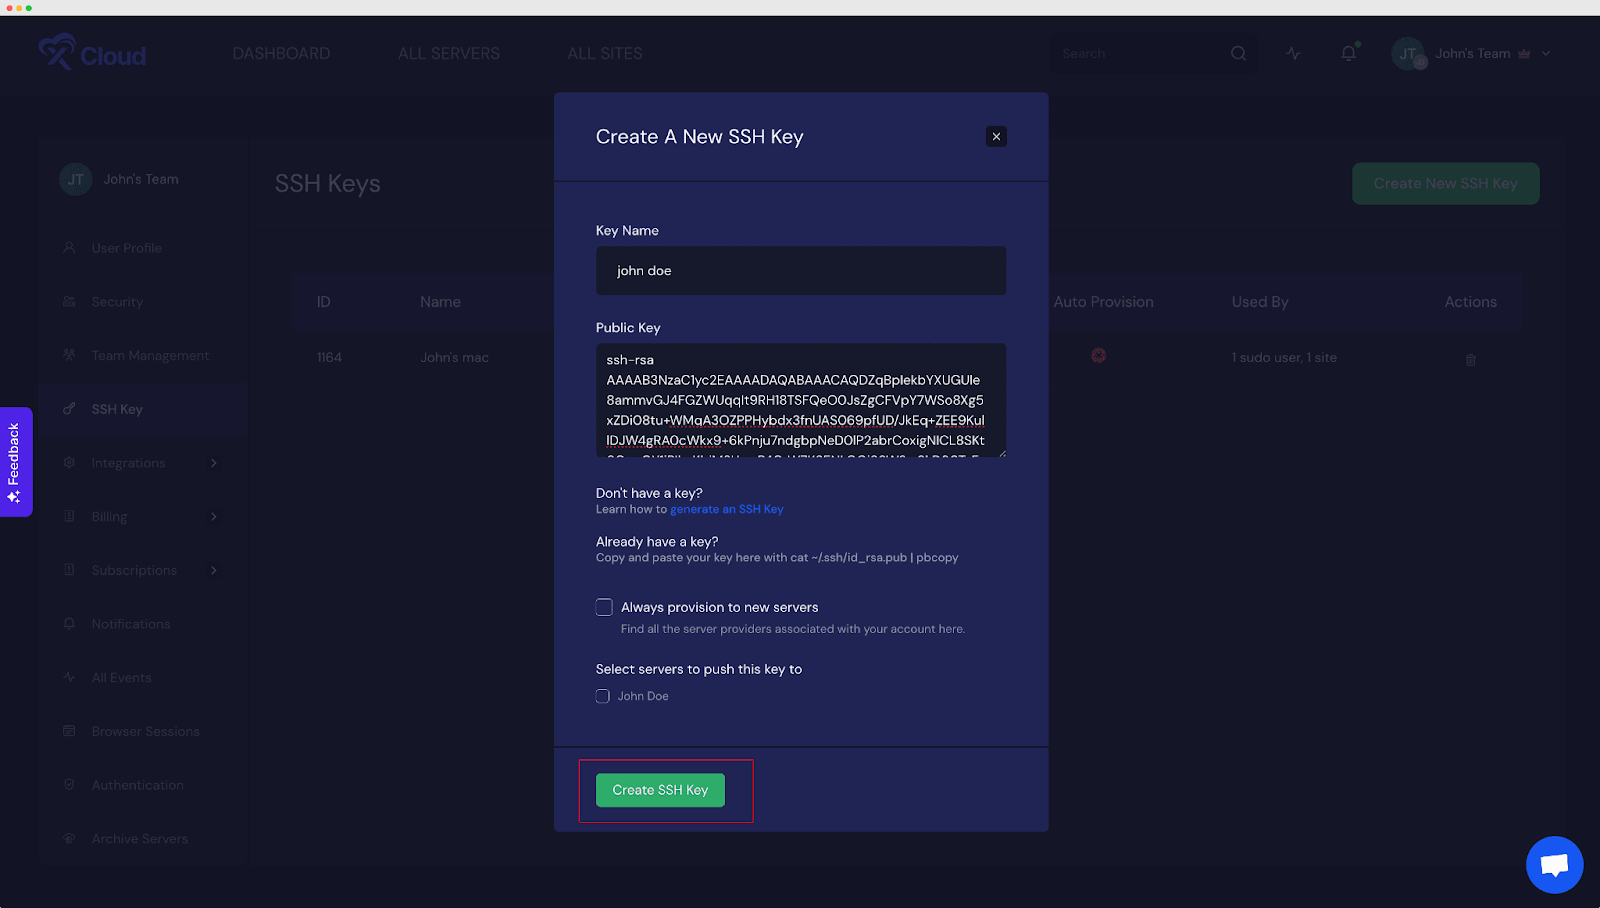
Step 2: Add Your Public SSH Key To The xCloud SSH Keys Settings #
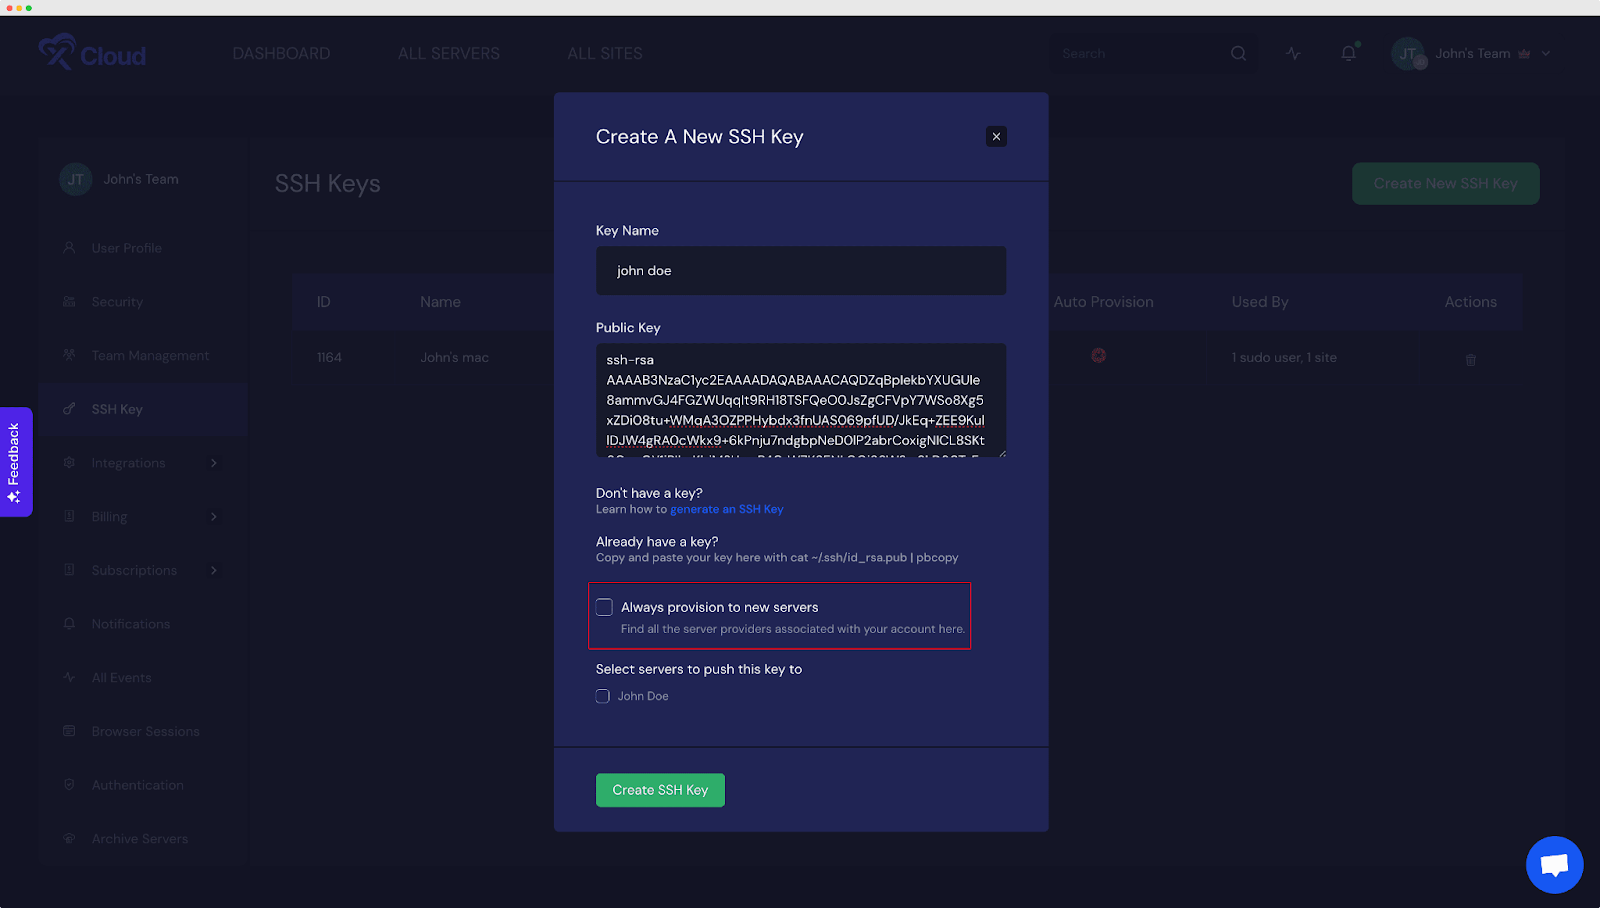
To add a public SSH key to your xCloud click on the “Create New SSH Key” button, and paste your Public SSH Key.
What if you do not have an SSH key yet? Let’s learn how you can generate an SSH Key from scratch.
How To Generate An SSH Key? #
To create a new SSH key, open a terminal and execute the given command:
ssh-keygen -t rsa -b 4096 -C “your_email@example.com
Replace “your_email@example.com” with a unique identifier to distinguish this SSH key (it doesn’t have to be an email address).
When prompted to select a file to store the key, press Enter to accept the default location (~/.ssh/id_rsa).
When asked to set a passphrase, you can leave it empty by pressing Enter. Alternatively, for an additional layer of security, you have the option to assign a passphrase to the SSH key.
However, keep in mind that using a passphrase will require you to enter it each time the SSH key is used.
If you are a Mac user then you can easily open your Terminal and paste the following command to copy the public SSH key in your clipboard.
pbcopy < ~/.ssh/id_rsa.pub
Still unable to generate an SSH key? Please refer to the following guides:
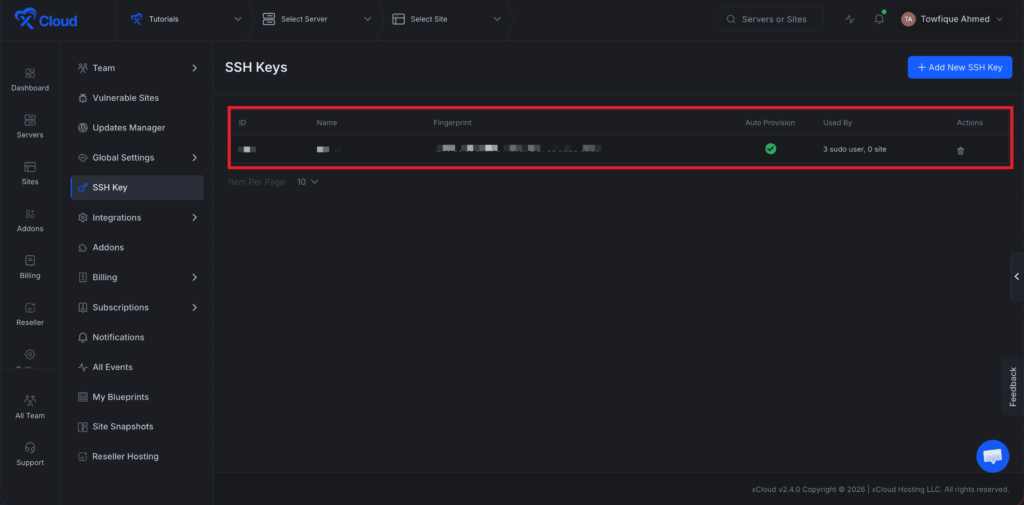
Or contact our support for further help. After successfully adding the SSH key, it will be displayed in the “SSH Key” section in your xCloud dashboard.
Let’s Add The SSH Key To xCloud Servers #
While adding the SSH key, you may also assign it to a server by creating a Sudo User with it as shown below. Make sure, you click on ‘Save’ after setting your default sudo user & password.
Want to assign an SSH key always to new provision servers?
While adding an SSH Key you can check the marked option shown below in xCloud to add an SSH key automatically to newly provisioned servers instead of doing it manually every time.
How To Delete SSH Key From The xCloud Dashboard #
To delete an SSH key from the xCloud dashboard, go to ‘Settings‘ and select ‘SSH Key‘ from the sidebar or use the direct link visit this link to access the page quickly. Then, click the ‘Delete‘ icon under the ‘Actions‘ column next to the key you want to remove.
This is how you can easily generate and add SSH keys & to your xCloud server. Plus, you can delete your keys if you don’t need them.
Still confused or if you need any help with anything? Contact our support team right away.


