

How To Set Up Hetzner Server In xCloud Host?
Updated September 27, 2026 · 3 min read
You can easily set up Hetzner server in xCloud. This self-managed hosting aims to simplify the hosting and managing of WordPress sites, allowing developers and agencies to focus on building great websites without worrying about the underlying infrastructure. Now let us follow these steps to get you started.
Step 1: Sign Up/Login With xCloud
First, you will need to visit the xCloud website and you have to sign up or log in to xCloud with your credentials.
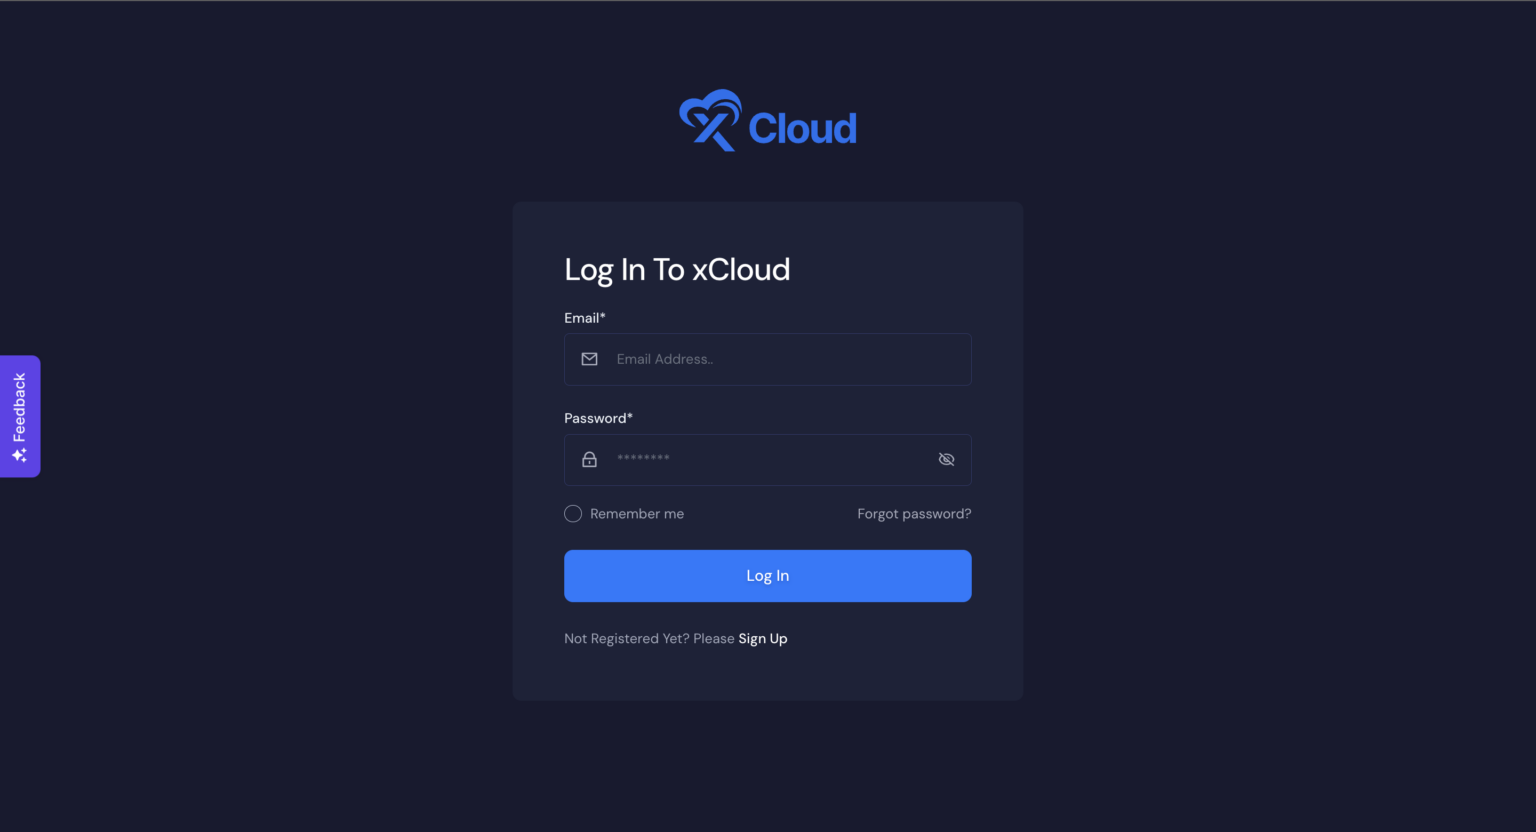
If you already have an account, please visit our app URL to log in to your account to set up a Hetzner server in xCloud Host.
Step 2: Create Your Hetzner Server In xCloud
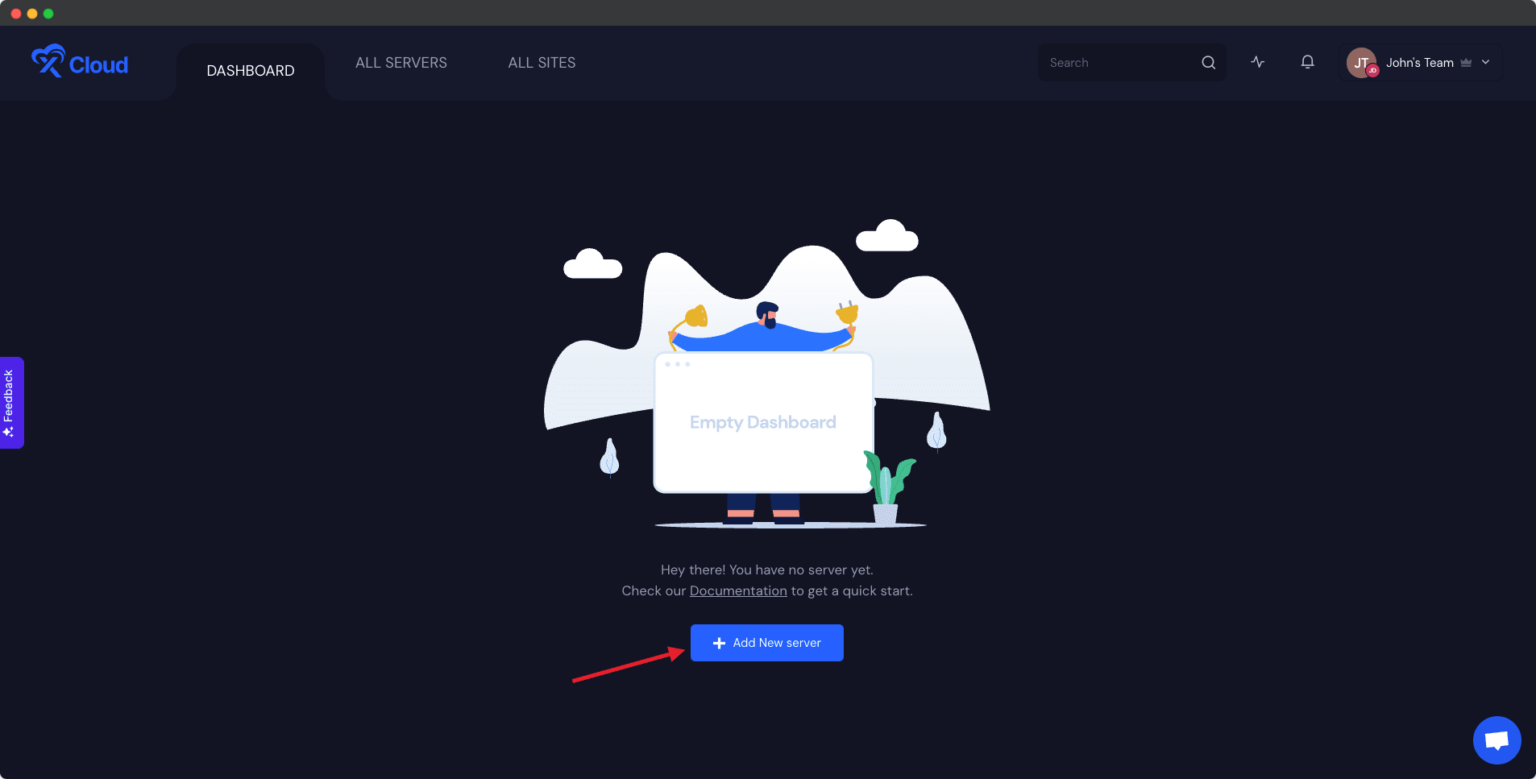
After logging in to your xCloud account, start by adding a new server by clicking on the “New Server” button from your dashboard.
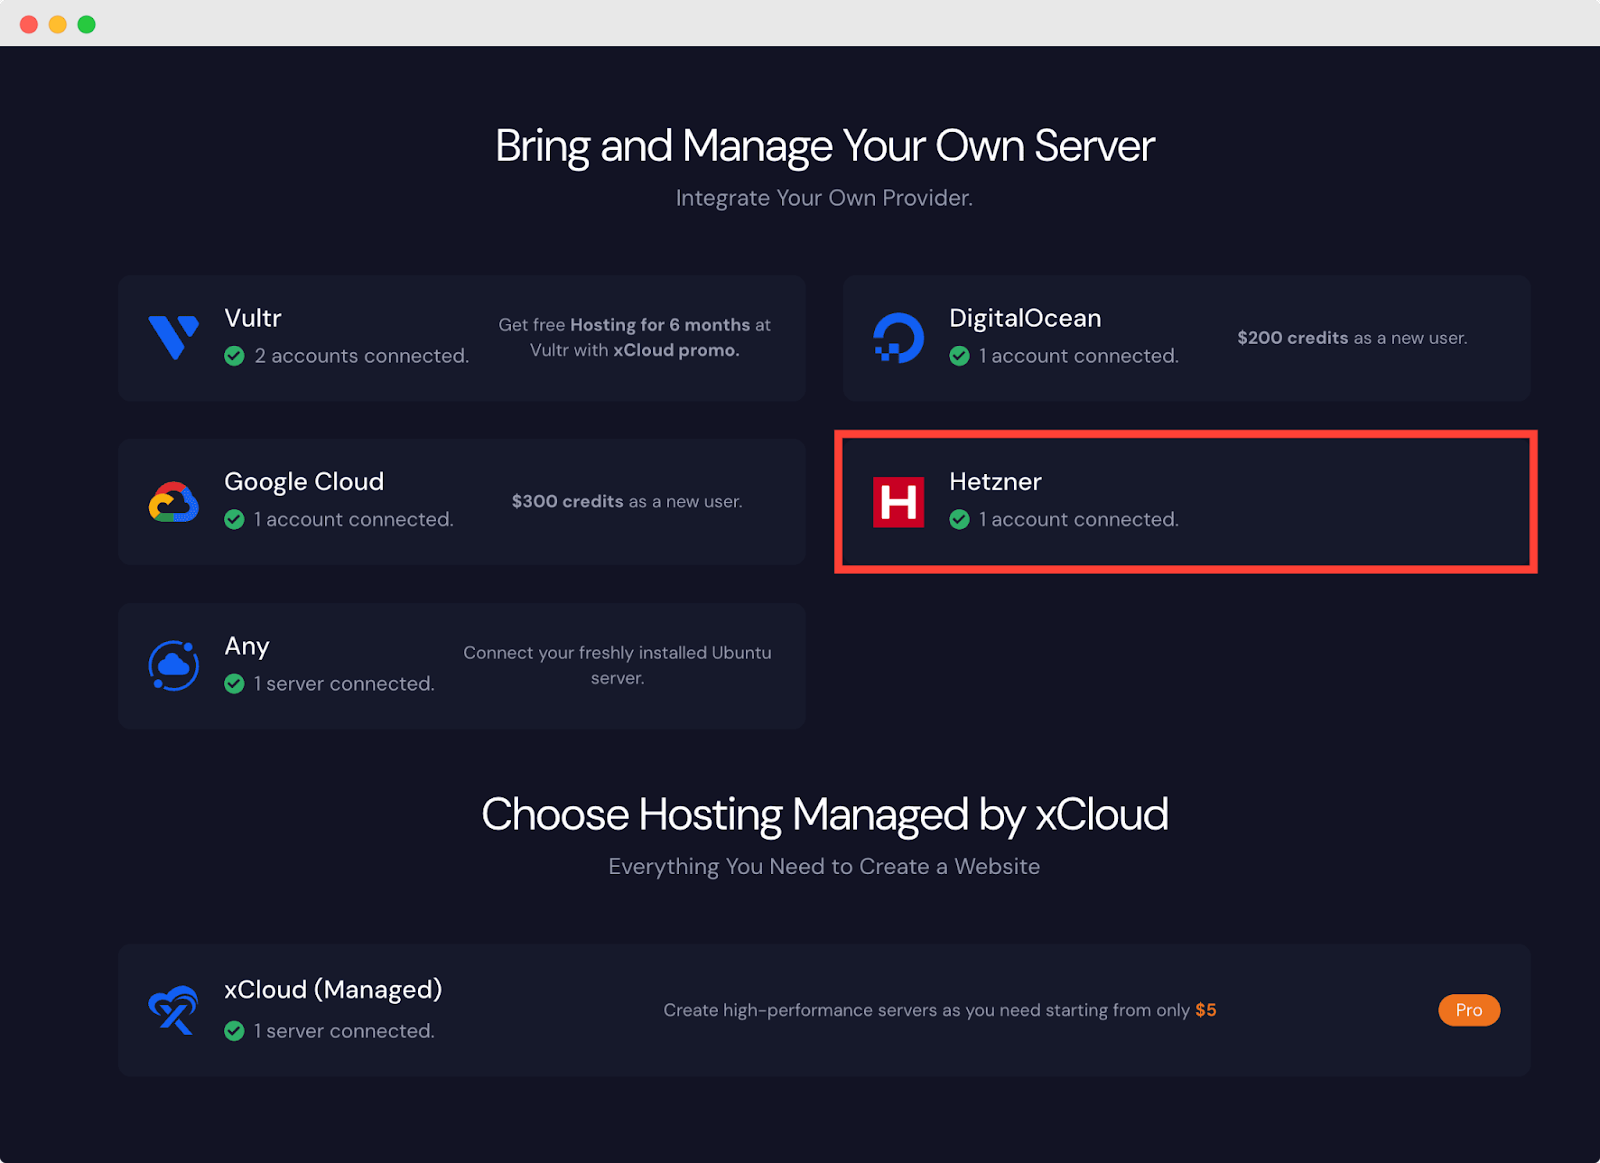
The next screen will provide the list of our available server providers. Select the Hetzner option from the list. The billing of the server will be handled on your Hetzner account.
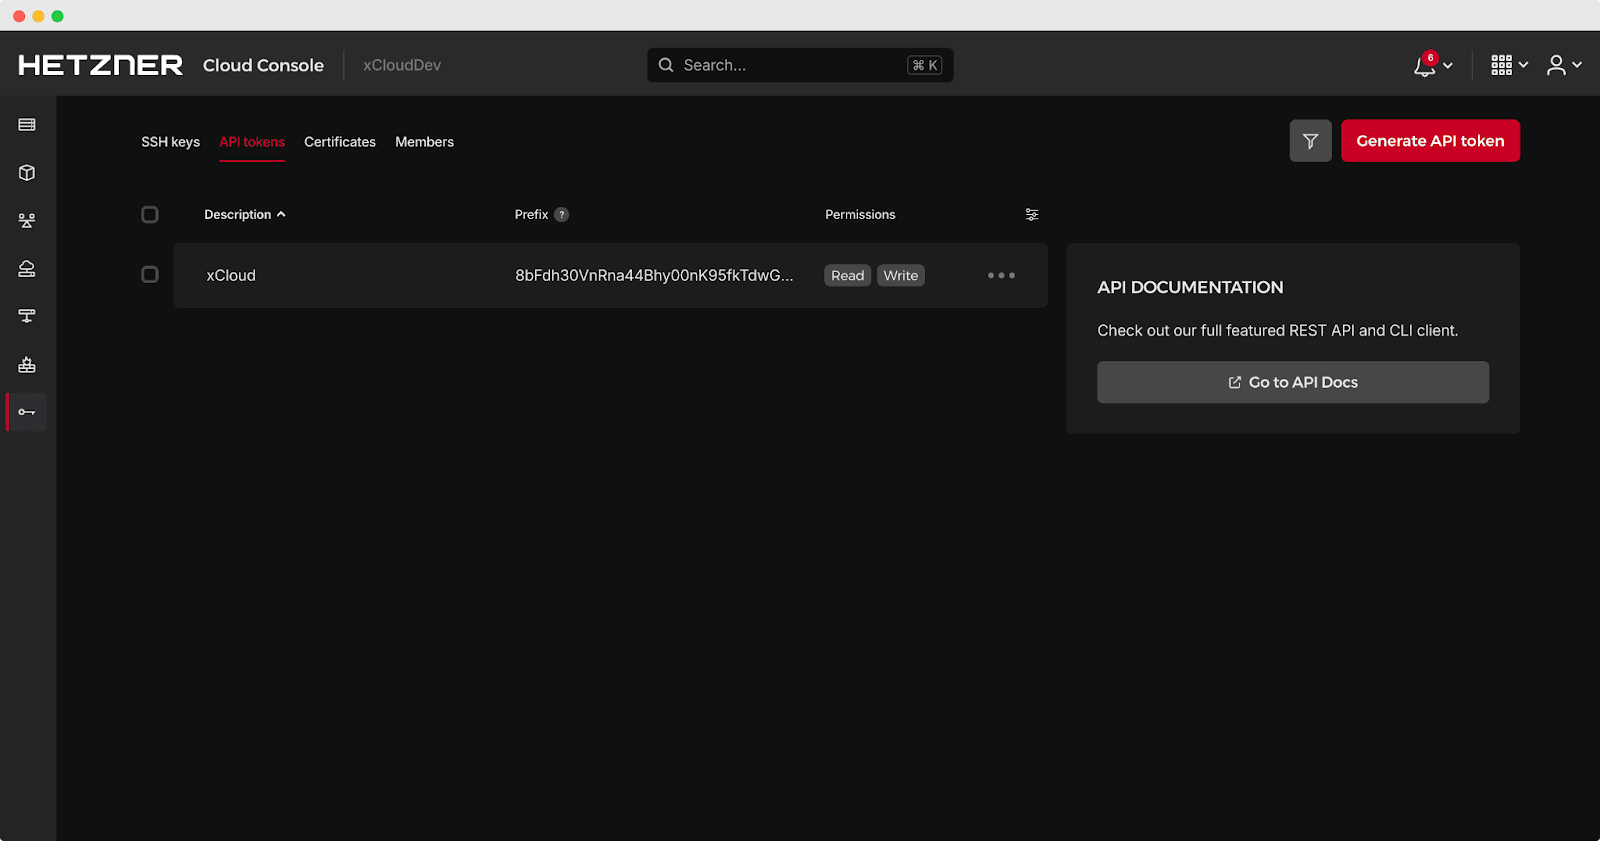
Now, before going to the next step, you need to create an API token to connect your Hetzner account to xCloud Host. To do that, log in to your Hetzner Cloud Console account. Then, select a project and navigate to ‘Security → API tokens’ from the left sidebar.
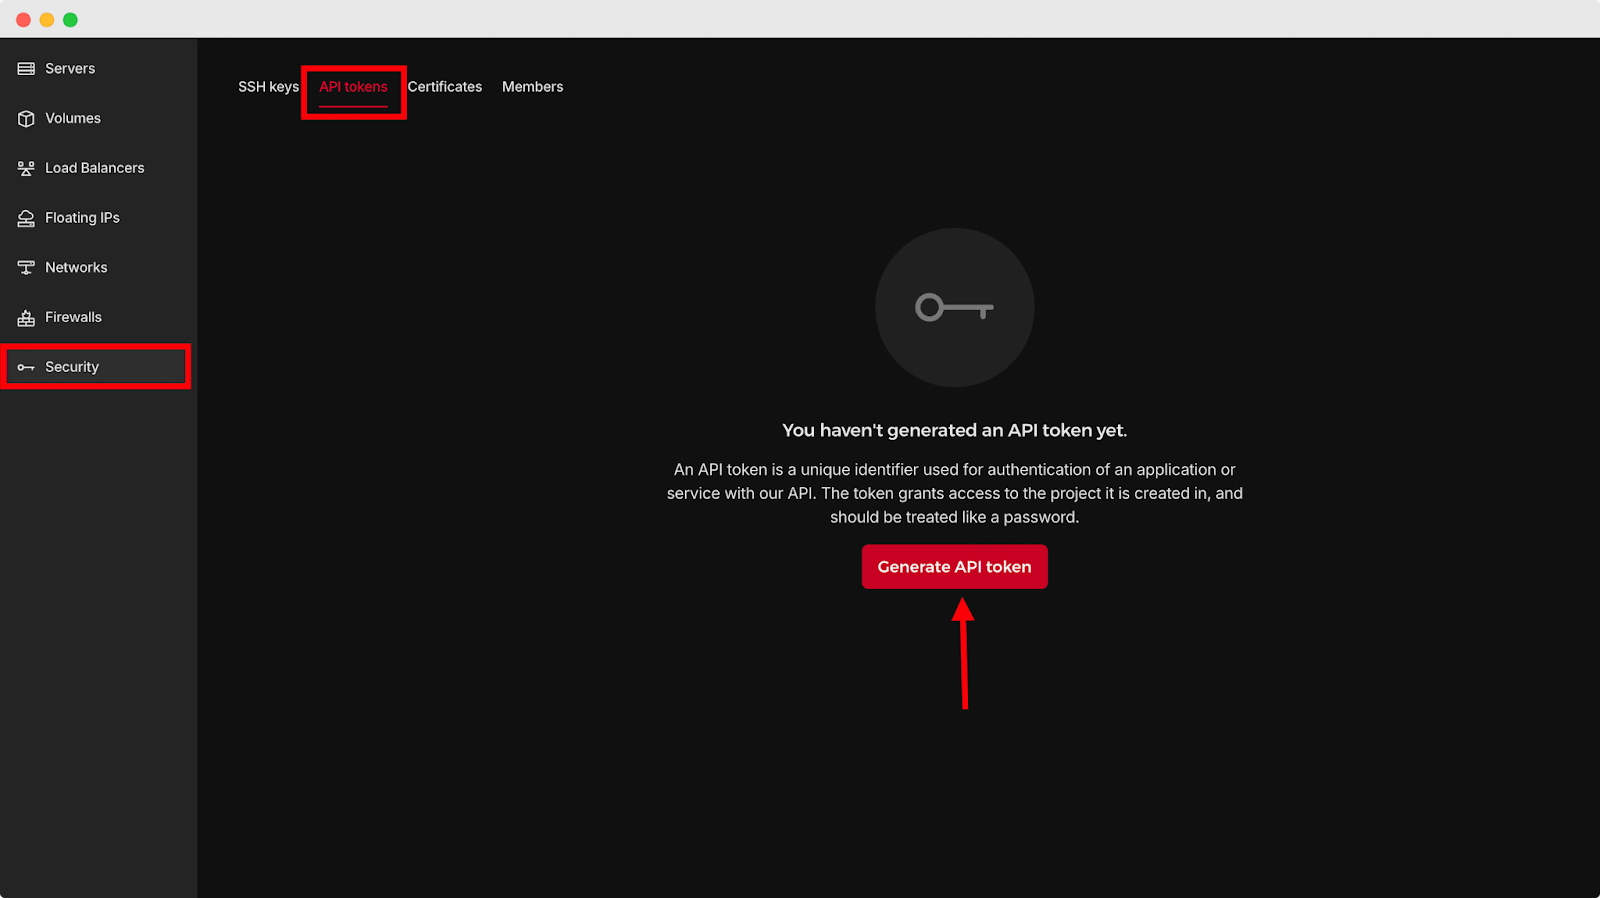
Click on the API tab to generate a new API or select an existing one. Now, hit the ‘Generate API token’, give a description (xCloud, for example), and select the permission as ‘Read & Write’. While generating a New API key, we always recommend you select the ‘Read & Write’ permission.
Your Hetzner API token will be created instantly. Copy the API key to set up a Hetzner server in xCloud.
Step 3: Connect Account & Add Necessary Information
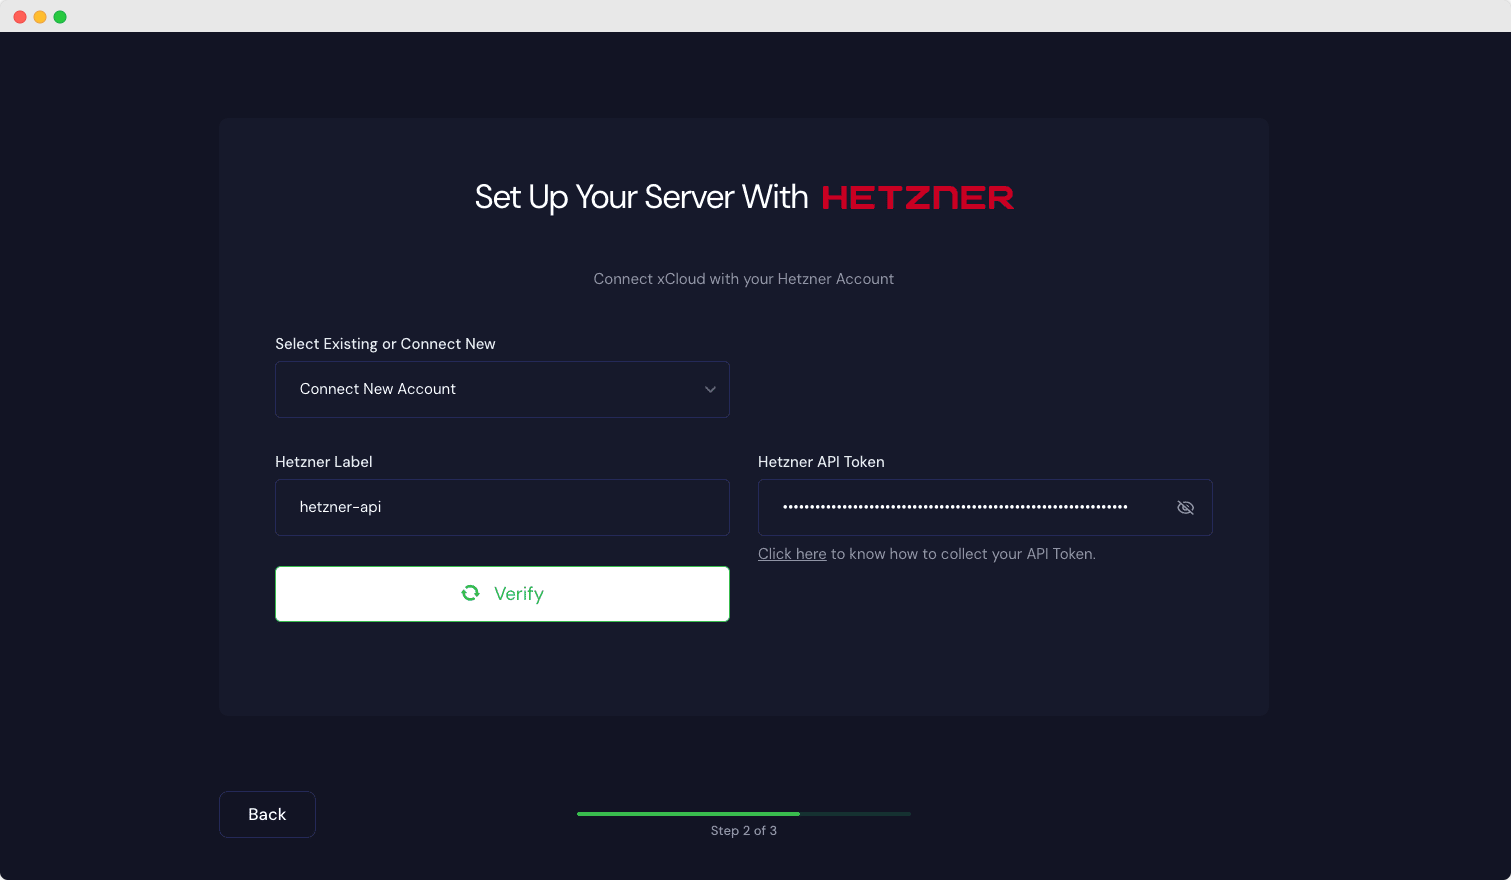
Now, go back to xCloud dashboard to create a new server with Hetzner. Select your existing server or create a new account. Then, set an API label as you prefer. The label can be anything to help you track or remember a particular one from multiple tokens. After that, paste the API token that you have copied from the Hetzner on the token field.
You will be taken to the server creation page after successfully integrating your Hetzner account. Now you need to provide the Server name, your preferred Server Size (CPU, RAM, storage), and the Region nearest to you and your visitors. Then select the ‘Database’ and hit on the ‘Next’ button
Note: Now**,** MySQL 8.0 and MariaDB database servers are now available.
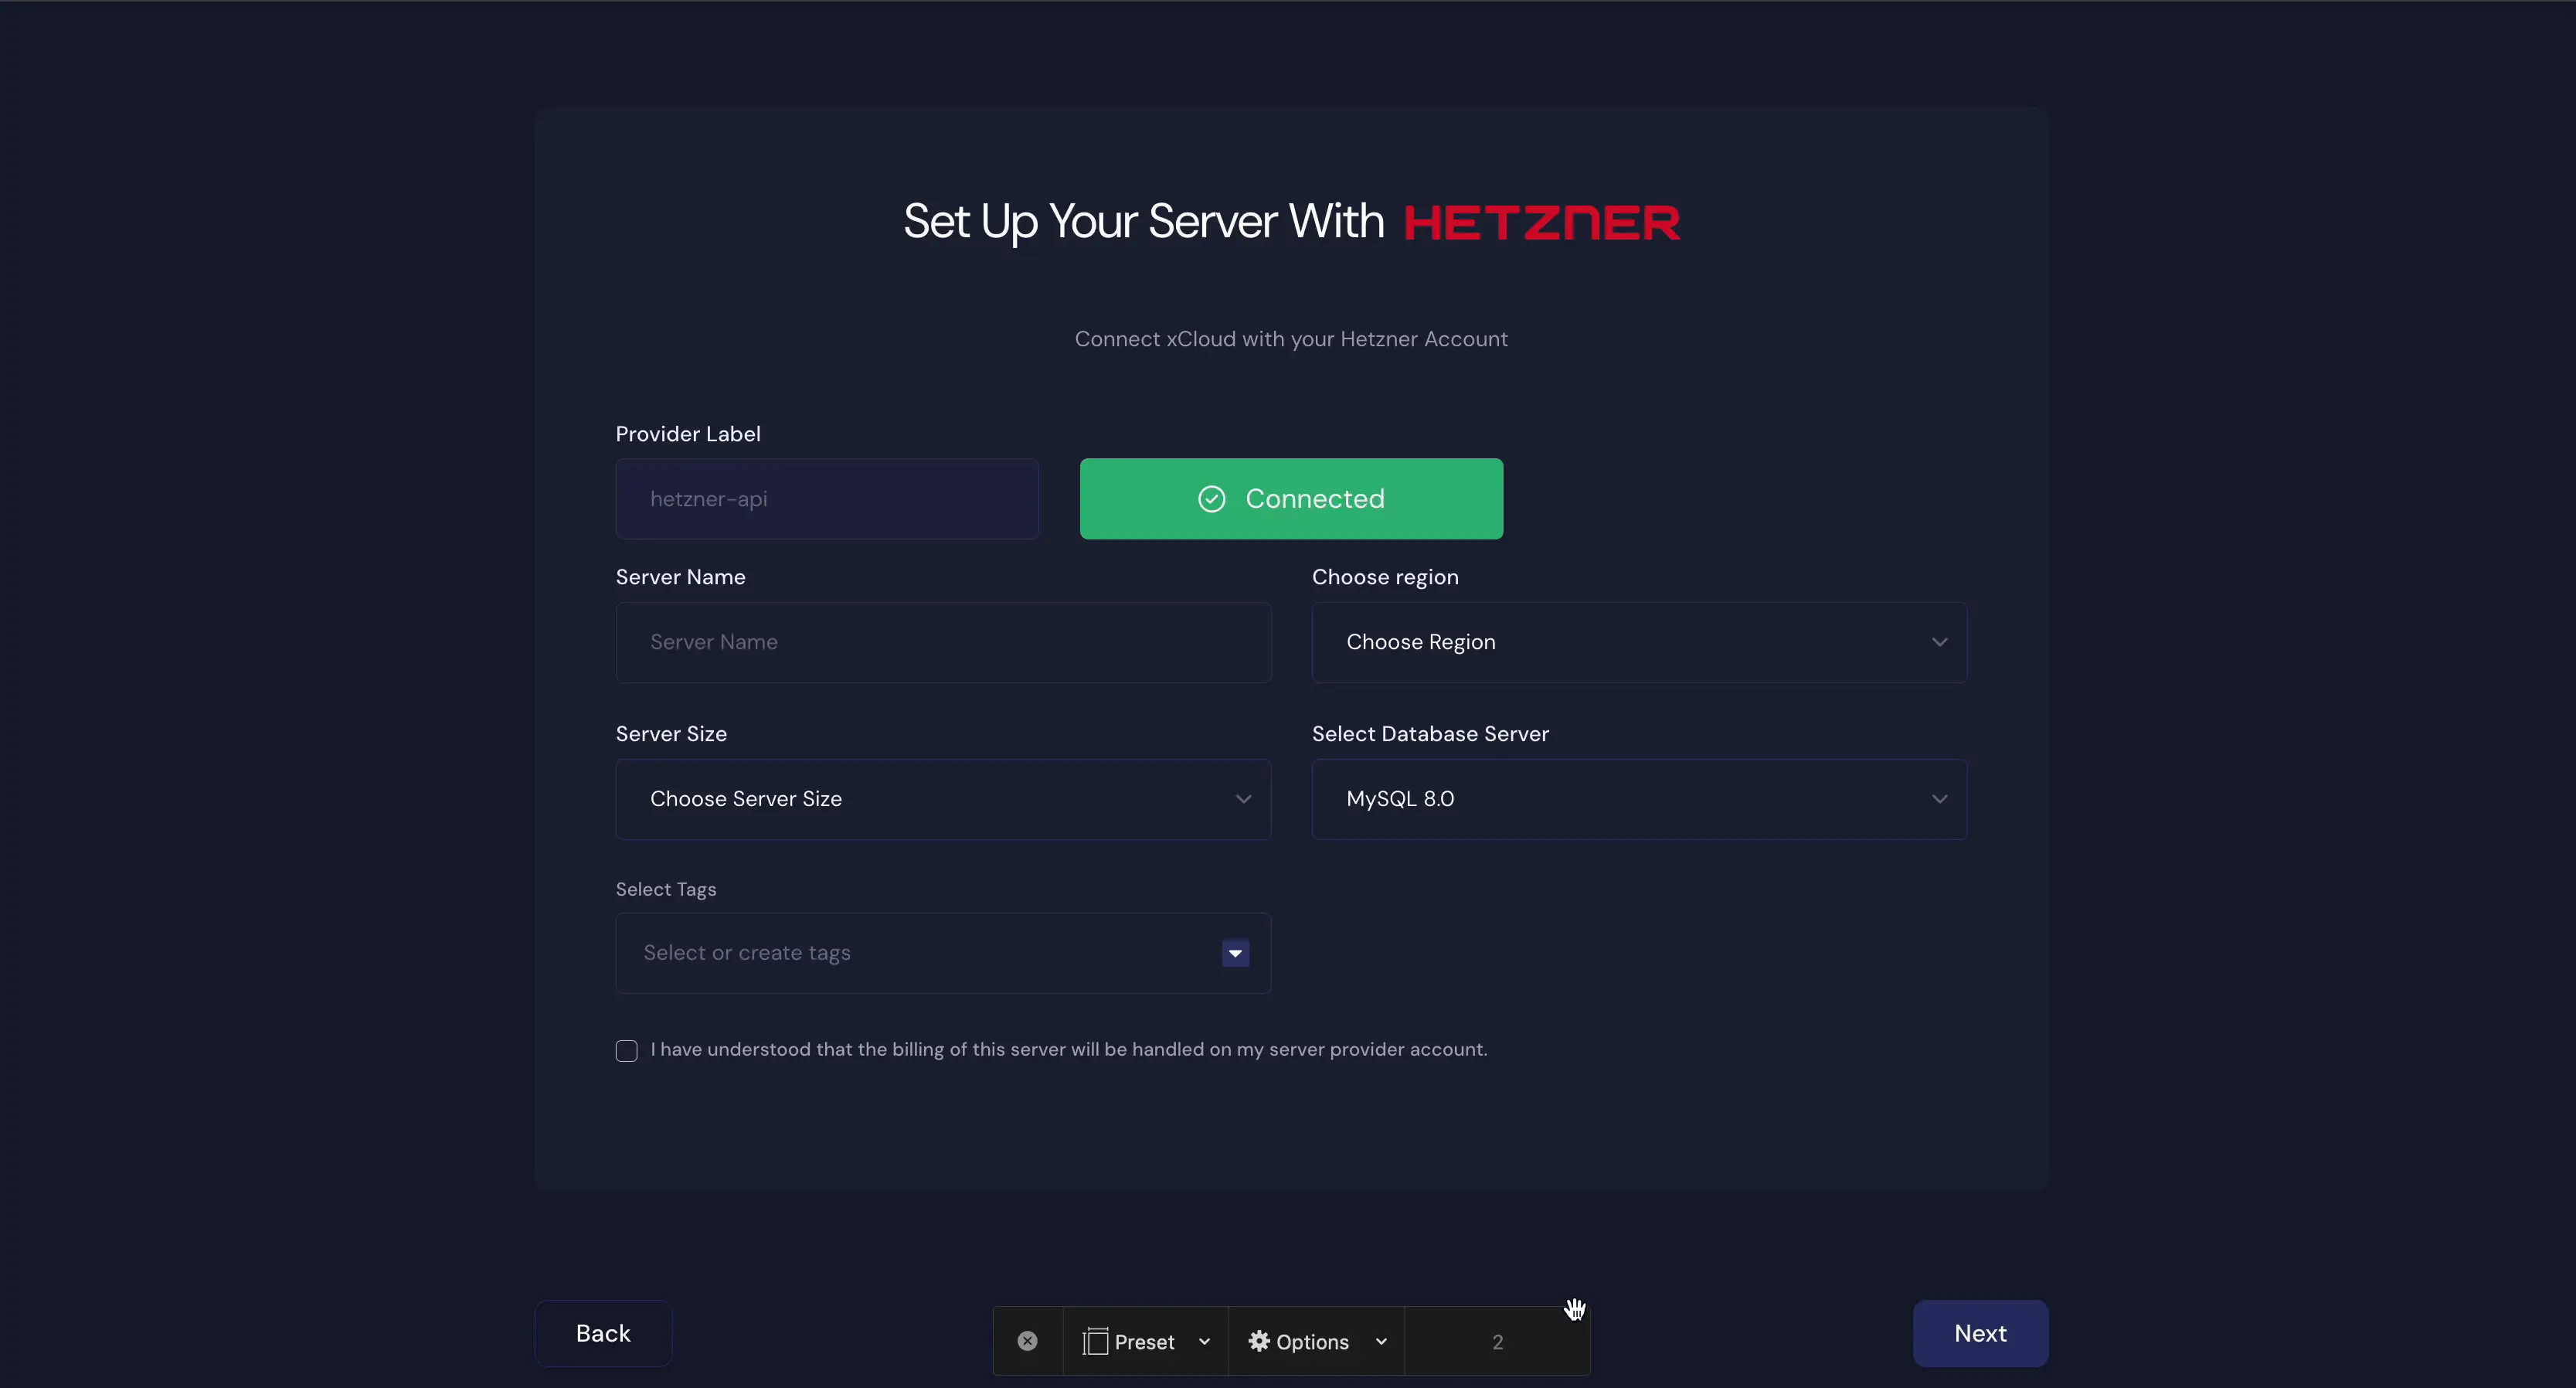
We recommend at least a 2GB/ 1 shared CPU server for 10-20 brochure sites with cache enabled. And for a site whose pages cannot be cached (e.g. WooCommerce site) we recommend a 4 GB / 2 dedicated CPUs server.
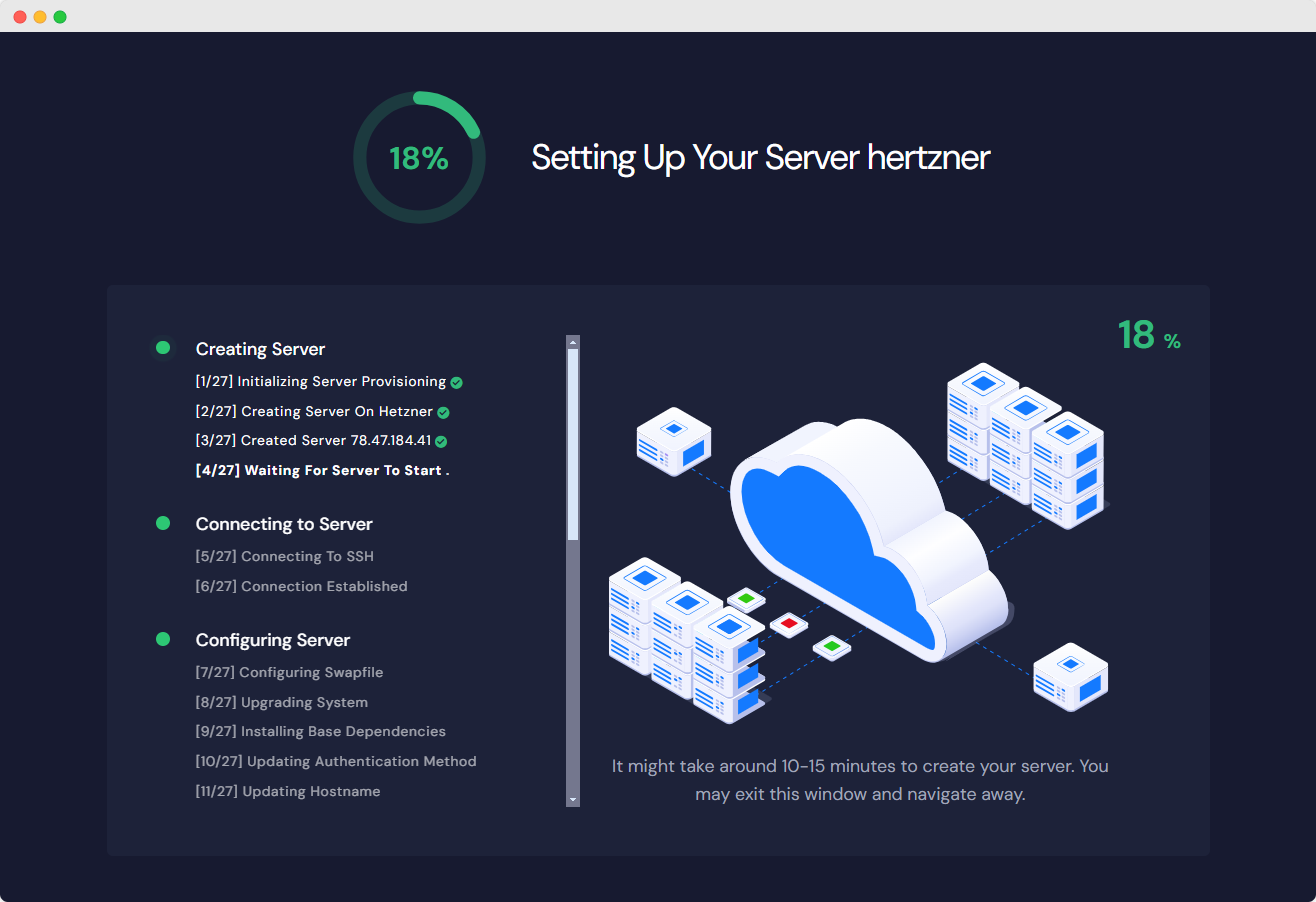
We are almost done with our server creation of Hetzner in xCloud. After submitting the form this might take up to 10-15 minutes to make the Hetzner server live and ready to install a lightning-fast WordPress Site.
Automatic Firewall Setup for Your Hetzner Server
During this process, xCloud will automatically add a firewall with three ports to your Hetzner server.
Note: It is strongly recommended that you do not remove this firewall. It helps protect your server.
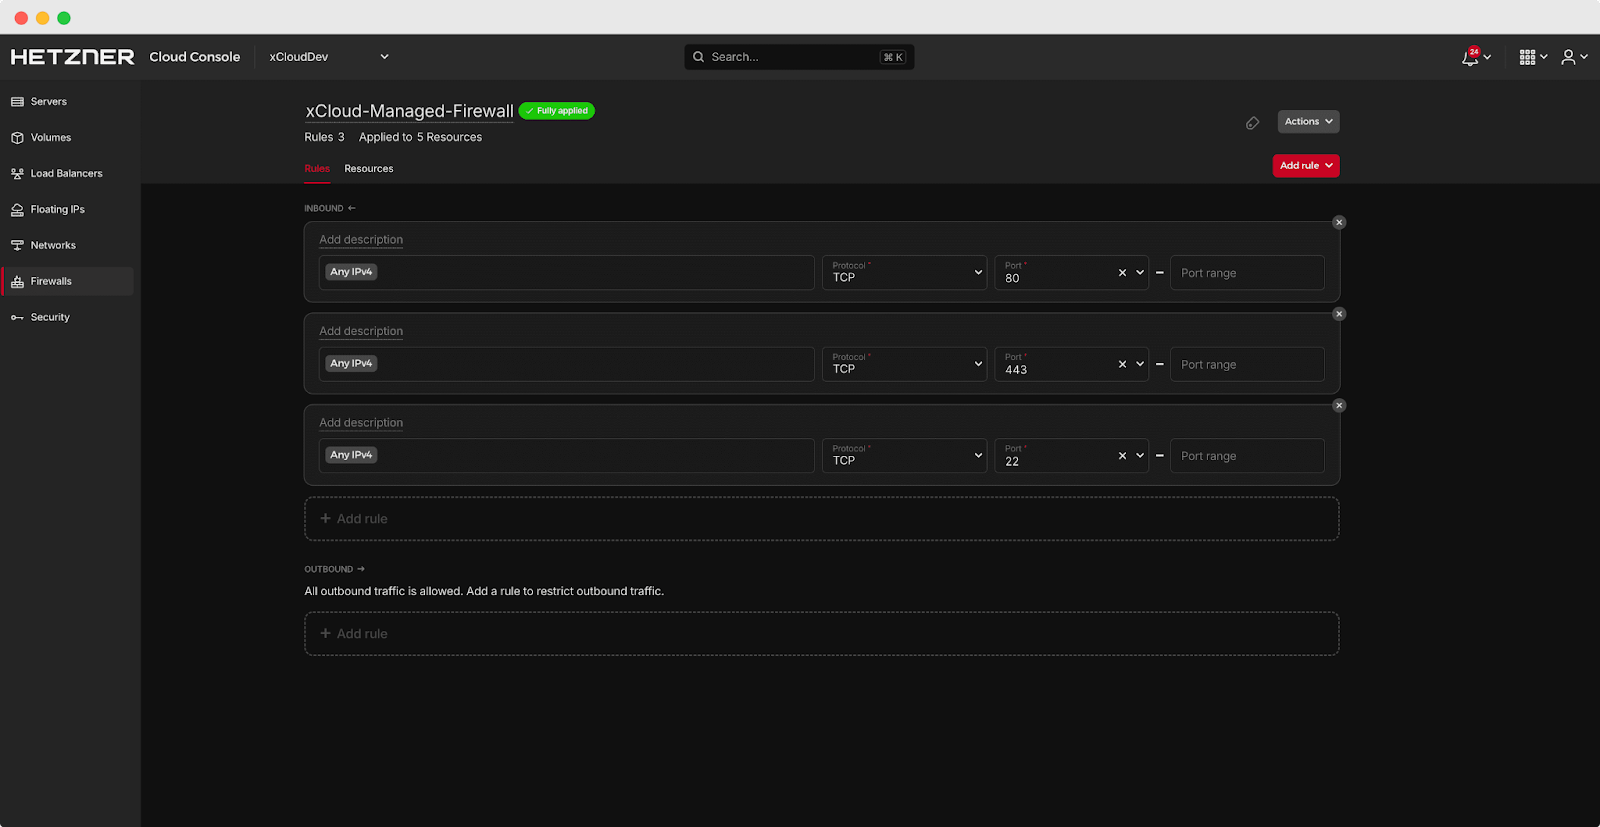
That’s how easily you can set up a Hetzner server in xCloud Host.
Still stuck? Contact our support team for any of your queries.
After creating your server with Hetzner, you would want to create your first site with xCloud. Follow this documentation to learn how to do that. You can also take a look at how to add xCloud managed email service for WordPress site emails.