


DNS record, which stands for Domain Name System record, is like a directory that helps link website names to their actual server IP addresses. It points a website domain towards the IP address of the server where it is hosted. You can easily connect your website and set DNS records with xCloud.
How To Point A Domain To xCloud Site #
xCloud does not manage the DNS for your domains. So, there is no need to take the hassle of changing your name server. Before using xCloud, you must have a good knowledge on managing the DNS for your domains. xCloud will inform you when you should add specific DNS records, and what the values should be, but the responsibility for DNS management is up to you.
Seamless Integration With Cloudflare #
With xCloud, you can easily integrate domain prover for DNS management to enhance the performance and security of your WordPress site. xCloud provides very powerful integration with Cloudflare. Read this step-by-step guide to integrate Cloudflare for DNS management. Or, you can follow the below steps.
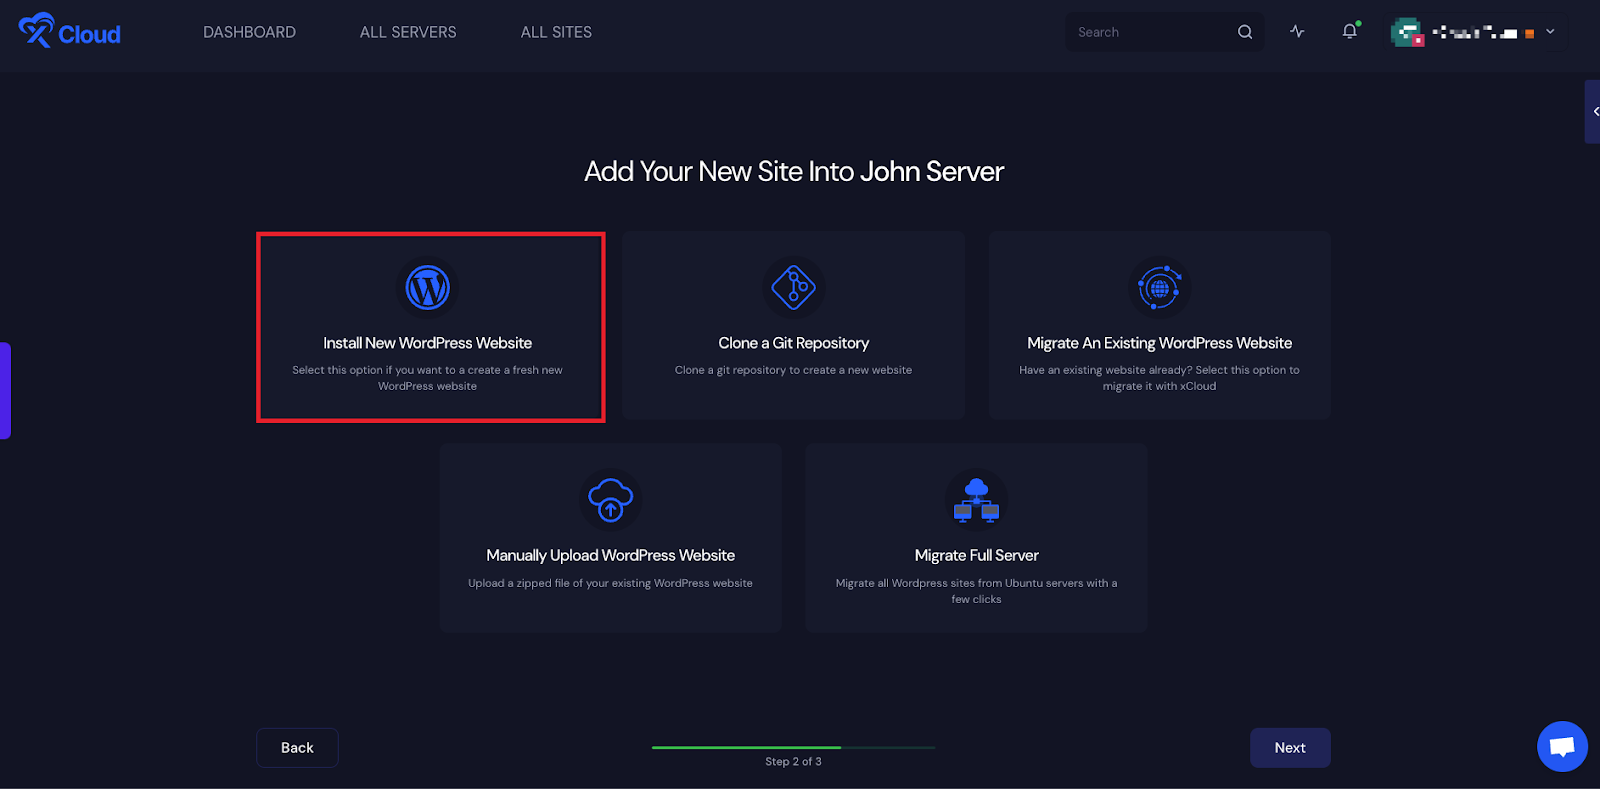
Step 1: Choose Your Site & Add Information
First, create a fresh WordPress site as shown below in the image.
In the next step, you have to add your site title, domain setup, domain name, and an “A Record”.
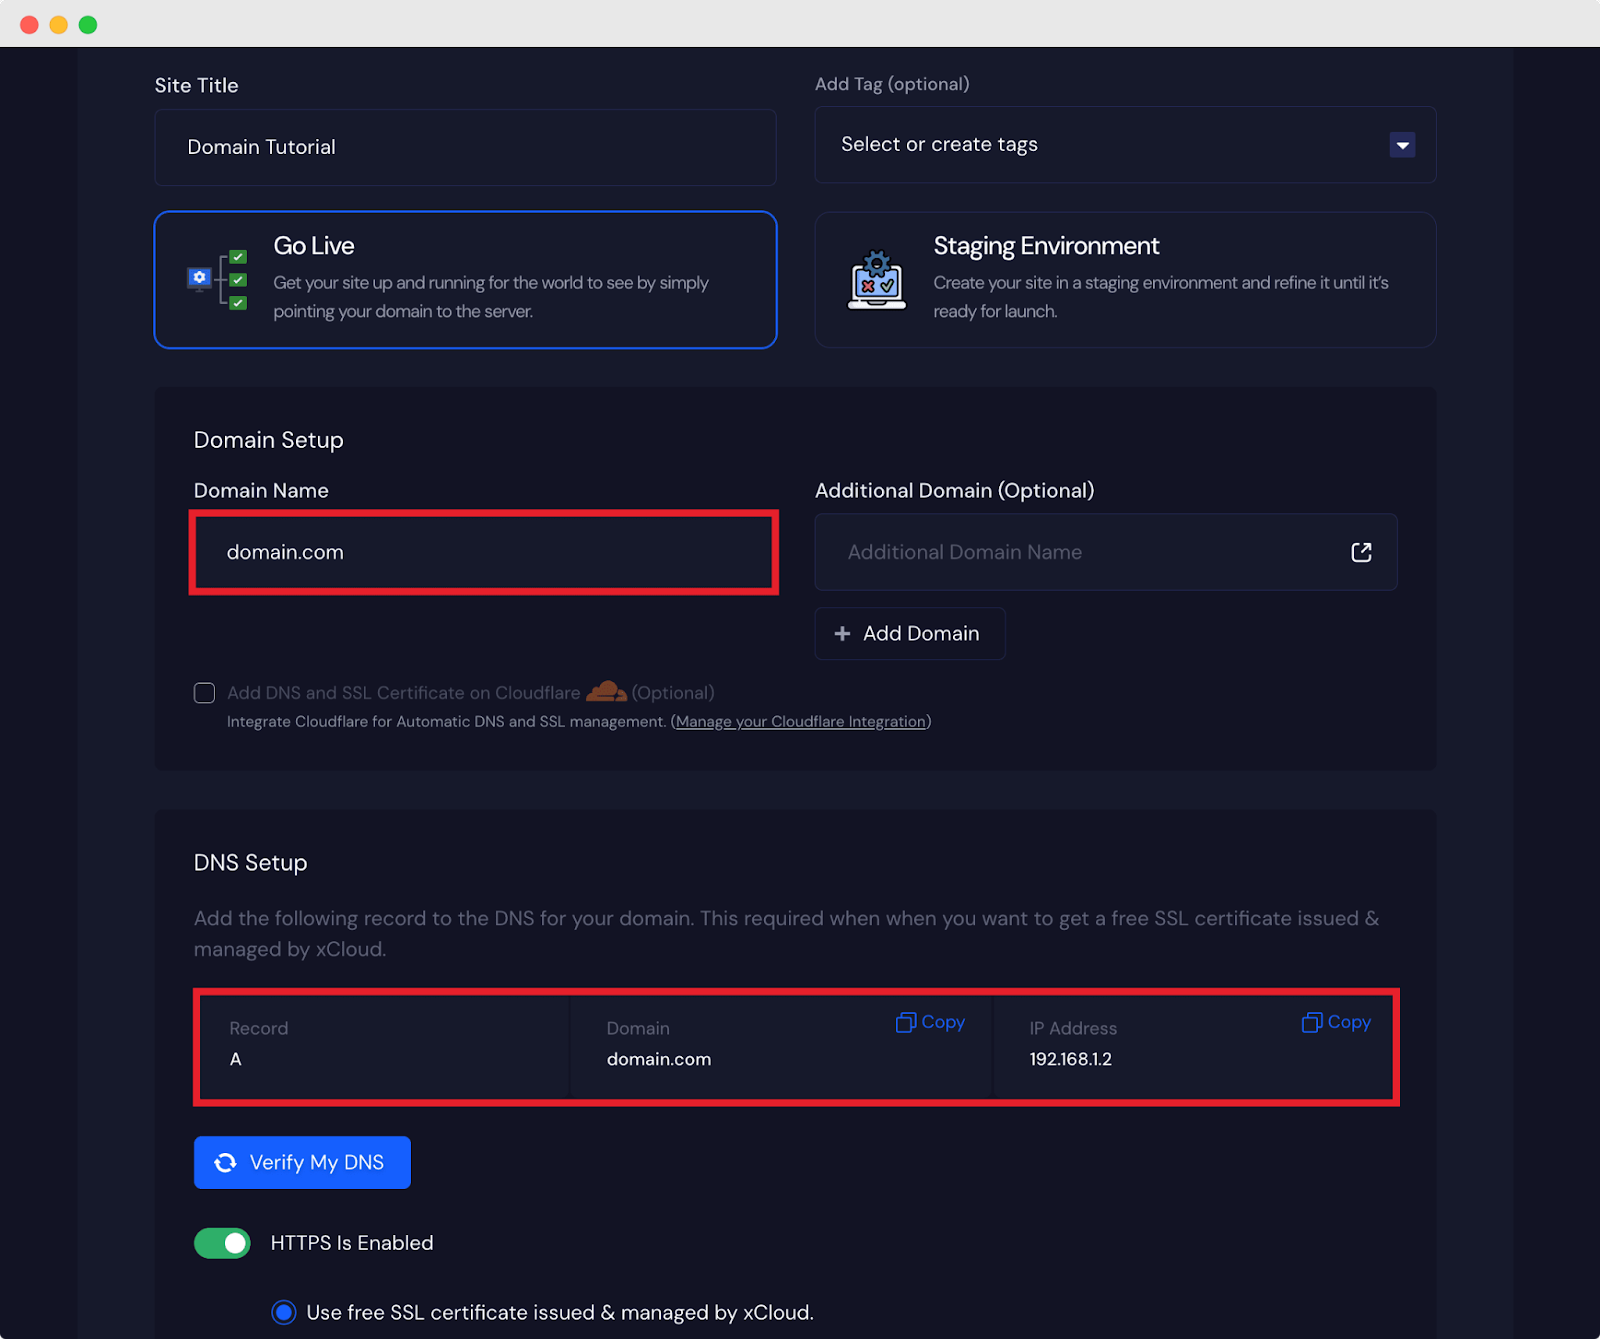
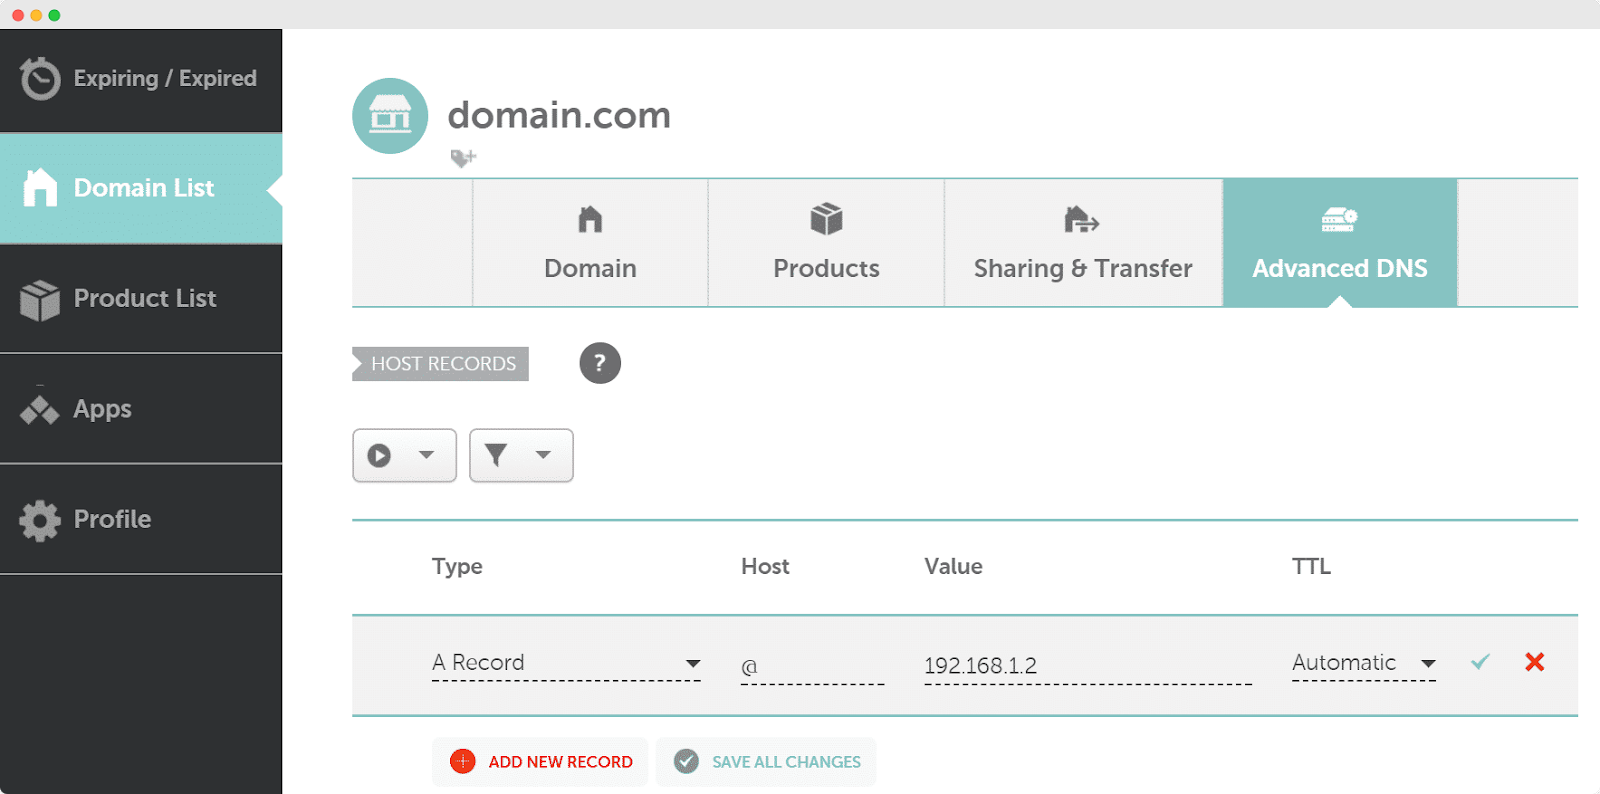
For example, if your DNS is in NameCheap navigate to Domain List → Advanced DNS and copy the A Record from there.
Note: It may take a few hours to point your domain properly.
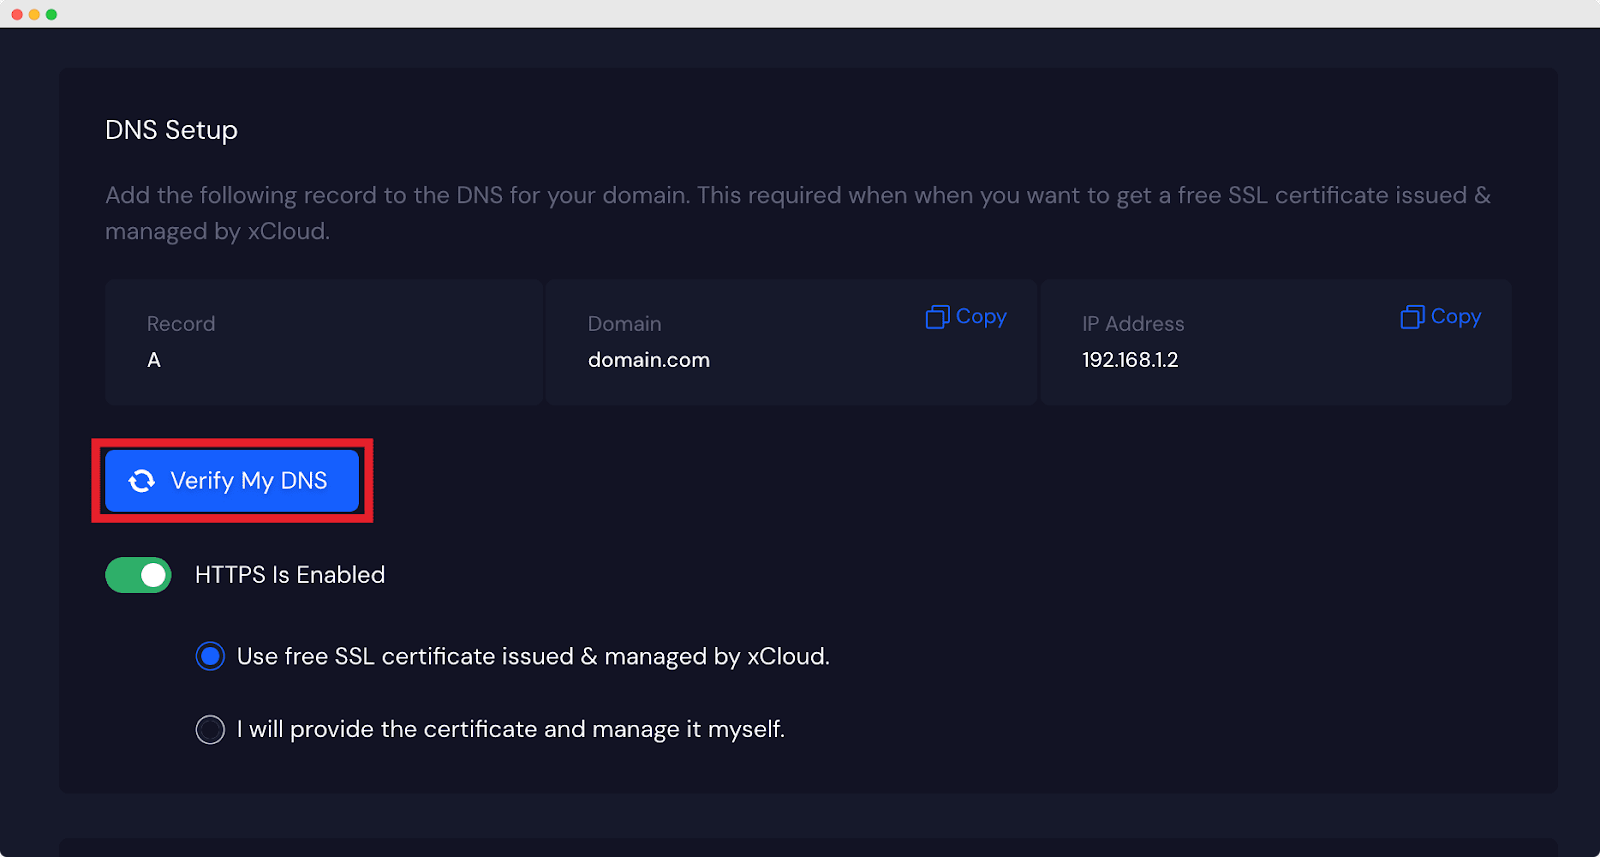
Step 2: Verify Your DNS
Now you have pasted your A Record, you need to verify your DNS if it has pointed successfully. Click on the ‘Verify My DNS’ as shown below.
Well, Cloudflare integration is not required. You can manage DNS with your own domain provider like Namecheap, GoDaddy, or anyone else. You just need to add A Record. There are many different types of DNS records, A Record is one of them. To use your website with xCloud, you will need to be familiar with The A Record. But before that, if you have any existing record, or you want to migrate your site, you need to delete all existing records.
How To Add A Record #
A Record stands for Address Record and it is used to point a domain name to an IP address. When someone types your website domain name into their browser, the A Record lets the browser know where the website files and data are hosted. You can easily add an A Record by following the 2 steps.
- Log in to your Domain Registrar Panel.
- Select your target domain and visit the DNS management section.
As an example, let’s add an A Record on Namecheap domain provider. If you are using GoDaddy as your domain provider, then you can check this guide to add an A Record.
Create An A Record
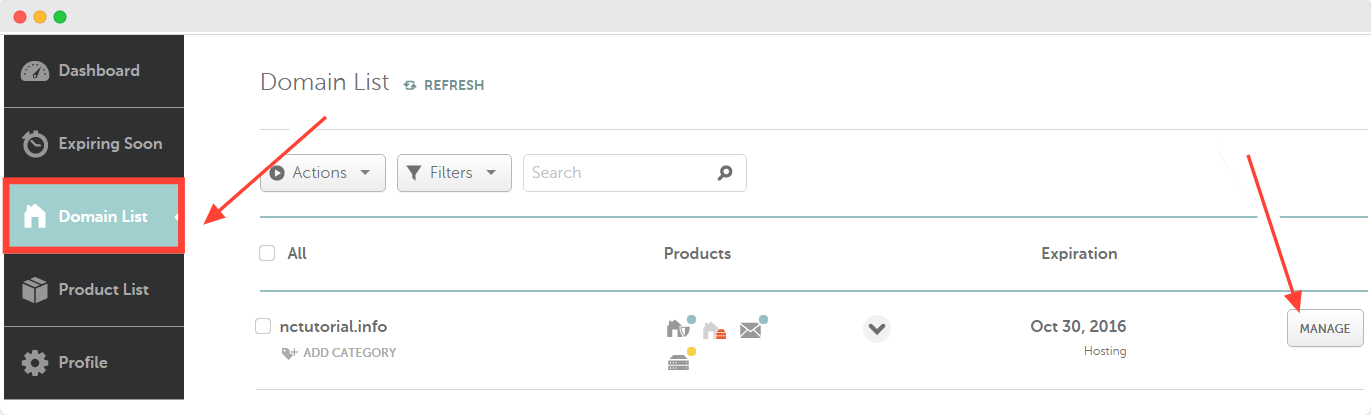
Step 1: First, sign into your Namecheap account. Select Domain List from the left sidebar and click Manage next to your domain.
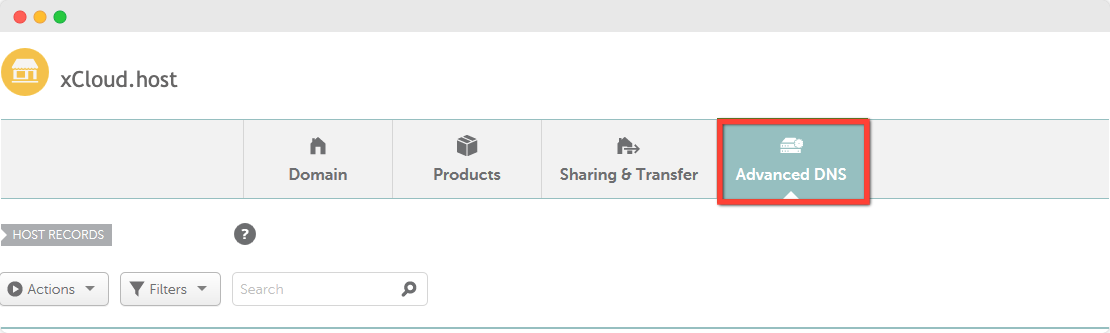
Step 2: Now, Select the Advanced DNS tab at the top of the page
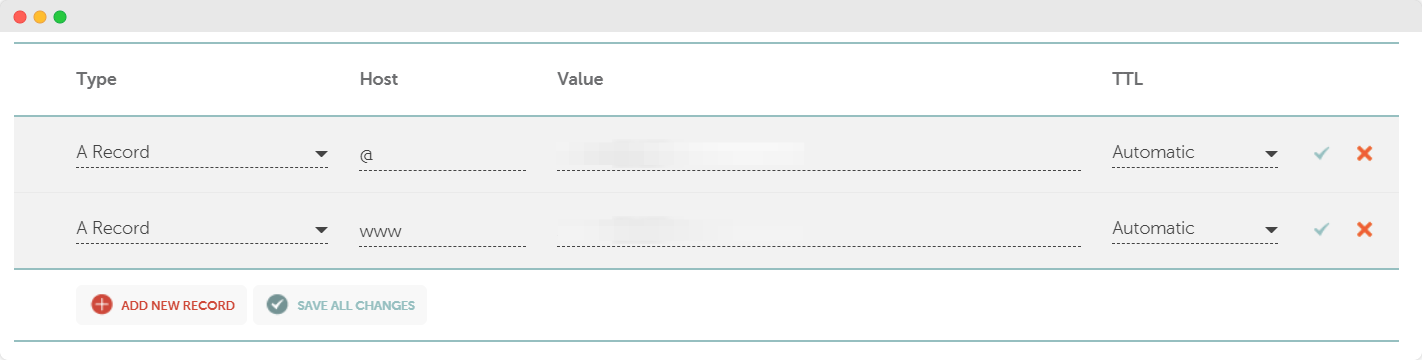
Step 3: Now create an A record using the following information.
# Add the below A Record if you want to point a root domain (yourdomain.com) to the xCloud server IP address.
Type: A
Host/Name: @ or blank
Value/Target: Your IP address
TTL: Automatic or Default

# Add an A Record if you want to point a domain with www (www.yourdomain.com) to the xCloud server IP address.
Type: A
Host/Name: www
Value/Target: Your IP address
TTL: Automatic or Default
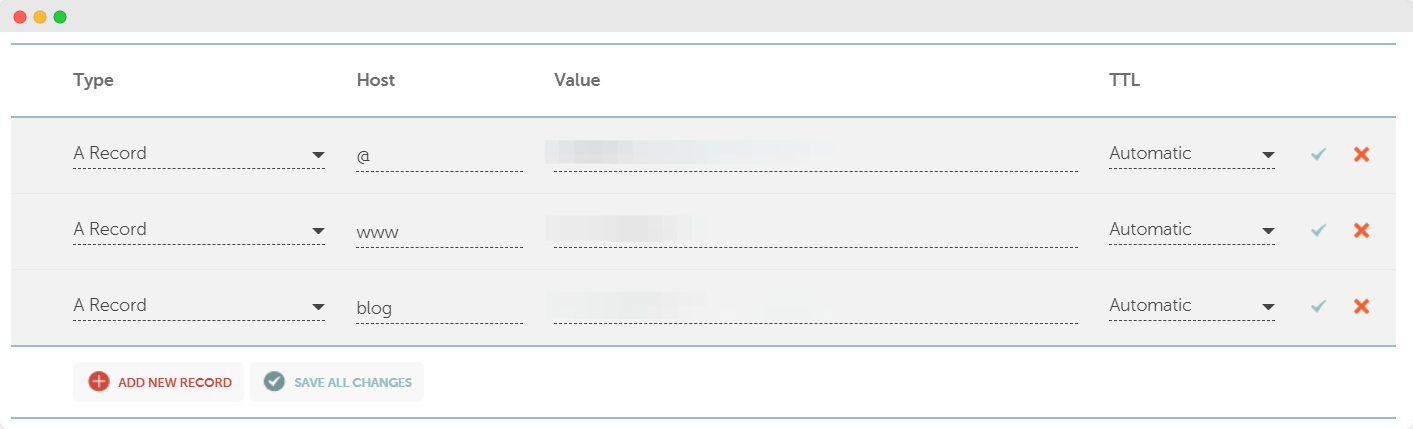
# Add the below A Record if you want to point a subdomain (blog.yourdomain.com) to the xCloud server IP address.
Type: A
Host/Name: blog (any subdomain)
Value/Target: Your IP address
TTL: Automatic or Default
4. Add the below A Record if you want to use a wildcard to the xCloud server IP address.
Type: A
Host/Name: *
Value/Target: Your IP address
TTL: Automatic or Default
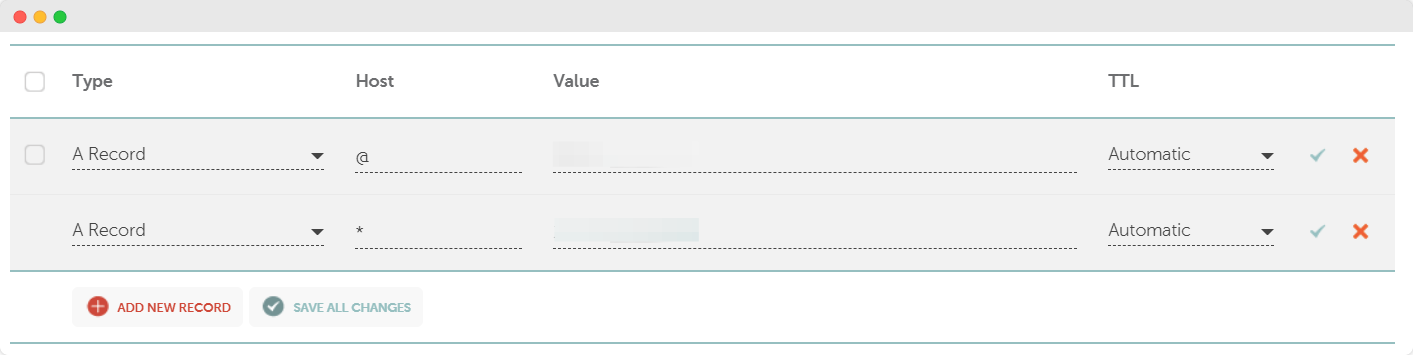
Once you have added the A Record, make sure to save all the changes. Your changes may take up to 24 hours to take effect across the internet.
Check DNS #
Once you have done adding A Record, ensure there are no conflicting records for the same host and remove them if necessary. The records you need to check may be of Unmasked/Masked/Permanent Redirect, A, or other record types.
Here is an example of conflicting records. Have a look below.
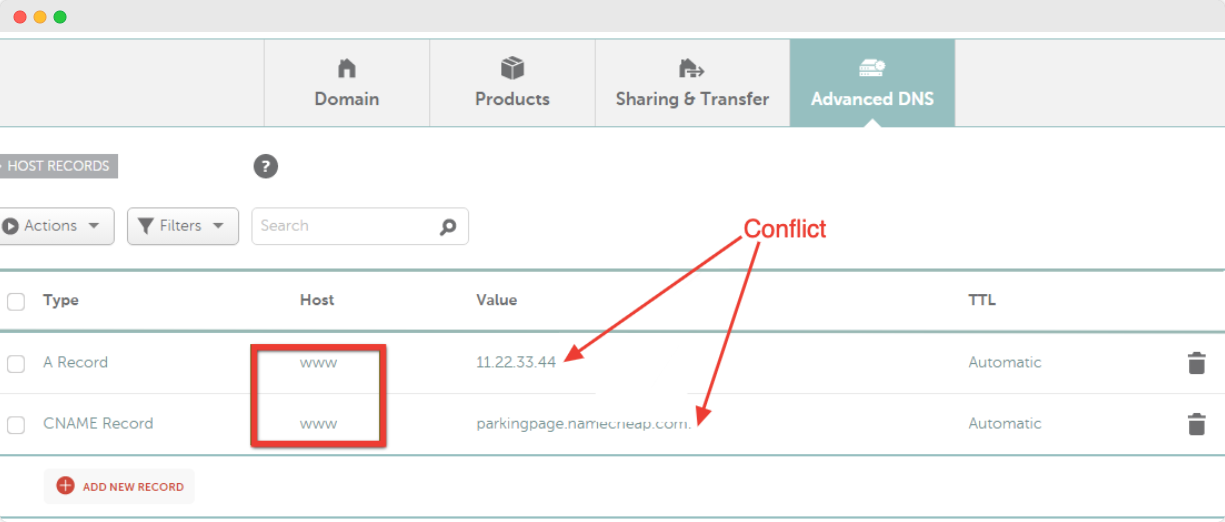
You can check the status of your DNS records propagation by using any third-party tool such as whatsmydns.net.
Thus, you can set the DNS record in xCloud without any hassle.
If you still have any issues contact our support team for help.


