

How To Verify WordPress Checksums and Detect Malware Affected Files With xCloud
Updated October 26, 2026 · 3 min read
Maintaining the integrity of your WordPress site is essential for ensuring both security and functionality. Over time, files in your WordPress core or plugins may be modified—intentionally or due to malware—which can lead to performance issues, data breaches, or even complete site failure. For an overview of what it does and which plans include it, see the file integrity monitoring feature page.
xCloud provides a built-in ‘WordPress Integrity Checker’ that helps you verify WordPress checksums of your WordPress core and plugin files. This verification process checks whether your files match the official versions, allowing you to detect any suspicious changes and identify potential malware.
Follow the steps below to verify WordPress checksums and monitor the integrity of your website effectively with xCloud.
💡 Note: The checksum verification for plugins currently works with plugins listed in the WordPress repository. Checksums for plugins or premium plugins outside WordPress.org’s repository cannot be verified using this feature.
Step 1: Go to Your xCloud Site
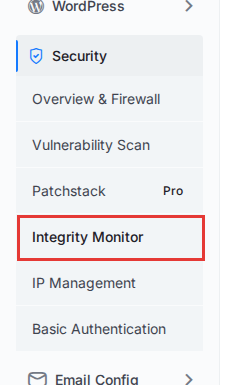
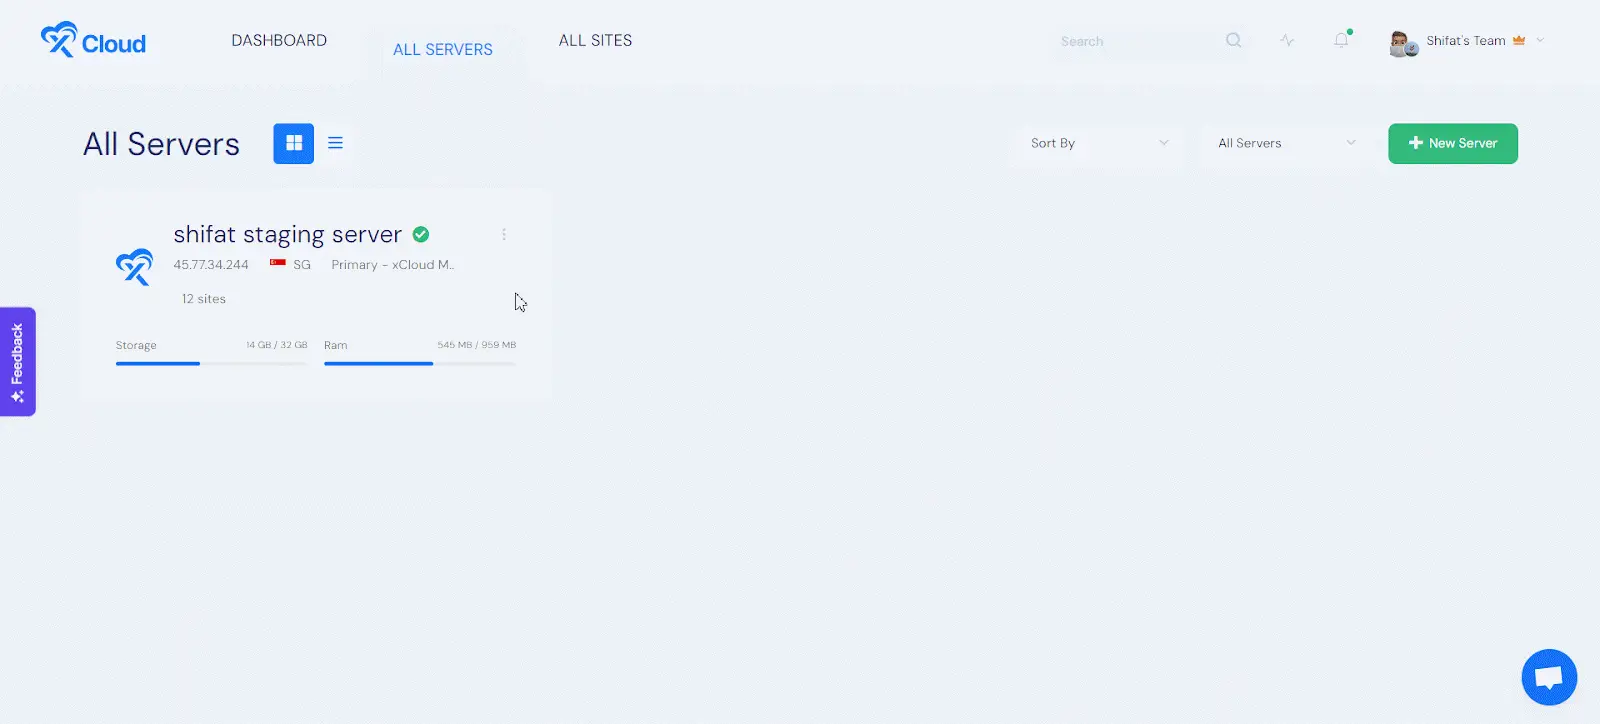
Log in to your xCloud dashboard and open the WordPress site for which you want to verify the checksums. In the left-hand sidebar, find the Security menu. It groups every security page of the site in one place.
Step 2: Open the Integrity Monitor To Verify WordPress Checksums
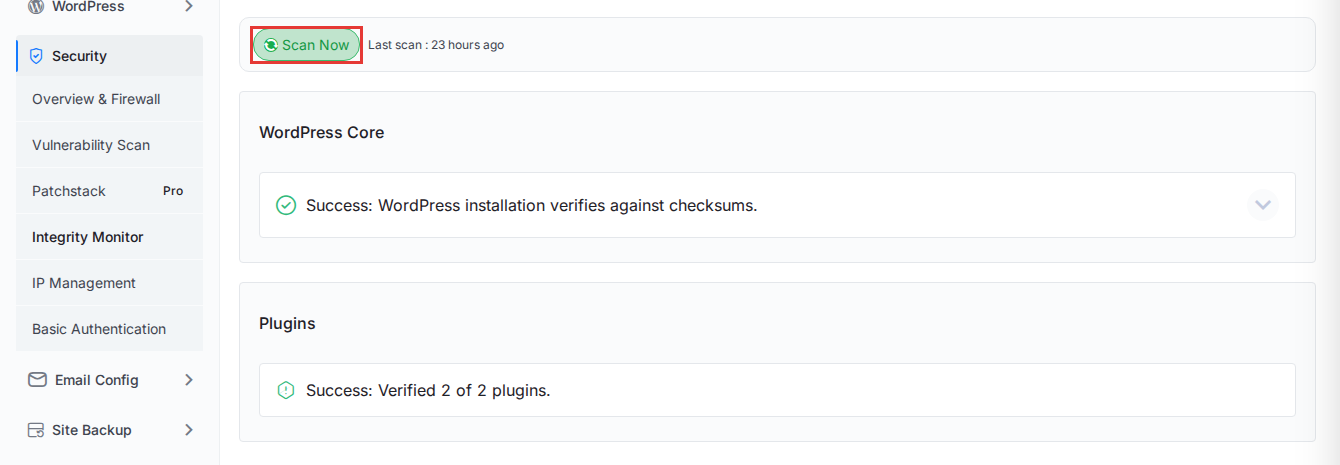
Click Security → Integrity Monitor. This opens the Integrity Monitor page, where you can view the status of your site’s files. Click Scan Now to check the files again; the page shows when the last scan ran.
💡 Note: Integrity Monitor used to sit under the WordPress menu. It moved to the Security menu together with the other security pages of the site.
Step 3: Review WordPress Core and Plugin Checksums
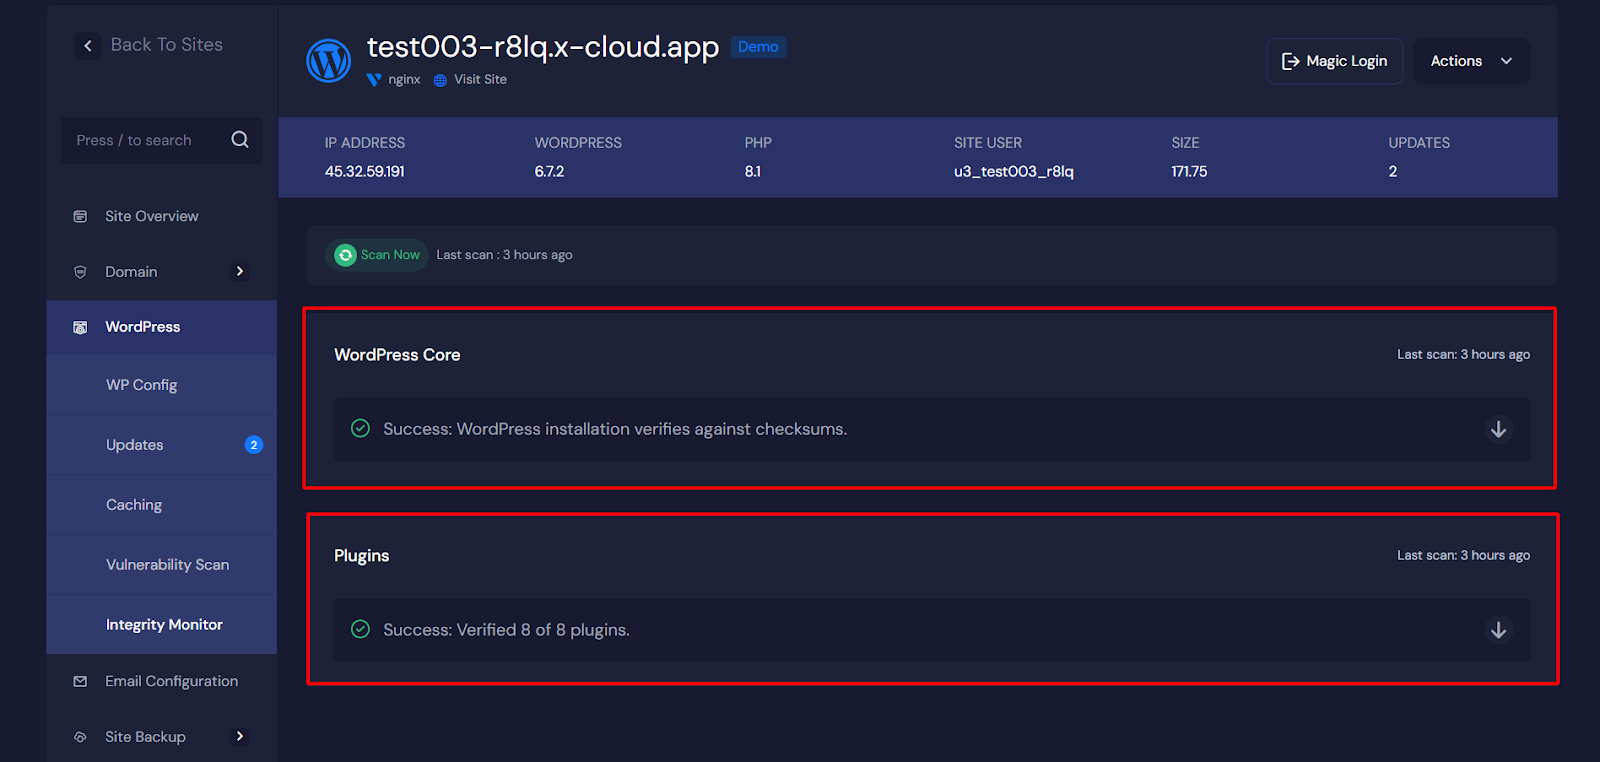
On the Integrity Monitor page, you will find ‘WordPress Core’ and ‘Plugins’ sections**.** Click the arrow sign next to each section to expand the list of files and view their checksum status.
If the files are verified against the checksums, you will see the success message in the dashboard.
If the files are not verified against the checksums, you will see a status on your site overview dashboard. Click Check in that warning to open Security → Integrity Monitor, or Ignore to hide the warning.
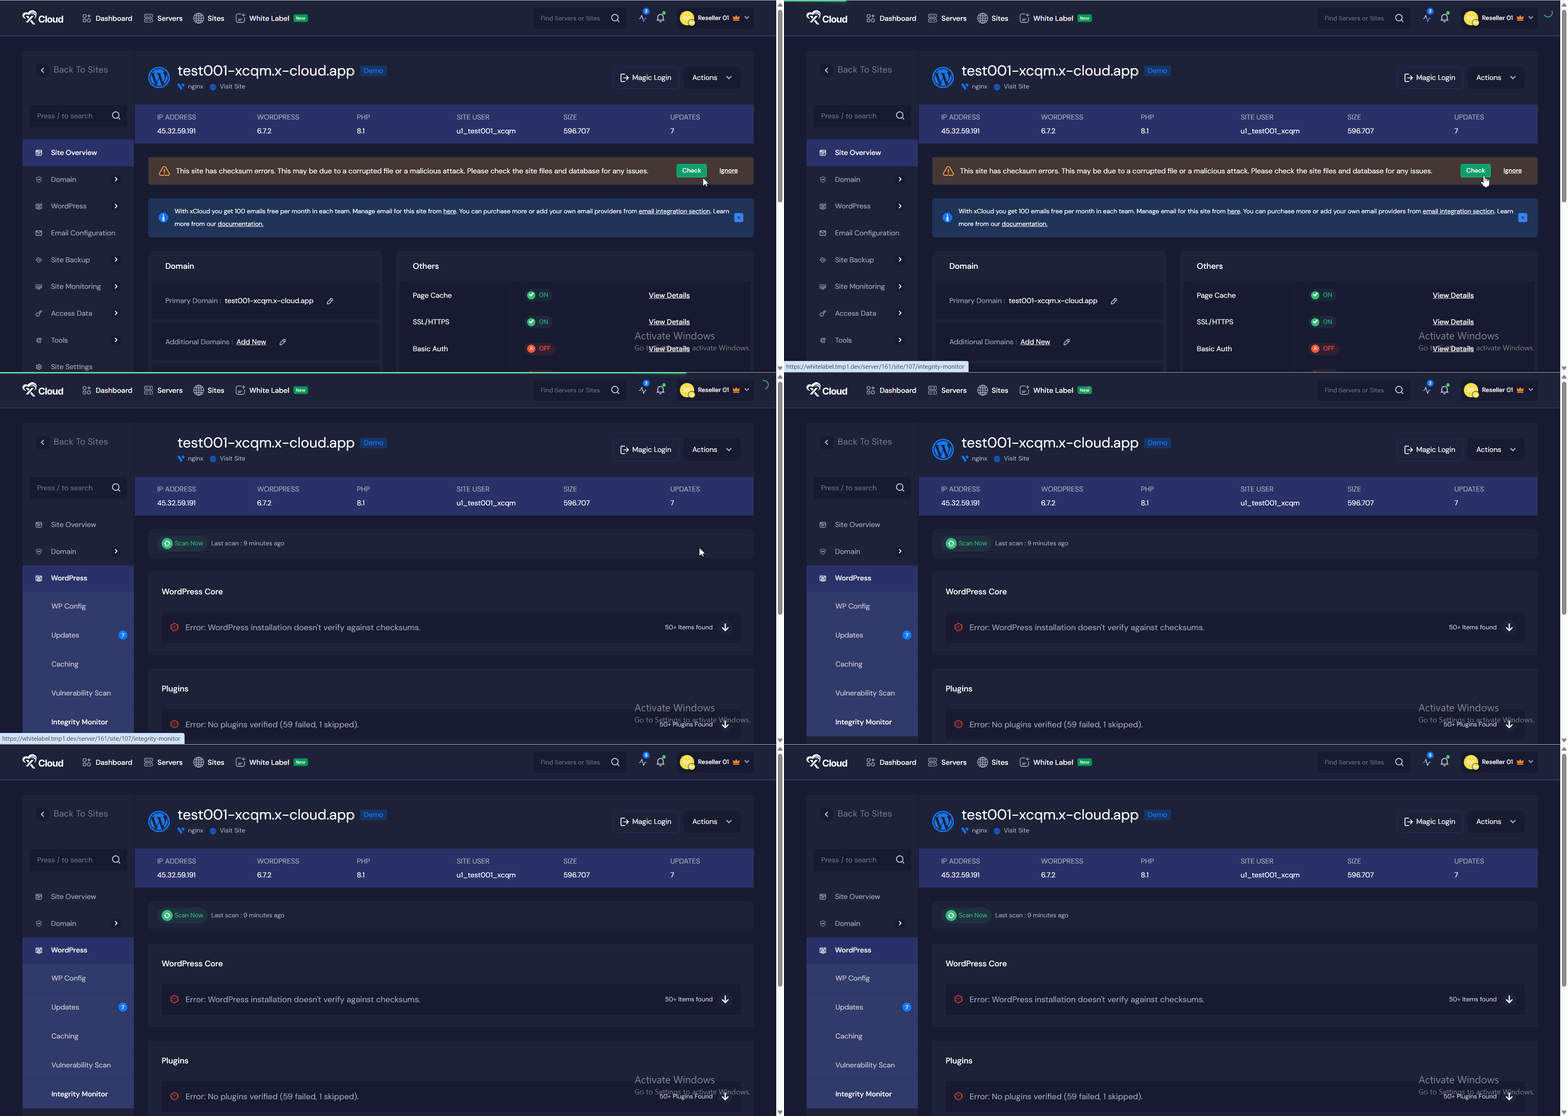
Once you are in the ‘Site Integrity’ dashboard. You will see the list of the issues and the statuses. You can also see the details of each plugin by clicking the details next to the plugin.
Each item will display its status. Any file that has been altered or is different from the official WordPress version will be flagged. Review any flagged files to determine whether the changes were intentional or if they may indicate the presence of malware.
Step 4: Take Action on Suspicious Files
If any files appear suspicious, you can compare them with the original version from the WordPress repository. Restore the original version manually or through version control. If you confirm malware or unauthorized modifications, take appropriate action immediately, such as restoring backups, cleaning infected files, or contacting support.
Regularly verifying the integrity of your WordPress files is a vital step in protecting your website from malware and unauthorized changes. xCloud’s Site Integrity Monitor offers a simple yet powerful tool to help you track these changes and take swift action if needed.
And that is it. This is how easily you can verify checksums and ensure your WordPress site remains secure, reliable, and free from harmful code.
Still stuck? Contact our support team for any of your queries.