


In xCloud, each site runs under a separate system user (called a site user) for improved security and separation. However, to access all site files across the server via SFTP (e.g. using FileZilla, Transmit, or Cyberduck), you can use the root user with sudo privileges. Follow the steps below:
Step 1: Collect the Sudo Password for the Root User #
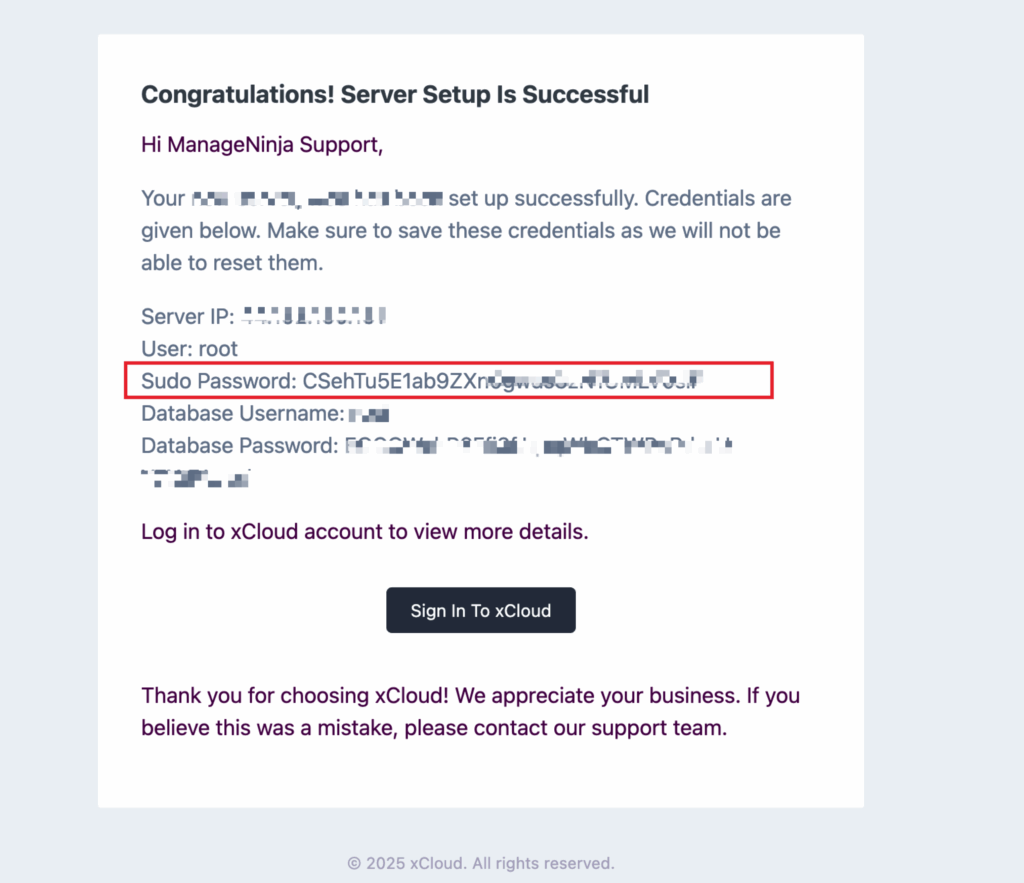
When your server is first created in xCloud, you’ll receive a welcome email with the root user’s sudo credentials.
📩 Look for:
- User:
root - Sudo Password: (available in the email)
Example:
User: root
Sudo Password: CSehTu5E1ab9ZXRn...
📌 Keep this safe – it’s needed for both SSH and SFTP access.
Step 2: Confirm or Add root as a Sudo User (if needed) #
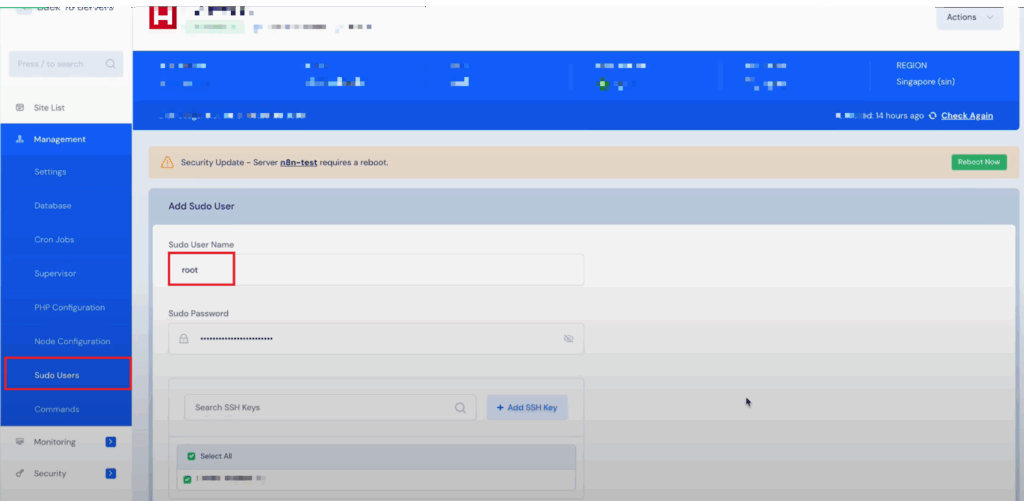
To verify or add root as a sudo user:
- Go to your server dashboard in xCloud.
- Navigate to
Management→Sudo Users. - If not already present, add a new sudo user:
- Username:
root - Password: (use the one from the welcome email or set a new one)
- Attach your SSH key
- Username:
📘 Detailed Doc: Using Sudo and Site Users in xCloud
Step 3: Connect via SFTP #
Use any SFTP client such as FileZilla, Cyberduck, or Transmit.
Connection Details:
- Protocol:
SFTP - Address: Your server’s IP
- Username:
root - Authentication: SSH Key or Password (from email)
- Remote Path:
/var/www/
(This is where all your site directories are located)
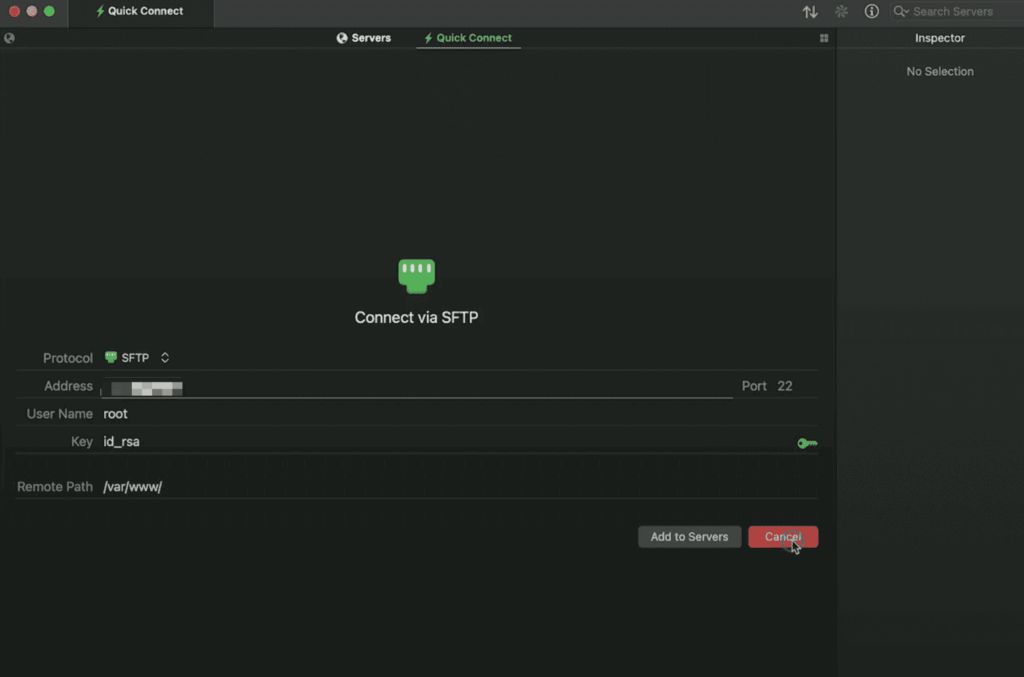
🔎 Example in Transmit:
Protocol: SFTP
Address: 192.168.0.1
User Name: root
Key: id_rsa (or enter password manually)
Remote Path: /var/www/
Syncing the Password (Optional) #
You can use the same sudo password as the one provided in the setup email for consistency, or set a different password when creating the sudo user in xCloud’s panel.
Important Notes #
- Avoid using the root user for regular uploads unless necessary.
- For site-specific access, always use the site user auto-created by xCloud.
- Misuse of the root user can impact all sites – use carefully.
Let us know via support if you need help connecting or setting it up!


