

How to Setup Mautic with xCloud One Click Apps
Updated July 30, 2025 · 3 min read
Mautic is a popular marketing automation tool. With xCloud, you can deploy Mautic in just 1 Click with our One Click Apps. Follow the steps below to have a fully operational Mautic site with just a few clicks:
Step 1: Access the One Click Apps Dashboard
Begin by logging into your xCloud account. Once authenticated, navigate to your dashboard and click on the ‘New Site’ button.
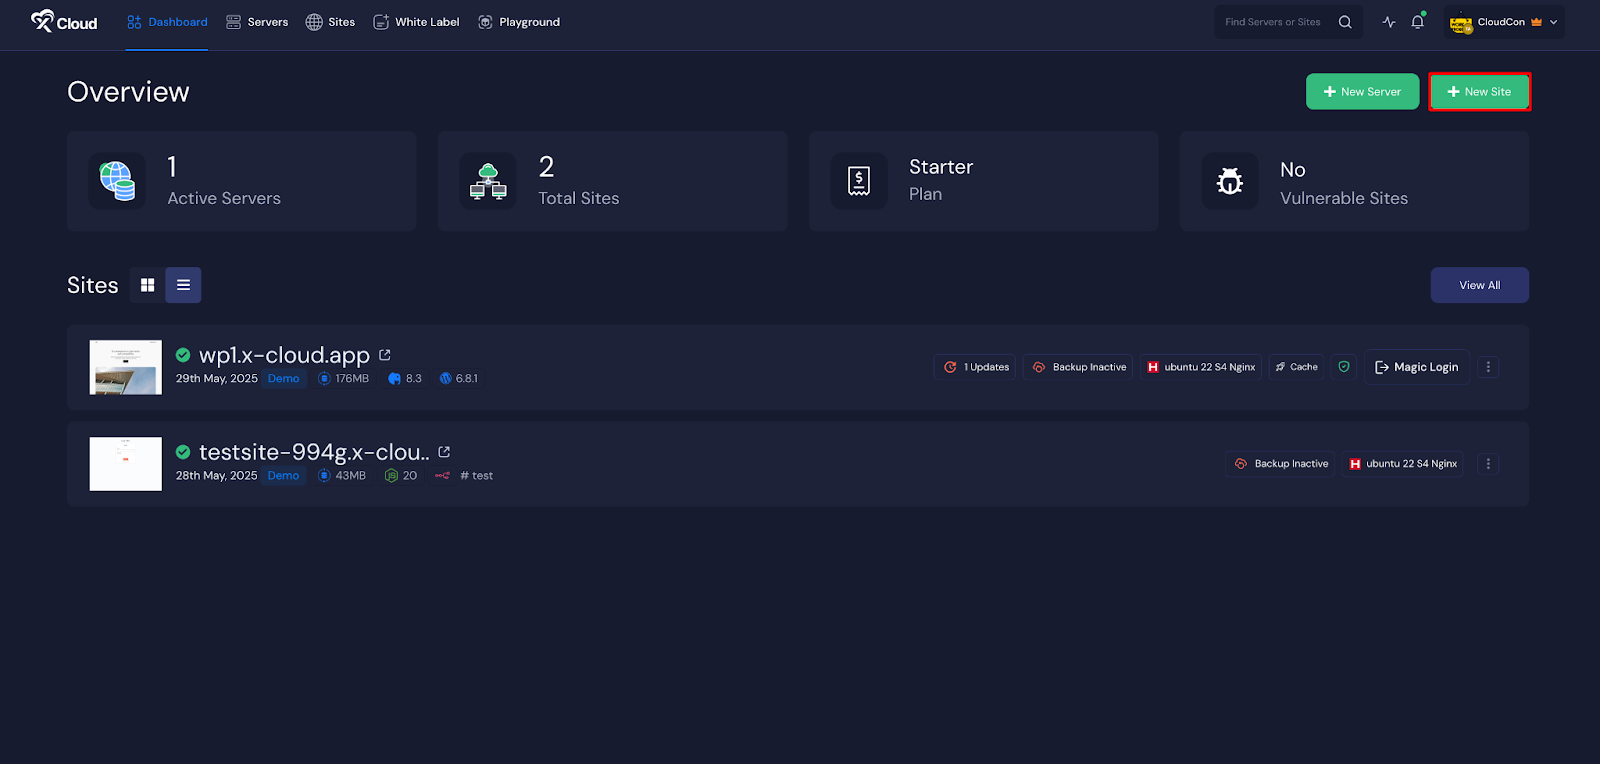
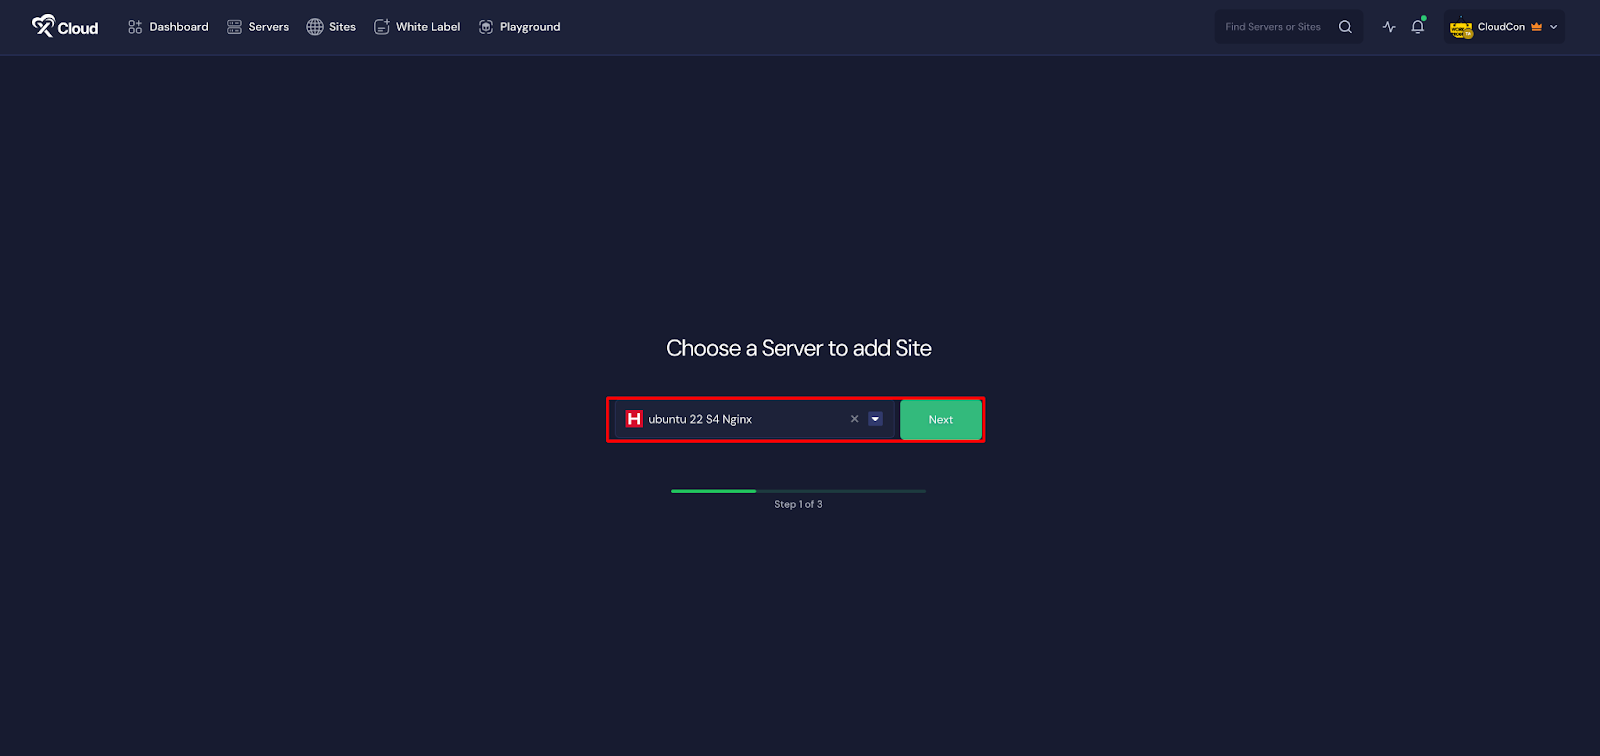
This will take you to the site creation interface. From here, choose the ‘Server’.
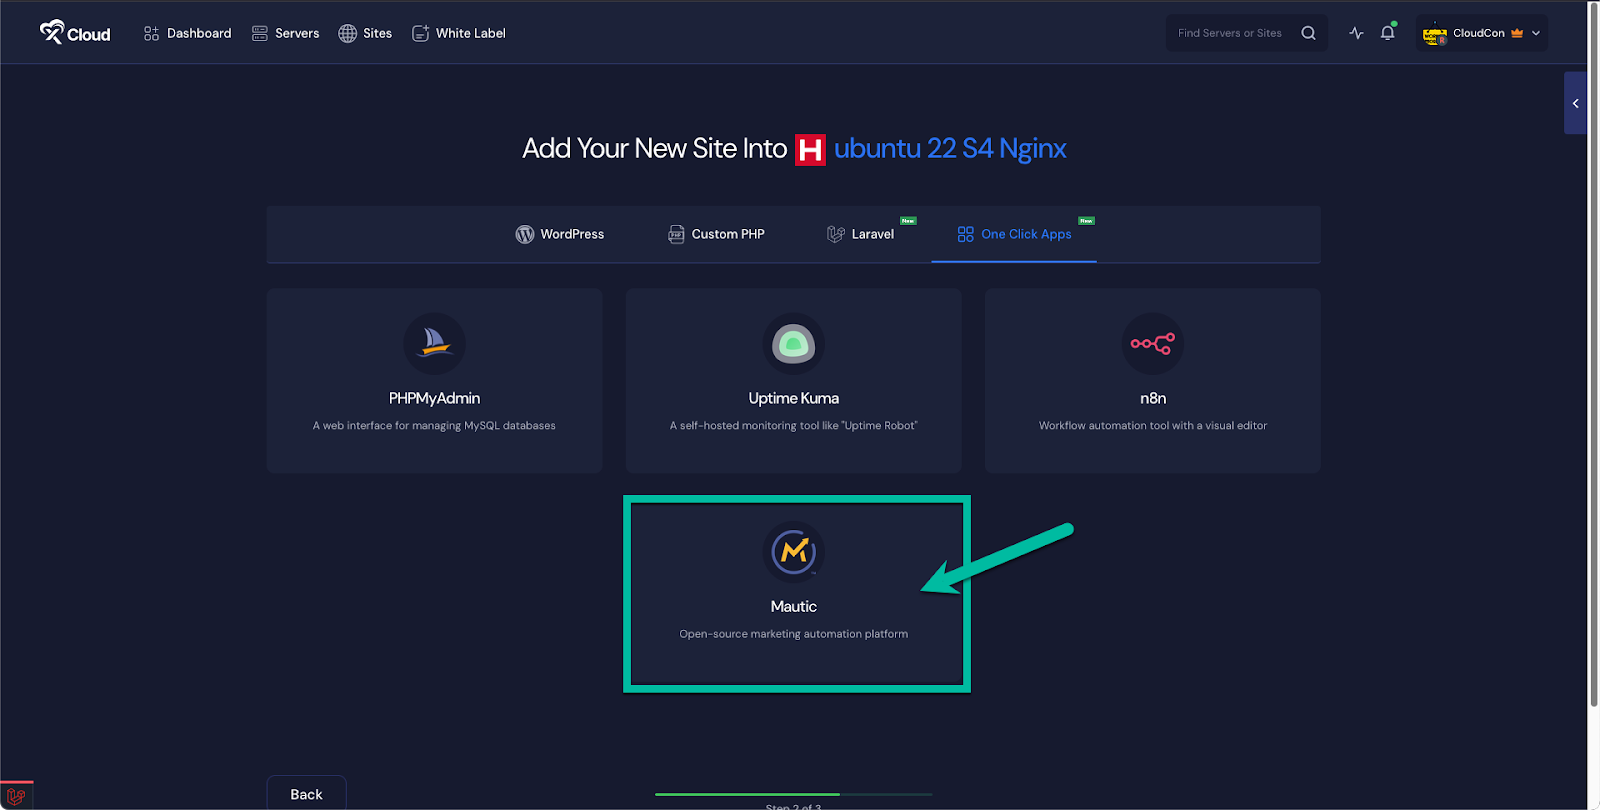
Then go to the ‘One Click Apps’ section. Select ‘Mautic’ from the available applications to initiate the deployment process.
Step 2: Setup Mautic with xCloud
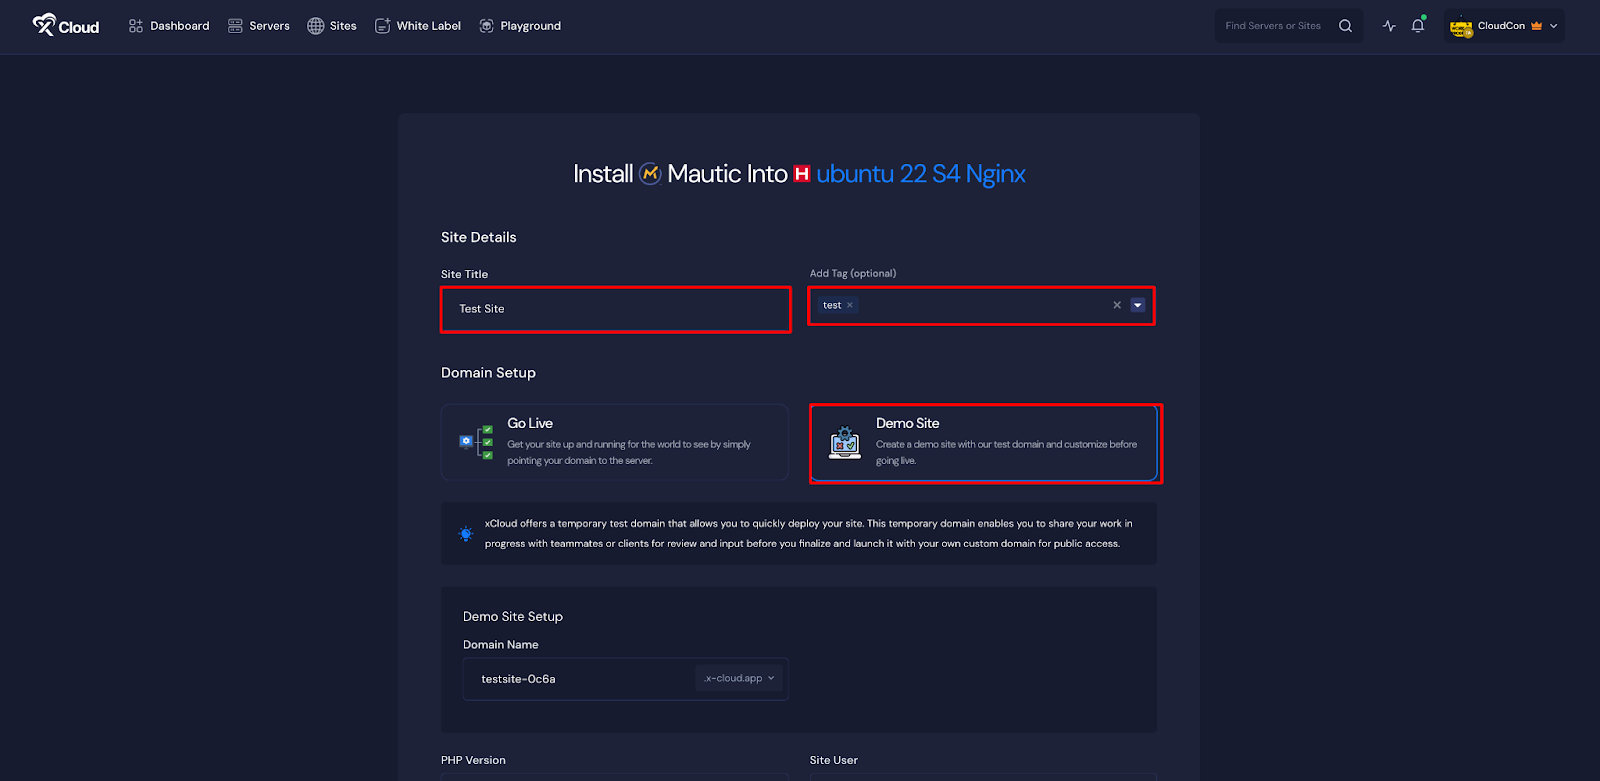
In the site setup screen, you will be prompted to enter basic site information. Provide a ‘Site Title’ and add relevant ‘Tags’ to help organize your deployment. At this point, you can choose between two deployment modes: ‘Go Live’ for a production-ready deployment or ‘Demo Site’ for testing purposes. Selecting ‘Go Live’ will immediately create a live environment, while choosing ‘Demo Site’ allows you to experiment in a staging environment before promoting to production.
Step 3: Configure Domain Settings
If you select the ‘Demo Site’ option, xCloud will assign a temporary subdomain for your Mautic application.
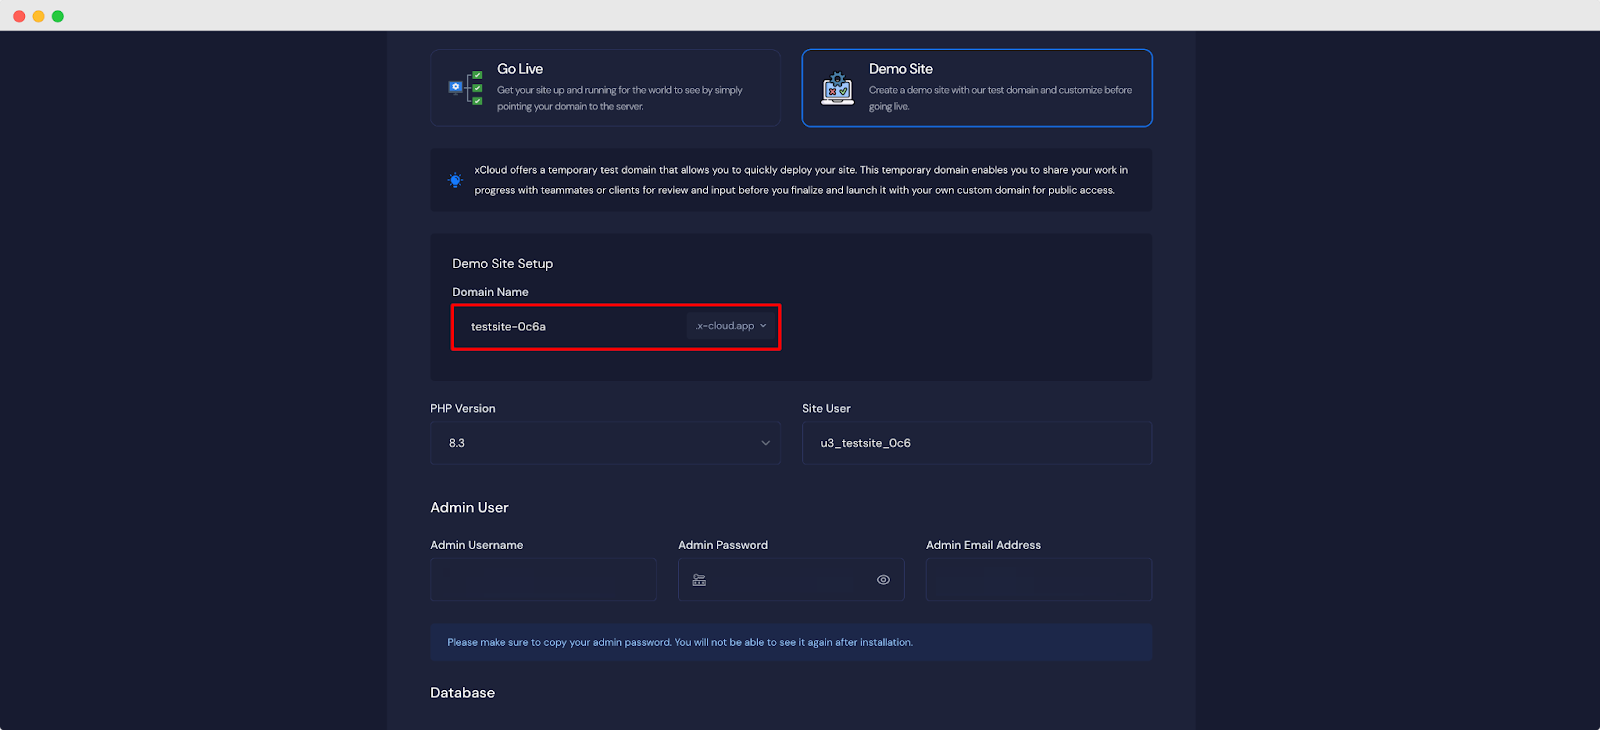
Note: Note that once a demo site is promoted to a live environment, you cannot revert back to using the demo domain. Ensure your choice aligns with your deployment goals before proceeding.
Step 4: Configure and Install the Site
Here, you will get the credentials ‘Admin Username’, ‘Admin Password’, ‘Admin Email Address’, to log in to the site later. You can keep them as it is or customize them as your preferences.
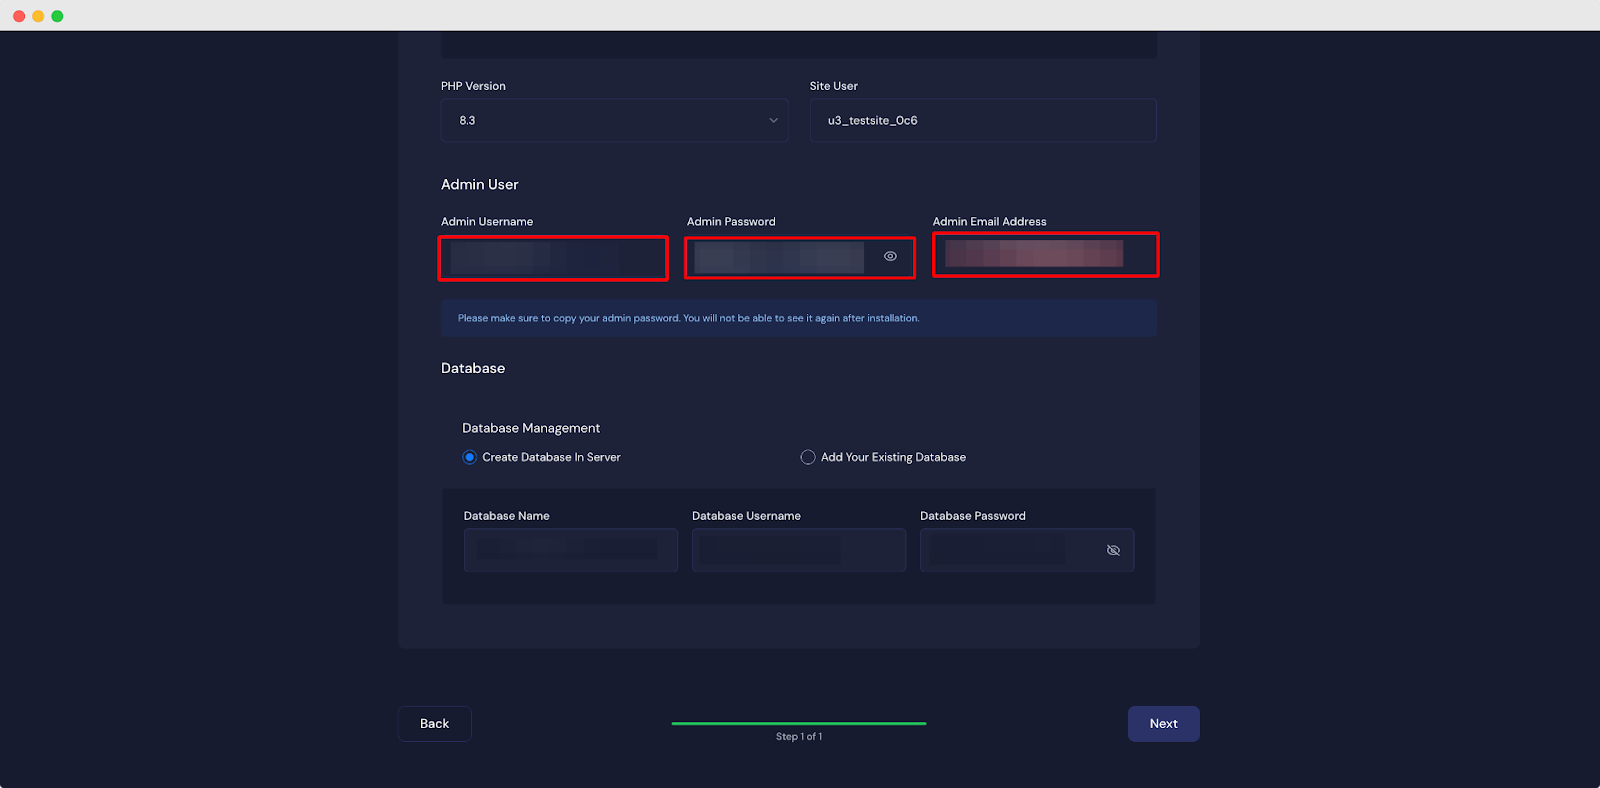
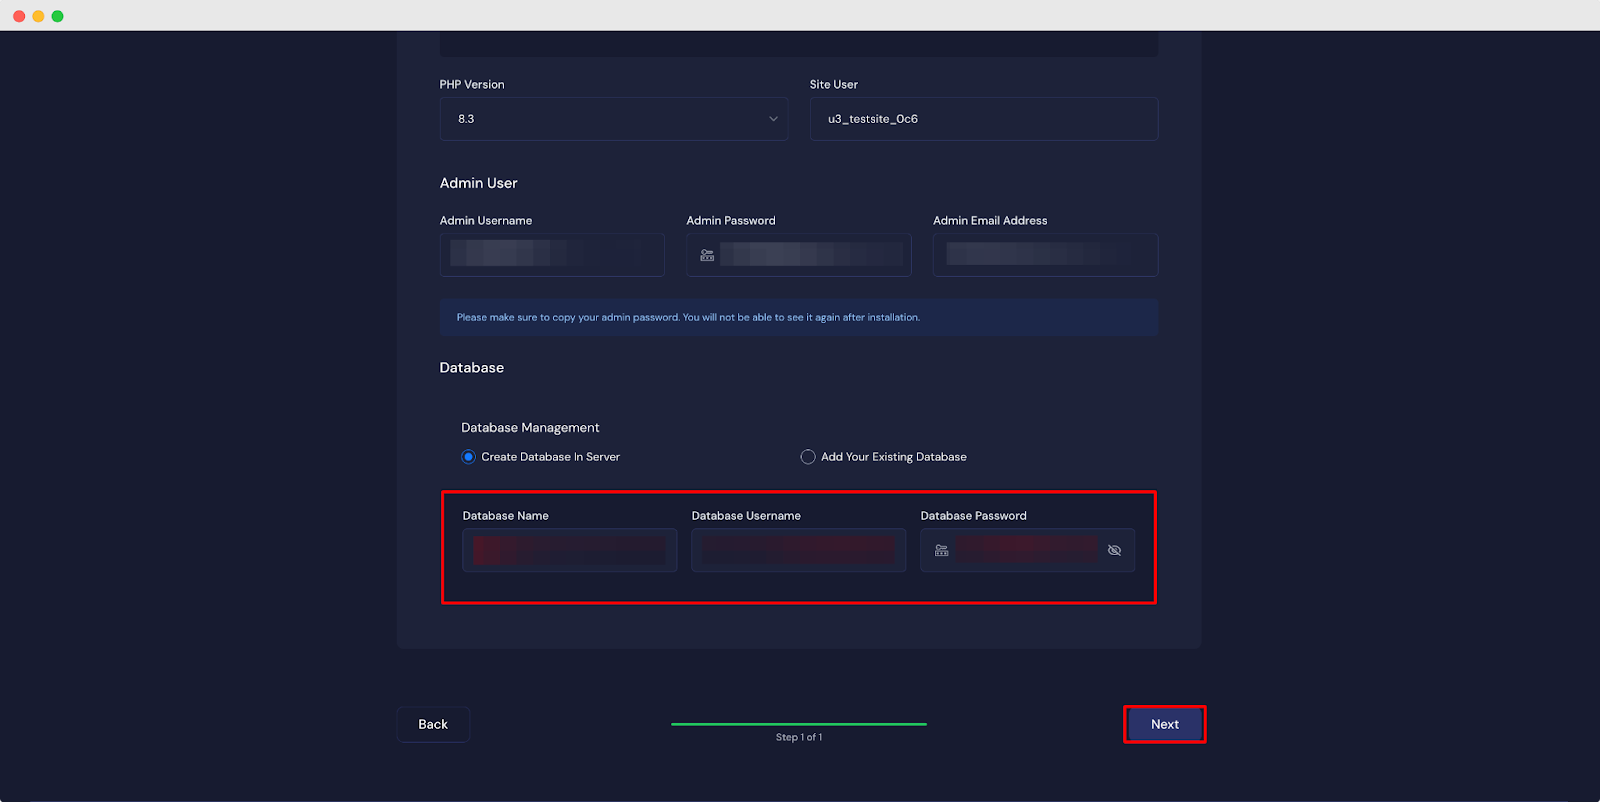
Also, you can create a new database to ‘Create Database to a Server’ or ‘Add Your Existing Database’. Once all settings have been reviewed and configured, click the ‘Next’ button to proceed.
Note: We recommend leaving the database settings as default because xCloud will automatically create and configure a database for you.
Step 5: Go Live
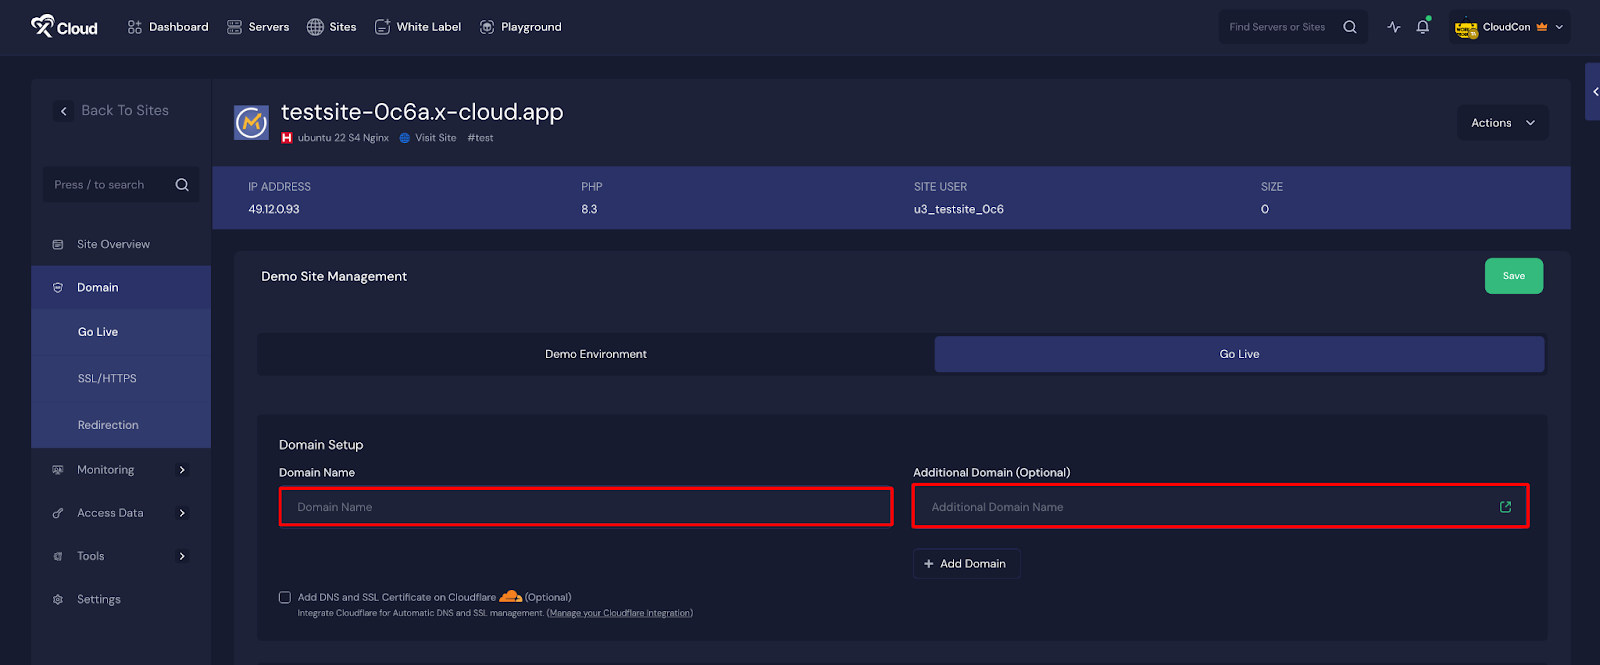
You can add your own ‘Domain’ to host the site by going to the Domain section. Also, you can add an ‘Additional Domain’ with your custom domain.
Step 6: Visit the Mautic Site
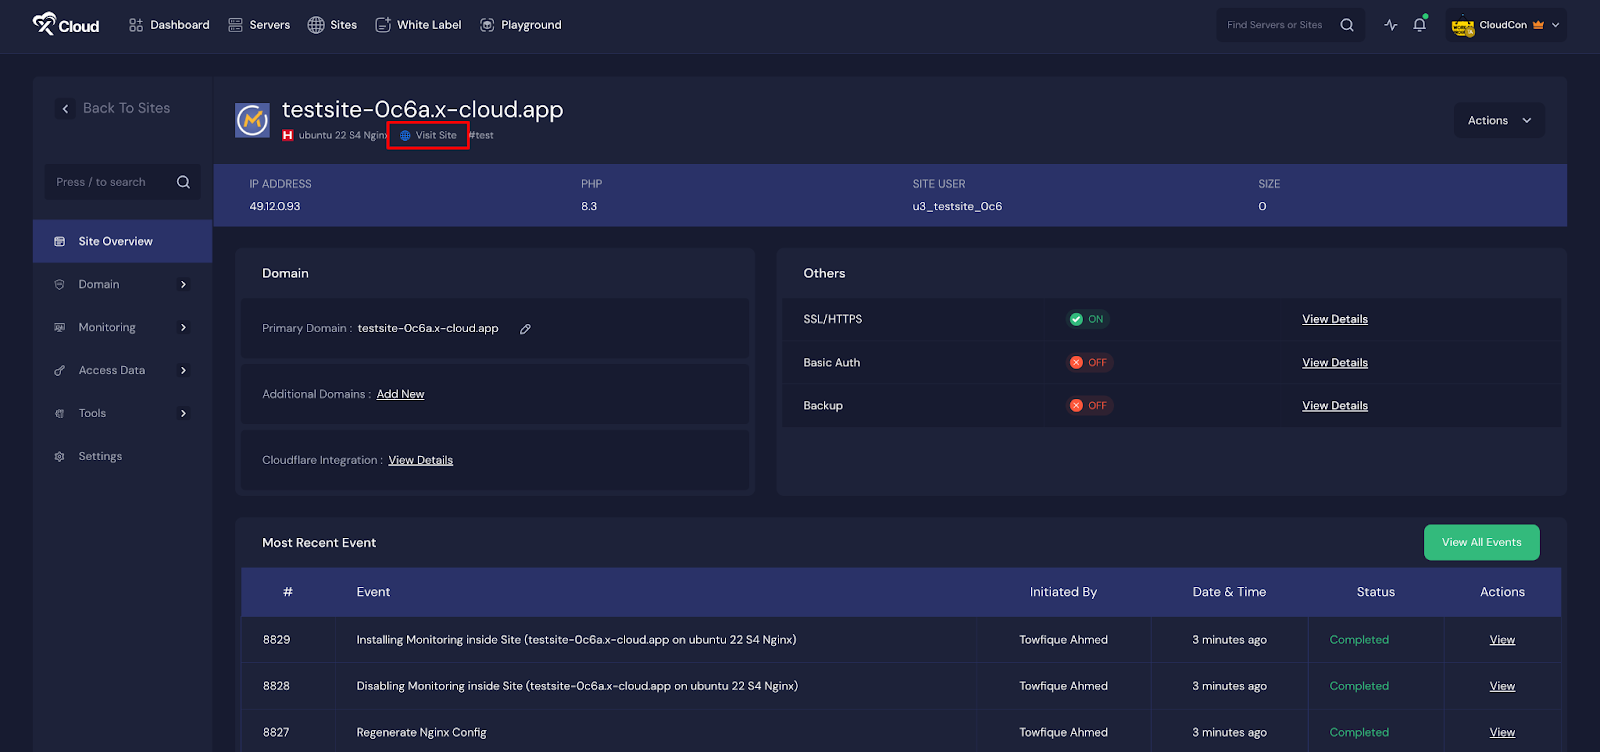
With Mautic set up with xCloud, you should be able to log in and confirm that it’s working. From the dashboard, click on the ‘Visit Site’ button.
Step 7: Visit the Mautic Site
With Mautic set up on xCloud, you can now verify that everything is working. From your dashboard, click the ‘Visit Site’ button. xCloud automatically registers the admin user using the credentials you provided during setup. So instead of creating a new account, simply log in with your admin username and password.
Once logged in, you’ll be taken to the Mautic dashboard where you can begin customizing your marketing automation environment.
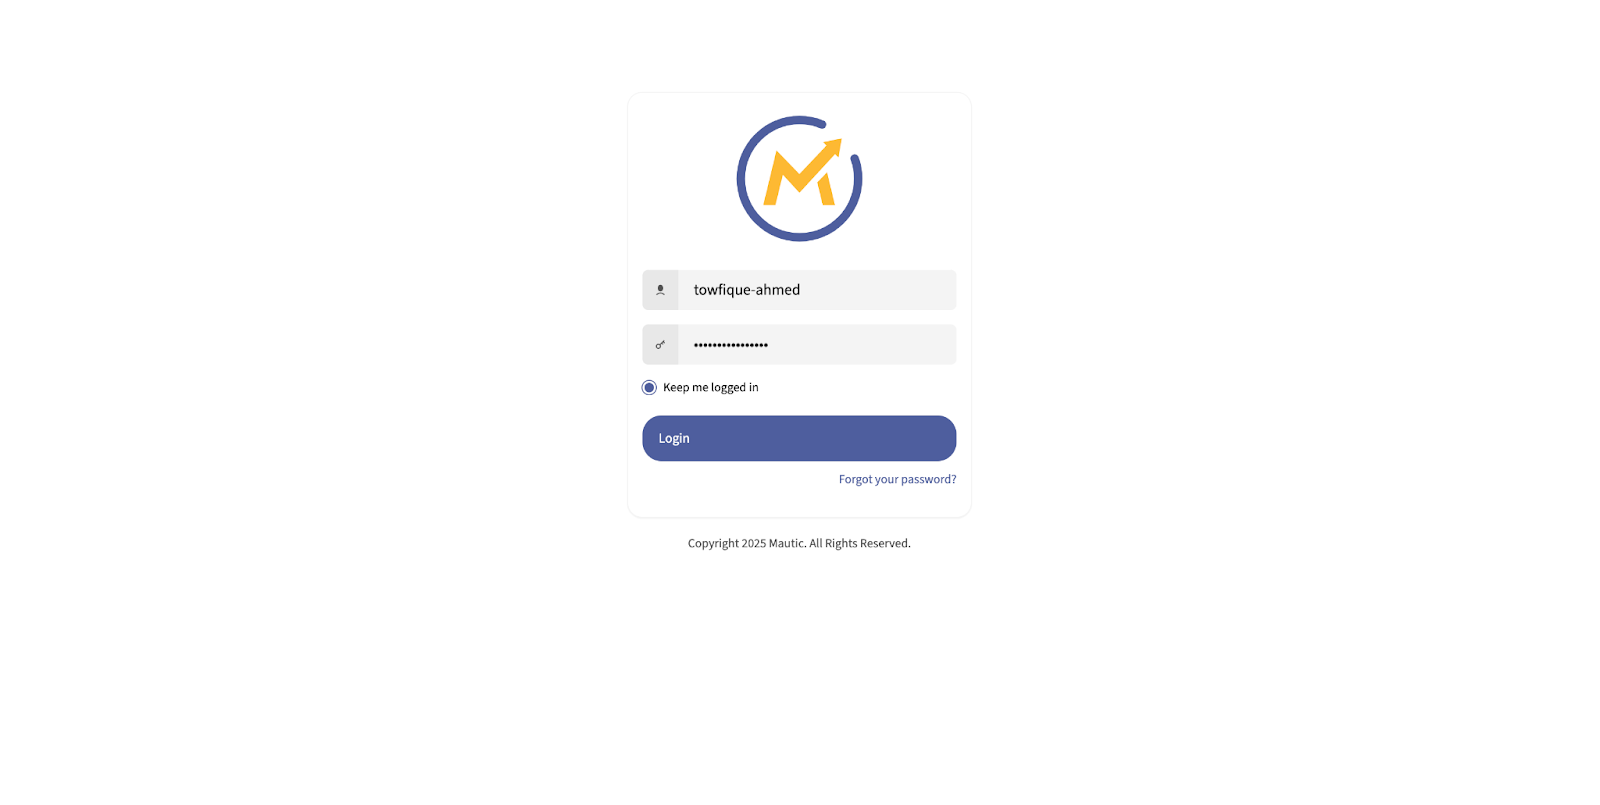
This should bring you to the Mautic Overview page. Now that your Mautic instance is up and running, let’s fine-tune its settings for security and customization.
How to Reset the Mautic Admin Password Using xCloud Command Runner
If you ever forget the admin password, you can reset it easily using the xCloud command runner.
You do not need SSH access. Just run the below command with your user or new password:
cd /var/www/yoursite.com

USER="your-user-name"
PASS="your-new-password"

H=$(php bin/console security:hash-password "$PASS" "Mautic\\UserBundle\\Entity\\User" 2>/dev/null | awk '/Password hash/{print $NF}')
php bin/console doctrine:query:sql "UPDATE users SET password='$H' WHERE username='$USER';"
echo "✅ Password for $USER reset."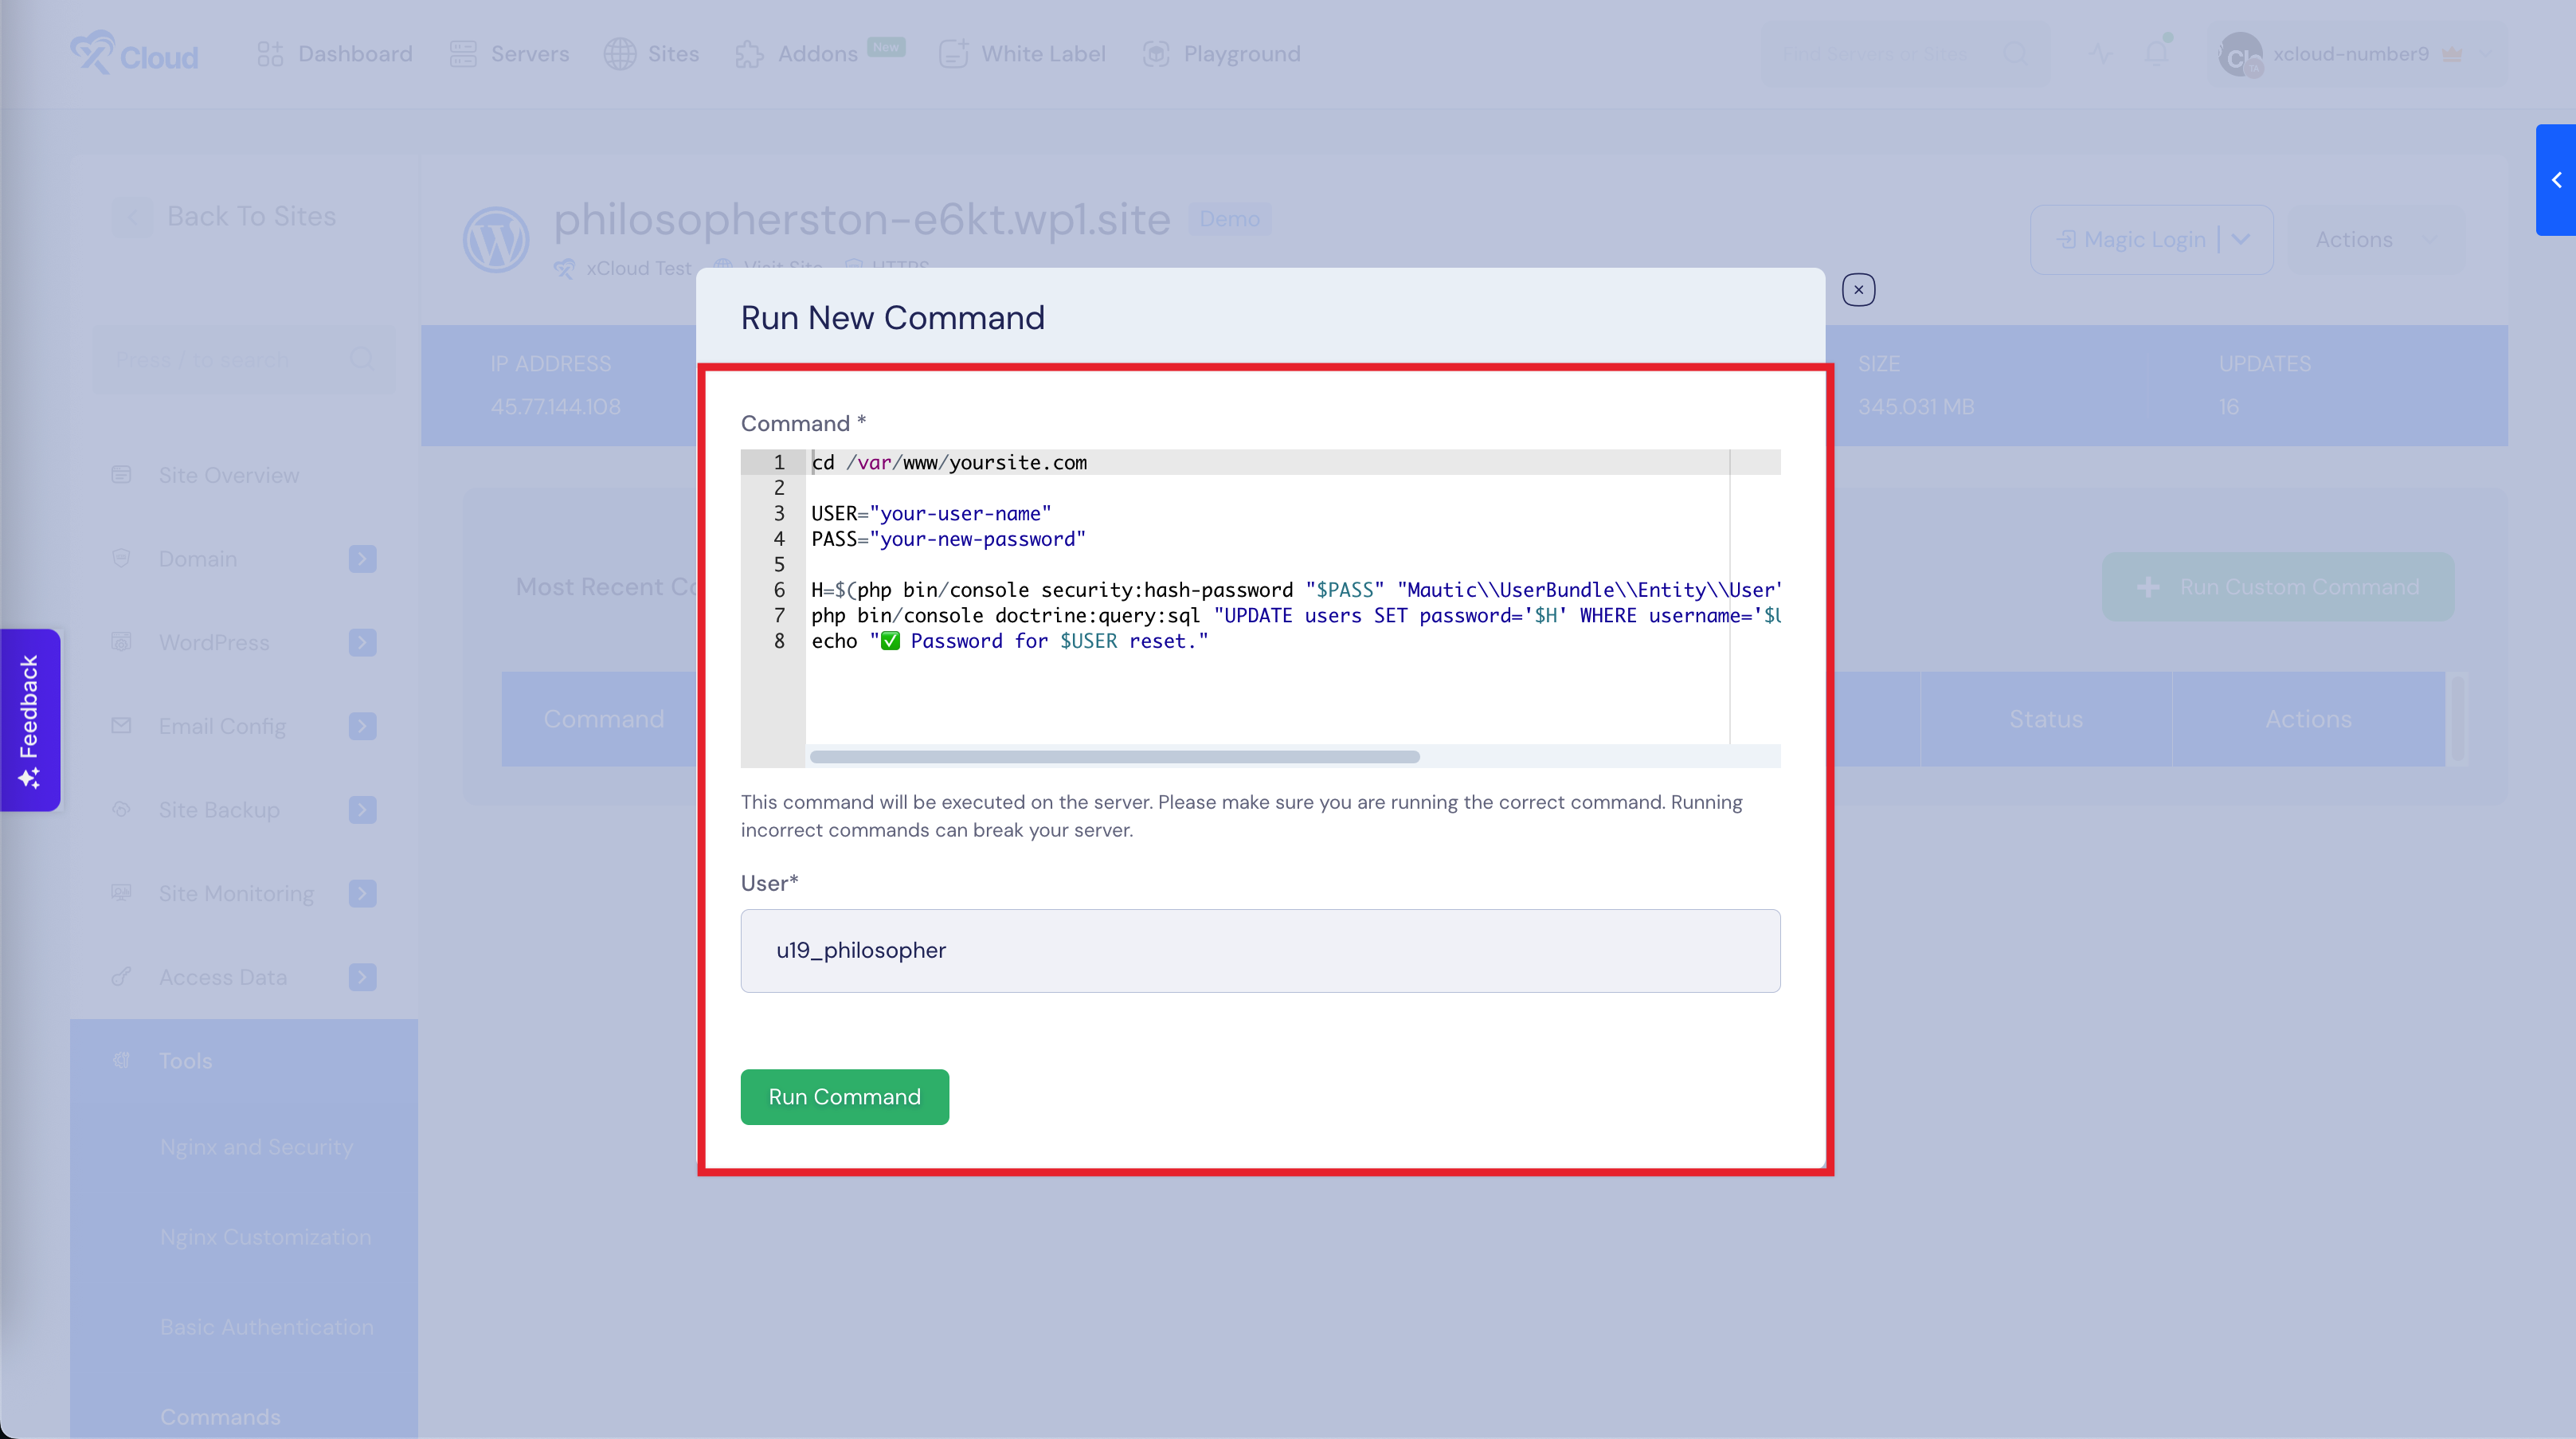
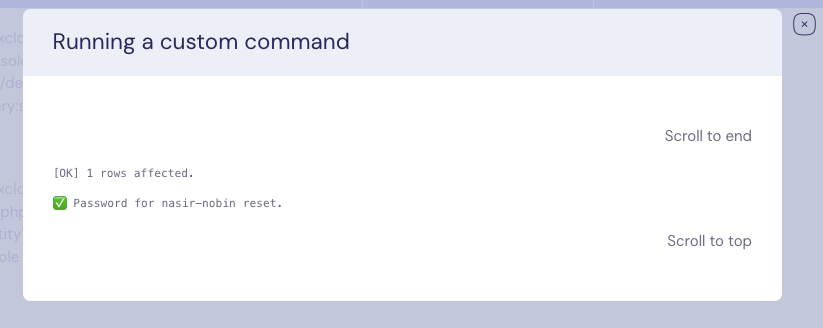
Once the command run is successfully completed, your admin password will be updated. If it shows 1 row affected, the password is reset. You can now log in using the new password.
And that’s it, this is how easily you can quickly and efficiently deploy an Mautic instance using xCloud’s One Click Apps feature.
Still stuck? Contact our support team for any of your queries.