WebP is a modern image format developed by Google that offers superior compression for images on the web, helping improve site load times without compromising quality. Enabling WebP support on your server ensures that browsers capable of displaying WebP images will automatically receive them, while others continue to receive standard PNG or JPEG formats.
Learn how to enable and configure WebP for NGINX server with xCloud to serve WebP images efficiently.
Step 1: Go to The NGINX Customization #
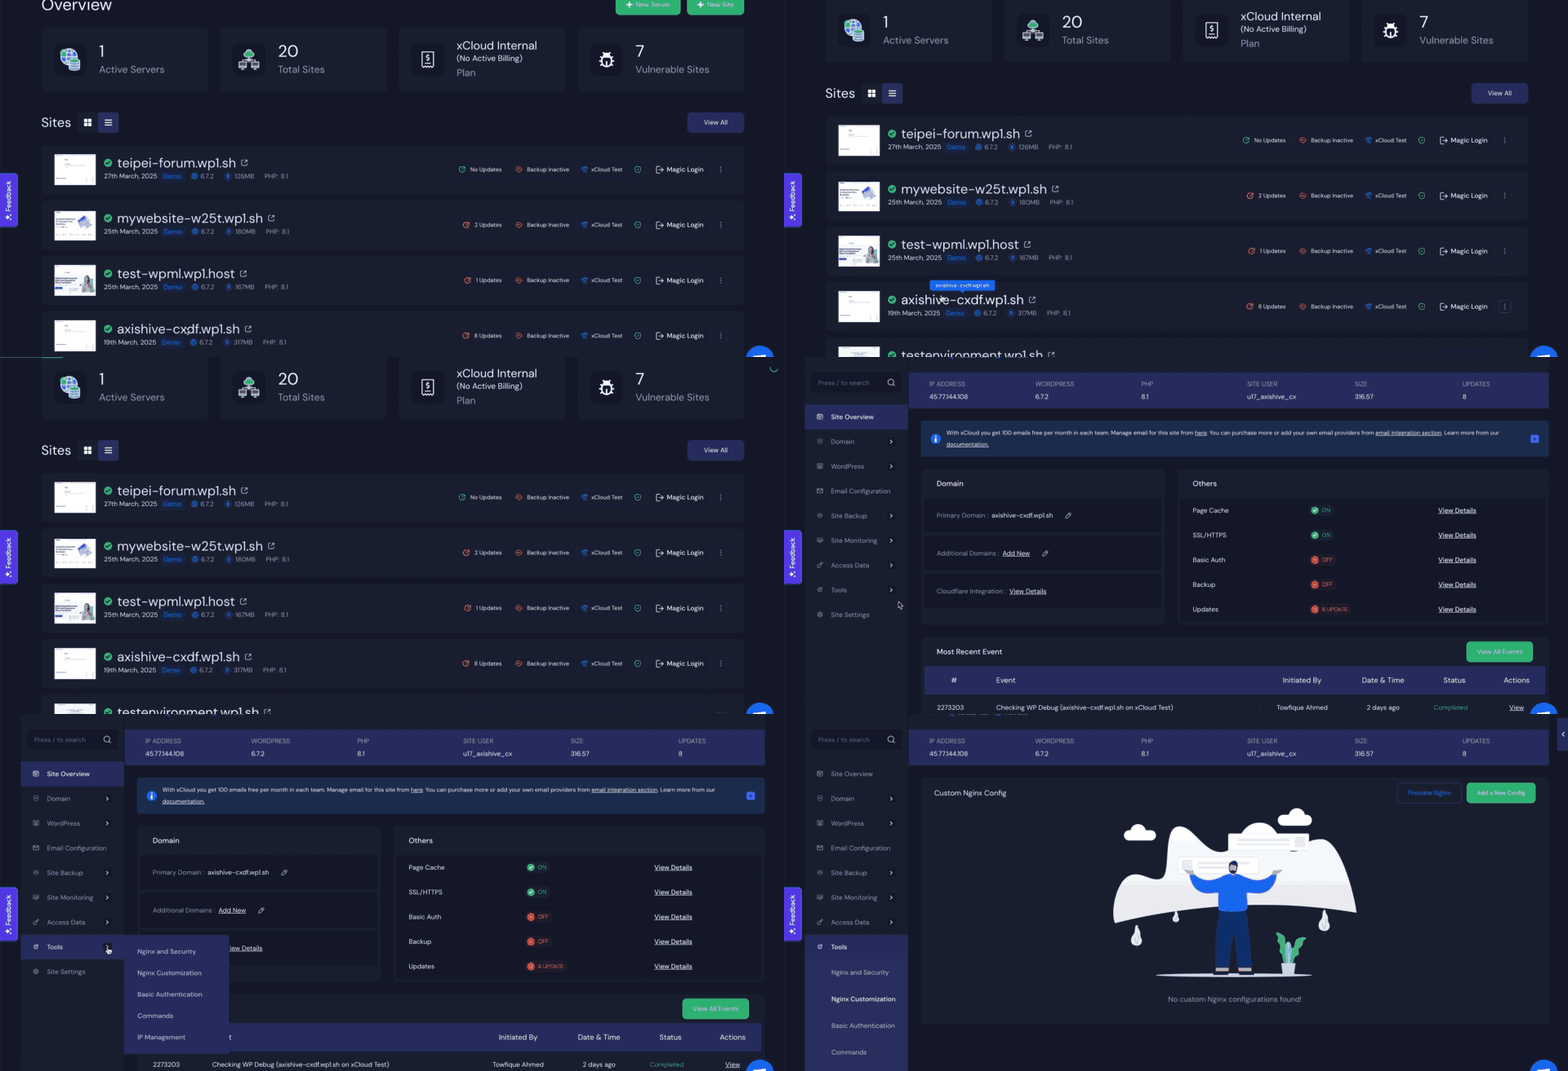
To begin, log into your xCloud dashboard and navigate to the site where you want to enable WebP support. From the left-hand menu, click on ‘Tools’ and then select “NGINX Customization.” This section allows you to safely modify server configurations.

Step 2: Add the Config Content for Before Server Block #
The first step is to add a custom configuration before the server block. Click the “Add a New Config” button, and when the popup appears, set the Config Type to Before Server Block. Name the configuration something descriptive. Then, in the Config Content field, paste the following code:
before:

map $http_accept $webp_suffix {

    default "";

    "~*webp" ".webp";

}
After pasting the code, click the “Save Config” button to apply the changes.

Step 2: Add the Config Content for Inside Server Block #
Next, you’ll need to handle how NGINX serves WebP images by modifying the configuration ‘Inside the Server Block’. Again, click “Add a New Config”, and this time select Inside Server Block for the Config Type. Give this a configuration file name then paste the following into the Config Content field:
Inside:

location ~* ^.+\.(png|jpe?g)$ {

    add_header Vary Accept;

    try_files $uri$webp_suffix $uri =404;

}
Then, click the “Save Config” button to apply the changes. Once this second configuration is saved, your server is ready to start serving WebP images automatically when possible.

And that’s it. This is how easily you can enable WebP for NGINX server with xCloud. With this, your xCloud server is now optimized to serve WebP images to supported browsers, improving site performance and efficiency.
Still stuck? Contact our support team for any of your queries.


