


The xCloud Reseller Hosting Program simplifies the process of creating and managing servers for your clients. With xCloud , reseller’s clients can set up a server easily.
Clients n create your server from the dashboard and create it from the landing page. Follow these steps to create a server easily that meets your needs.
Create a New Server from the Landing Page/Sales Page #
Suppose the client visits your reseller’s landing page. Then choose your preferred pricing plan and click on the ‘Select Plan’ button to start the process.
Then, at first, enter your account sign-up credentials: ‘Account Name’, ‘Account Email’ and ‘Password’.
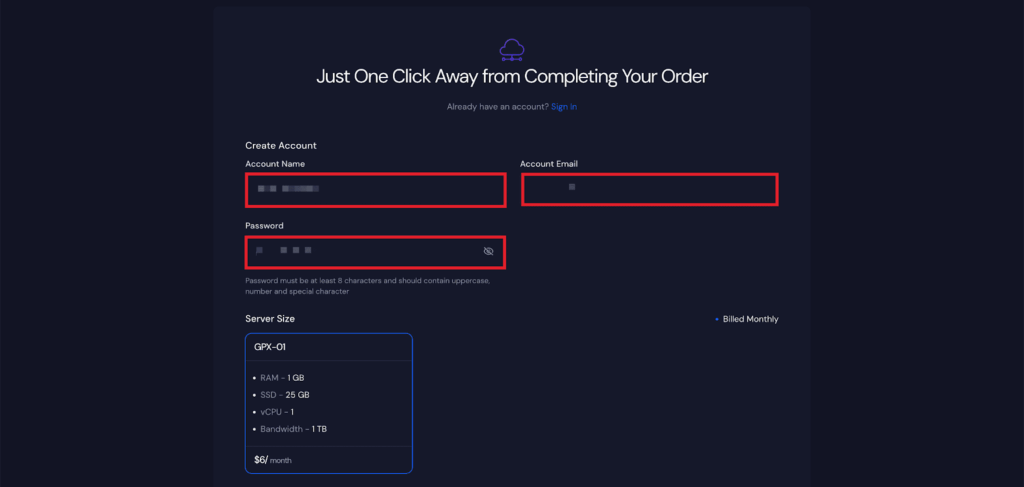
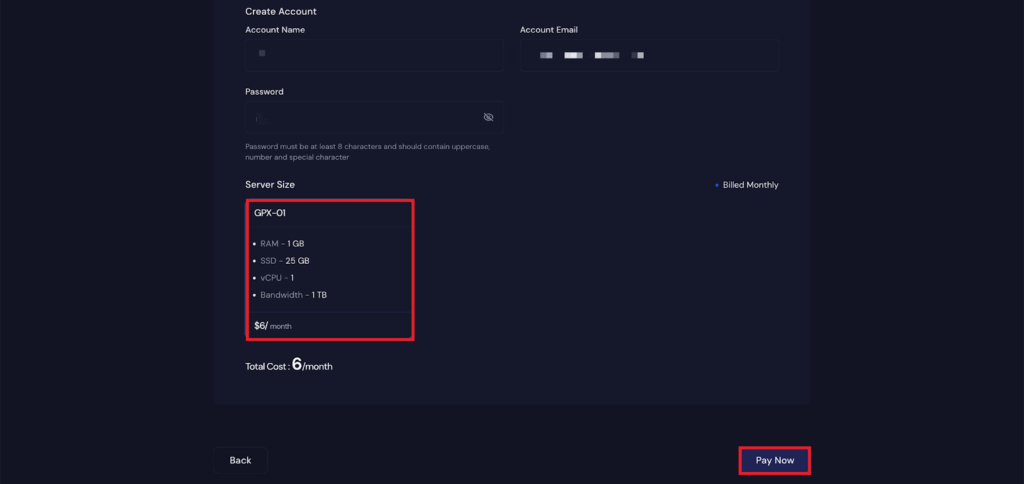
Then, you can see your chosen ‘Server Size’ and the cost of that plan. If everything is alright, click on the Pay now button.
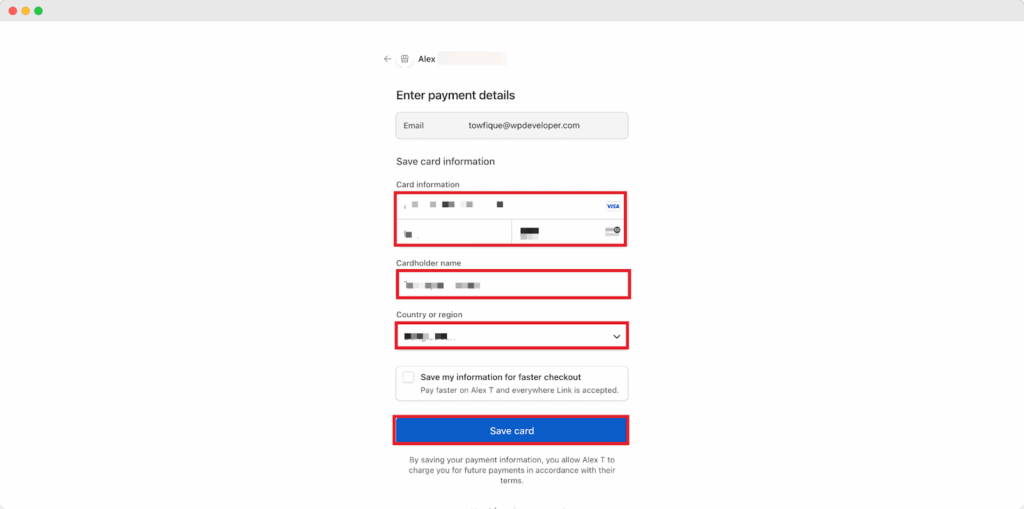
You will now be taken to the checkout page. Enter the details and click on the ‘Save Card’ to proceed.
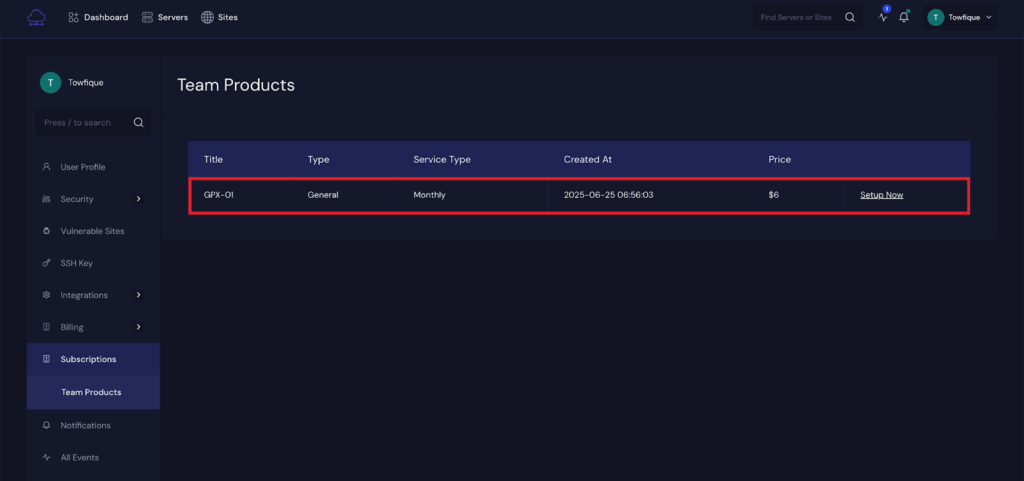
Once the payment has been successfully completed, you will be redirected to your dashboard. From here, you will see an option to ‘Set Up Now’. You can click on this to start creating your server.
Note: But you do not need to set up the server immediately. You can choose to create your server later through Team Products or when you try to provision a server. If you have already purchased a product, you will get a notification that your server is available. You can then decide whether you want to proceed with the setup or wait.
When you click on the ‘Set Up Now’ option, it will take you to the server setup page.
You will see a notice that says your server setup is pending.

Next, you can give your ‘Server name’ and ‘Tags’. Then you can see that the ‘Server Type’ and the ‘Server Size’ are already selected. Keep them as it is, as you have already paid for them.
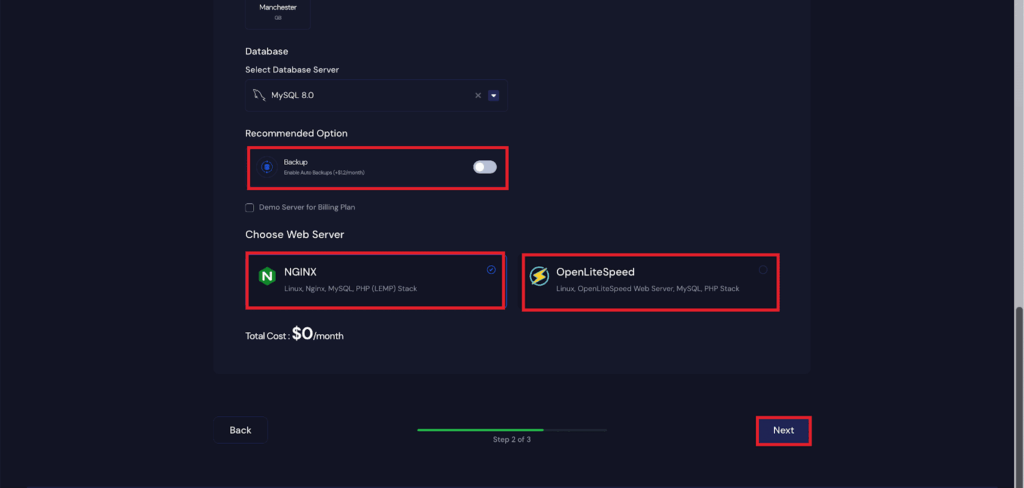
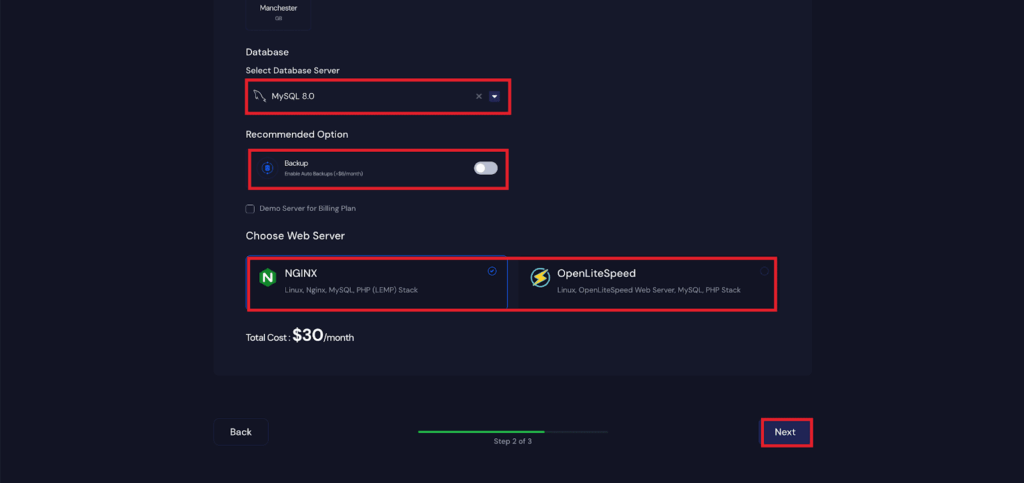
Then, scroll a bit and go to the ‘Region’ and choose the continent you want to deploy your server on. Next, select any one database from MySQL and MariaDB.
Now you can enable the ‘Backup’ option, which will add an additional charge to your plan. Next, choose from any one web server from ‘NGINX’ or ‘OpenLiteSpeed’ and click on the ‘Next’ button.
Once you hit the on next button, the server creation process will start. After the server creation process is completed, you will be redirected to the server dashboard.
Create New Server From the Dashboard #
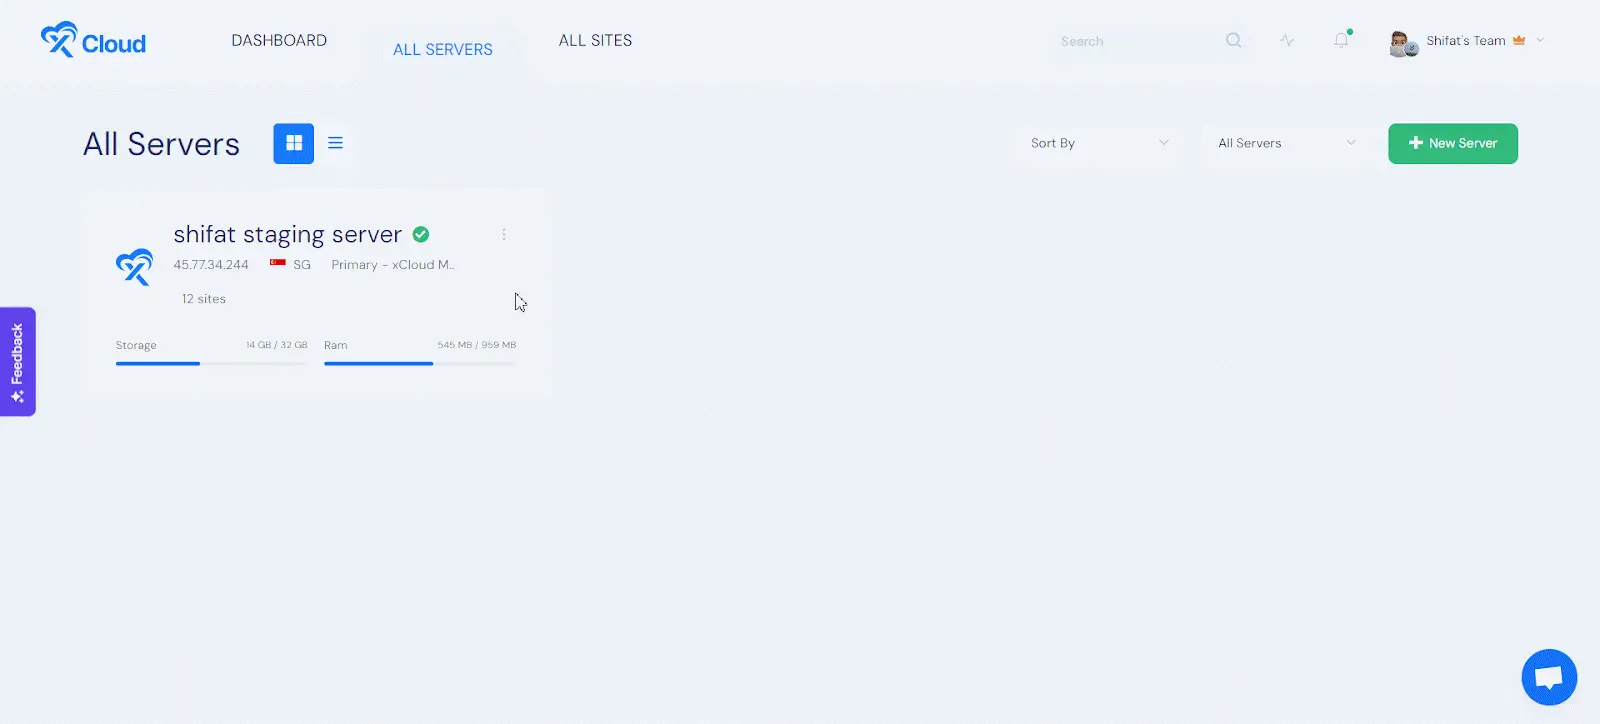
Now, if you want to create another server from the dashboard, click on the ‘New Server’ button.
Next, you can give your ‘Server name’, ‘Tags’ according to your preferences.
Then you can see that the Server Type ‘General and ‘Premium’ and the ‘Server Size’ according to the plans. Choose the server type and size based on your needs. Then select the ‘Region’ on the server.

Next, choose any one database from MySQL and MariaDB. Now you can enable the ‘Backup’ option, which will add a charge to your plan. Next, choose from any one web server from ‘NGINX’ or ‘OpenLiteSpeed’ and click on the ‘Next’ button.
Once you hit the next button, the server creation process will start. After the server creation process is completed, you will be redirected to the server dashboard. And that’s it this is how easily you can create your server.
Still stuck? Contact our support team for any of your queries.


