


Ensuring your website’s data remains secure and accessible is vital. Once you integrate Google Cloud Storage for your site backups in xCloud, you are opting for a solution that combines robustness with flexibility. Google Cloud Storage is renowned for its top-tier security features, scalable architecture, and dependable performance.
In this guide, we will show you how to integrate Google Cloud Storage with xCloud to establish an efficient and reliable backup system.
Steps to Integrate Google Cloud Storage for Site Backups with xCloud & Back up Site #
Follow the steps below to integrate Google Cloud Storage for site backups with xCloud and back up your websites effortlessly.
Step 1: Add a New Storage Provider #
Before getting started to back up your websites with Google Cloud Storage, you need to integrate the storage provider into xCloud. For that, log in to your xCloud account and navigate to Team Settings → Integrations → Storage Provider.
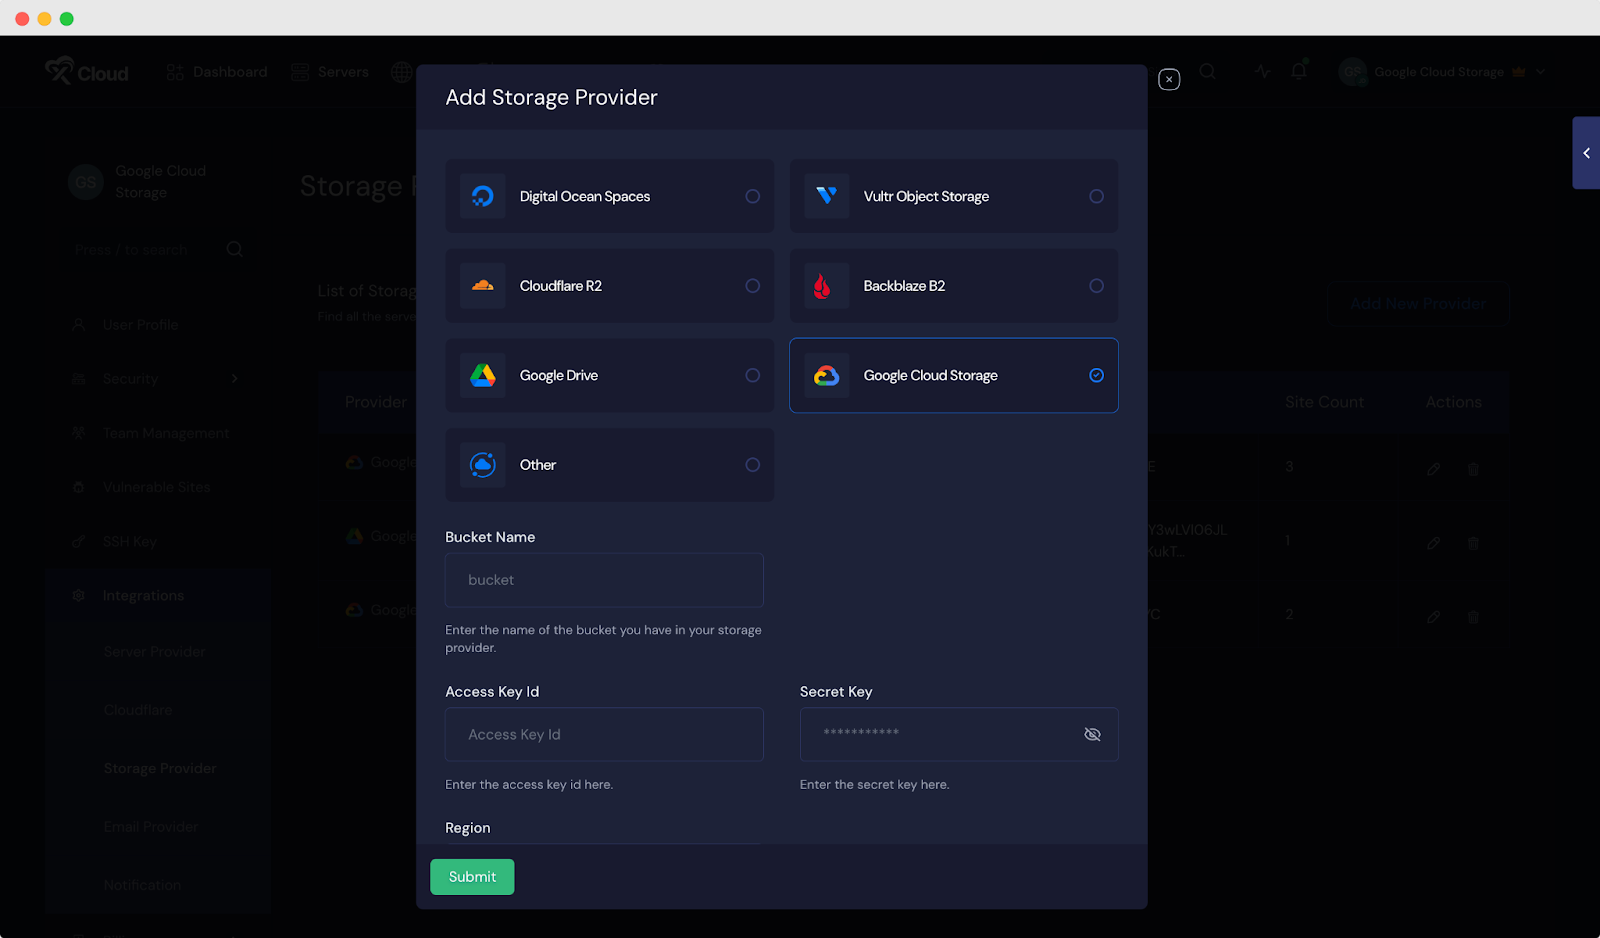
Now, click the ‘Add New Provider’ button and choose Google Cloud Storage as your provider. Next, set a label/name for which a folder will be created in your Google Cloud Storage.
Step 2: Collect Access & Secret Keys #
To integrate Google Cloud Storage into your xCloud account for site backups, you need an Access Key ID and Secret Key from Google Cloud Console. To get those, log in to your Google Cloud Console account and navigate to the Cloud Storage menu from the left bar.
Next, hit the ‘CREATE A BUCKET’ button and set a name for your bucket. Next, you need to choose a cloud location to store your data. You can either pick a single location (could be nearest to your server location) or choose multiple or dual locations. Once done, click the ‘Continue’ option to configure other settings.
[Note: Your storage charge depends on the number of locations and types you select and add accordingly]
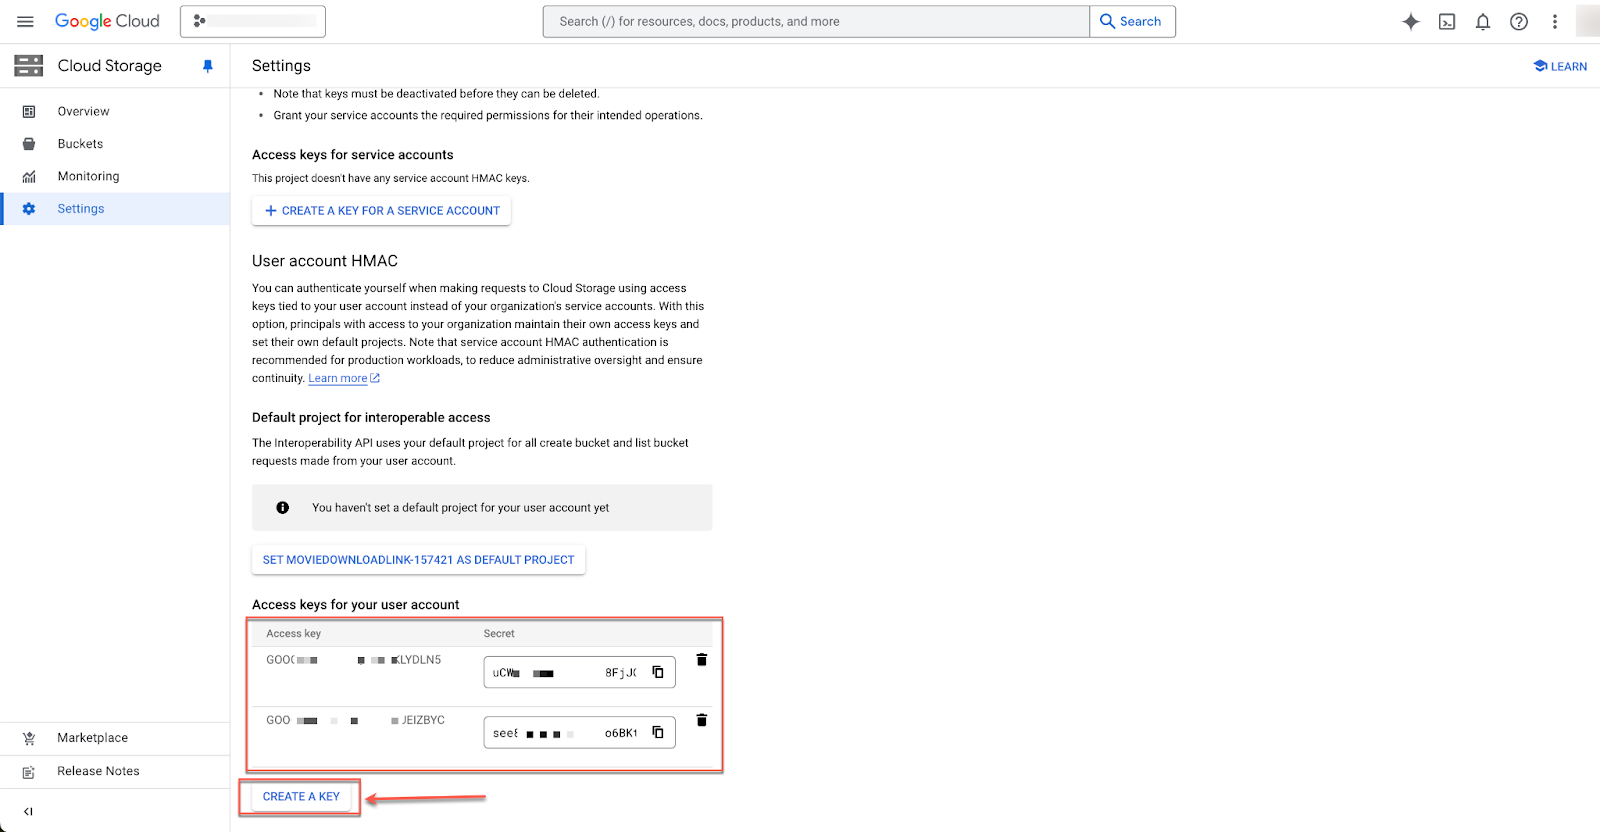
Once done, set the storage class, control access options and project object options as per your need. Then hit the ‘Create’ button. Your bucket will be created instantly. Now, you need to get the access key and secret key. To collect those, navigate to Settings→ Interoperability and scroll down to the Access Keys section.
Here, create a new key by clicking on the ‘CREATE A KEY’ button. If you already have generated keys, you can collect those and use them on the xCloud end.
Step 3: Integrate Google Cloud Storage Provider #
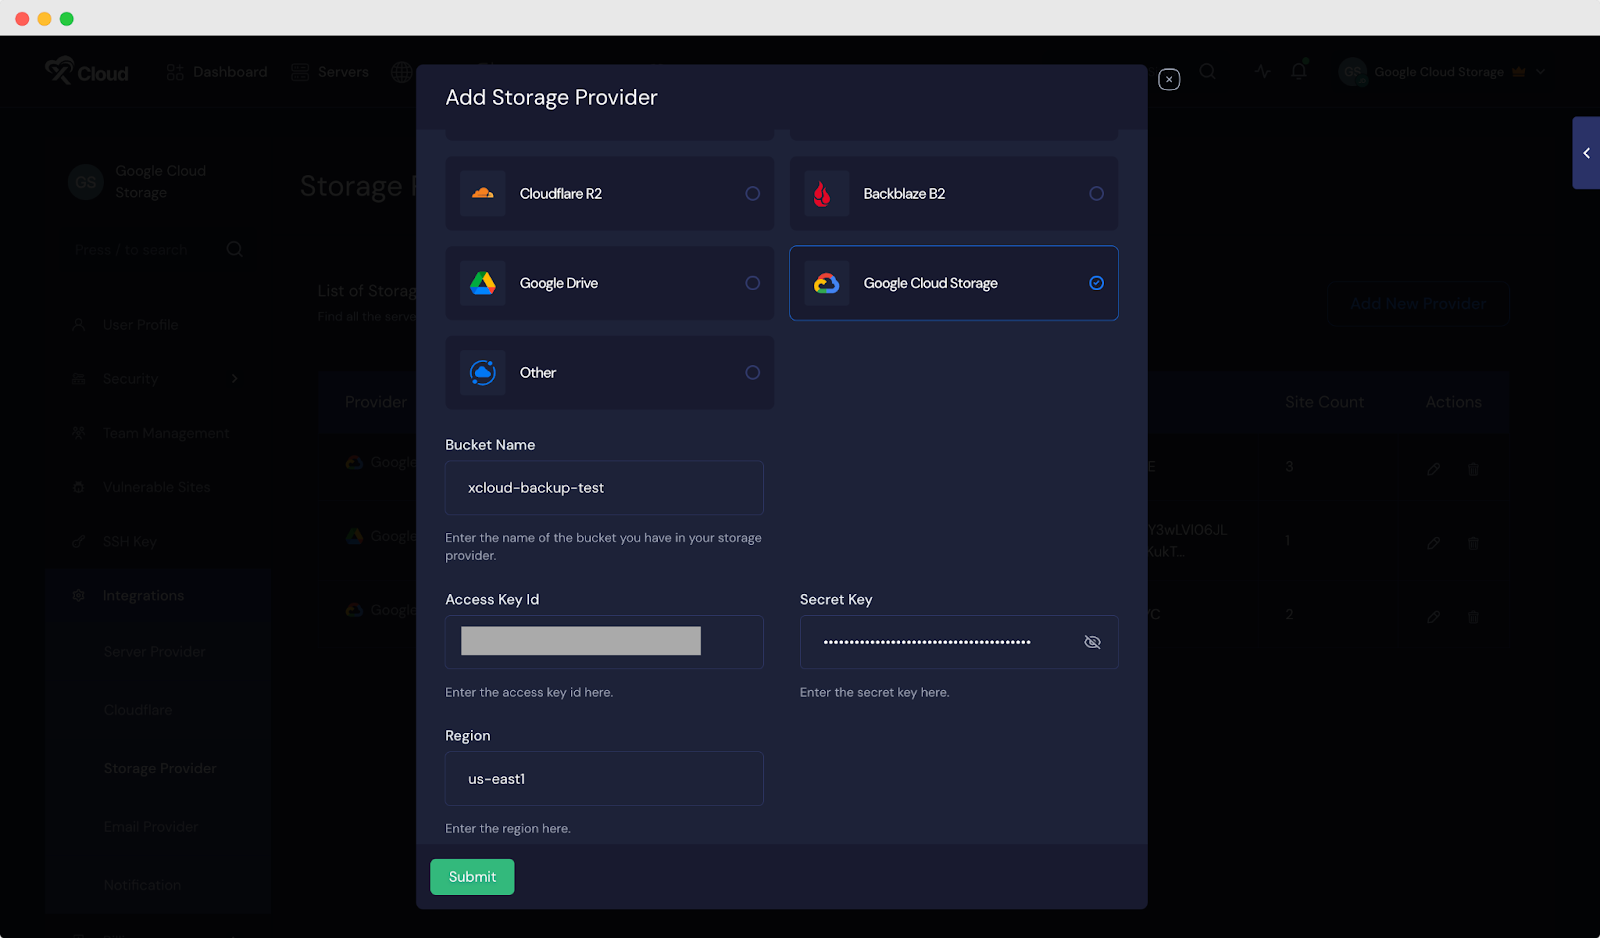
Now that you have collected the Access keys and secret keys, you can use those keys to integrate the Google Cloud Storage providers into your xCloud account. Set the bucket name as set in the storage provider, use the access key and secret key, set the region and hit the Submit button.
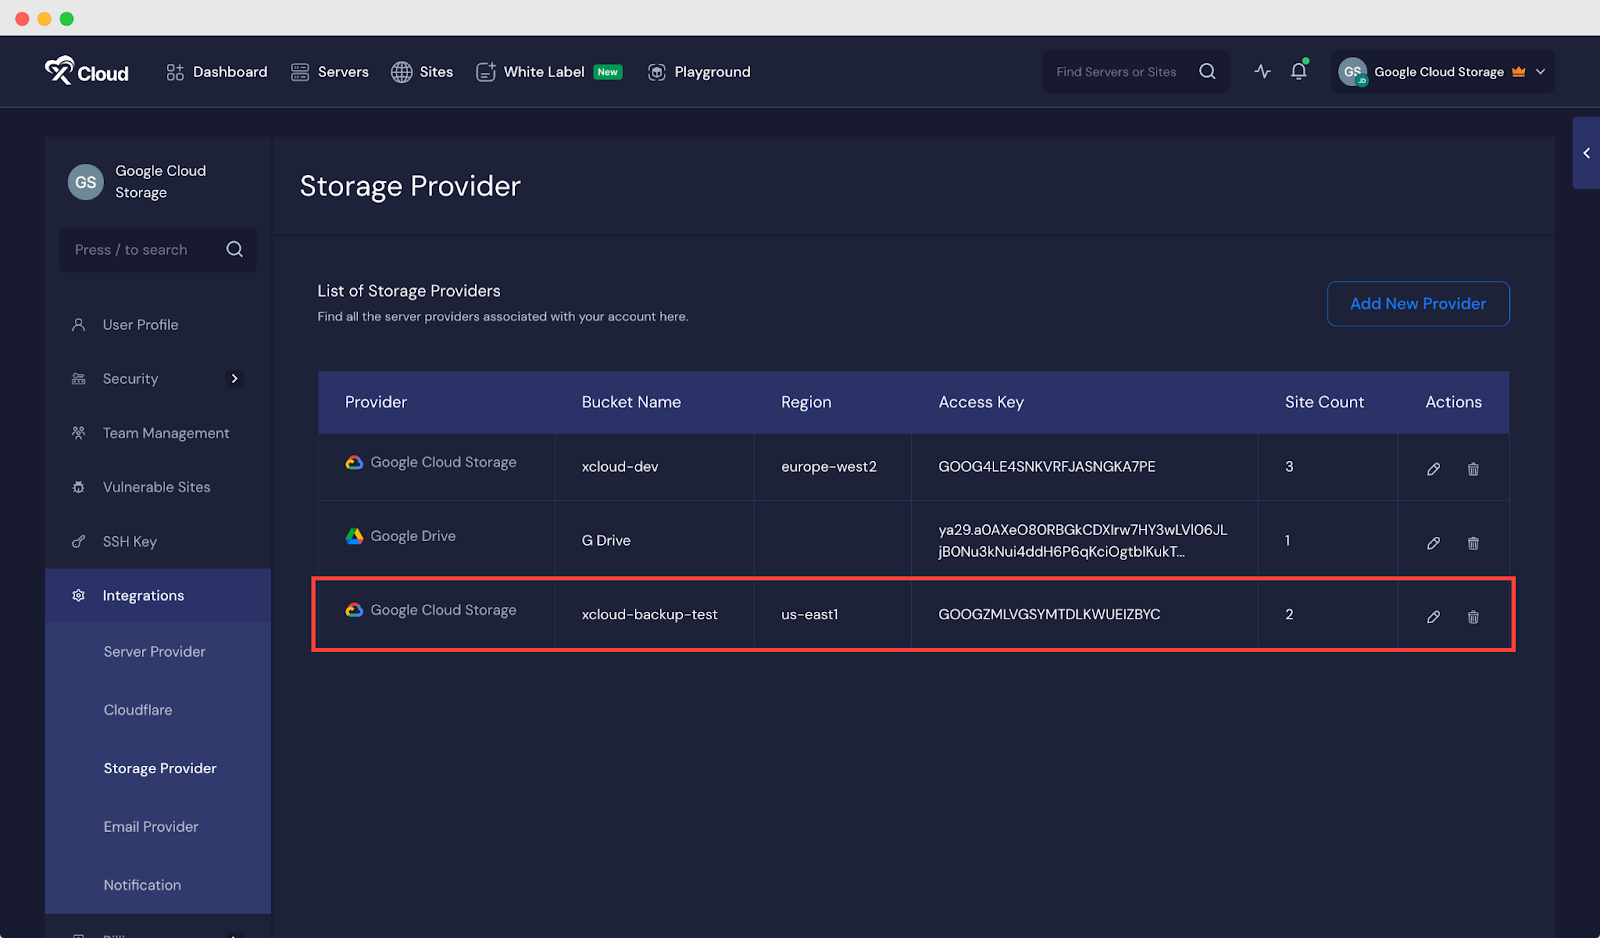
Once integrated, you will see the Google Cloud Storage integrated and listed on the Storage Provider page in xCloud, as shown below.
Step 4: Configure Backup Settings for Google Cloud Storage #
Once you are done integrating Google Cloud Storage as a storage provider into xCloud, you can now configure ‘Backup Settings’ for taking backups with Google Cloud Storage. Now, go to sites, choose the one you want to take backup and navigate to the Site Backup → Backup Settings.

Now, in the ‘Remote Backup’ section, choose Backup Type as ‘Full’ or ‘Incremental’ and select the bucket you have just created for Google Cloud Storage. You can then choose to exclude paths if necessary (for the paths you do not want to take backup).
Then, you can also enable ‘Automatic Backup’ and choose the backup frequency. Plus, you have the option to use the ‘Automatic Delete’ option with which you can set days after when your backup will be deleted automatically. Once done, hit the ‘Save’ button.
Step 5: Take a Backup of Your Site #
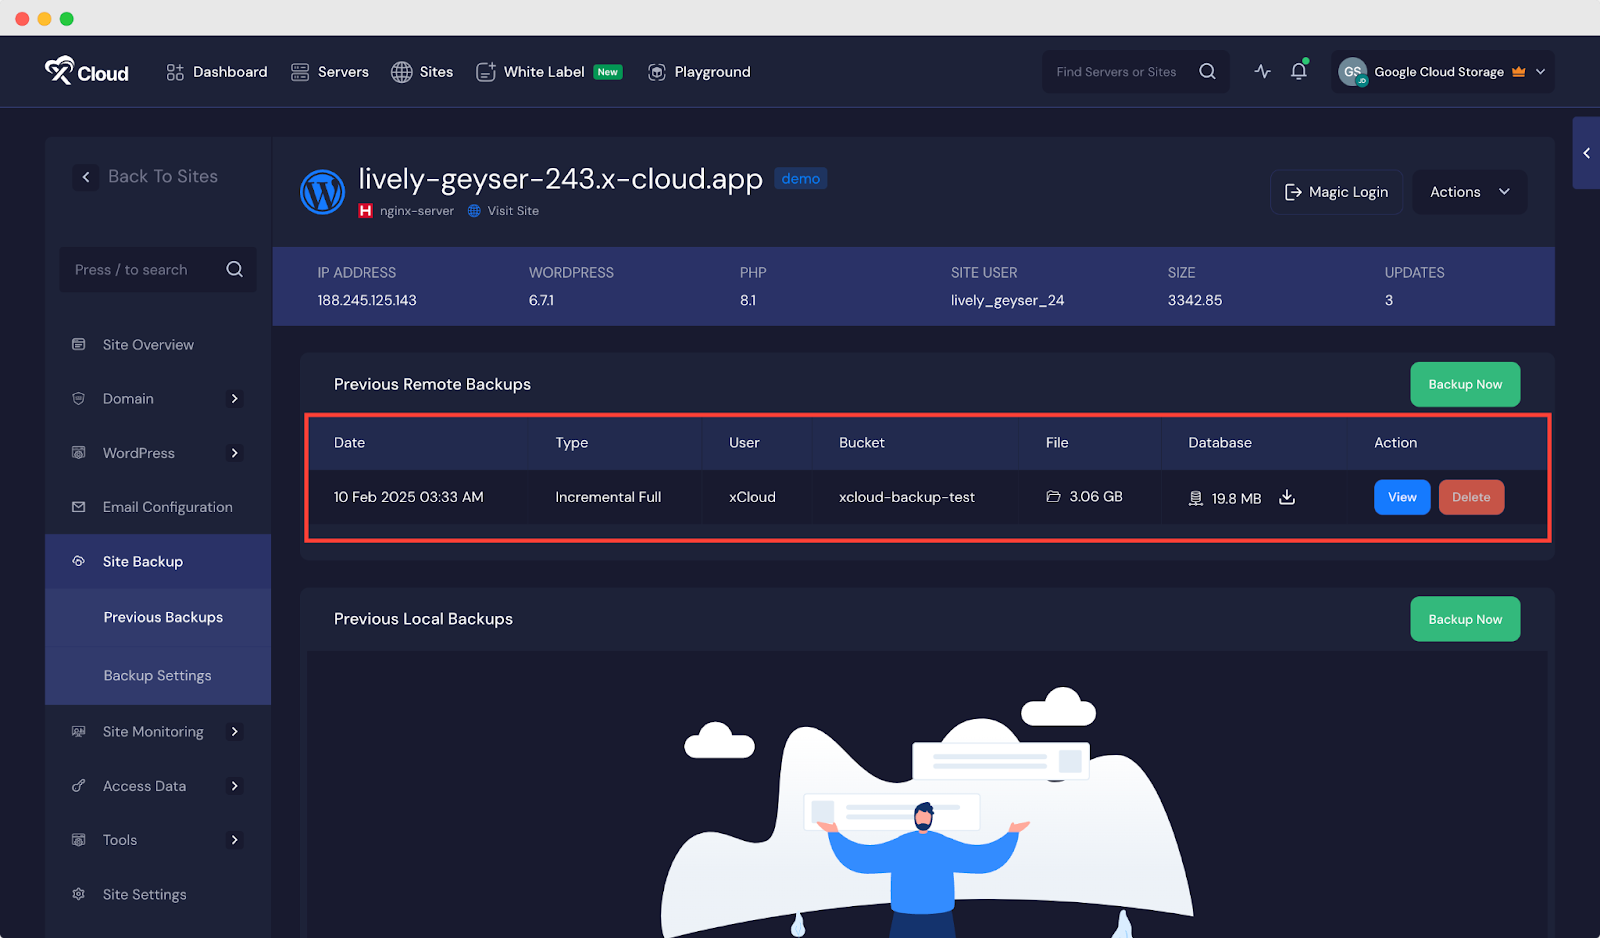
Once you are done configuring the site backups, you can now take backups of your websites using this provider. Now, go to the Previous Backups of your site settings and you will see all the available remote backups and local backups.
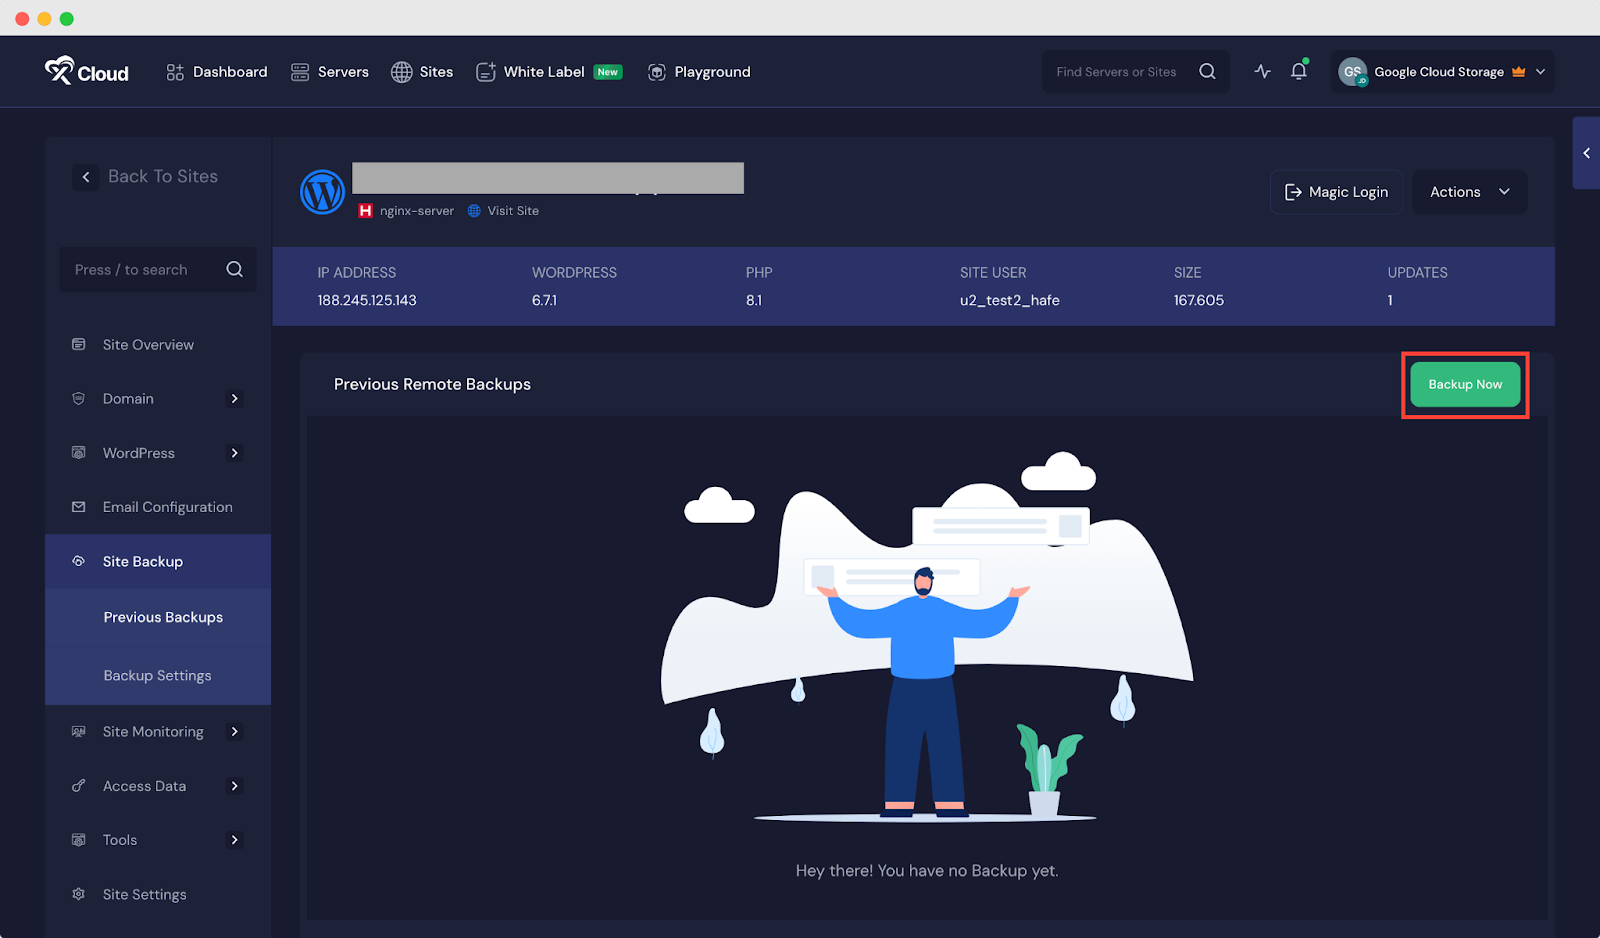
You can take a backup of your site from here by simply clicking on the ‘Backup Now’ button to take an immediate backup. Your backup process will be initiated and the backup files will be shown here once done.
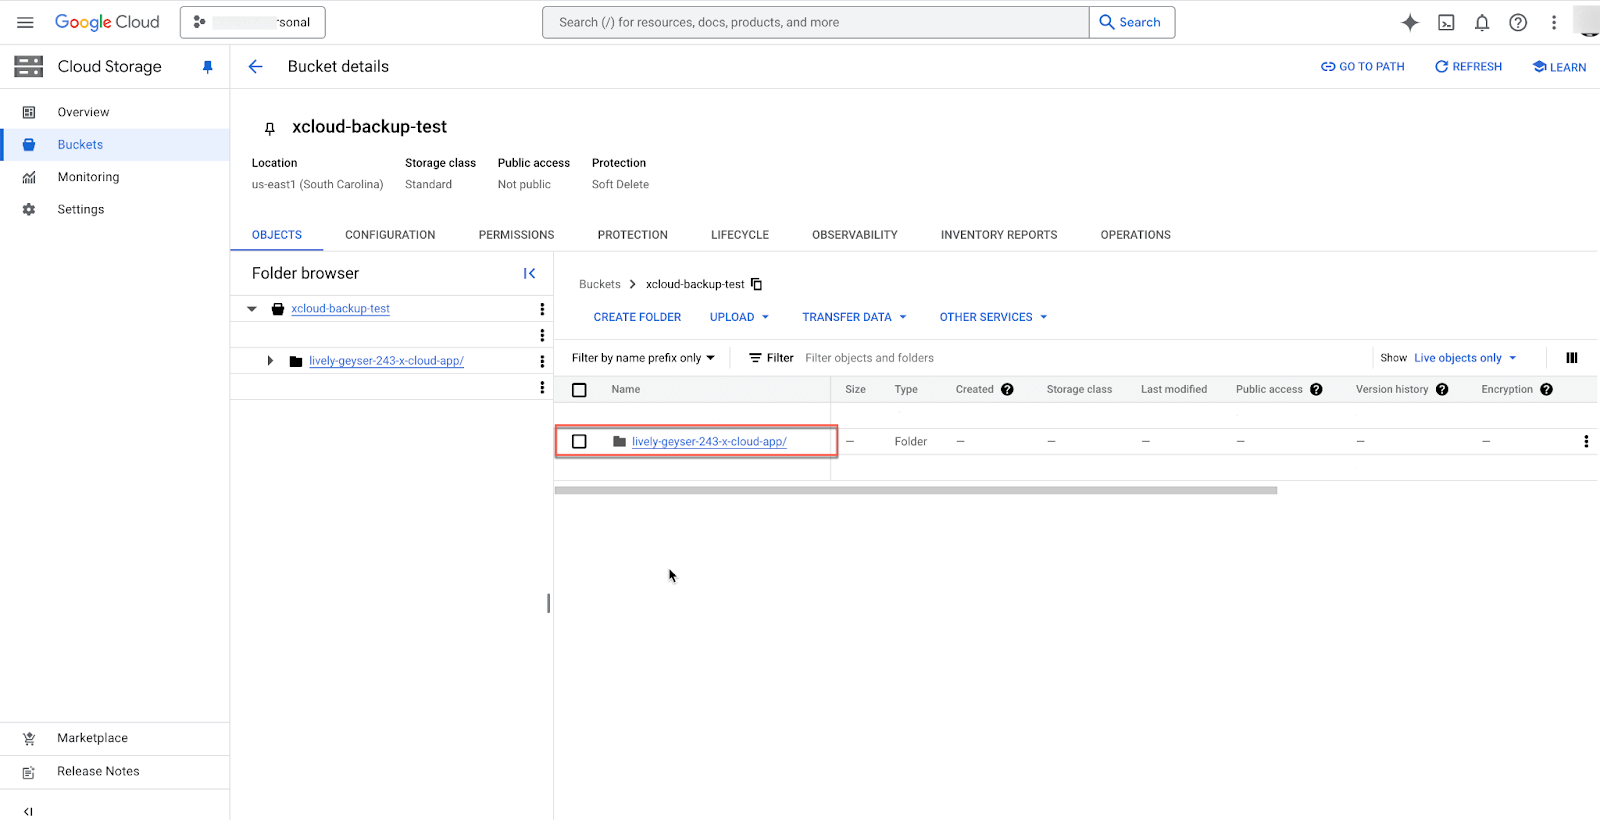
You can also check your Google Cloud Storage end. A folder will be created with the name of your backup label and your backups will be saved inside the folder there.
This is how easily you can integrate Google Cloud Storage for Site Backup with xCloud and take backups of your websites.
Still stuck? Contact our support team for any of your queries.


