

How to Configure a Business Mail account on Phone Using Gmail
Updated May 27, 2026 · 1 min read
Accessing your email on a mobile device has become a standard necessity for both personal and professional communication. Whether you’re managing a business or staying connected on the move, configuring your email account using a reliable client like Gmail ensures smooth and secure communication.
Follow this guide to learn how to configure a business mail account on Phone using Gmail:
Step 1: Gather Your IMAP Information
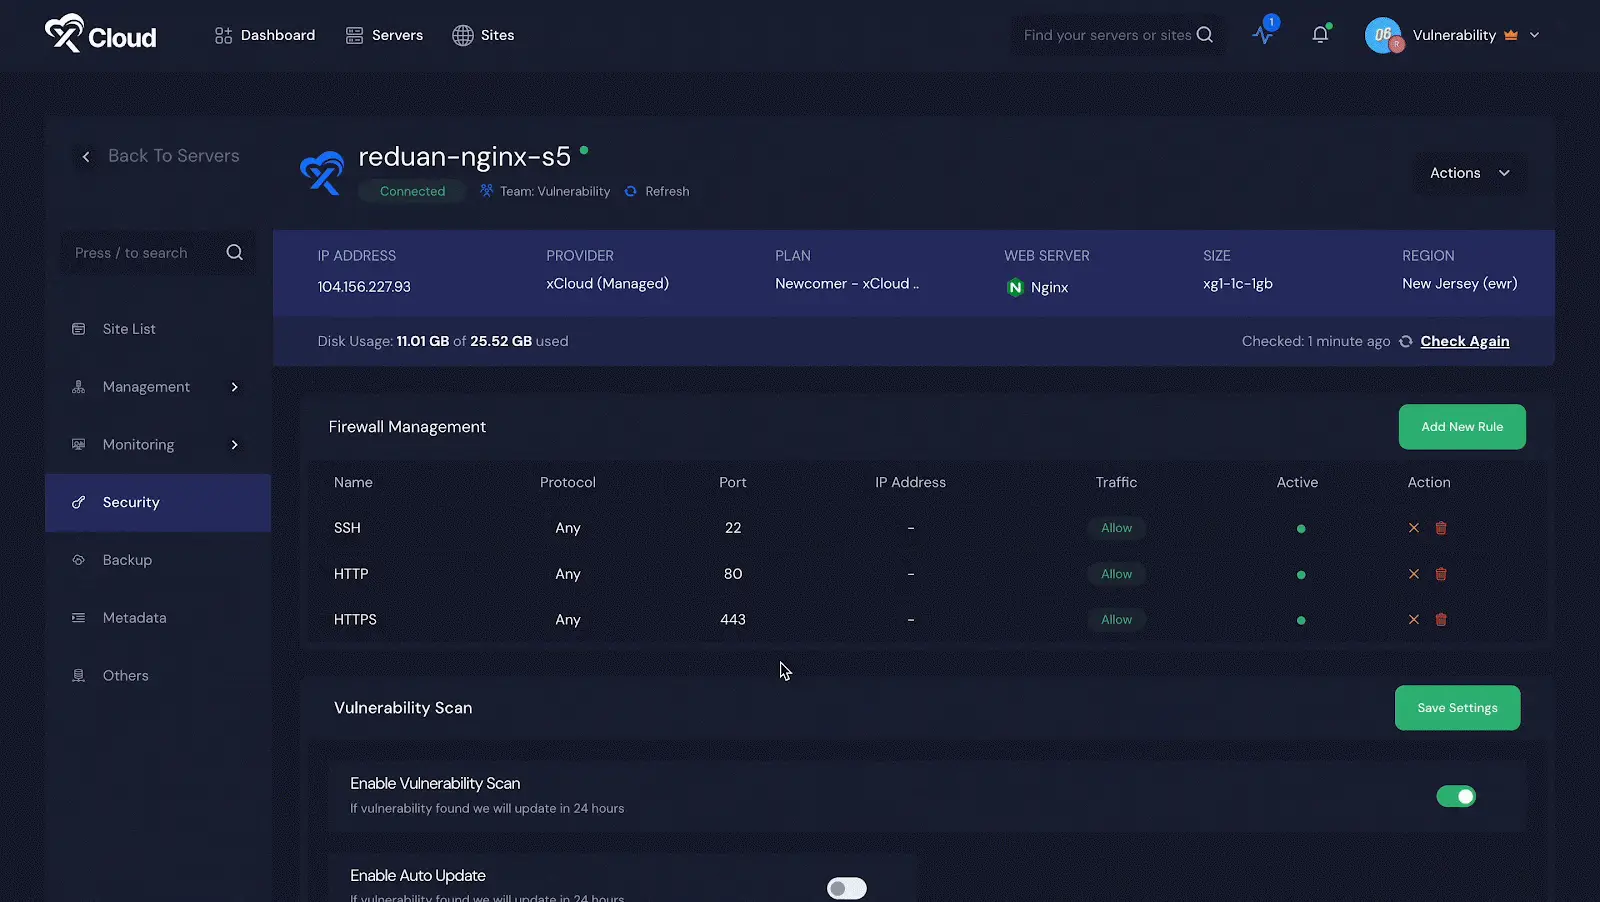
First, go to your MailBox, choose your email, and navigate to the ‘IMAP’ tab from the menu. Here, you will find the credentials needed to set up your email client with Apple Mail.
Email: hi@yoursite.com
Password: **************
Incoming Server Hostname: imap.eu.appsuite.cloud
Incoming Server Username: hi@yoursite.com
Incoming Server Password: ***********************
Outgoing Mail Server Hostname: pop.eu.appsuite.cloud
Outgoing Server Username: hi@yoursite.com
Outgoing Server Password: **************
Port: 993
Encryption: TLS
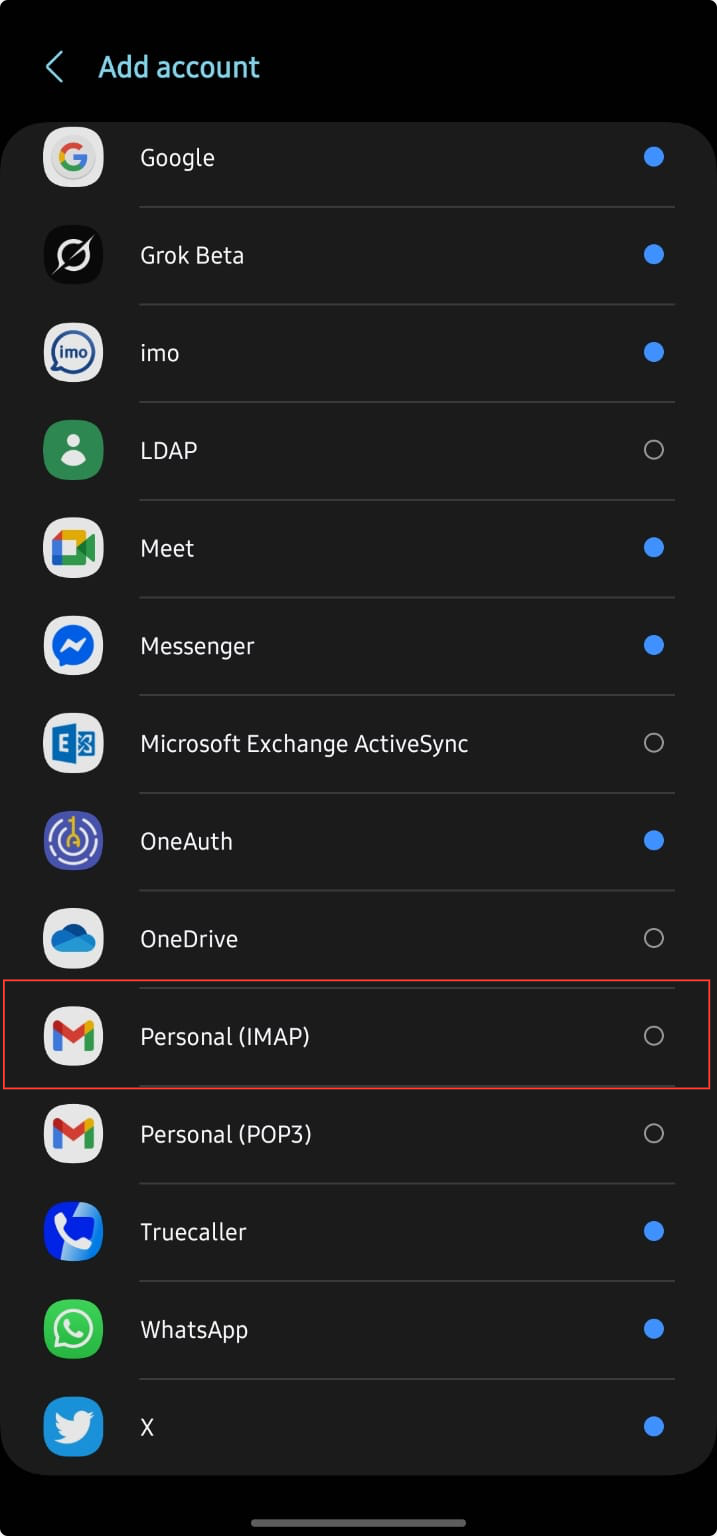
Step 2: Choose Gmail (IMAP) from the Accounts
On your phone, go to Accounts and select Gmail (IMAP).
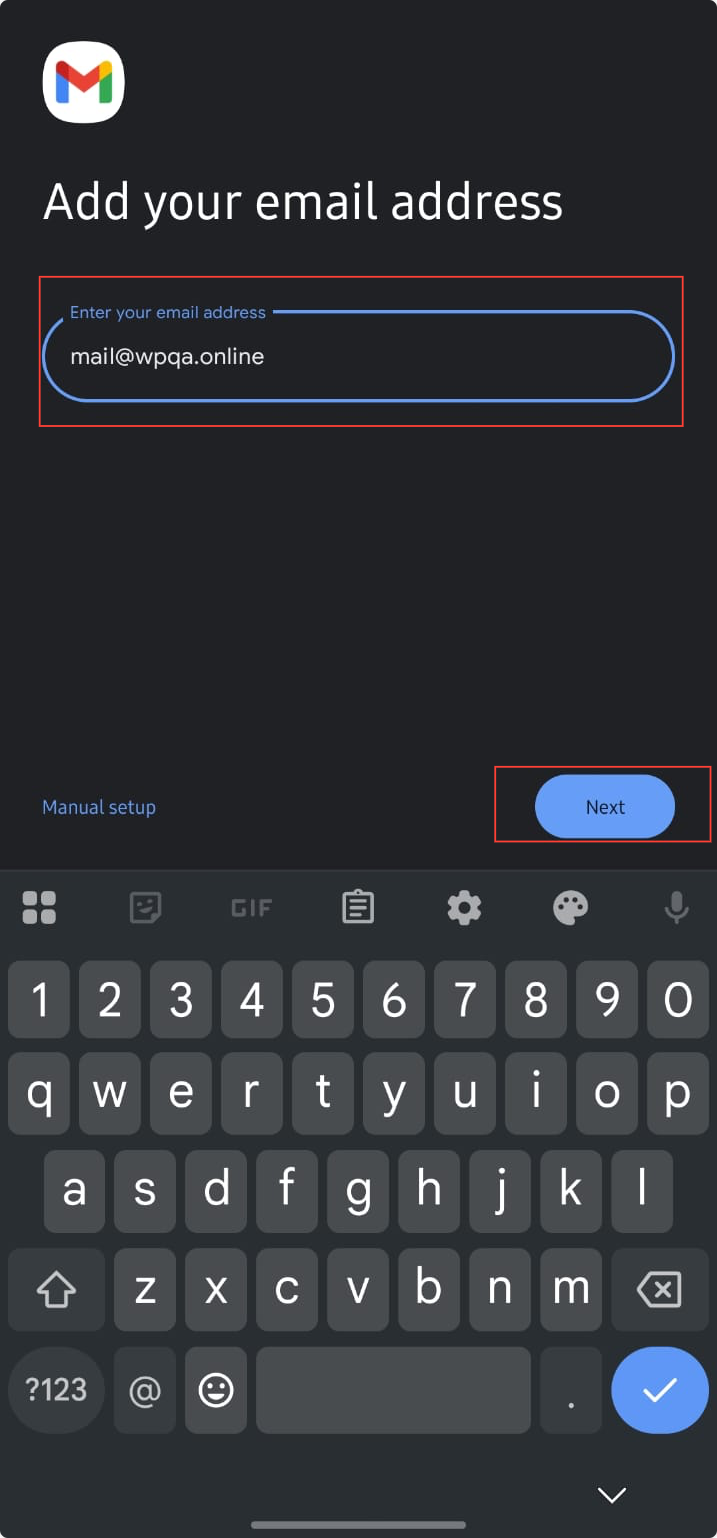
Next, enter the email address and password of the account you want to connect.
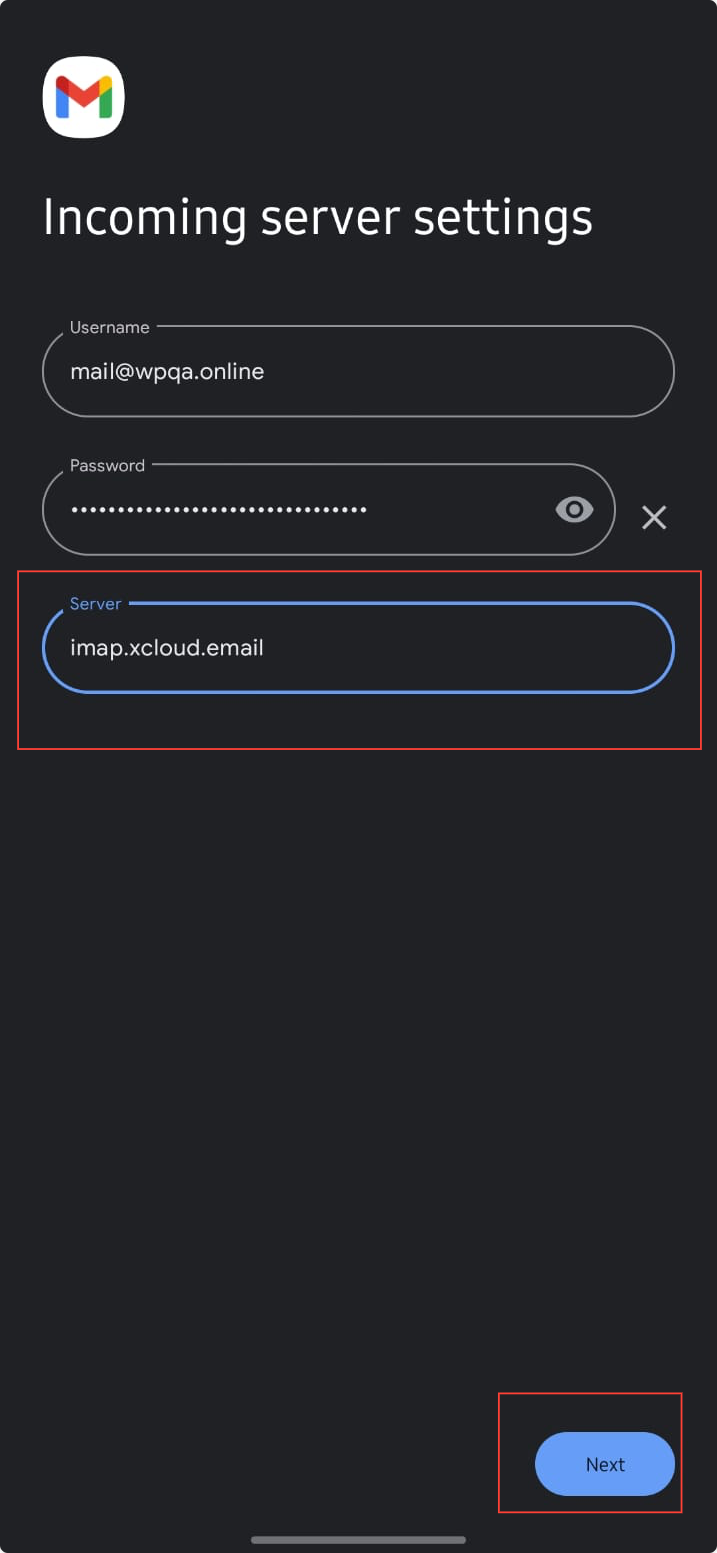
Then, enter the IMAP server information you collected from the xCloud dashboard and click the ‘Next’ button.
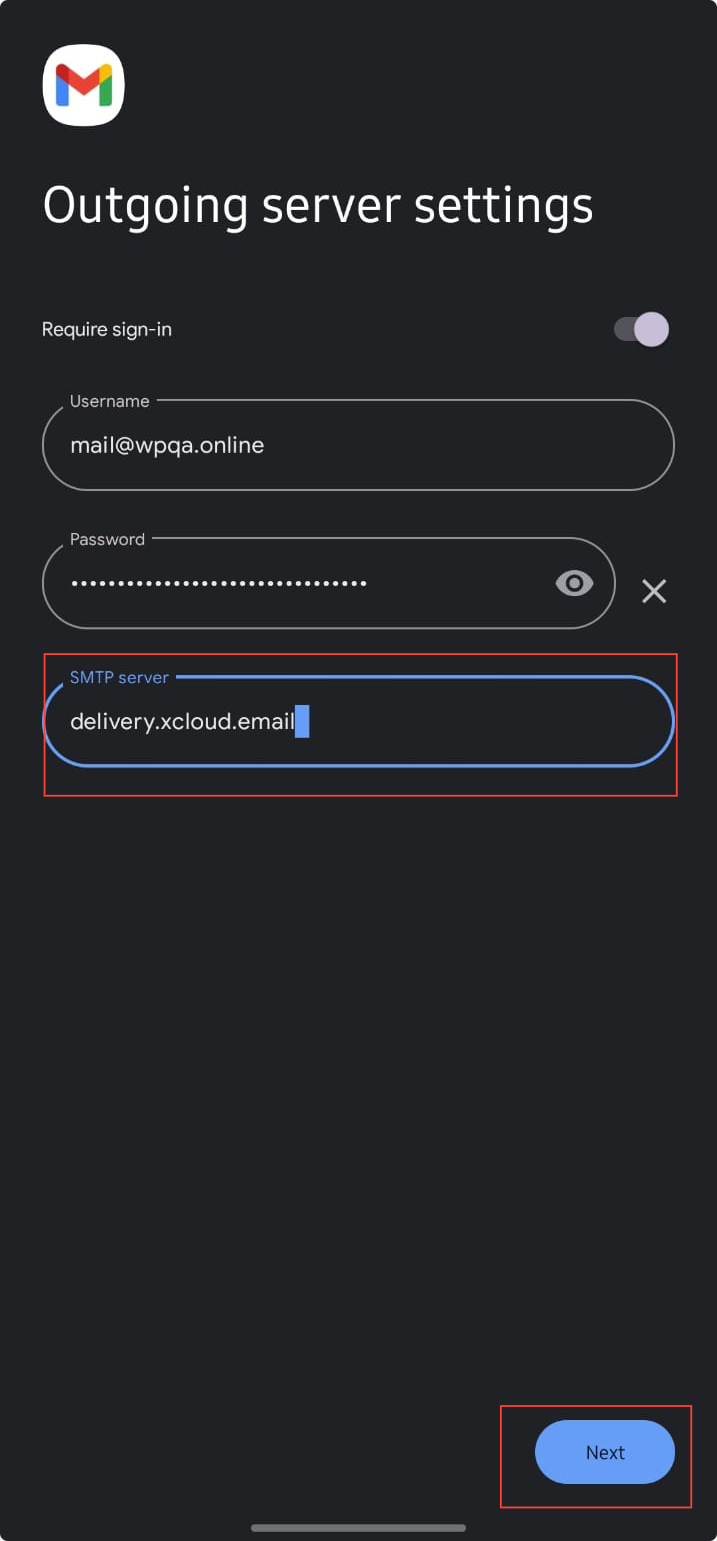
Enter the ‘Delivery email server hostname in the designated field and click ‘Next’ again.
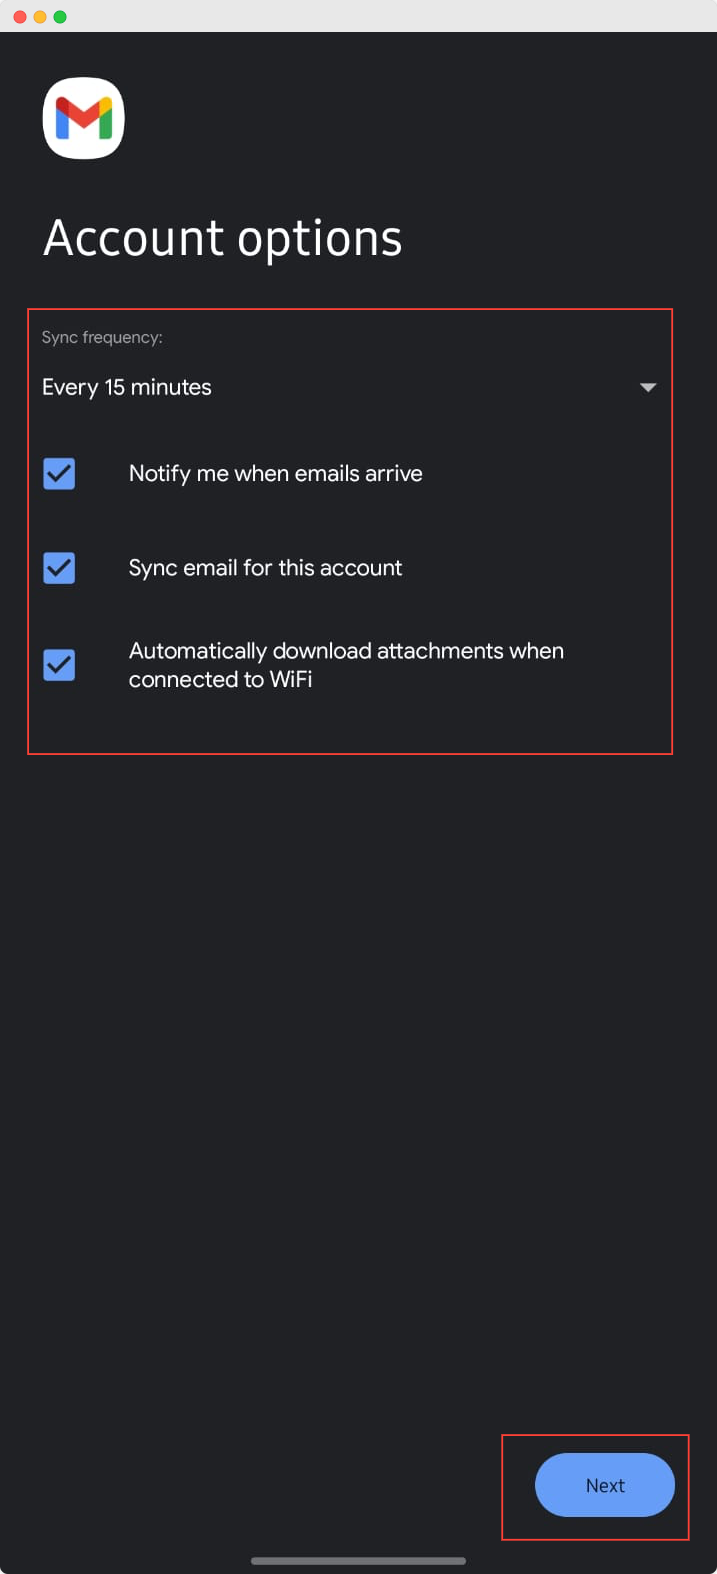
Review the account options and click ‘Next’ to proceed.
Once completed, your business email will be successfully connected to Gmail.
And that’s it, this is how easily, you can integrate your xCloud MailBox business email with Gmail and enjoy seamless access to your inbox.