


Laravel Horizon is a powerful dashboard and configuration tool for Laravel queues, providing deep insight into your job processing. If you are using xCloud to deploy your Laravel application, setting up Horizon is simple. Follow the step-by-step process to set up Laravel Horizon with xCloud.
Step 1: Go to the Laravel Site #
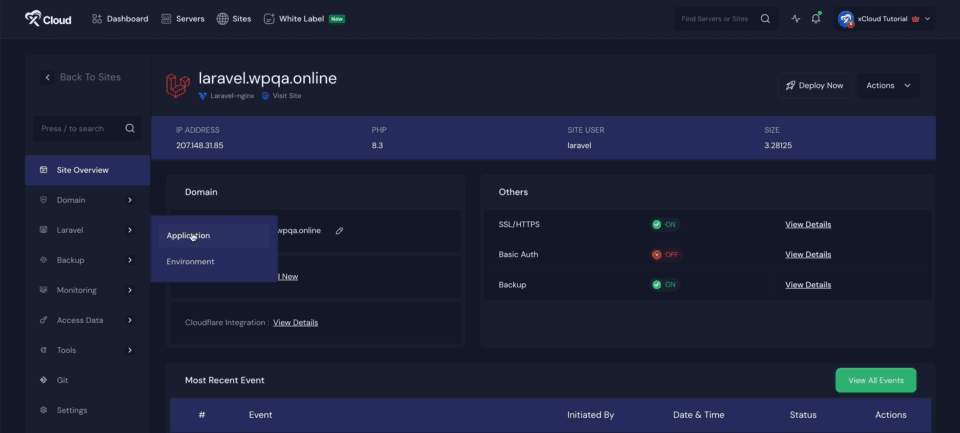
First, go to your site and navigate to the ‘Laravel’ section in the dashboard. Select your ‘Application’ from the list of deployed Laravel applications.
Step 2: Install The Laravel Horizon #
Now install Laravel Horizon locally by running the following commands and commit the changes to git:
composer require laravel/horizon php artisan horizon:installNow, if you go back to the xCloud dashboard, you will see that the Horizon is installing. After the installation process is completed, you will see that the Laravel Horizon set up proper.
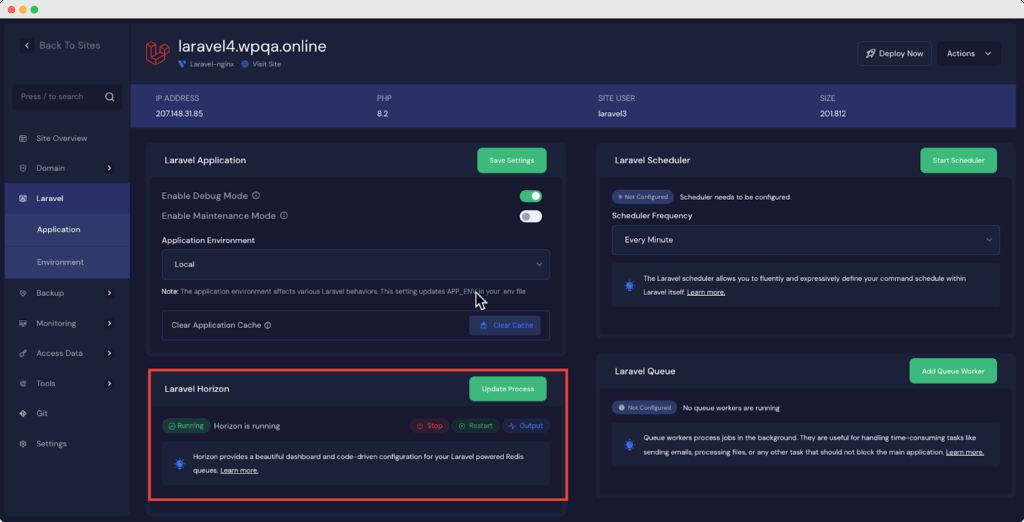
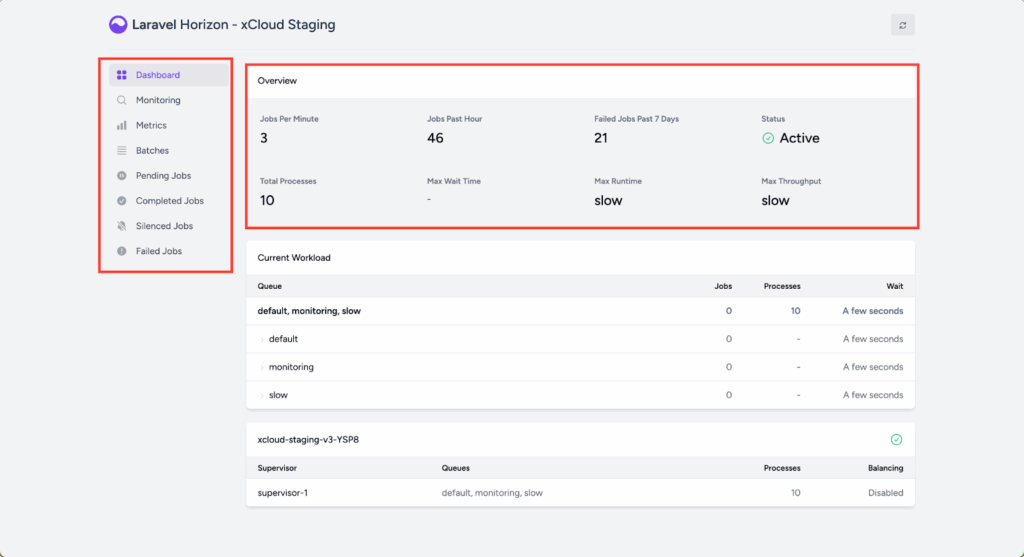
Once the command is processed, Laravel Horizon will be installed. You can go back to the Laravel dashboard, where you will see the notice that Laravel Horizon is installed. And if you go to the Horizon dashboard, you will be able to see the stats of your Laravel Application
Add Queue Restart to Deployment Script #
To ensure that your queue workers are properly restarted after each deployment, add the following command to the Deployment Script field in your application settings:
$XCLOUD_PHP artisan horizon:terminateThis will restart the Horizon process gracefully after finishing the running tasks.
Read this official Laravel documentation for more best practices on queue worker deployment.
That is it! You have successfully set up Laravel Horizon with xCloud. With Horizon, now you can monitor your queues efficiently and gain better insight into your application’s background job processing.
Still stuck? Contact our dedicated support team for any of your queries.


