


Laravel’s queue system is a powerful tool for offloading time-consuming tasks, such as sending emails or processing data, to background processes, ensuring a seamless user experience. By configuring a queue worker, you can efficiently manage these tasks using your hosting platform’s Laravel Site dashboard.
Follow this step-by-step process on how to configure a queue worker for a Laravel application easily.
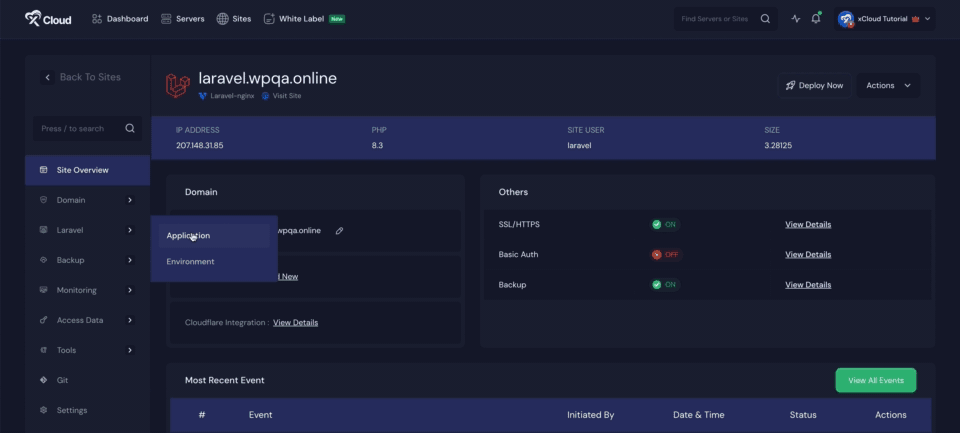
Step 1: Access Your Laravel Application Dashboard #
Log in to your hosting platform. Navigate to the ‘Laravel’ section in the dashboard. Select your ‘Application’ from the list of deployed Laravel applications.
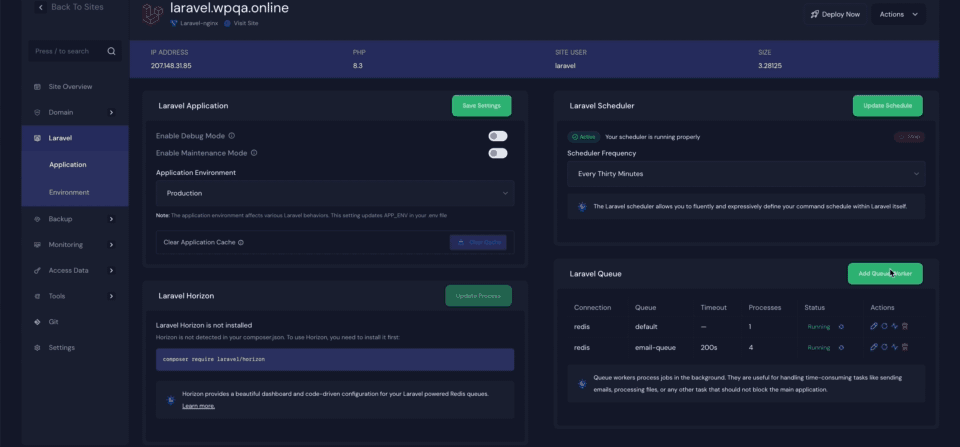
Step 2: Add a Queue Worker For Laravel Applications #
In the Laravel application dashboard, locate and click on ‘Laravel Queue’. Click the ‘Add Queue Worker’ button.
A popup form will appear with the following configuration fields:
- Connection: Specify the queue connection (e.g., database, redis).
- Queue: Define the queue name(s) to process (e.g., default or a custom queue).
- Maximum Seconds Per Job: Set the maximum time (in seconds) a job can run before timing out.
- Maximum Memory: Set the memory limit (in MB) for the queue worker process.
- Number of Processes: Specify the number of worker processes to run concurrently.
Adjust these settings based on your application’s requirements. Then click on the ‘Add Queue Worker’ to create the worker process.
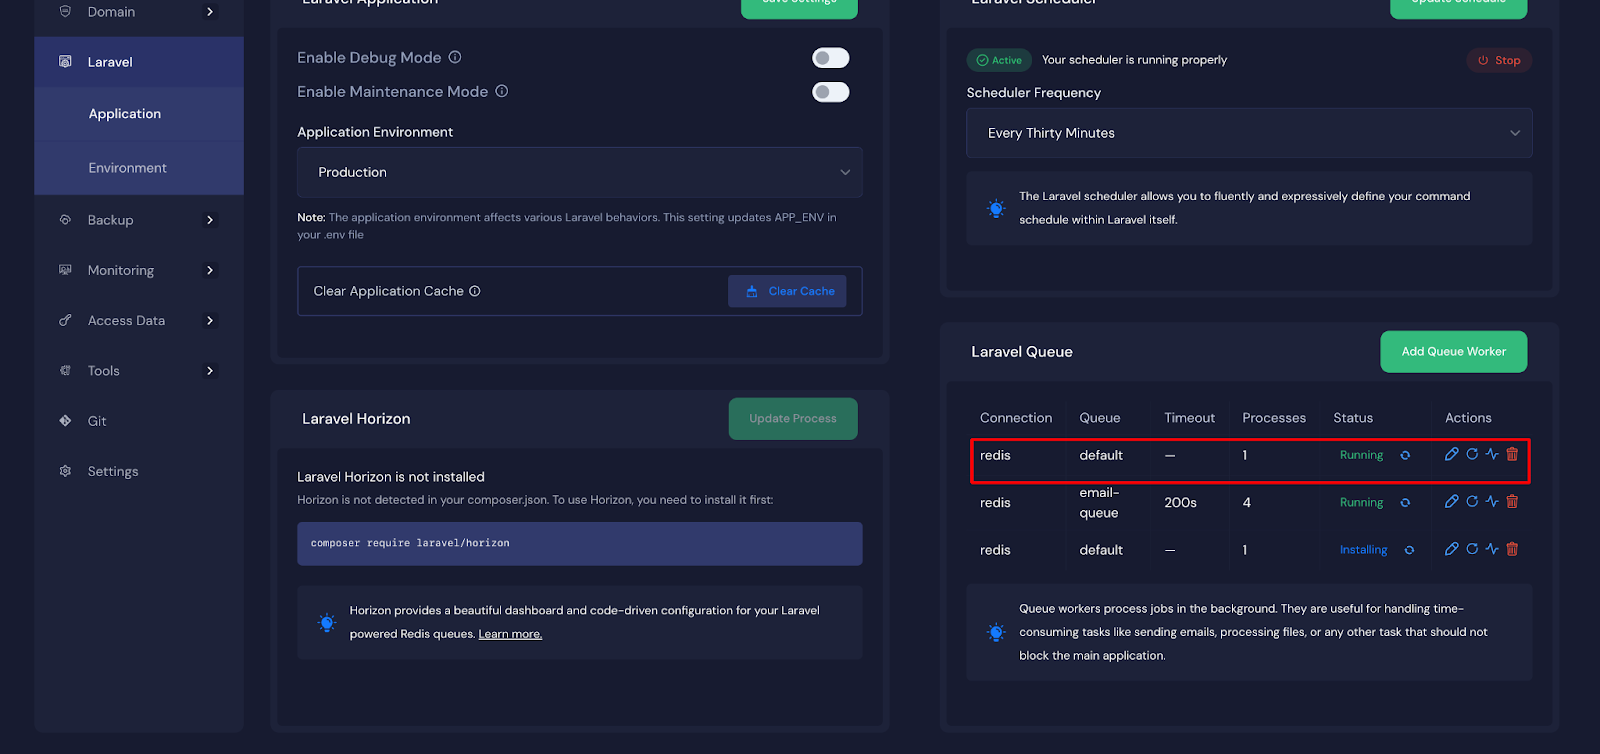
Step 3: Manage the Queue Worker #
The process will then be added to your supervisor list and managed automatically by the Supervisor. Here, you will get more options: ‘Edit’, ‘Restart’ to manage your process. Also, you can click on the ‘Delete’ button to stop and delete the process.
If you want to monitor your queues visually? Check out our Laravel Horizon setup guide for step-by-step instructions on installing and configuring Horizon to manage and monitor your queues in real time.
Add Queue Restart to Deployment Script #
To ensure that your queue workers are properly restarted after each deployment, add the following command to the Deployment Script field in your application settings:
$XCLOUD_PHP artisan horizon:terminateThis will restart the Horizon process gracefully after finishing the running tasks.
Read this official Laravel documentation for more best practices on queue worker deployment.
And that is it. This is how easily you can set up Queue Worker for Laravel applications and configure new processes, ensuring your applications run smoothly and reliably.
Still stuck? Contact our support team for any of your queries.


