


In this tutorial, we will explore how to efficiently clone a site under the same or a different server using xCloud. Cloning your website can serve various purposes, such as creating backups, testing updates safely, or smoothly migrating to a new server.
With xCloud’s intuitive interface and robust features, you’ll learn the precise steps to duplicate your site hassle-free. So, let’s begin the process of cloning your site with xCloud.
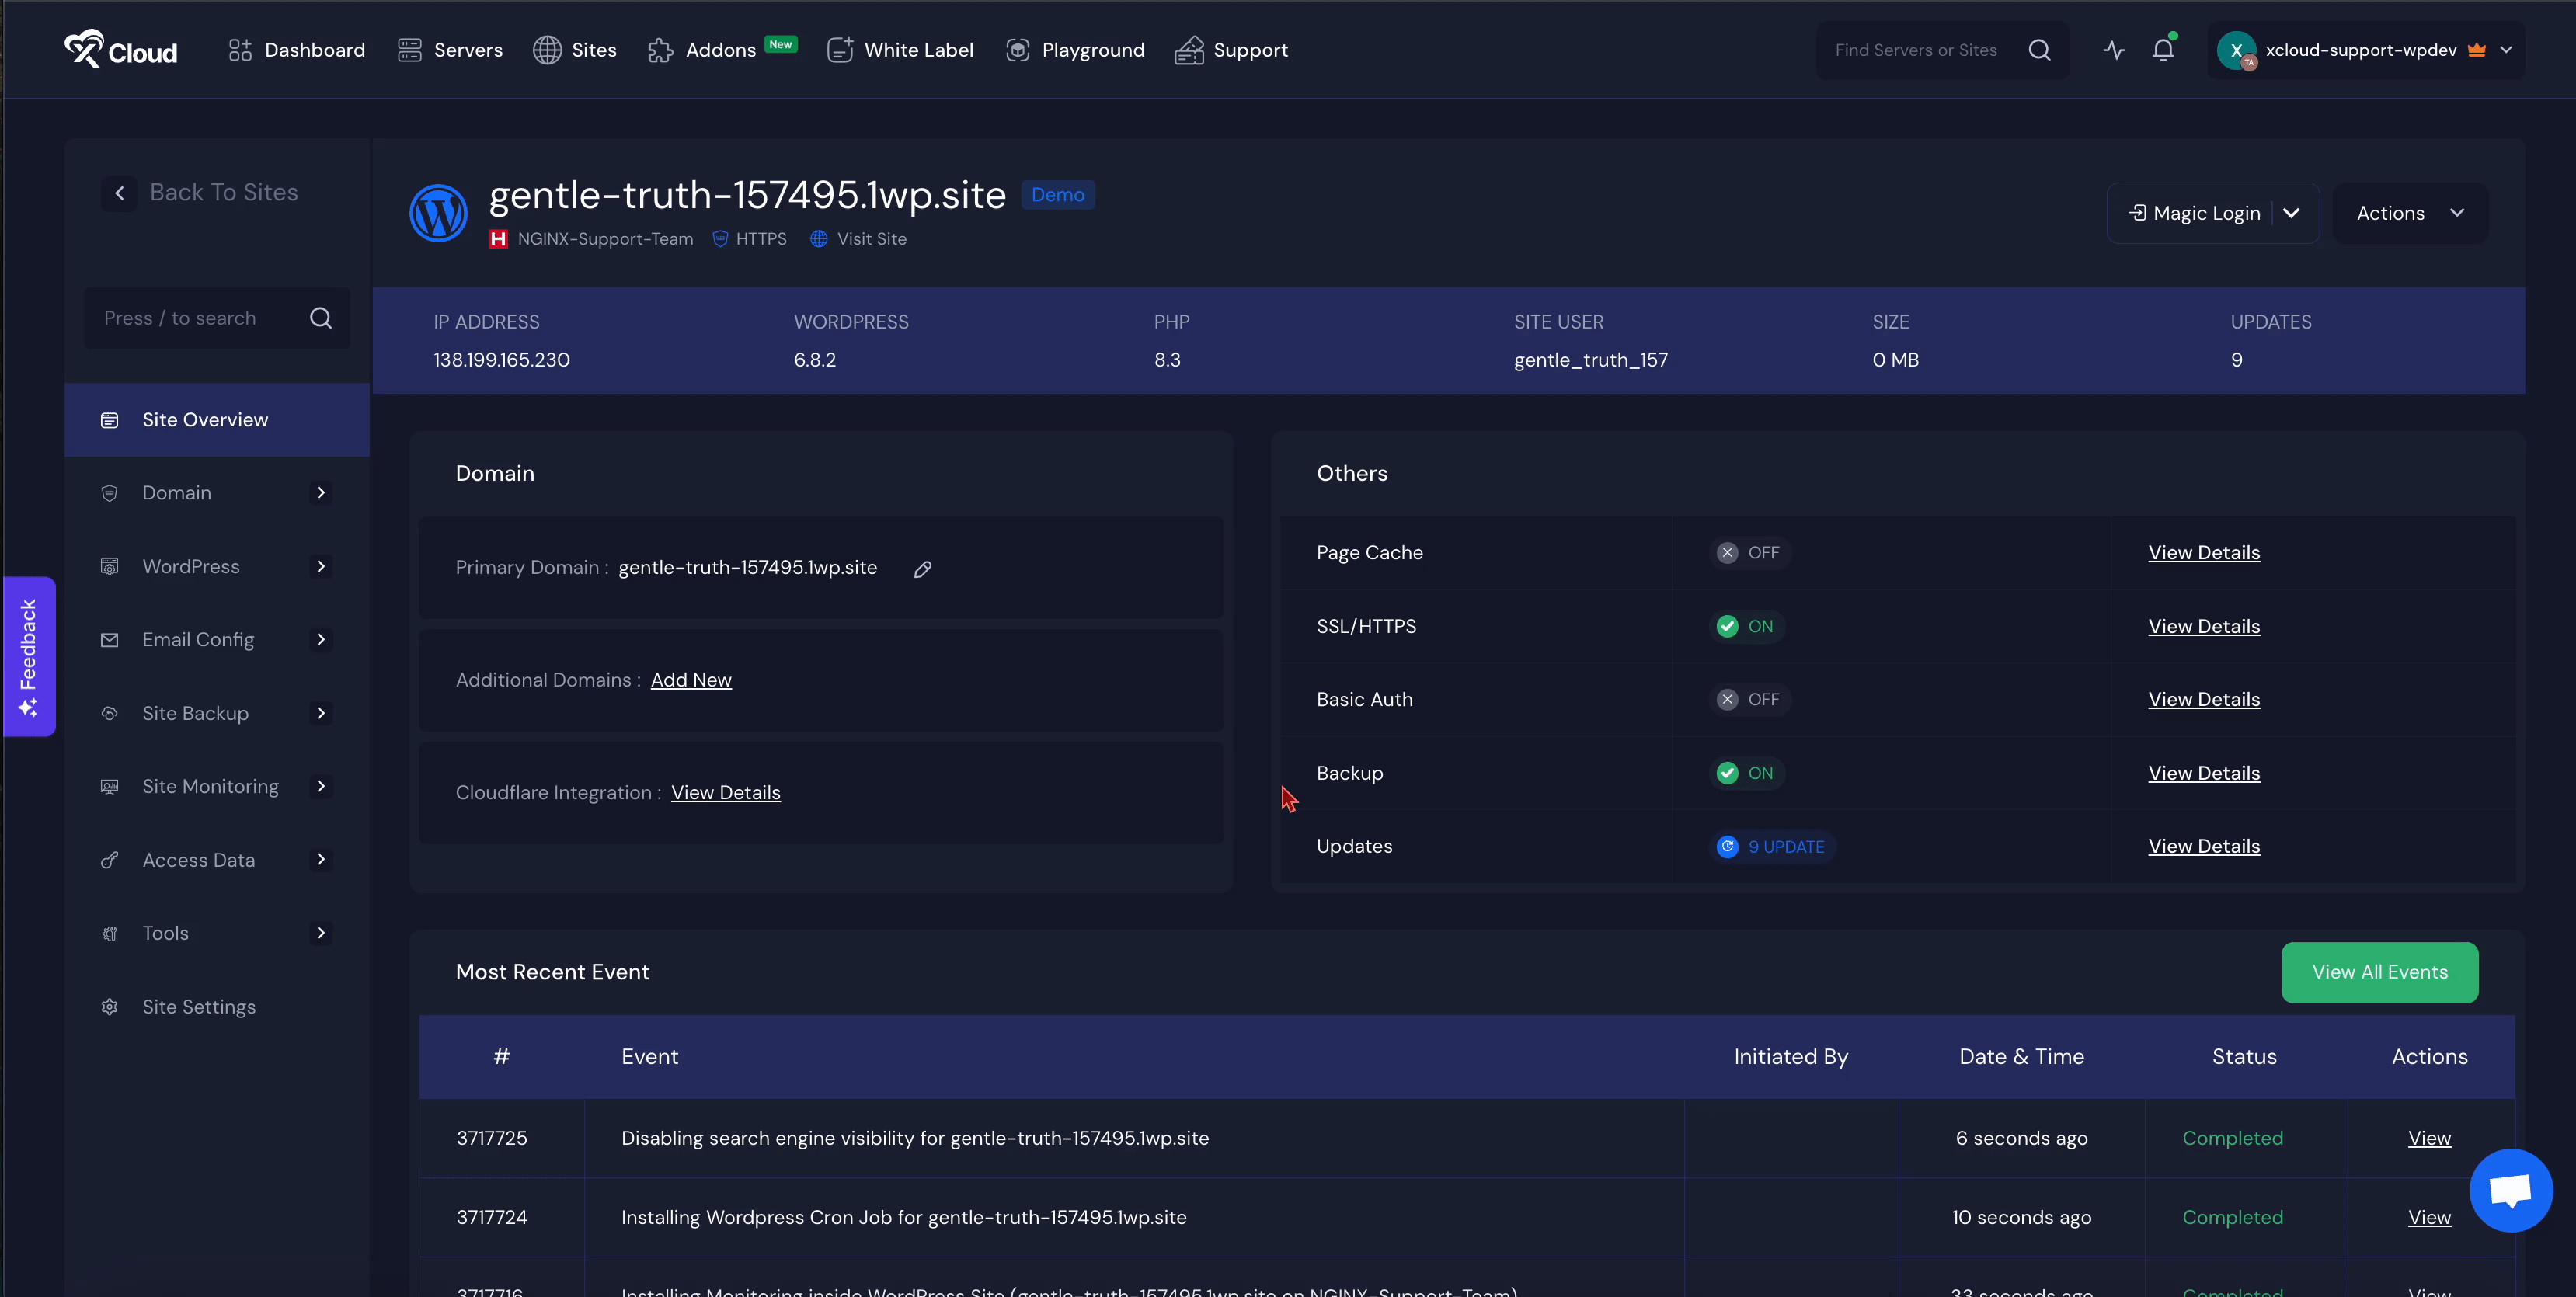
Note: Cloning is currently supported only for WordPress sites. It will not work for other types of websites at this time.
Step 1: Clone Site From Dashboard #
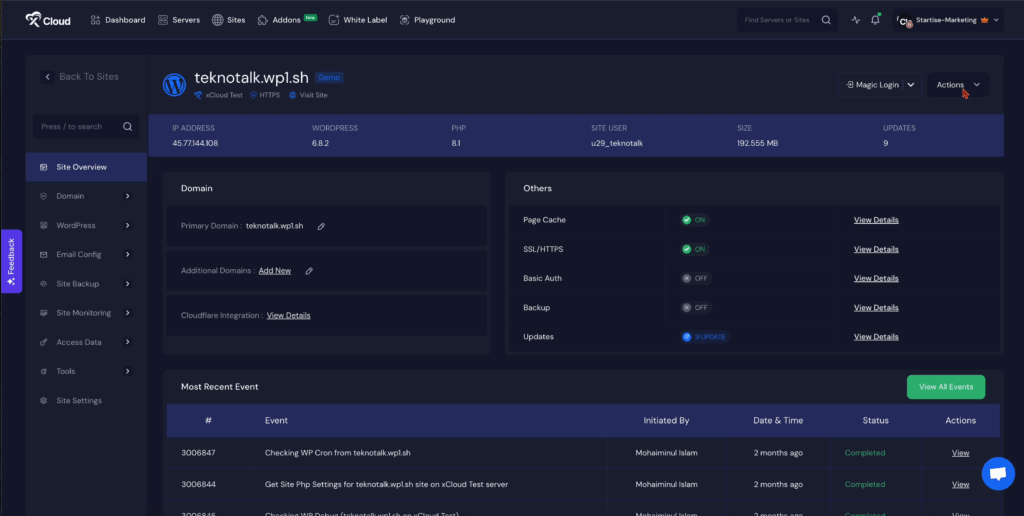
First, go to your site and click on the three-dot icon from the dashboard. From the action menu, click on the ‘Clone Site’ option. Then choose where you want to clone your server. And click on the ‘Next’ button.
Step 2: Choose a Demo or Custom Domain #
You will have two options available. You can choose a ‘Demo site’ or ‘Migrate to a New Domain’ for your cloned site. Here we are creating a demo site. After choosing click on the ‘Next’ button to proceed.
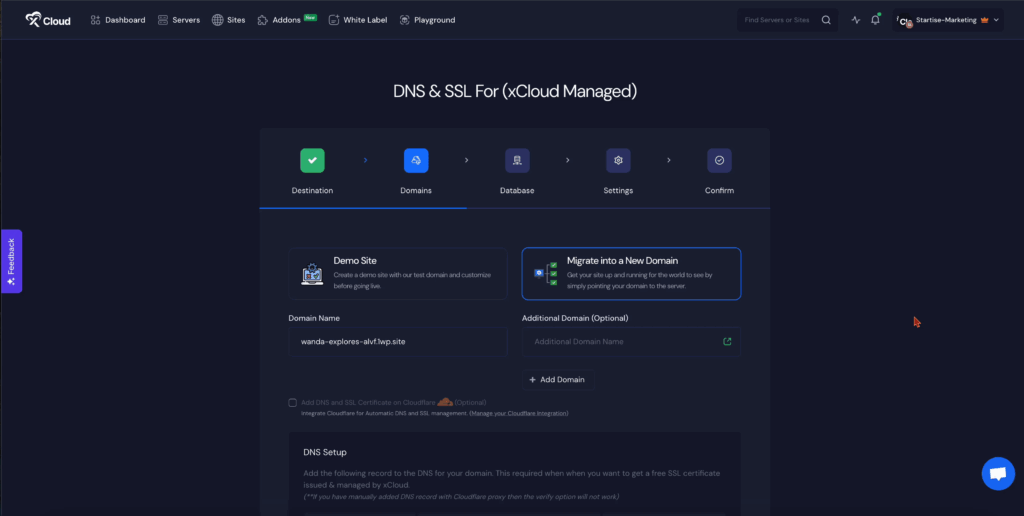
Then create a new database or add your own database for this website and click on the ‘Next’ button.

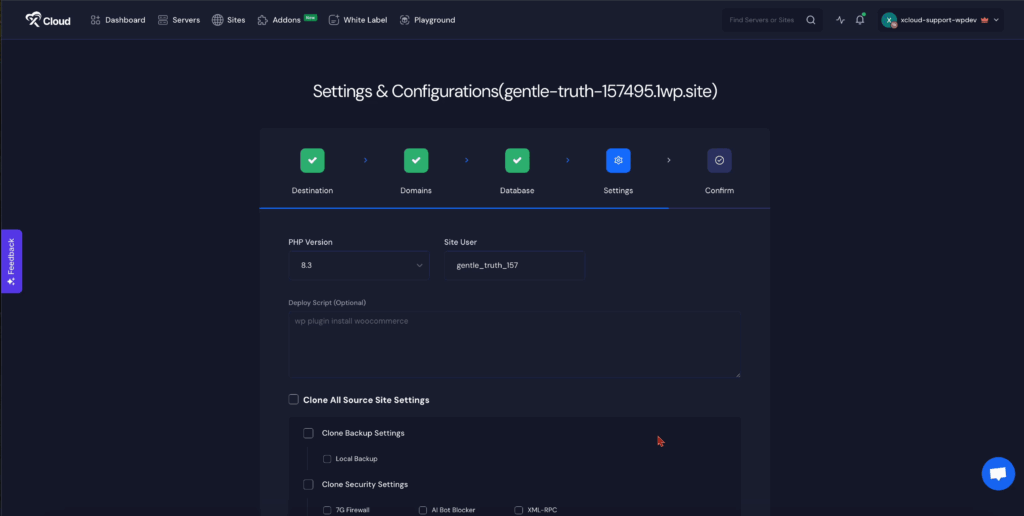
Step 2: Adjust the Settings #
Next, choose the ‘PHP version for this site. Also, you can ‘Clone Your Source Site Settings’ like ‘Backup’ and some ‘Security Settings’. Here you will be able to see the options that are enabled in your source site.
For Backup Settings:
- Remote Backup
- Local Backup
For Security Settings:
- XML-RPC
- X-Frame-Options
- 8G Firewall
- AI Bot Blocker
- WP Fail2Ban
Choose your preferences and click on the ‘Next’ button.
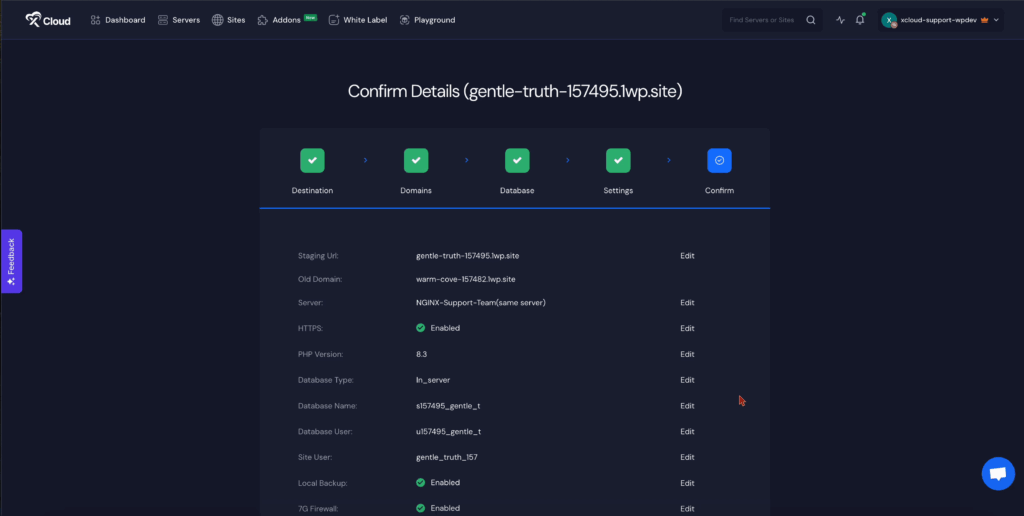
And finally review the information and click on the ‘Start’ button to start the site cloning process
Once the process is completed, the site will be live instantly. Now you can customize it as your prefernces
This is how you can clone a WordPress site under the same or a different server in xCloud.
Still stuck? Contact our support team for any queries.


