

How to Install Site.pro with xCloud (One Click Apps)
Updated April 8, 2026 · 3 min read
Site.pro is a powerful website builder that allows you to create, manage, and publish professional websites quickly without complex development work. It provides an intuitive visual editor, ready-made templates, and built-in tools for designing websites, landing pages, and online projects with ease.
Whether you are building a site for a client, a business, or personal use, Site.pro simplifies the entire website creation process. Follow the documentation to install Site.pro with xCloud using One Click Apps in just a few steps.
Step 1: Access the One Click Apps Dashboard
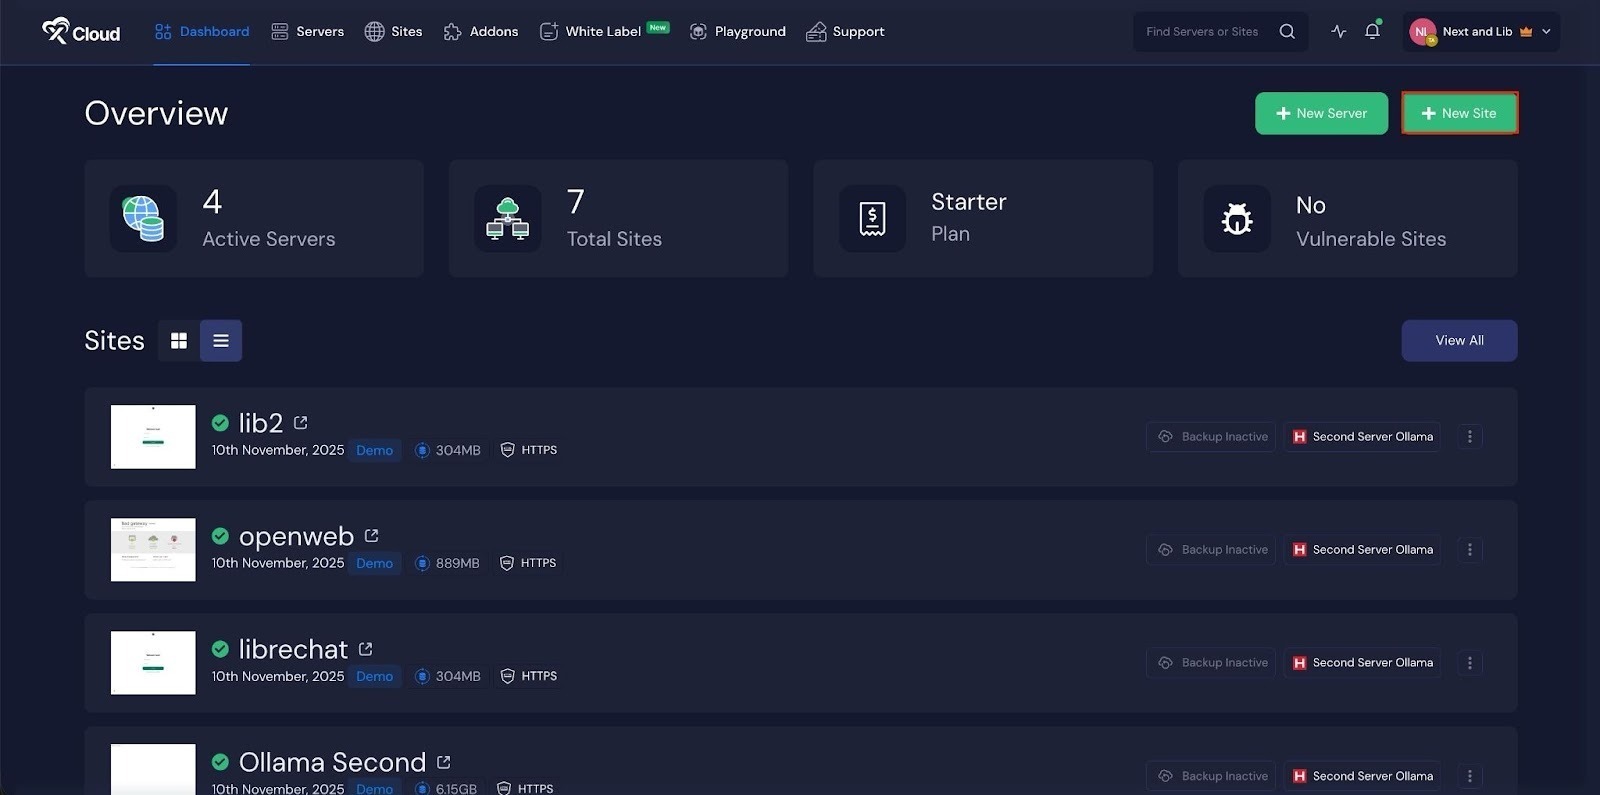
Begin by logging into your xCloud account. Once logged in, navigate to your dashboard and click on the ‘New Site’ button.
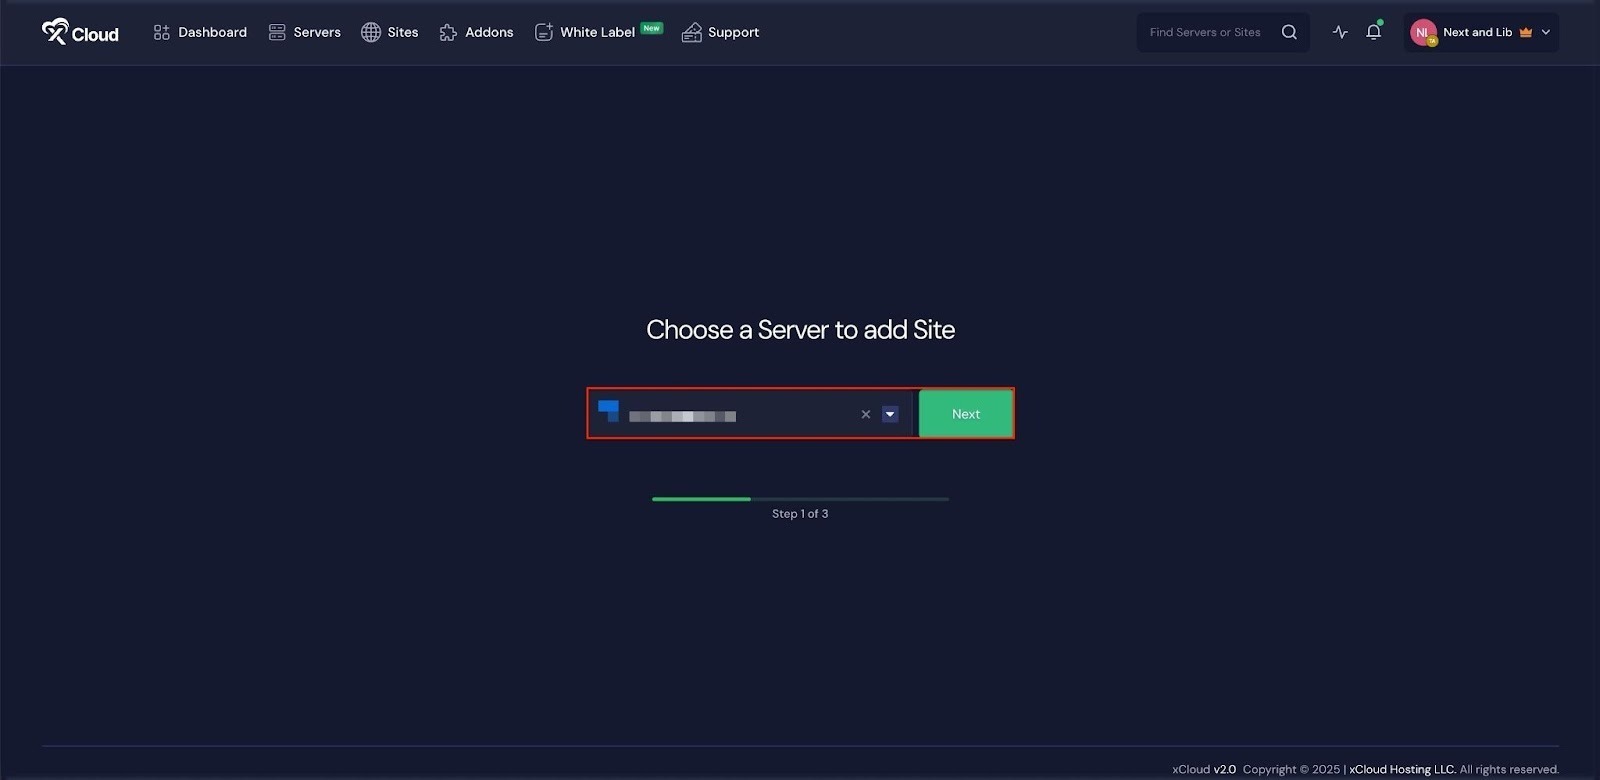
Then choose your server from the dropdown menu. Next, click on the ‘Next’ button to proceed.
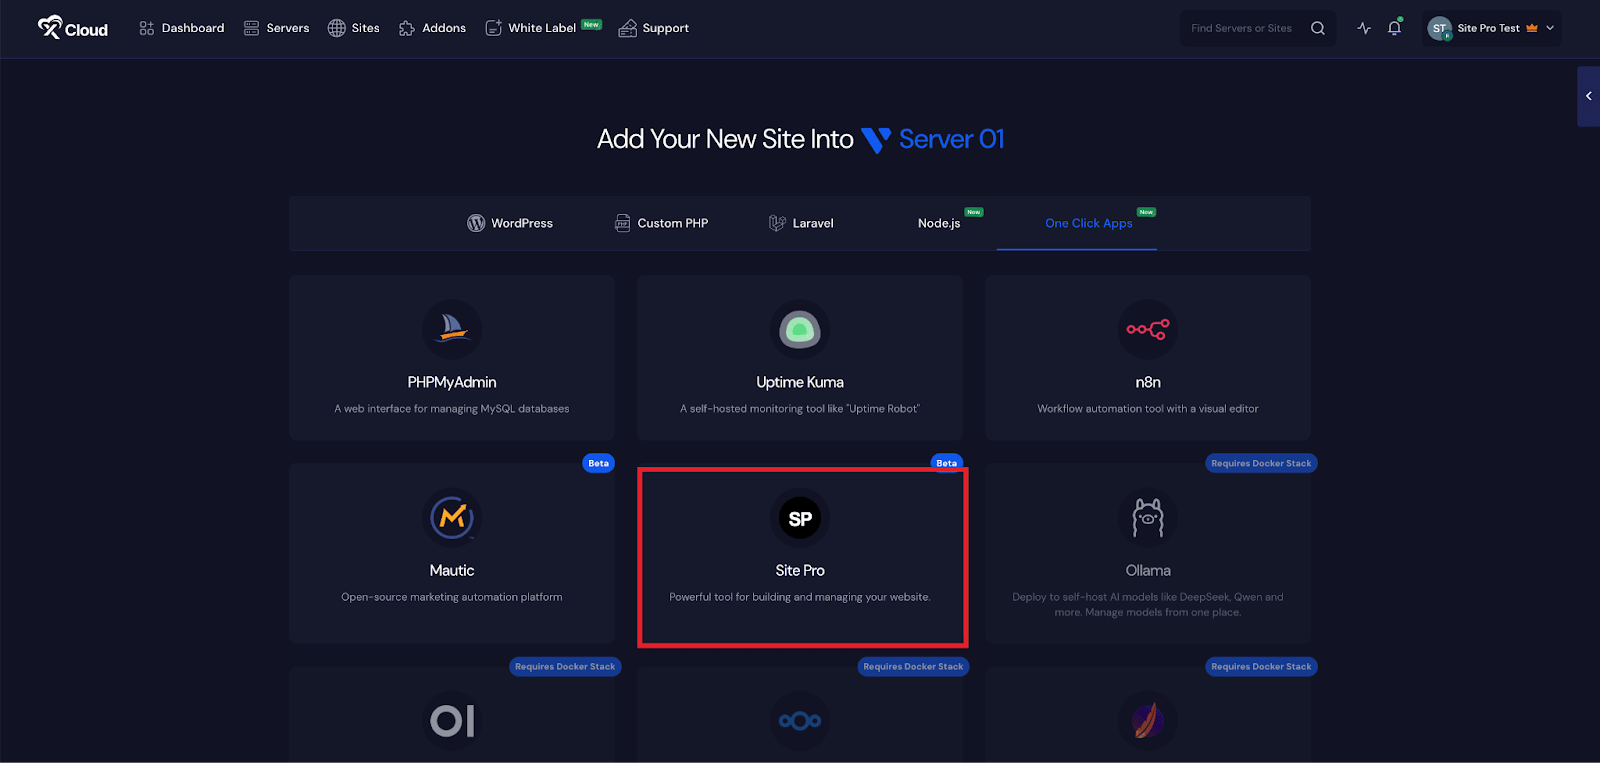
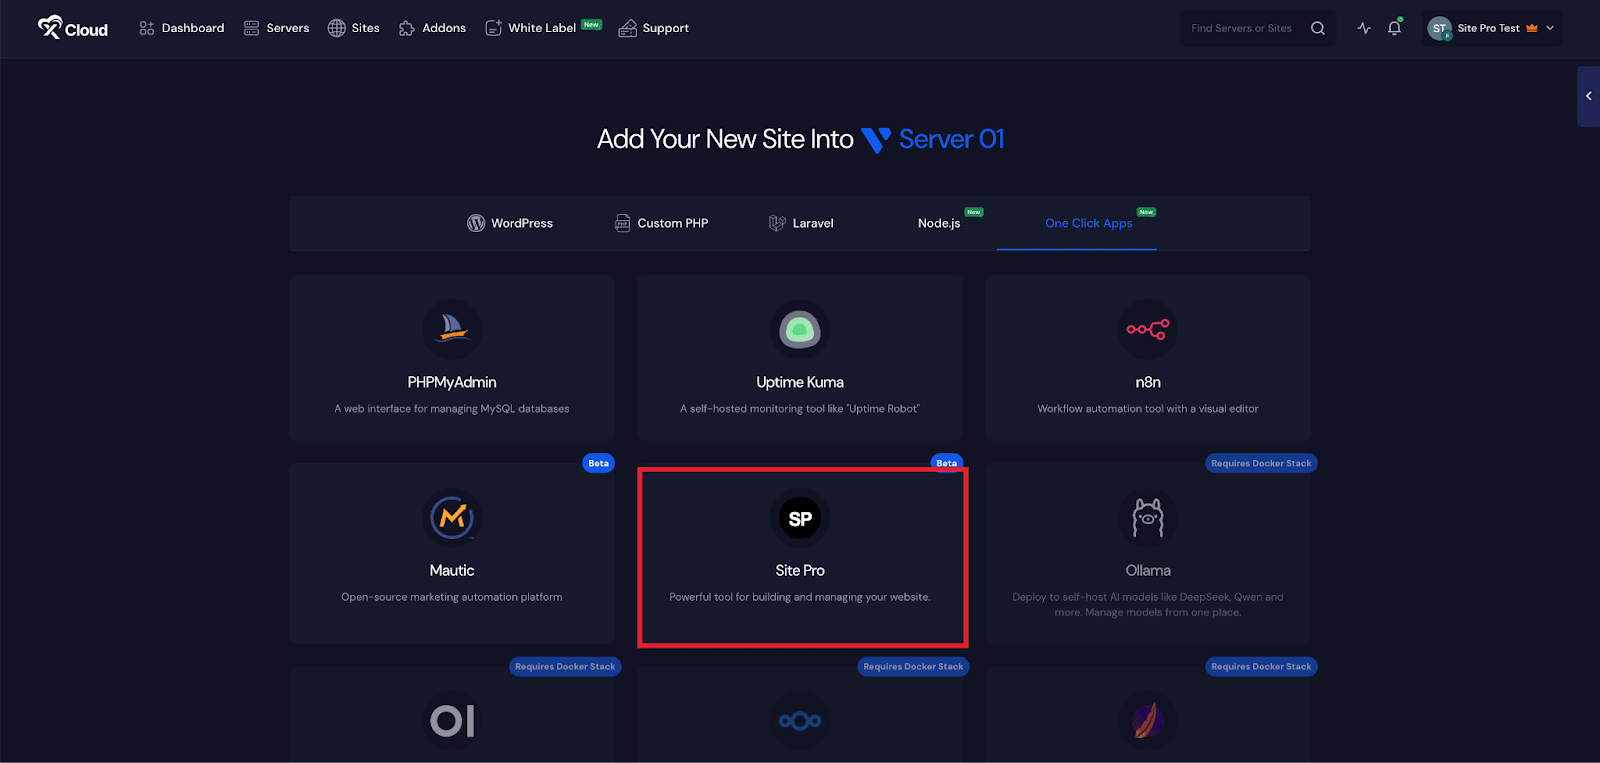
This will take you to the site creation interface. From here, select your Server, then navigate to the One-Click Apps section. You will see ‘Site.pro’, click on it to proceed with the deployment of this application.
Step 2: Install Site.pro with xCloud
In the site setup screen, you will be prompted to enter basic site information. Provide a ‘Site Title’ and add relevant ‘Tags’ to help organize your deployment.
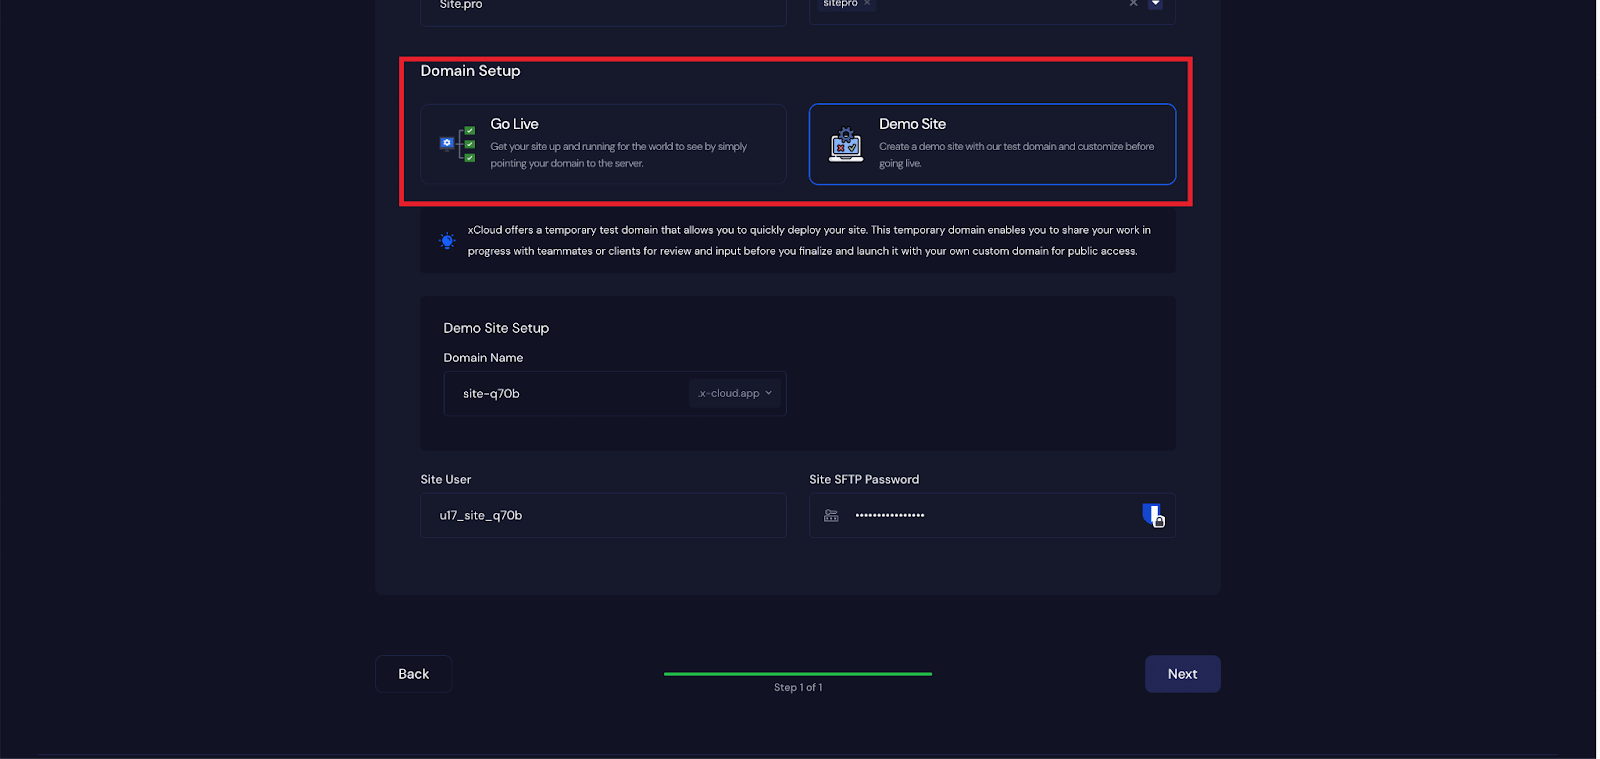
At this point, you can choose between two deployment modes: ‘Go Live’ for a production-ready deployment or ‘Demo Site’ for testing purposes. Selecting ‘Go Live’ will immediately create a live environment, while choosing ‘Demo Site’ allows you to experiment in a staging environment before promoting it to production.
Step 3: Configure Domain Settings
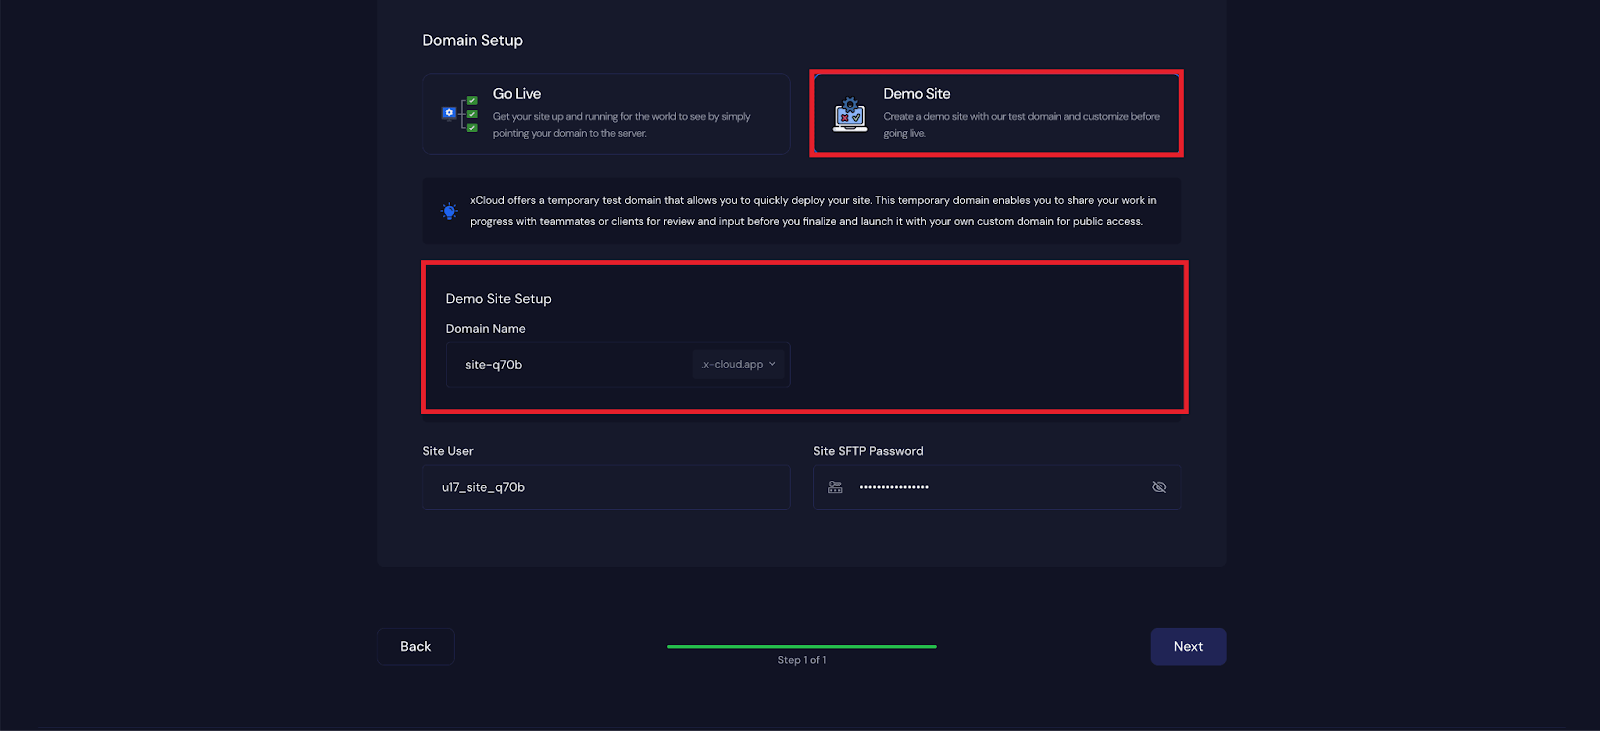
If you select the ‘Demo Site’ option, xCloud will assign a temporary subdomain for your Site.pro application. Next, enter your application’s domain.
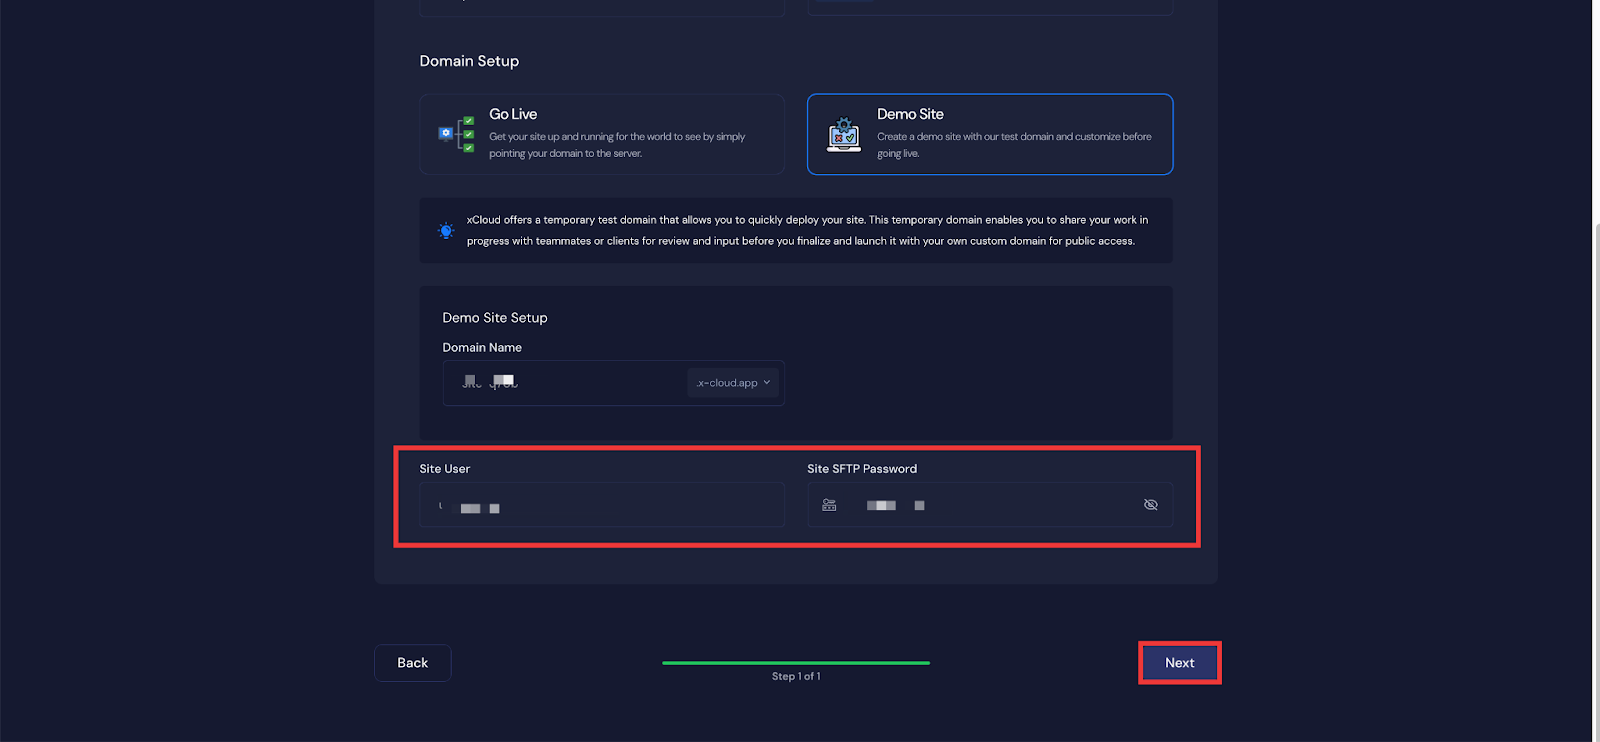
You can get a ‘Site User’of your application. You can also adjust it according to your preferences, or leave it as the default.
Step 4: Visit the Application
After completing the setup, you will be able to visit your site.pro site. From the dashboard, click on the ‘Edit Now’ button.
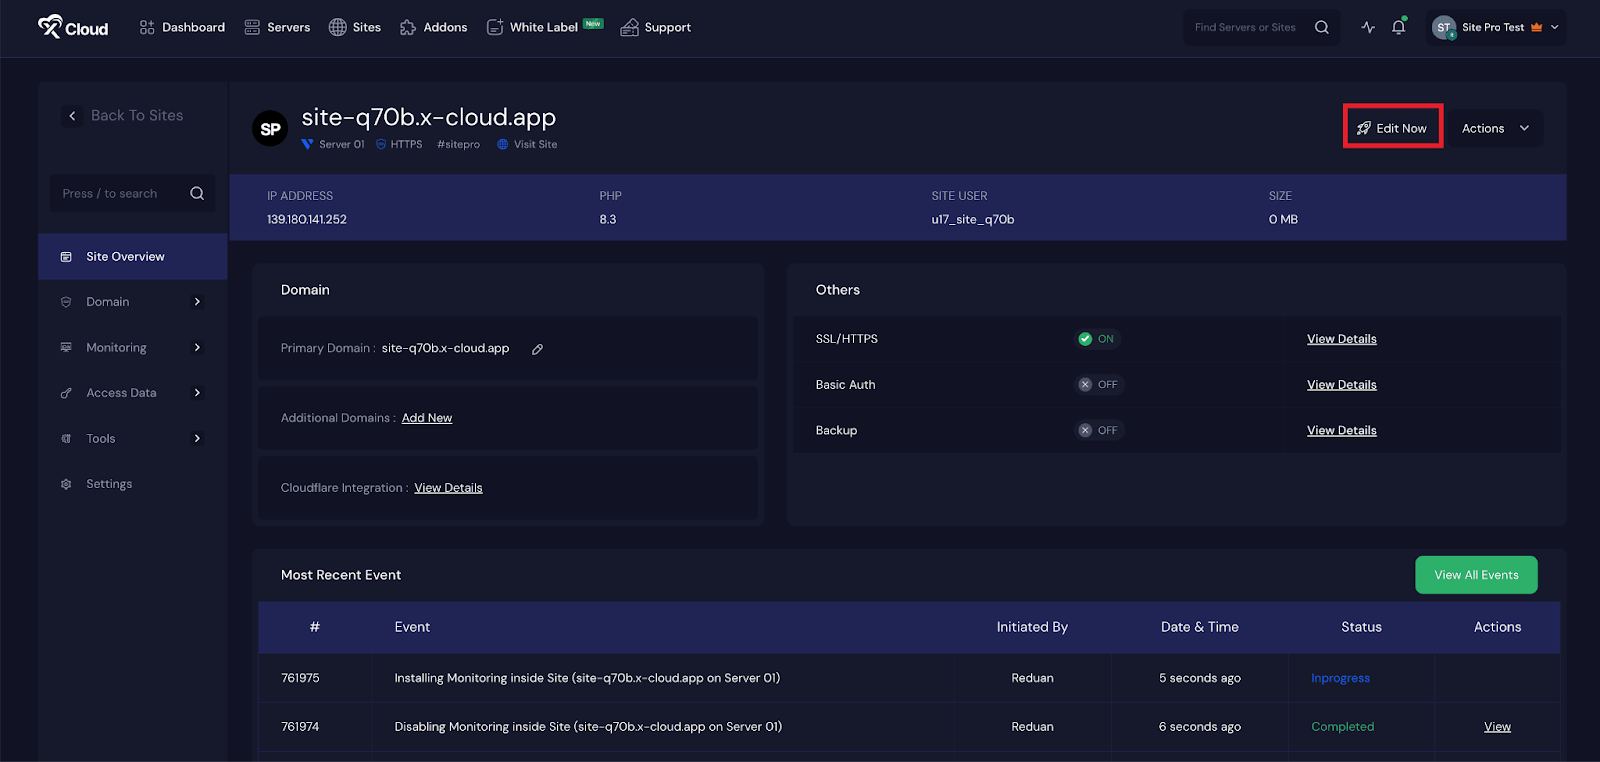
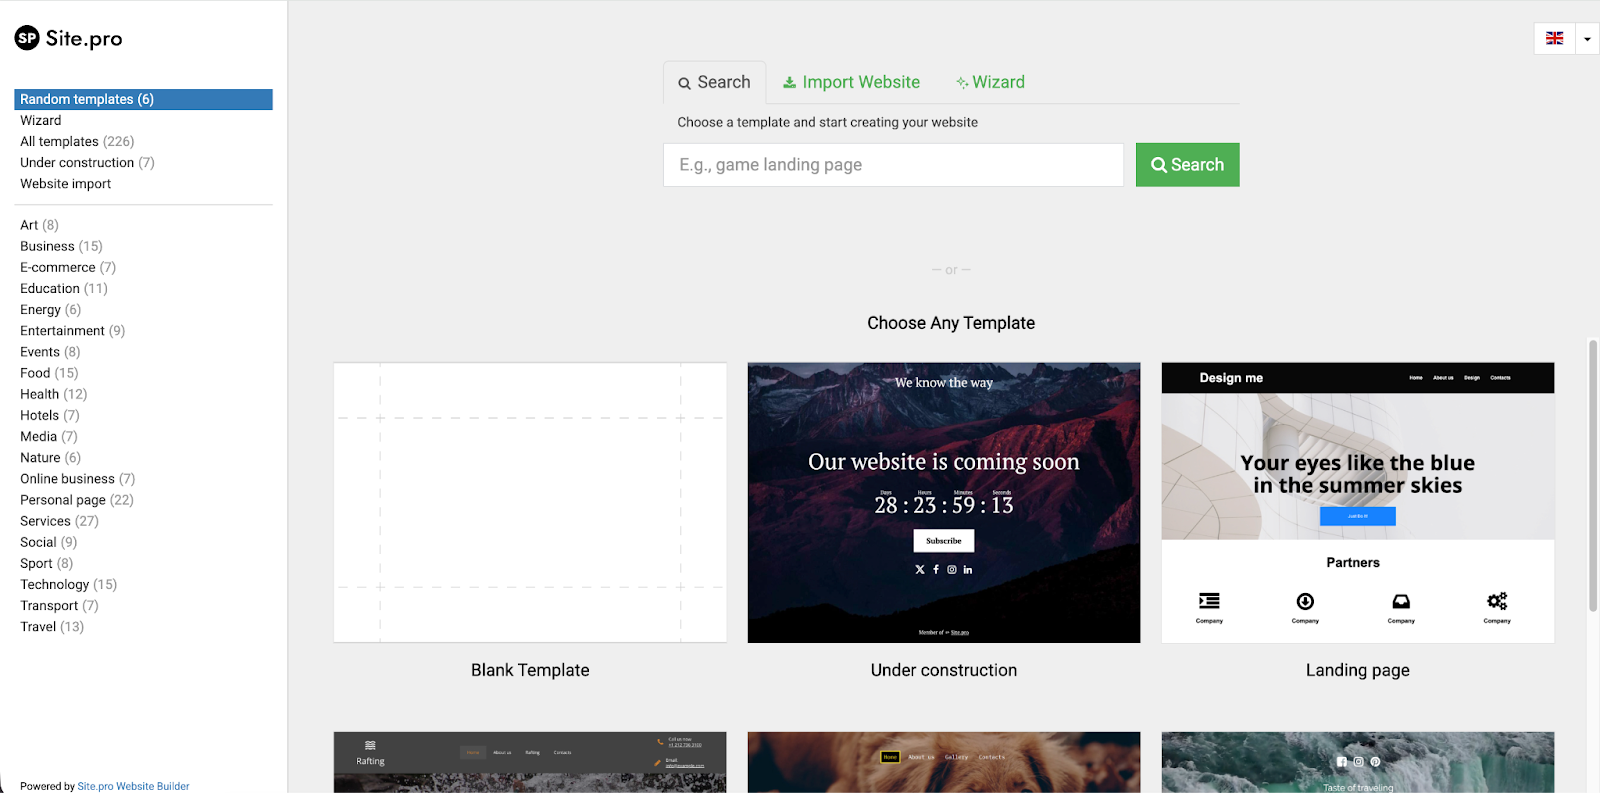
Next, you can start building your website using site.pro. You can choose your preferred template to proceed.
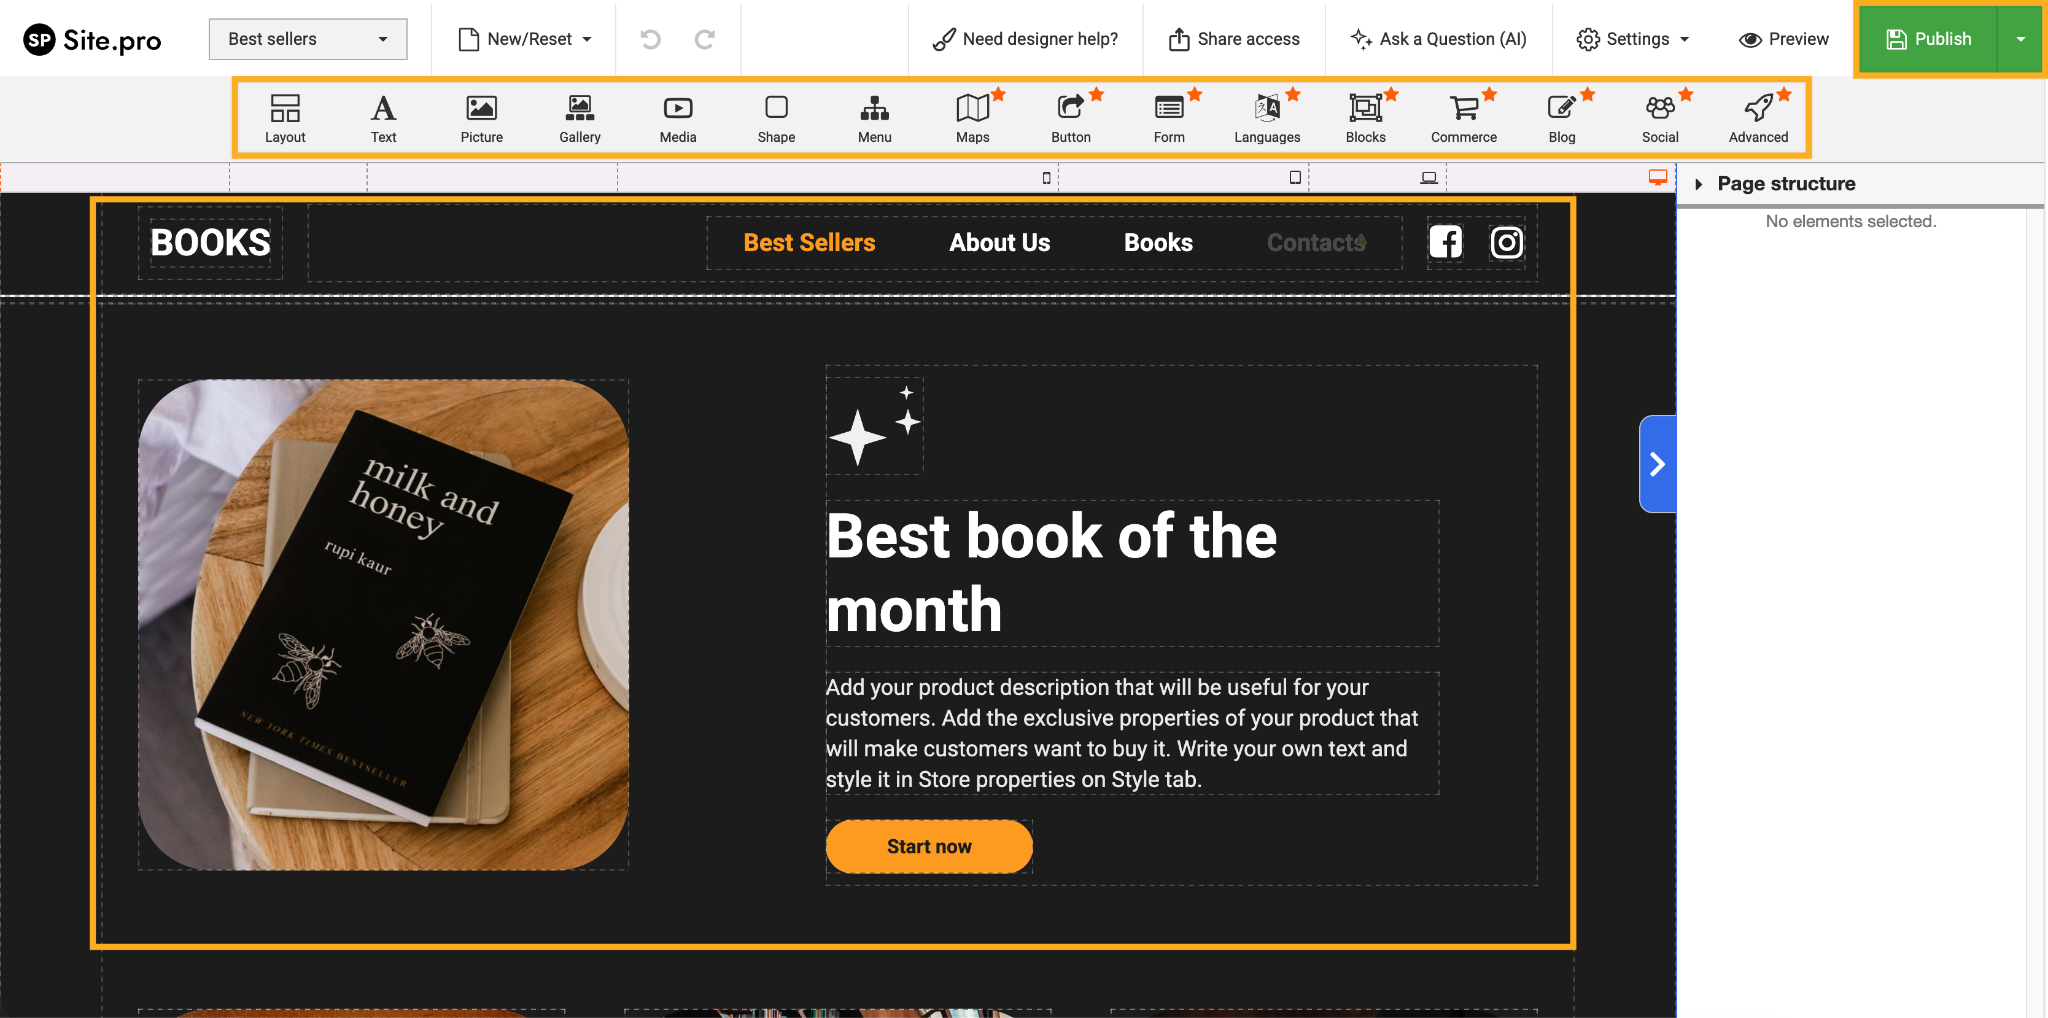
Next, edit the site using the Site.pro’s drag and drop builder. Add your preferred widgets, customize and click on the ‘Publish button to make the site live.
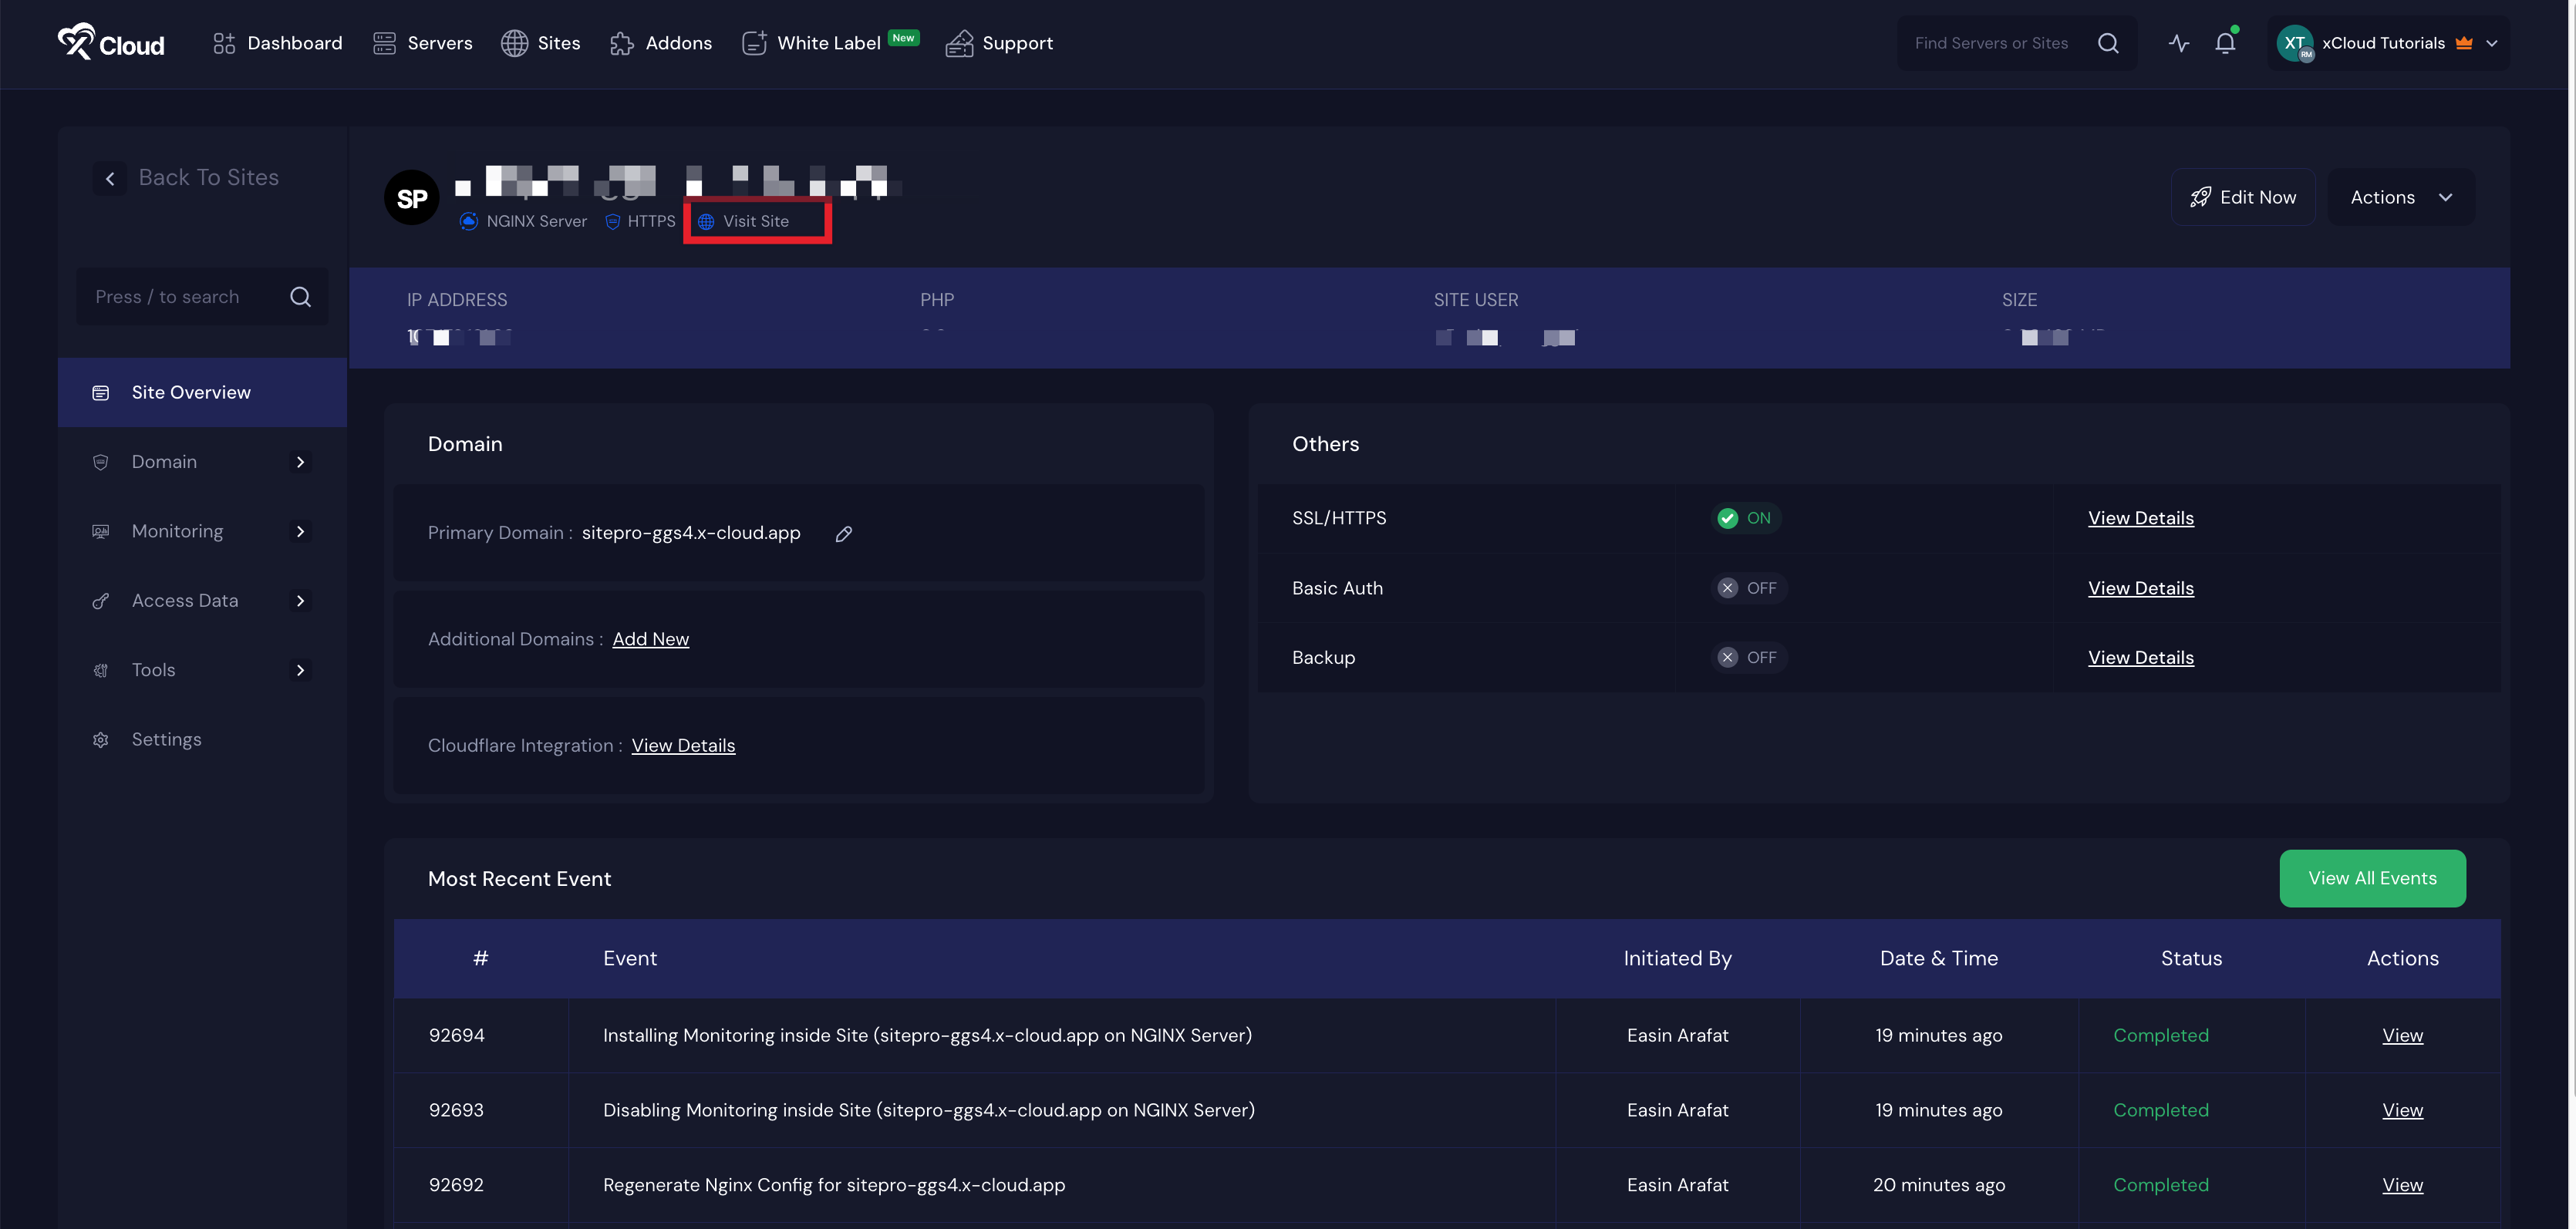
Now, if you visit the site from the xCloud dashboard, you will be able to access your newly created site with Site.pro.
👉 If you want to learn about editing the Template of Site.pro, visit this documentation.
How to Delete a Site Built with Site.pro
If you want to delete a site built using Site.pro on xCloud, you must first unsubscribe from your Site.pro subscription (if you are using any Site.pro Pro features) through the Site.pro dashboard. Once you have canceled the subscription from Site.pro, you can delete the site from xCloud.
This is how easily you can install Site.pro with xCloud using One Click Apps. The entire setup takes only a few simple steps, making it possible to deploy the application without technical complexity or manual configuration. xCloud simplifies server management while ensuring a smooth and reliable installation process.
Still stuck? Feel free to reach out to our support team.