

How to Manually Upload WordPress Websites With SFTP on xCloud
Updated December 14, 2025 · 3 min read
If you want to manually upload a WordPress website, with xCloud, you can manually upload WordPress Websites On xCloud without any hassle. Follow the step-by-step guide below to get started and upload WordPress websites with SFTP easily:
Prerequisites to Manually Upload WordPress Websites with SFTP on xCloud:
- Disable 2FA if there are any.
- Disable additional security like Cloudways Bot protection, OR Site Grounds Security optimizer from your hosting end.
- Uninstall Must use plugins of hosts.
- Clear Cache and disable cache plugins like Object Cache PRO
- Disable Wordfence or any other security plugins.
Step 1: Create A New Site
First, you have to log in to xCloud with your credentials. Then click on ‘New Site’ from the xCloud dashboard.
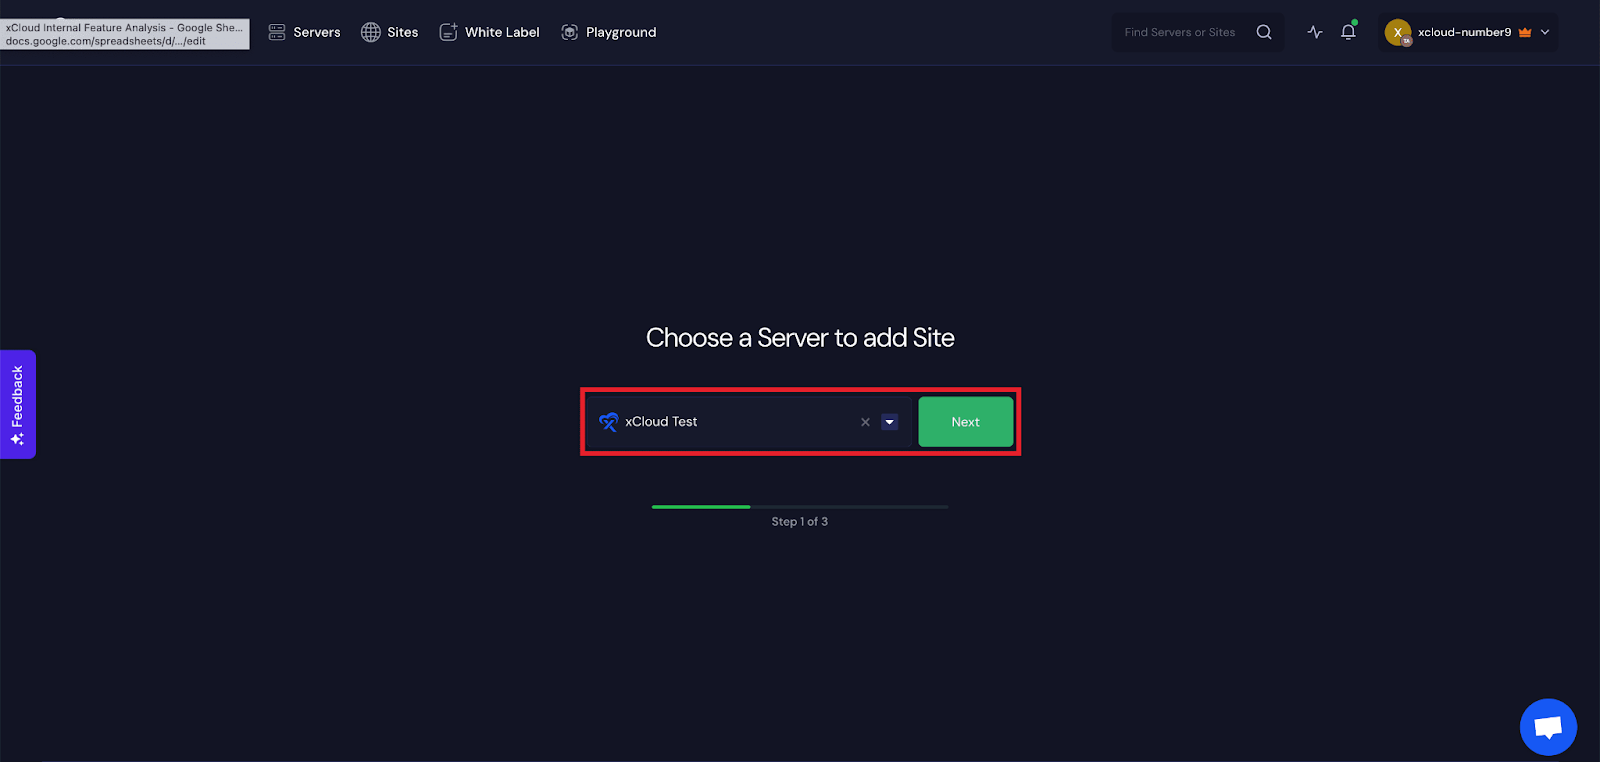
After that, you have to choose your server to upload your site. Click on the ‘Choose Server’ field and select your server from the drop-down before clicking on the ‘Next’ button.
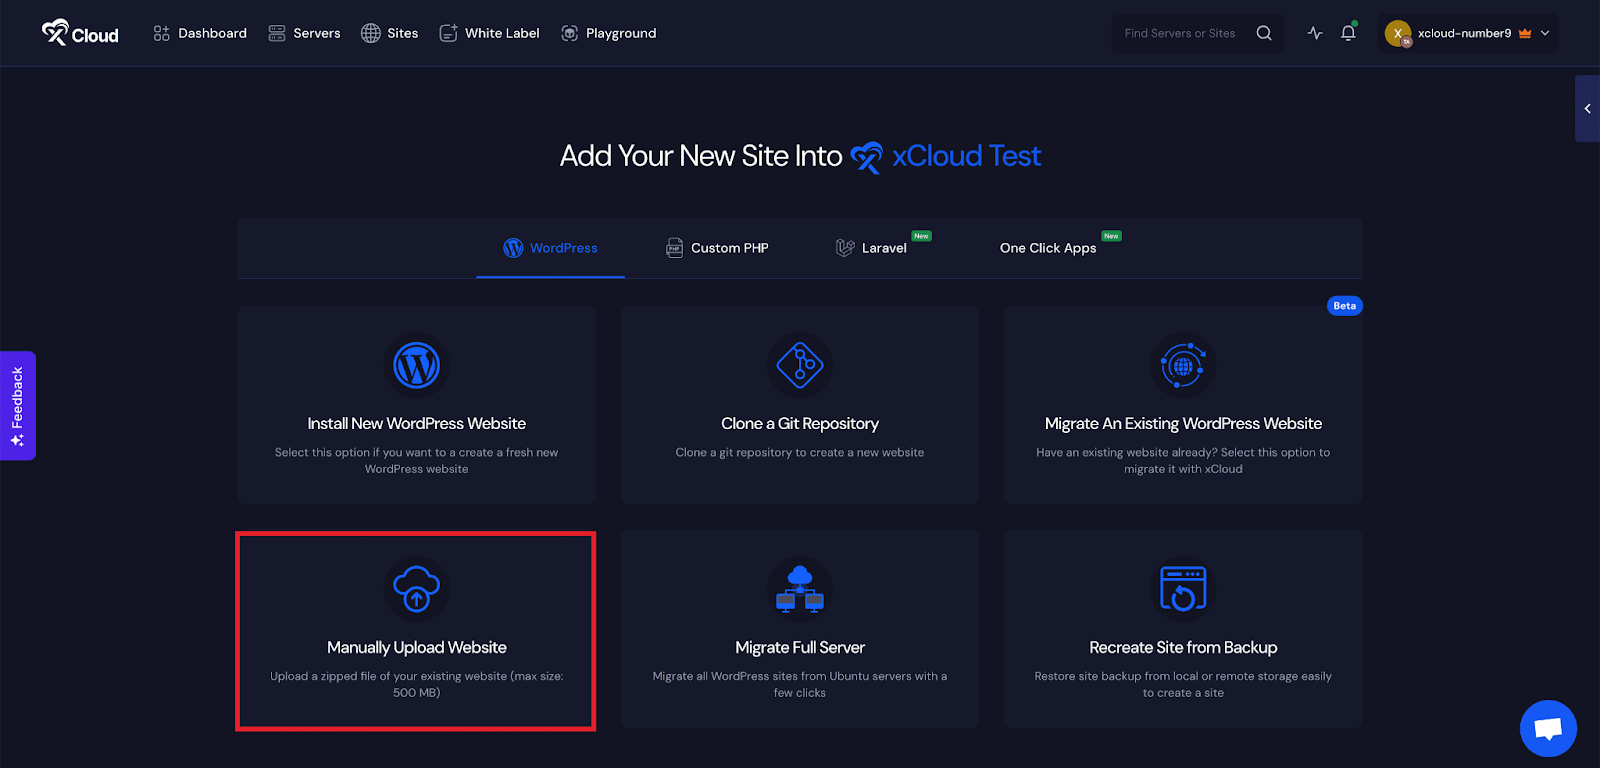
Now, you will be redirected to the site creation dashboard. Click on the ‘Manually Upload WordPress Website’ option.
Step 2: Add Information To Manually Upload WordPress Website
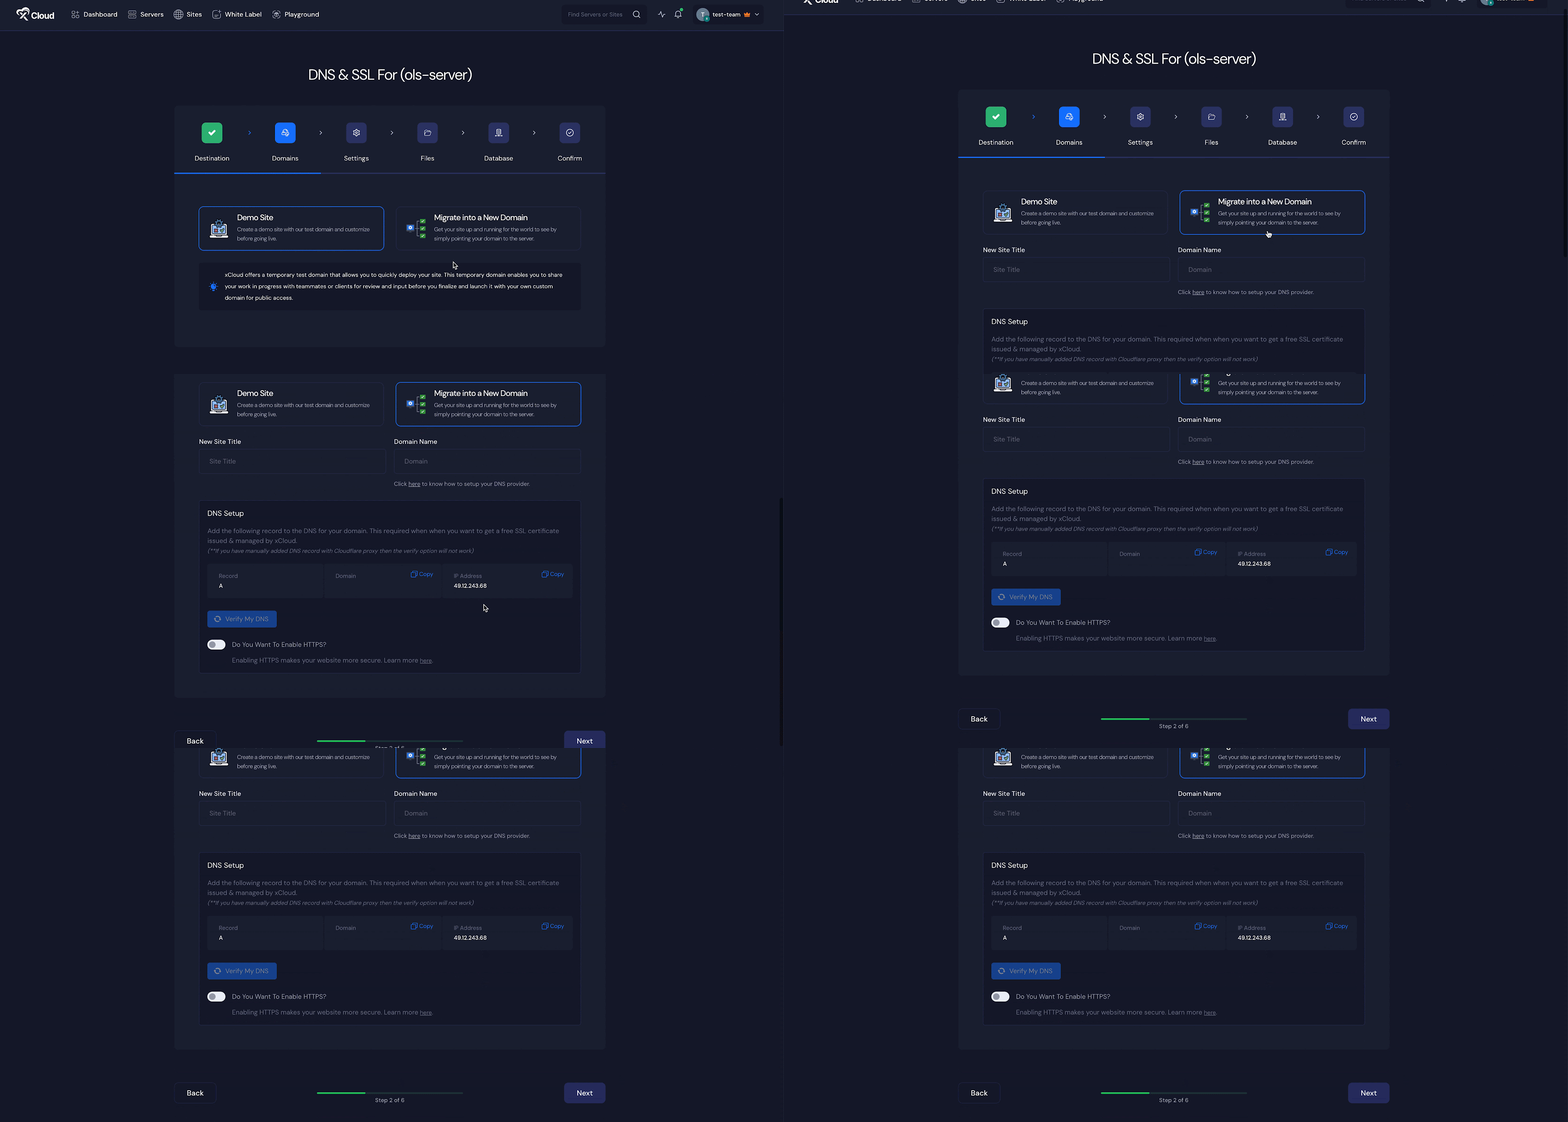
Now, select the ‘Migrate to a New Domain’ option to deploy your manually uploaded site with a custom domain. Fill in the ‘Site title’, ‘Domain Name’ and ‘DNS Setup’ in the necessary fields and click on the next button to proceed.
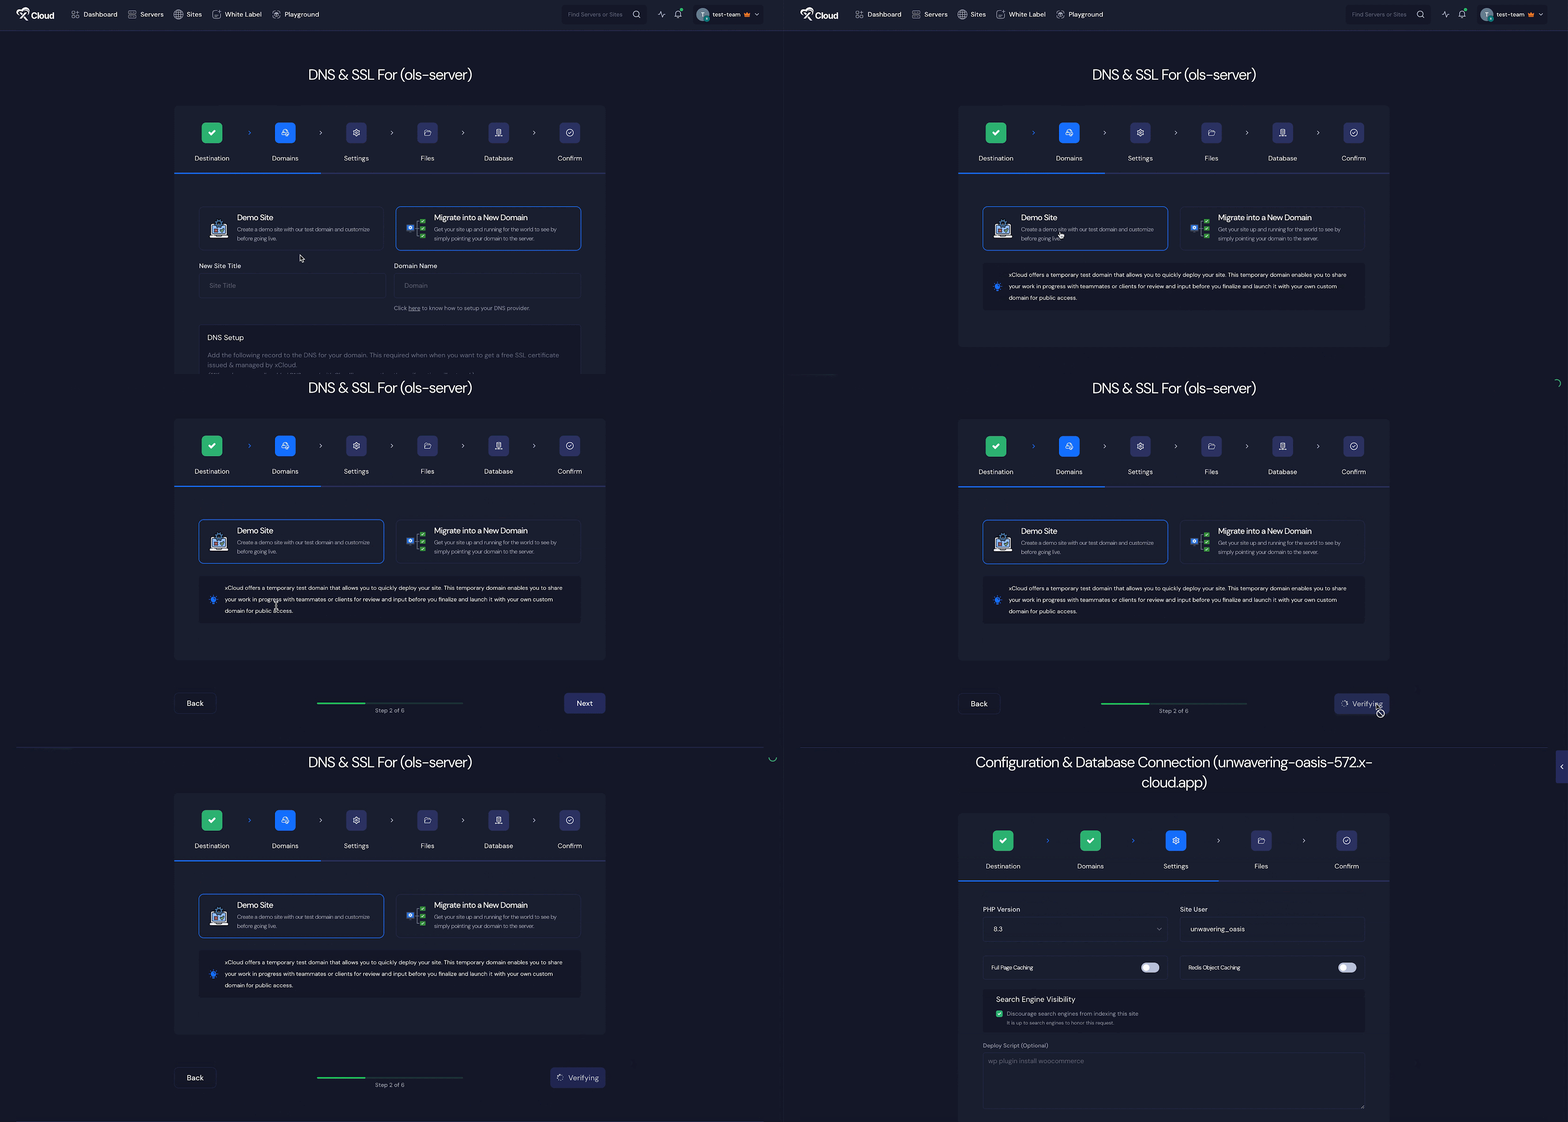
Here we are creating a demo site. Choose the ‘Demo site’ option and click on the ‘Next’ option.
Step 3: Configure & Install Your Demo Site
Now, you will be sent to the ‘Settings’ step. Make sure to correctly add your ‘PHP Version’, ‘Site User’. Enable or disable the ‘Full Page Caching’, ‘Redis Object Caching’ for this site. And if you do not want to index this site in Google then click on the check box to deindex this site.
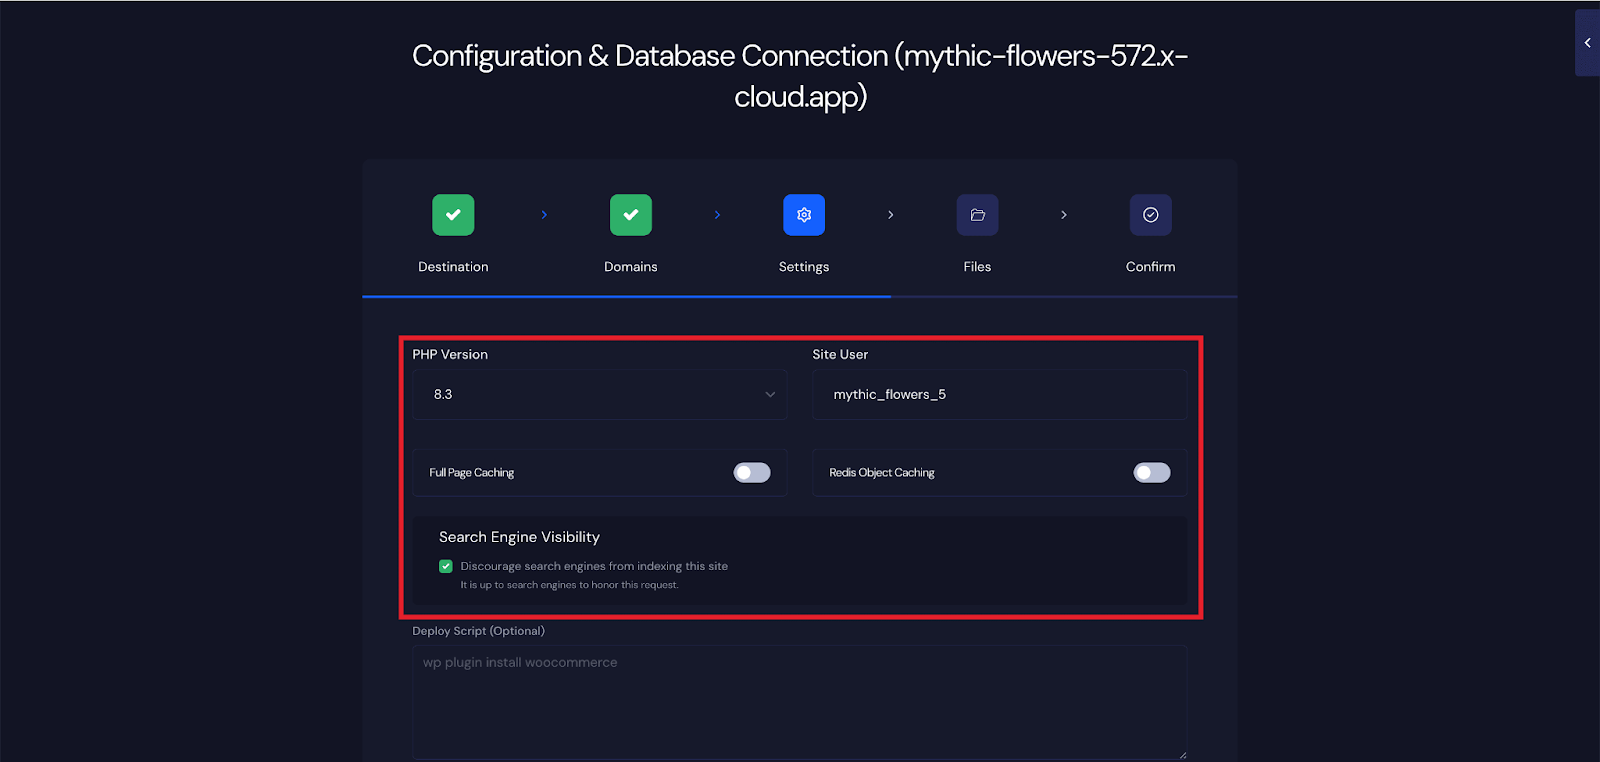
Next, you choose ‘Add Your Existing Database’ to add your existing database or choose ‘Create Database in Server’ to create a new database for this site.
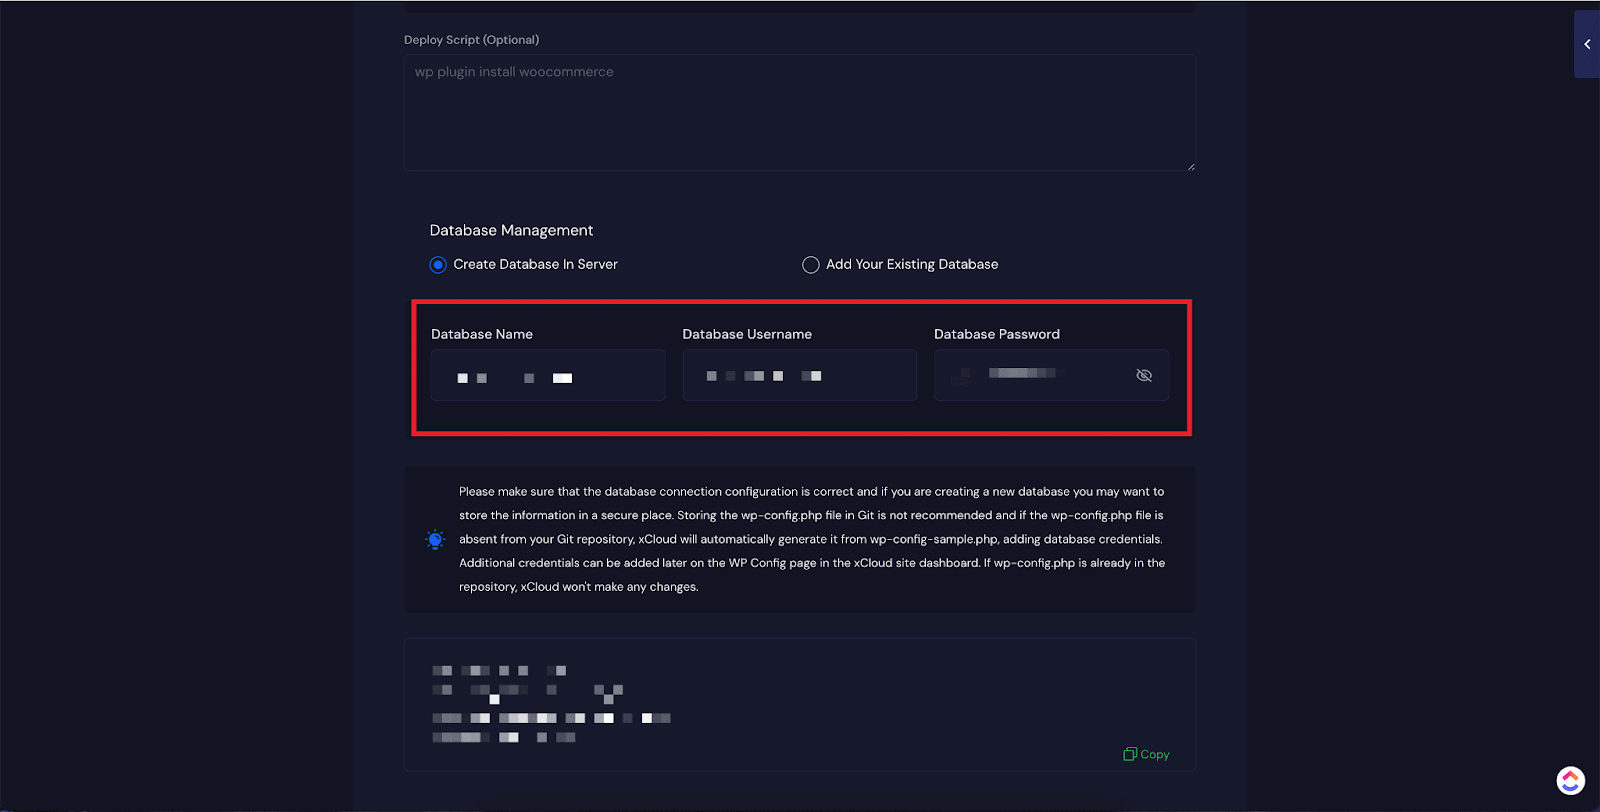
Step 4: Upload Your Site by SFTP/SSH
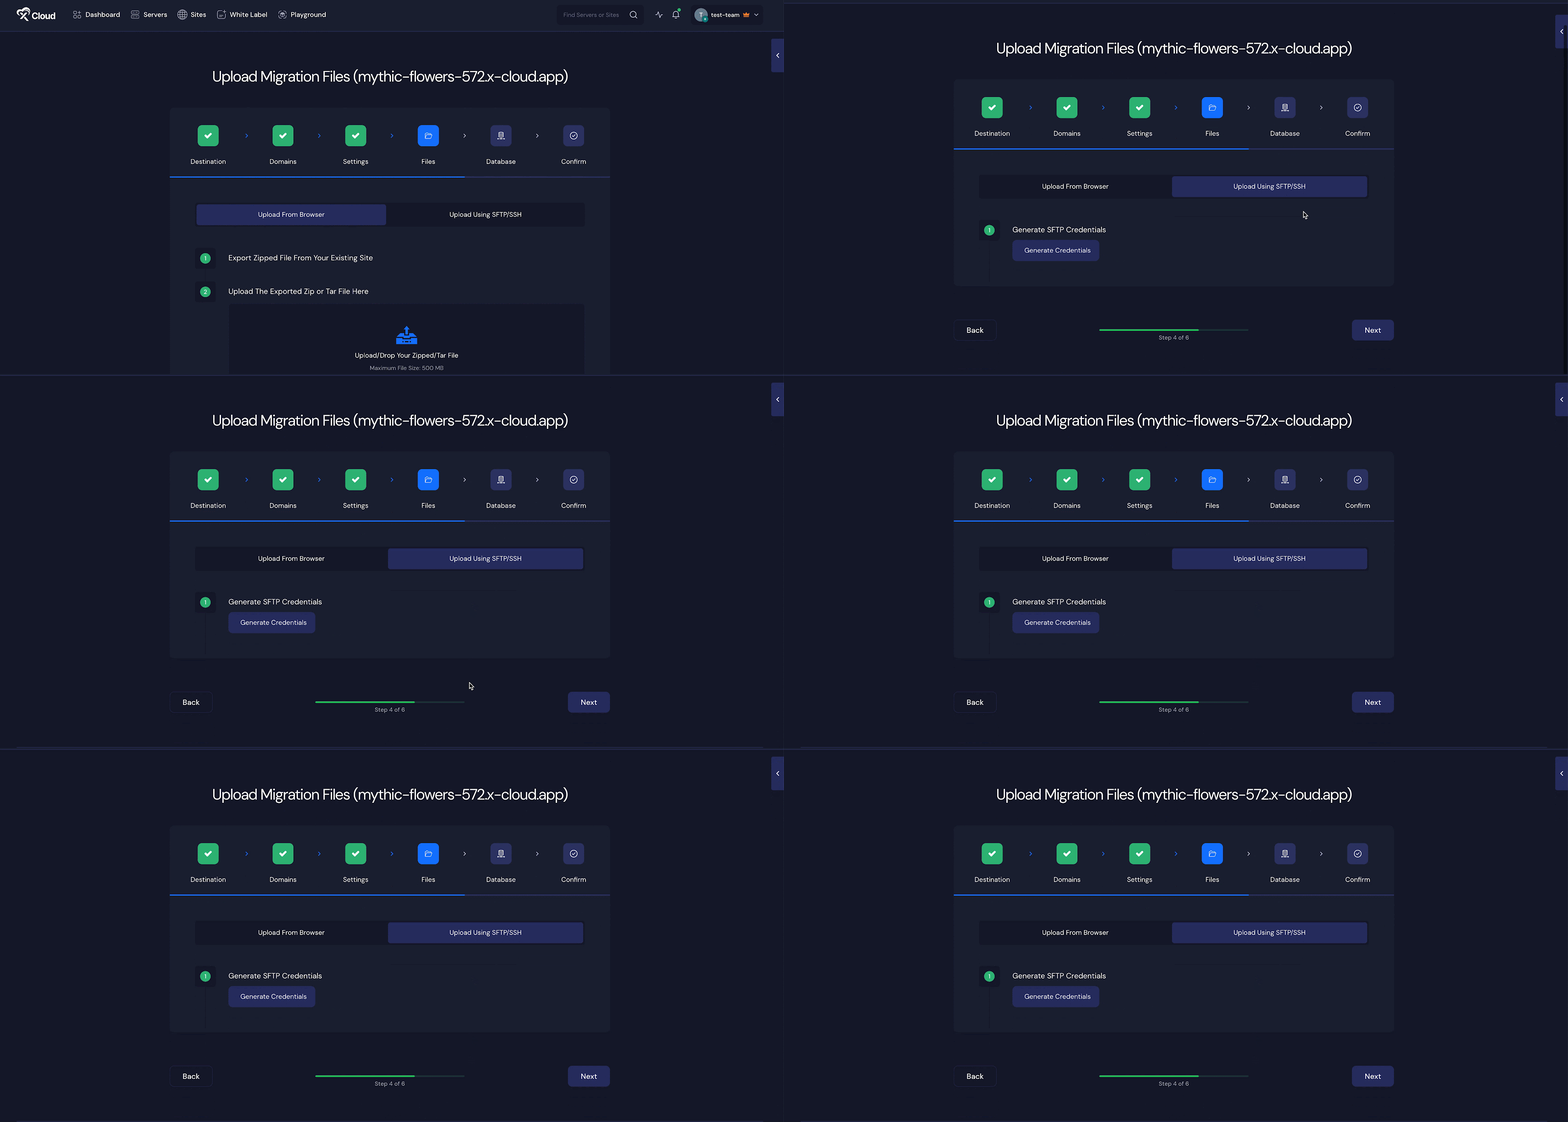
Now, you will get two options, one for ‘Upload from Browser’ and another for ‘Upload Using SFTP/SSH’. Choose the ‘Upload Using SFTP/SSH’ from here and click on the ‘Generate Credentials’ button to
Once the credentials are generated, you will get the ‘Server Address’, ‘Password’, ‘Username’, ‘Port’, ‘Uploaded Path’.
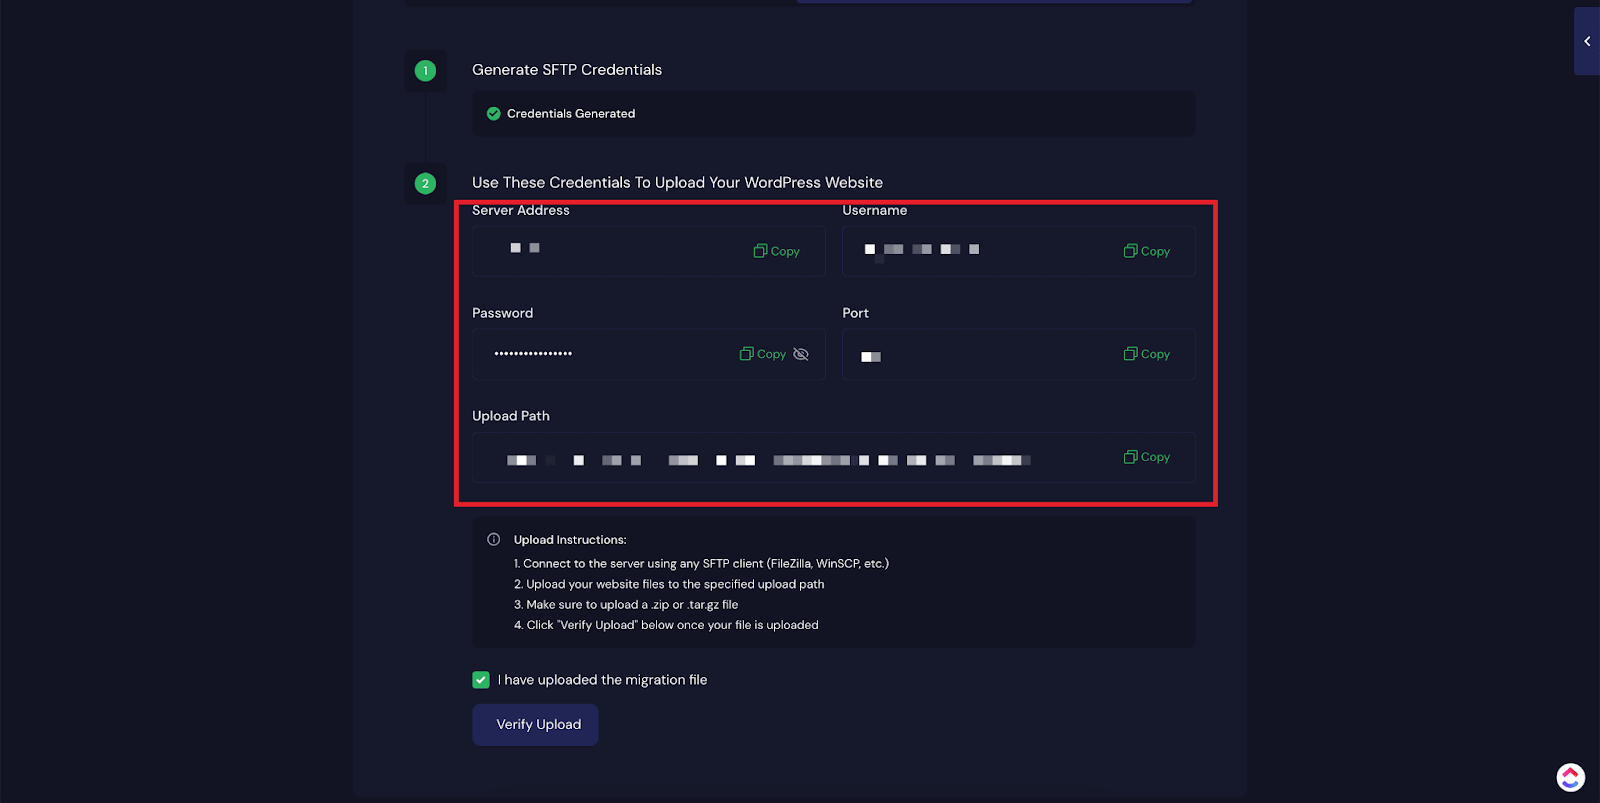
Now copy the ‘Server Address’, ‘Username’, ‘Password’ and ‘Port’ and go to the SFTP client dashboard. Then enter the credentials in the dedicated fields and click on the ‘Quick Connect’ button.
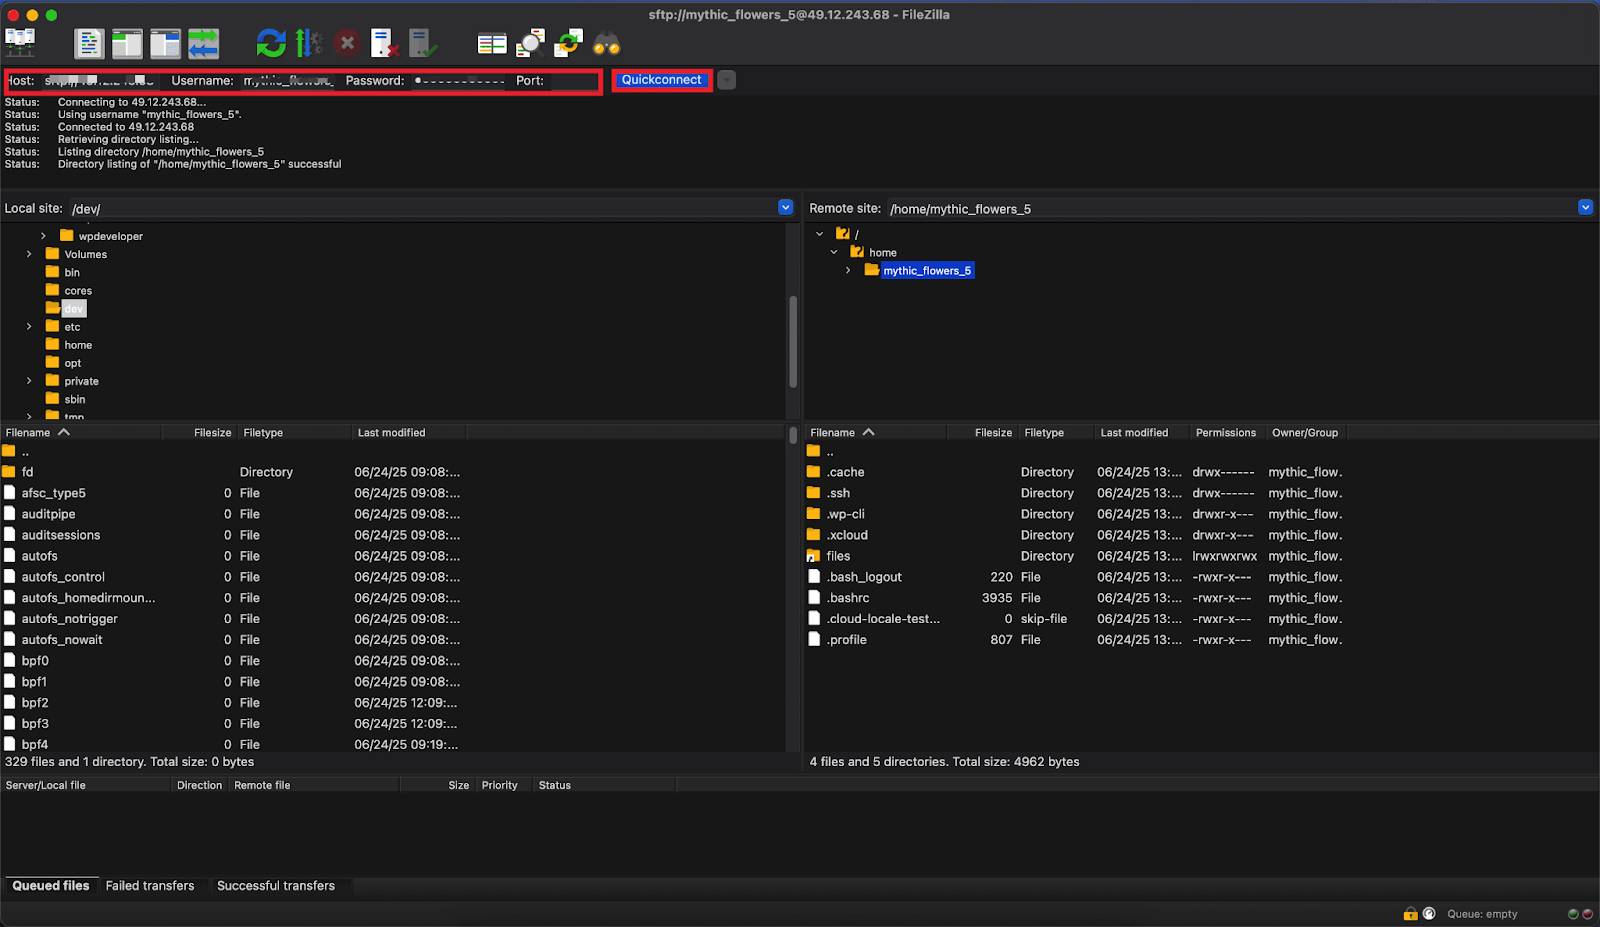
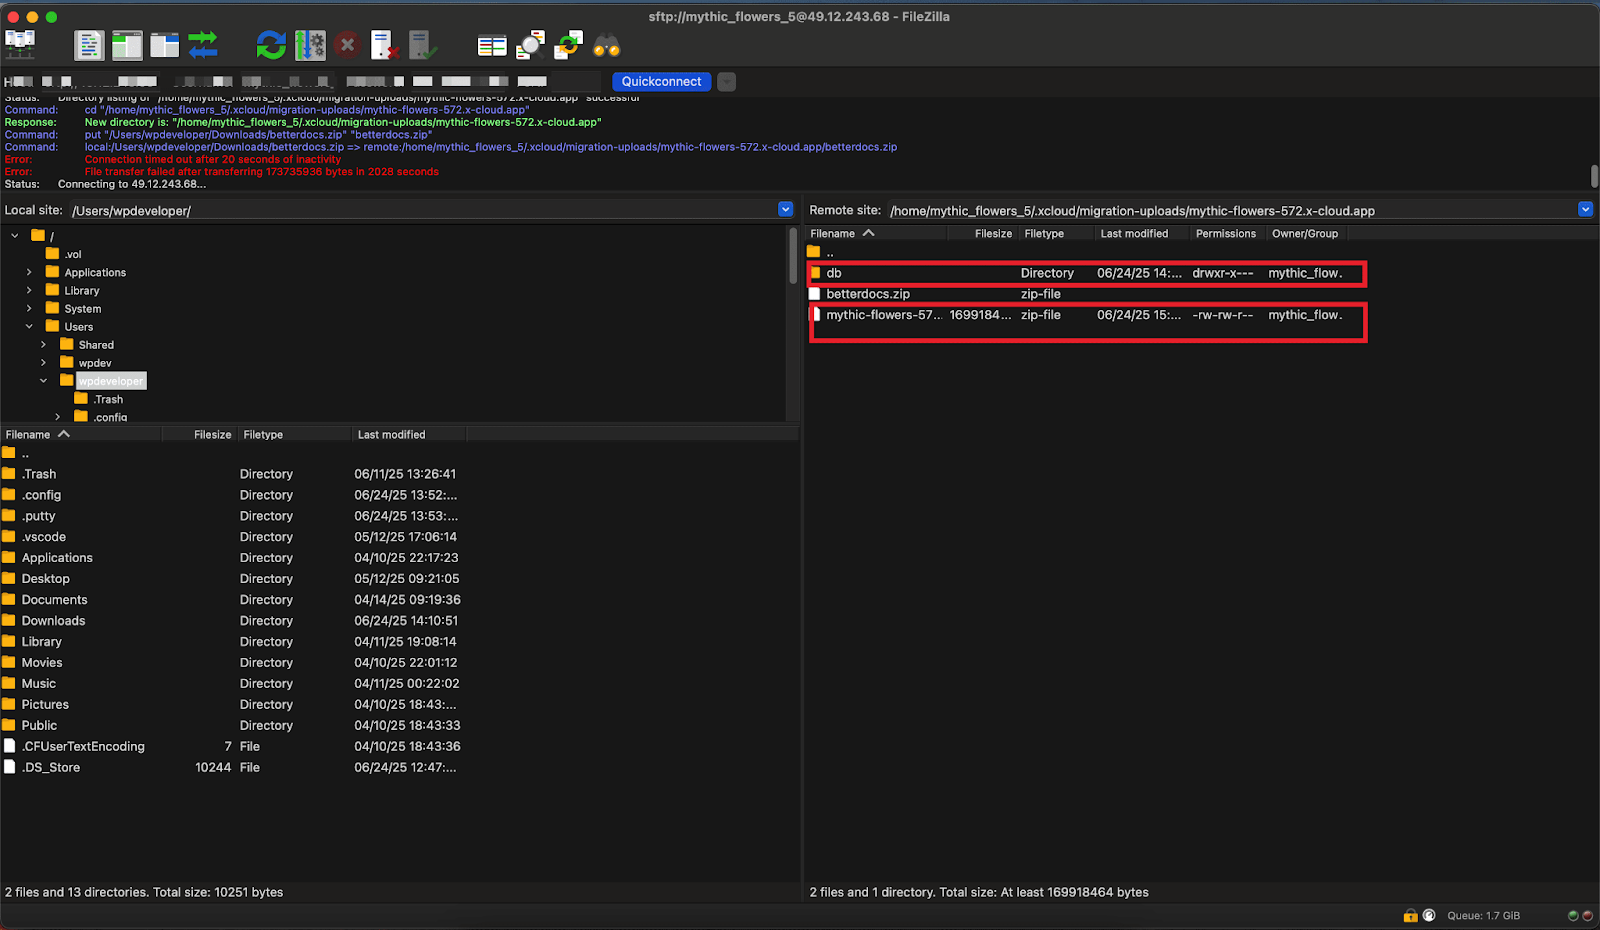
Then upload your site file to the ‘Uploaded path’ provided in the xCloud dashboard, and update the database file into the ‘db’ folder using the SFTP client.
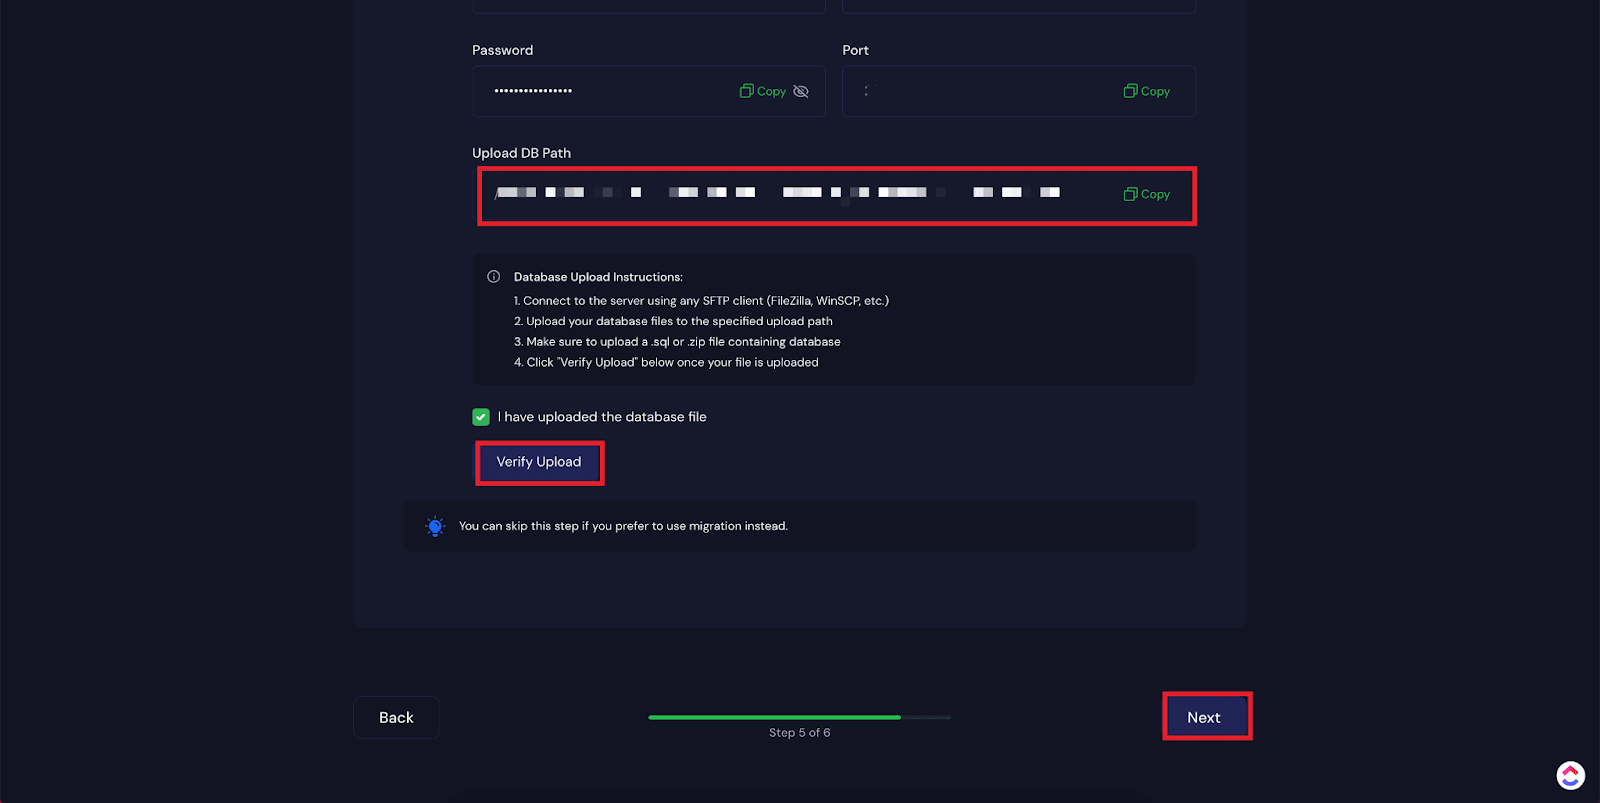
And go back to the xCloud dashboard and click on the check box, if you have uploaded both the site and database, then hit the ‘Verify Upload’ button. Then click on the ‘Next’ button.
Step 5: Complete the Site Upload
Now, if you are ready to go for uploading an existing WordPress website with xCloud, click on the ‘Start’ button. Within a few moments, your WordPress website will be uploaded to xCloud automatically. You will see the following screen while uploading. Once the migration is successfully complete, you will see the following screen. You go to the site dashboard from there.
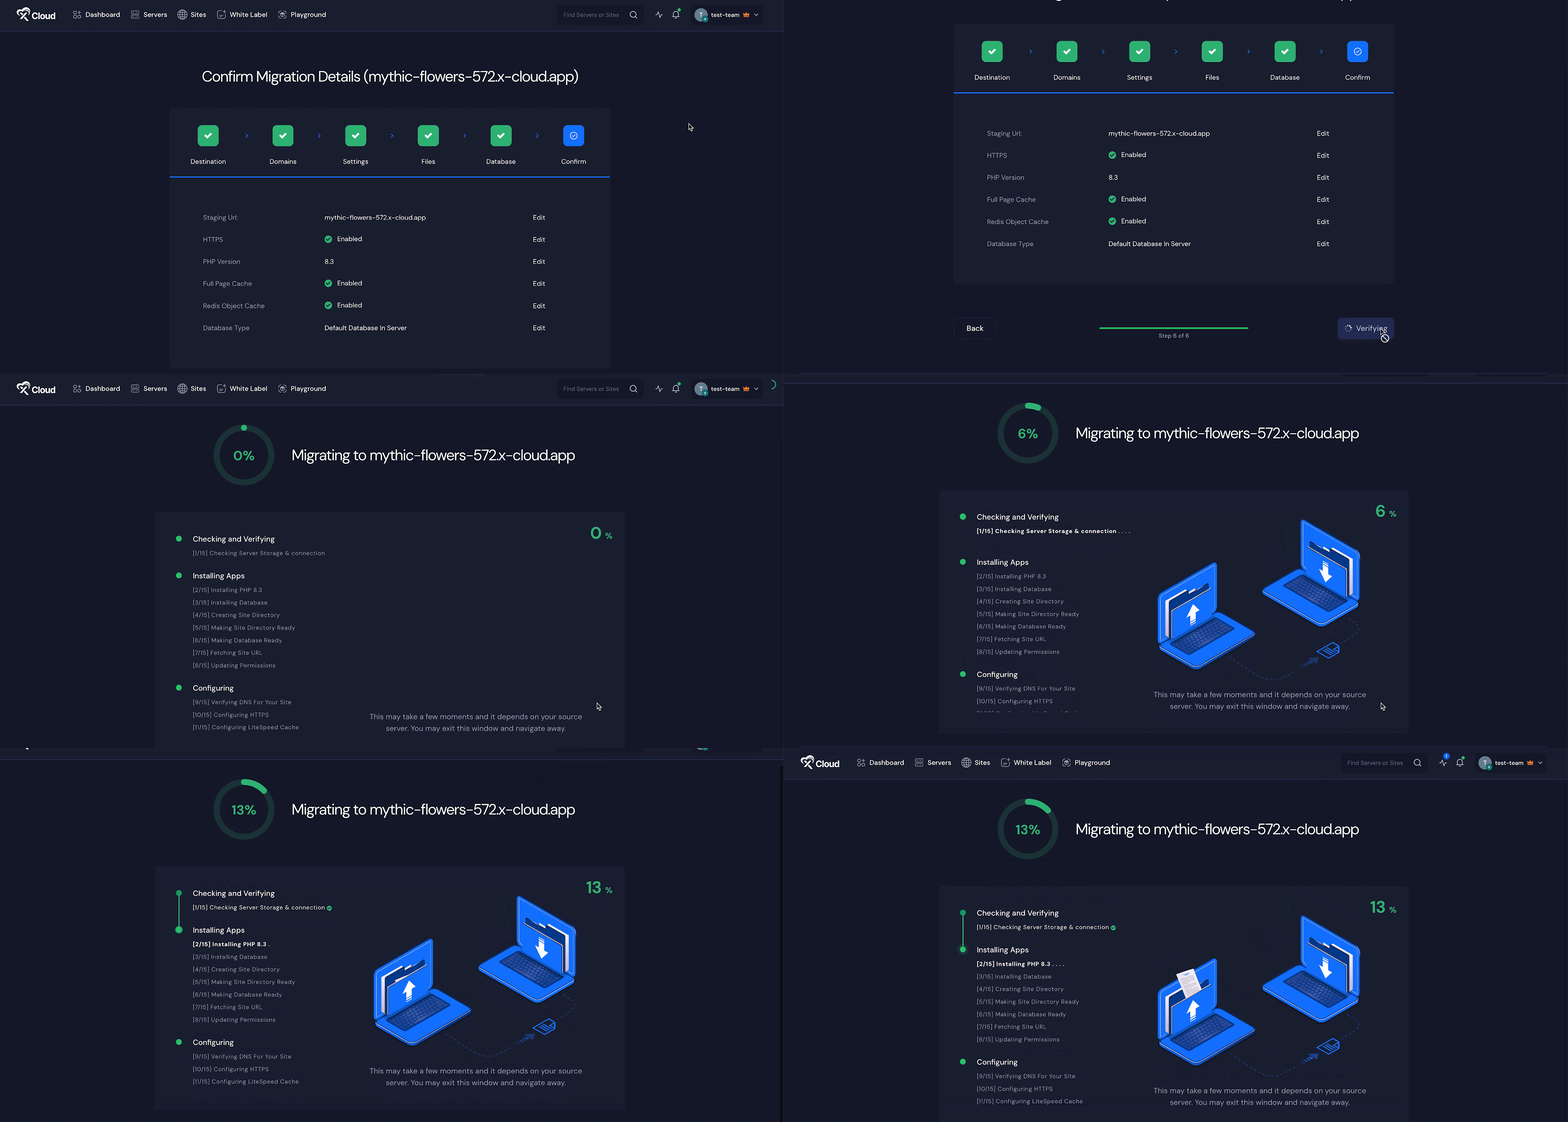
After a while your site will be ready and you can visit right from the dashboard. This is how easily you can create your WordPress site manually with xCloud.
Still stuck? Contact our dedicated support team for any of your queries.