

How to Set Up Hide My WP plugin in xCloud?
Updated September 24, 2025 · 3 min read
OpenLightSpeed & NGINX are the top choices for web servers for their adaptability and strength. Many online services and applications use NGINX and OLS and customise them to boost their system’s efficiency, secure their data, and add new features. However, you might find it challenging to configure custom NGINX and OLS settings, as it often requires manual edits in the Linux terminal.
But with xCloud, you can simplify this process. You can set up the Hide My WP plugin in xCloud, which lets you add a custom OLS and NGINX easily. Hide My WP Ghost is a WordPress security plugin that provides robust protection for your website without physically altering any directories or files.
Note: For the OLS server, you need to install and activate the plugin by yourself; on the other hand, for NGINX, you do not need to go through this complex process.
How to Configure Custom OLS in xCloud
You can easily set up custom OLS from the xCloud dashboard with some simple steps. Now let’s follow these steps to get you started.
Step 1: Navigate to the xCloud Dashboard
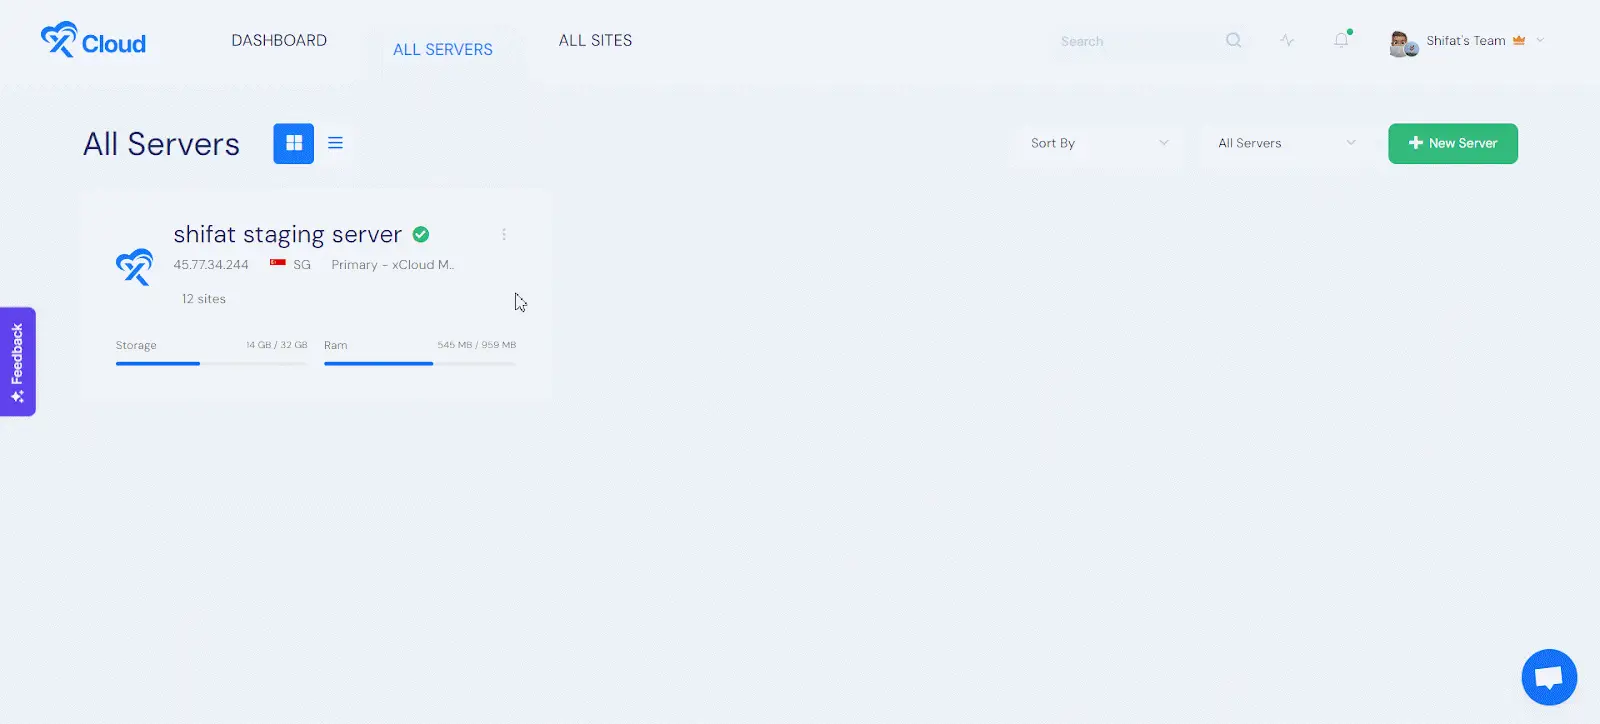
To set up the Hide My WP Ghost plugin first, log in and go to the xCloud dashboard. Then move on to the ‘All Servers’ tab and select the OLS server.
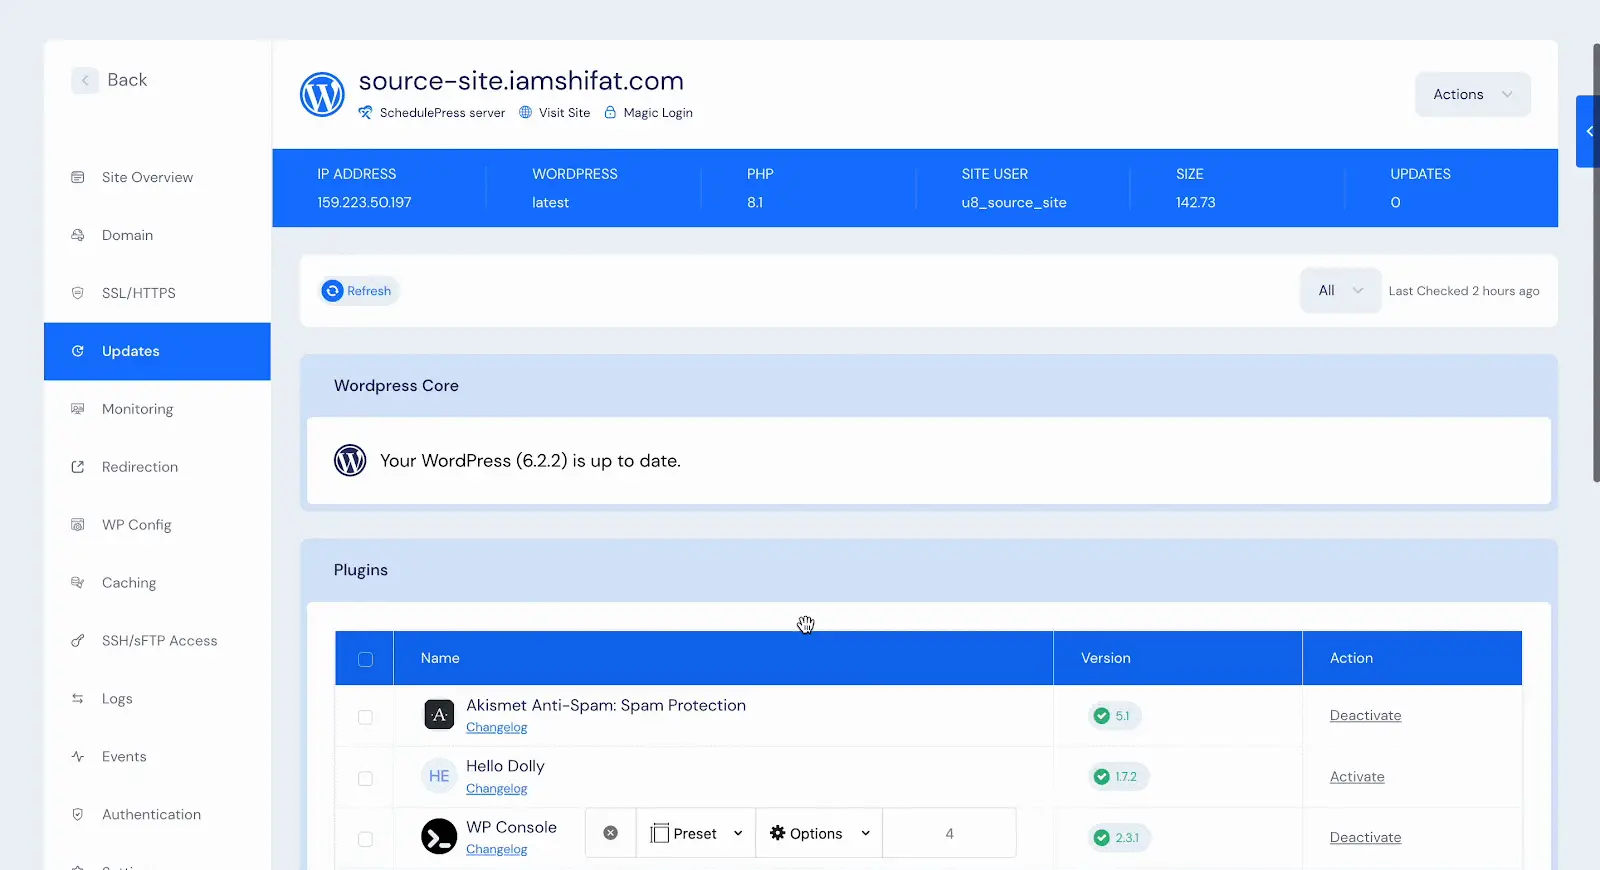
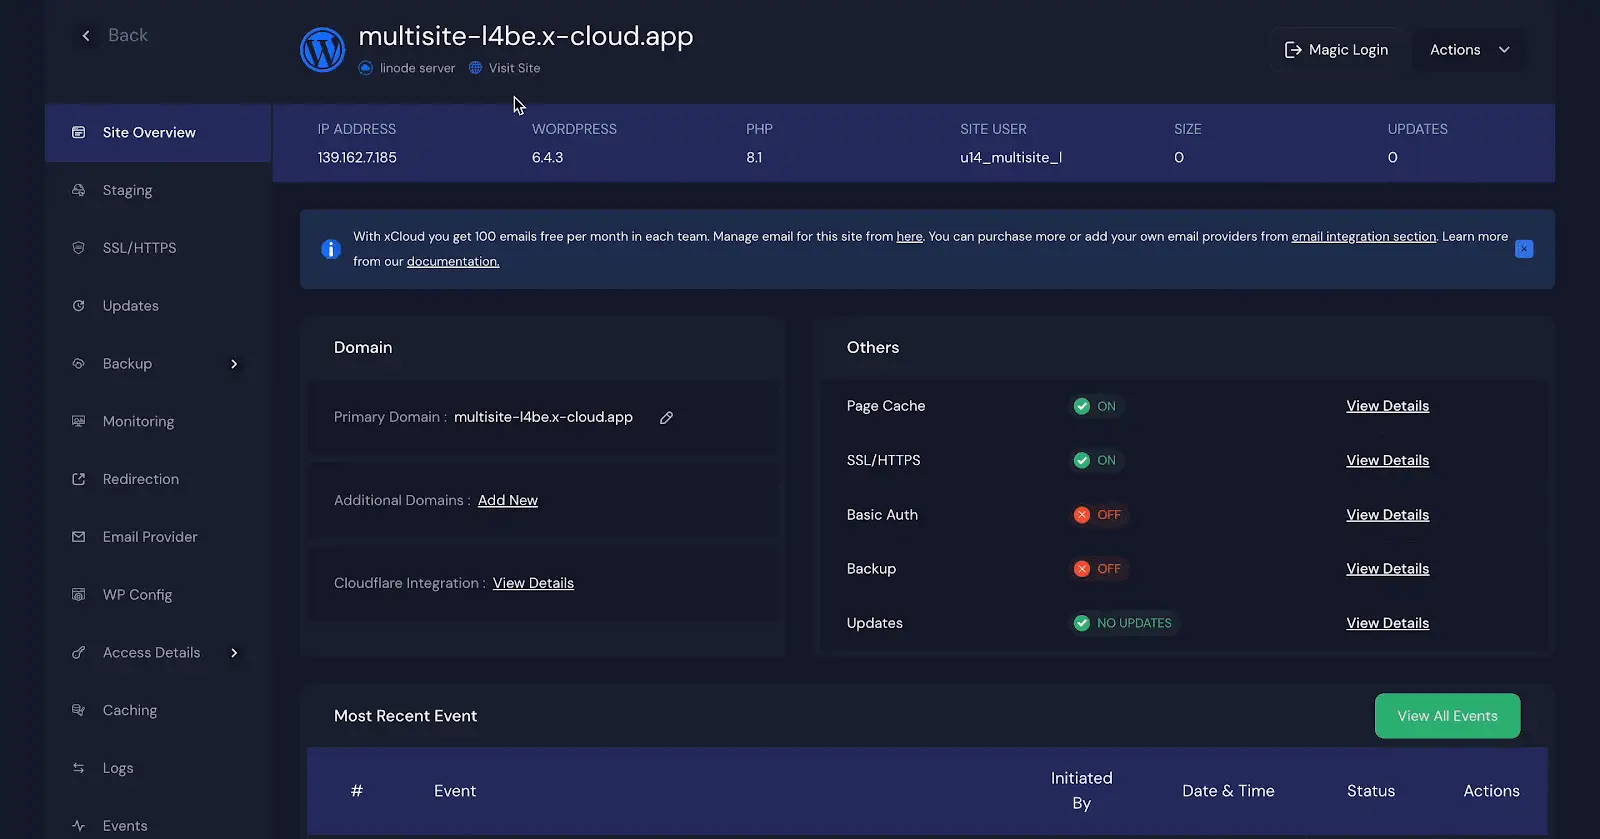
Select the site, where you want to install the Hide My WP Ghost plugin and Click on the ‘Magic Login’ button to directly access your site’s WordPress dashboard from the xCloud dashboard.
Step: Install and Activate the Hide my WP Ghost plugin
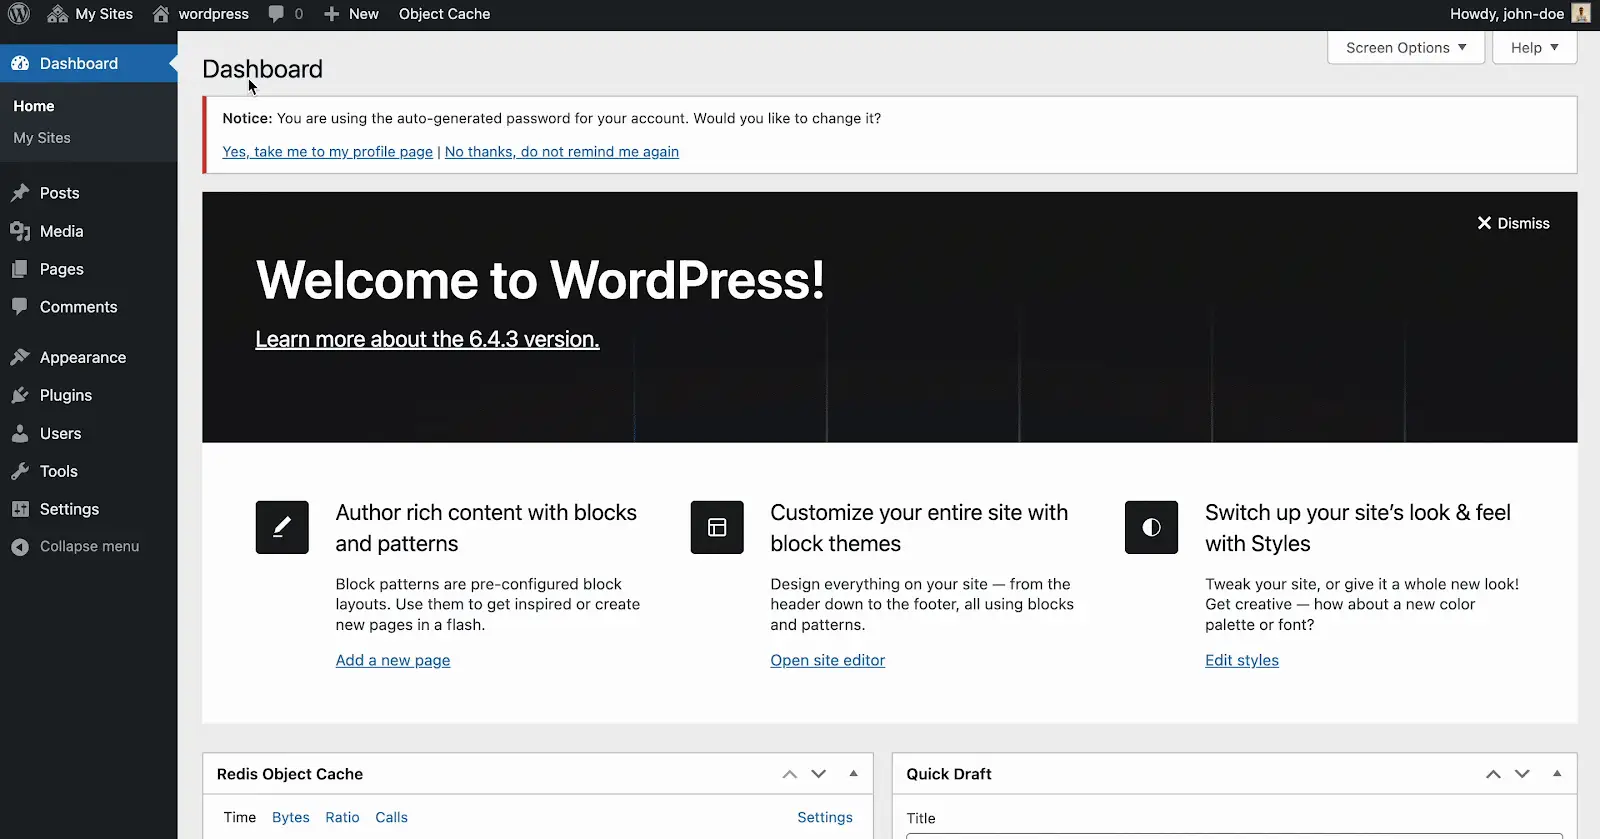
After going to your site’s WP dashboard, select the plugins → Add new plugin and search for the Hide My WP Ghost plugin. Now install the plugin, and activate it from here.
Step: Go to the Compatibility Settings
Afterwards, first you need to go to the ‘Advanced’ section of the sidebar and proceed with the ‘Compatibility’ option.
Now, you will get a drop-down menu of ‘Server types’, find out the server type, look for the OLS server from the drop-down menu of the server names, and click on the ‘Save’ button.
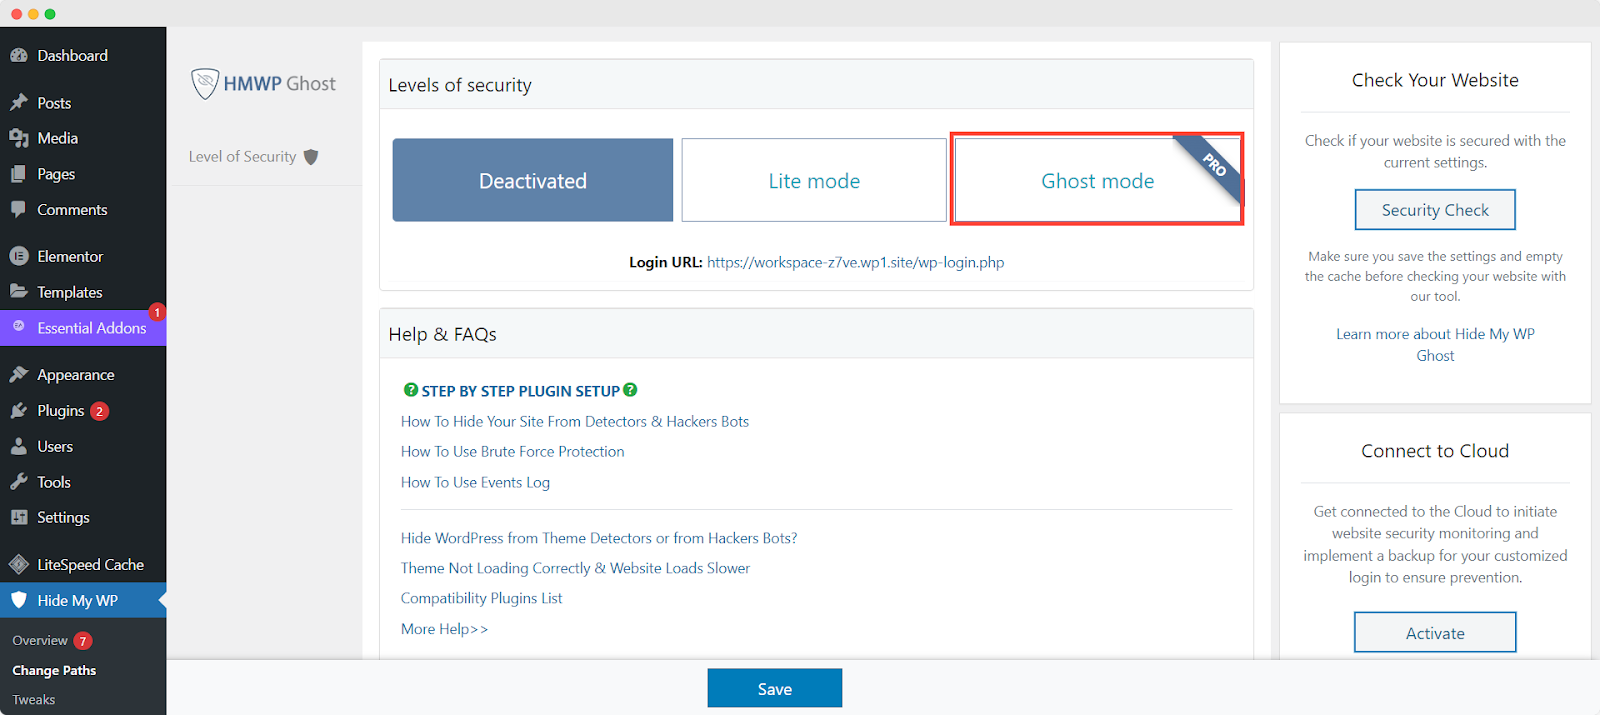
Now, go to the ‘Change paths’ from the sidebar of your WordPress dashboard and look for the ‘Ghost Mode’ option. From here, just activate this.
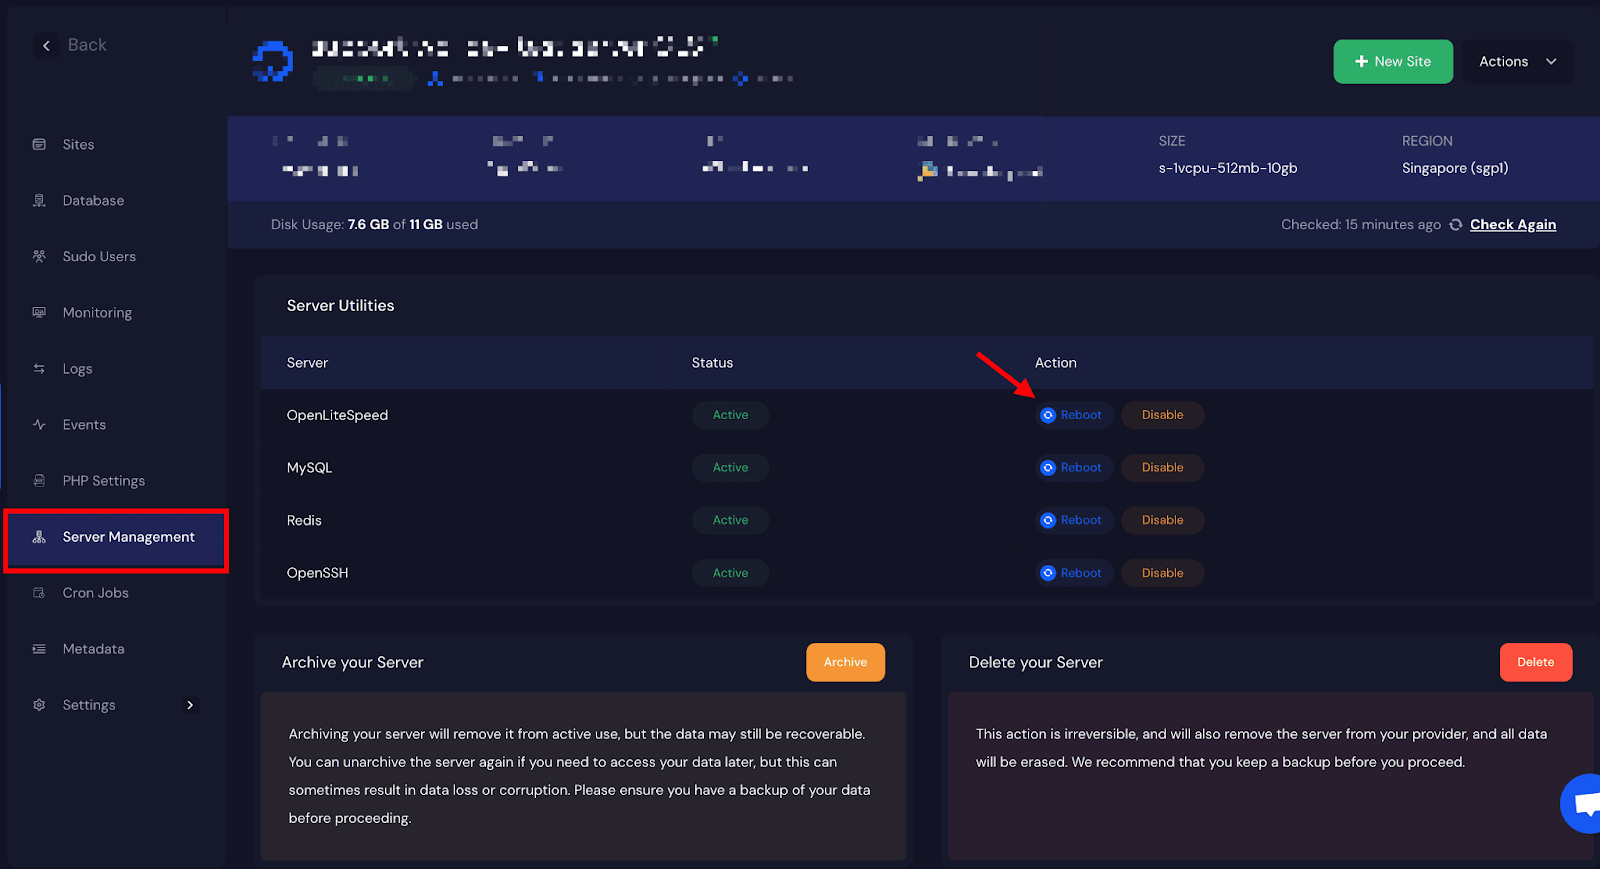
Afterwards, go back to your xCloud dashboard → OLS server and head over to the ‘Sever Management’ tab and click on the restart the LightSpeed server.
And the Hide MY WP Ghost will sync and start protecting your website.
How to Configure Custom NGINX in xCloud
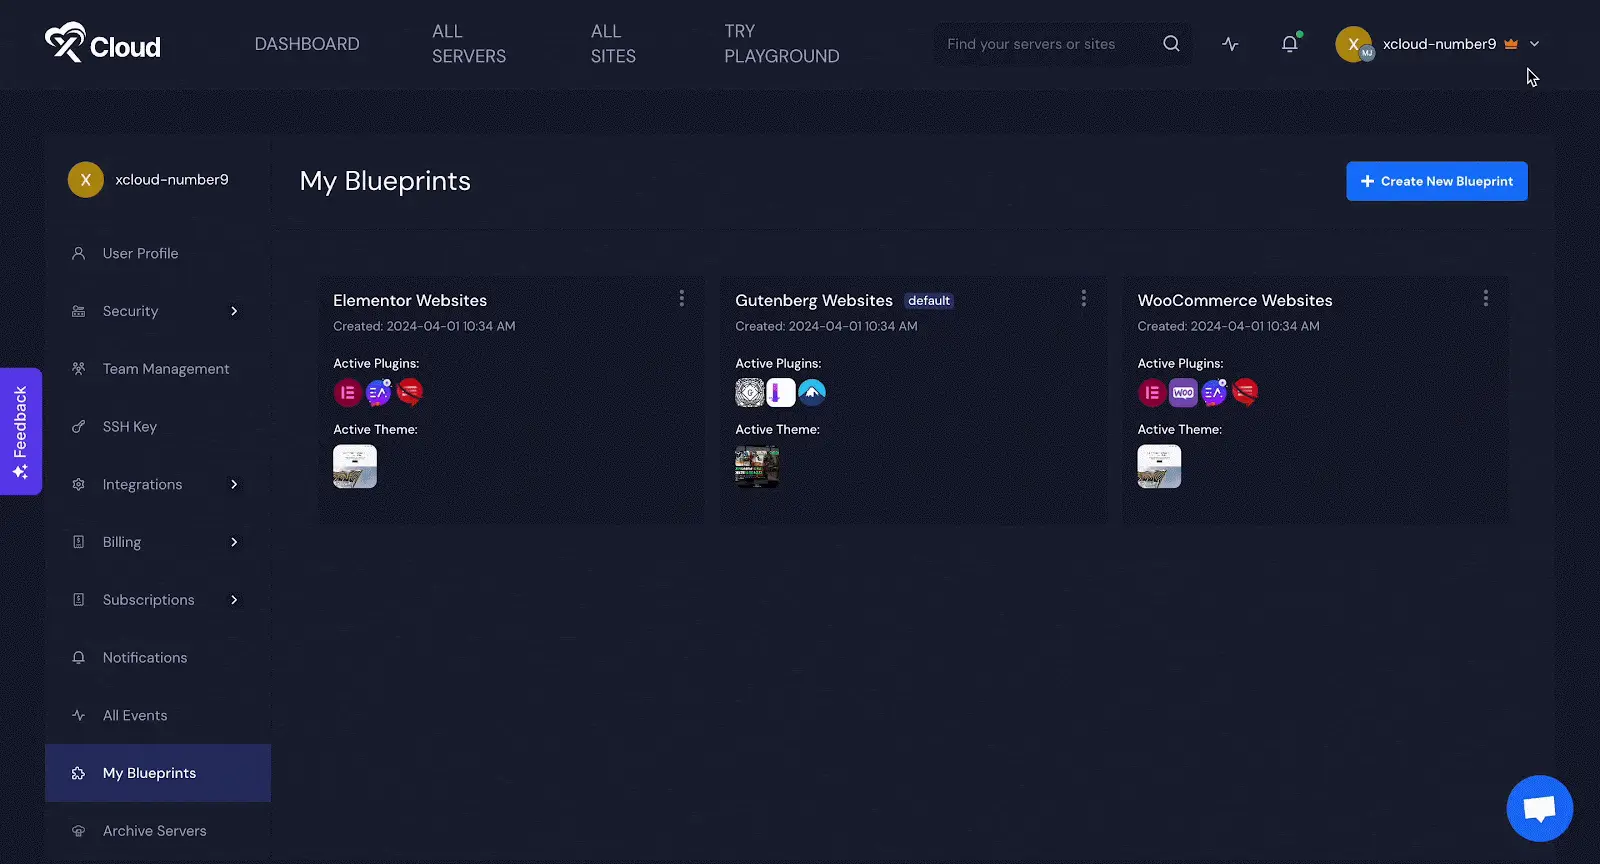
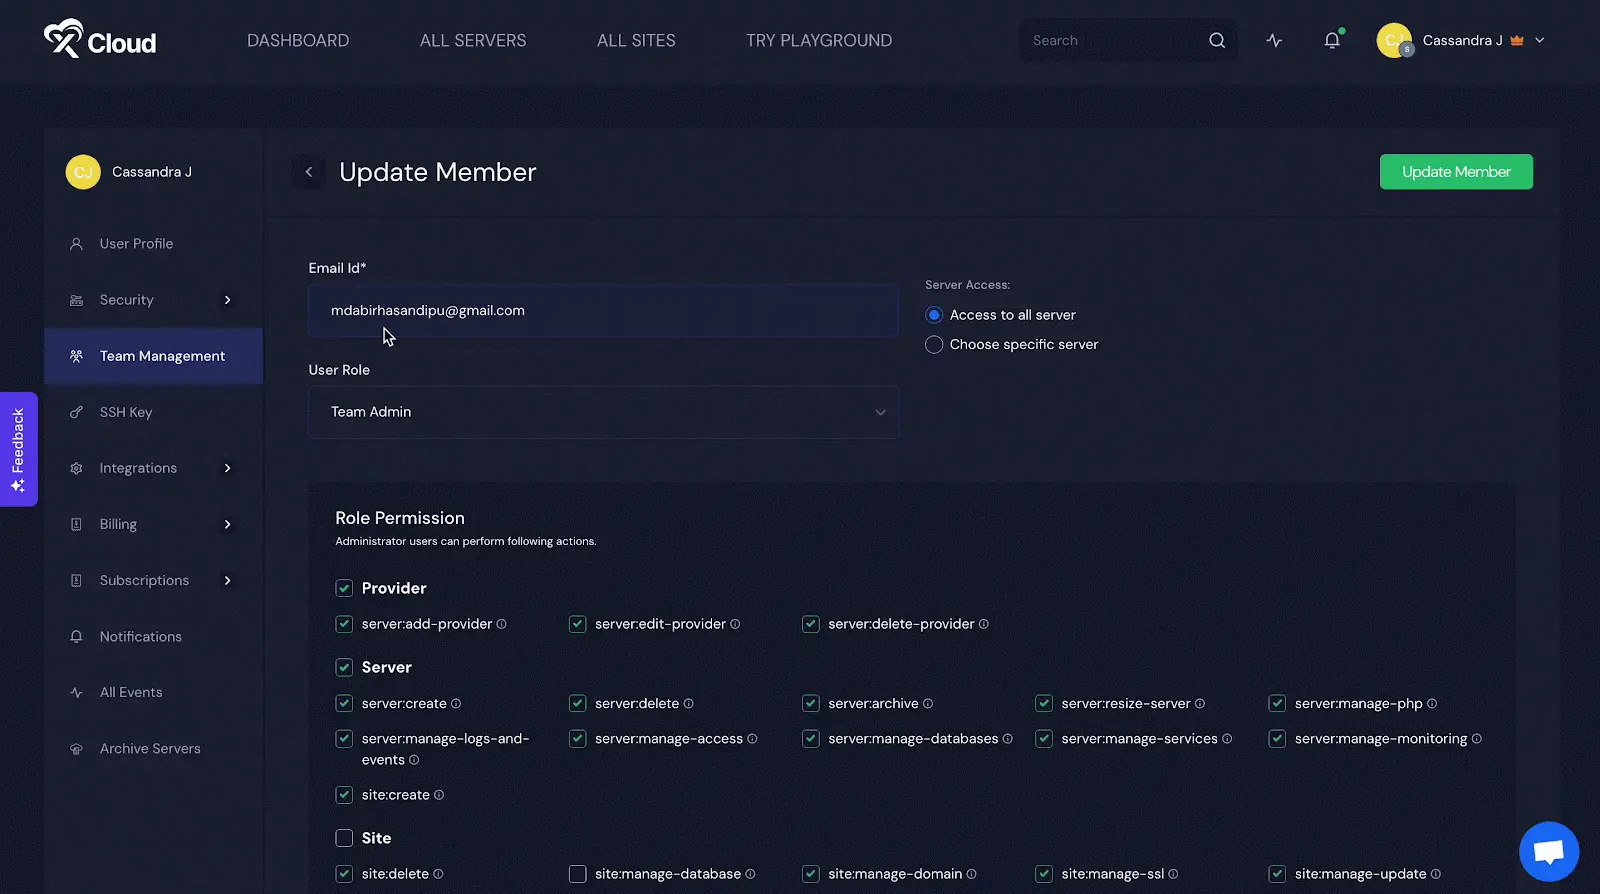
Moreover, we are offering to set up built-in custom NGINX support for RankMath and Hide My WP on the xCloud dashboard. That means, if your website has the RankMath or Hide My WP plugins installed, you can choose from the ‘Select Template’ list, and you’re all good to go. Or else, you can choose ‘Use My Own Config’ to run your config manually. However, we will be gradually adding more plugins.
That is how easily you can configure custom OLS and NGINX in xCloud.
Still stuck? Contact our dedicated support team for any of your queries.