


Fail2Ban is a powerful feature integrated with xCloud, that protects your server from unauthorized access attempts and brute-force attacks. It automatically blocks harmful IP addresses from accessing essential services such as SSH, minimizing the risk of security breaches. This proactive method helps stop brute force attacks, spamming, port scanning, and other unauthorized attempts to get into your server.
xCloud has always had Fail2Ban integrated for server security. Now, with our latest update, managing security is simpler than ever. You can easily ban and unban IP addresses directly from your xCloud dashboard as well as ban new IP addresses with just a few clicks, giving you greater control over your server’s protection.
How Fail2Ban Works In xCloud #
- Automatic Blocking: Fail2Ban quickly stops harmful IP addresses from trying to break into your server.
- SSH Hardening: xCloud secures SSH logins during server setup to stop unauthorized access.
- View Banned IP Addresses: Easily see the list of banned IP addresses that tried to force their way into your server.
- Ban IP: Block an IP address.
- Unban IP: Allow a banned IP address to connect by removing it from the block list.
How To Easily Ban IP Addresses With Fail2Ban in xCloud #
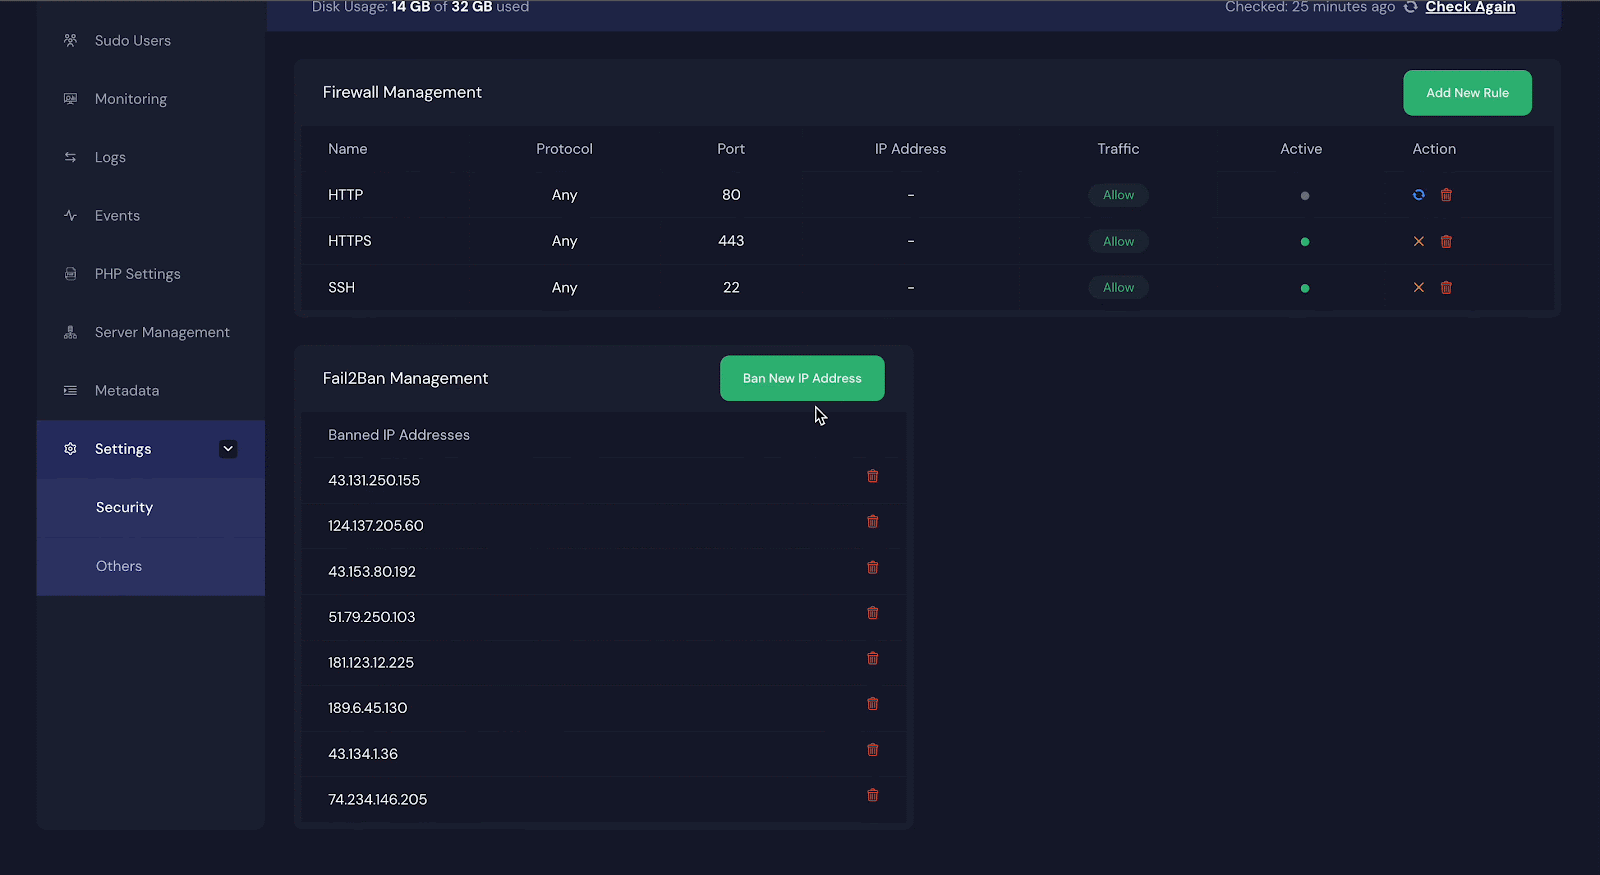
After successfully logging in/signing up in xCloud, go to the server page dashboard. Under the Settings tab, you will find the Security option. Click on it and then you will find the Fail2Ban management options.

From here you can see the already Banned IP Addresses. You will have the option to Unban the IP addresses if the situation demands.
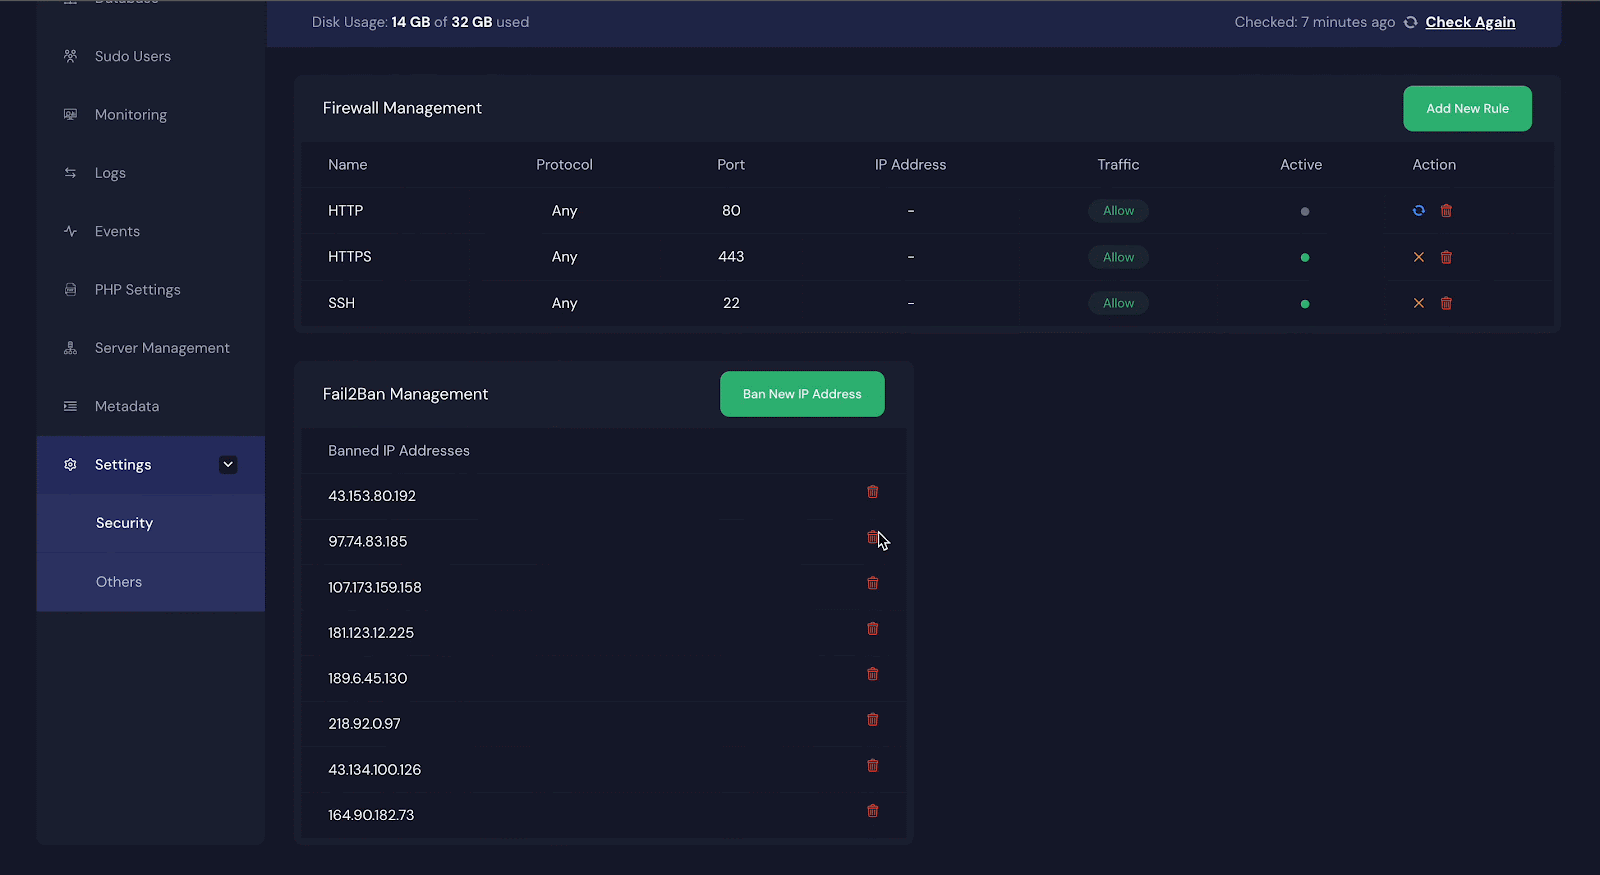
To ban a new IP address click on Ban New IP Address, and a popup will appear. Simply write the address you want to ban and click on Ban IP, and it will be banned instantly.
Whitelisting Trusted IP Addresses in Fail2Ban #
While Fail2Ban is excellent for blocking malicious actors, you want to ensure you don’t accidentally lock yourself out of your own server. If you have a static IP address or a fixed corporate network range, you can whitelist these addresses.
Once an IP is whitelisted (added to the ignoreip list), Fail2Ban will never block it, regardless of how many failed login attempts occur.
Security Note: Only whitelist IP addresses that you fully trust. Misconfiguring this step by adding broad ranges can create a security loophole.
1. Open the Jail Configuration File #
To add a whitelist, first SSH into your server using a sudo user. Then, you need to edit the jail.local file. Use the following command to open it with the Nano editor:
sudo nano -l /etc/fail2ban/jail.local2. Add Your IP to the ignoreip Line #
Locate the line starting with ignoreip. By default, Fail2Ban whitelists your local machine (127.0.0.1/8).
To add your specific IP (e.g., 192.168.1.100), append it to the end of the line, separated by a space:
ignoreip = 127.0.0.1/8 ::1 192.168.1.1003. Save and Reload Fail2Ban #
After adding your IP, save the file by pressing Ctrl + O, then Enter, and exit with Ctrl + X.
To apply the changes, reload the Fail2Ban service. Reloading is preferred over restarting because it refreshes the configuration without interrupting the service:
sudo systemctl reload fail2ban4. Verify the Service Status #
It is a best practice to verify that the configuration change didn’t cause any errors. Check the service status with this command:
systemctl status fail2banIf the output shows active (running), your configuration is successful, and your IP is now protected from being banned.
With Fail2Ban seamlessly integrated into xCloud, you can be confident that your server is shielded from unauthorized access attempts and brute-force attacks. By utilizing this advanced security tool, you can solidify the overall security of your server and reduce the likelihood of security breaches.
Still stuck? Contact our support team for any of your queries.


