


Docker makes it easier to package and run application processes inside containers. Although containers share some similarities with virtual machines, they are far more lightweight and efficient in their use of system resources. This efficiency enables developers to divide an application into multiple independent, isolated services.
When an application relies on several interconnected services, managing how all the containers start, interact, and stop together can quickly become complex.
Docker Compose addresses this challenge by providing a straightforward way to define and manage applications made up of multiple containers. It helps coordinate shared networks, storage, and communication between individual components, allowing the entire application stack to be deployed, updated, and monitored as a single unit.
Using a YAML configuration file, Docker Compose lets you describe a complete multi-container environment. Each service is defined clearly, making it possible to create flexible setups where containers share networks and data volumes as needed.
In this guide, we’ll explore how to deploy a Docker Compose–based application on xCloud.
Note: To access the ‘Custom Docker’ feature, you must have a Docker server.
Step 1: Create a Docker+ NGINX Server #
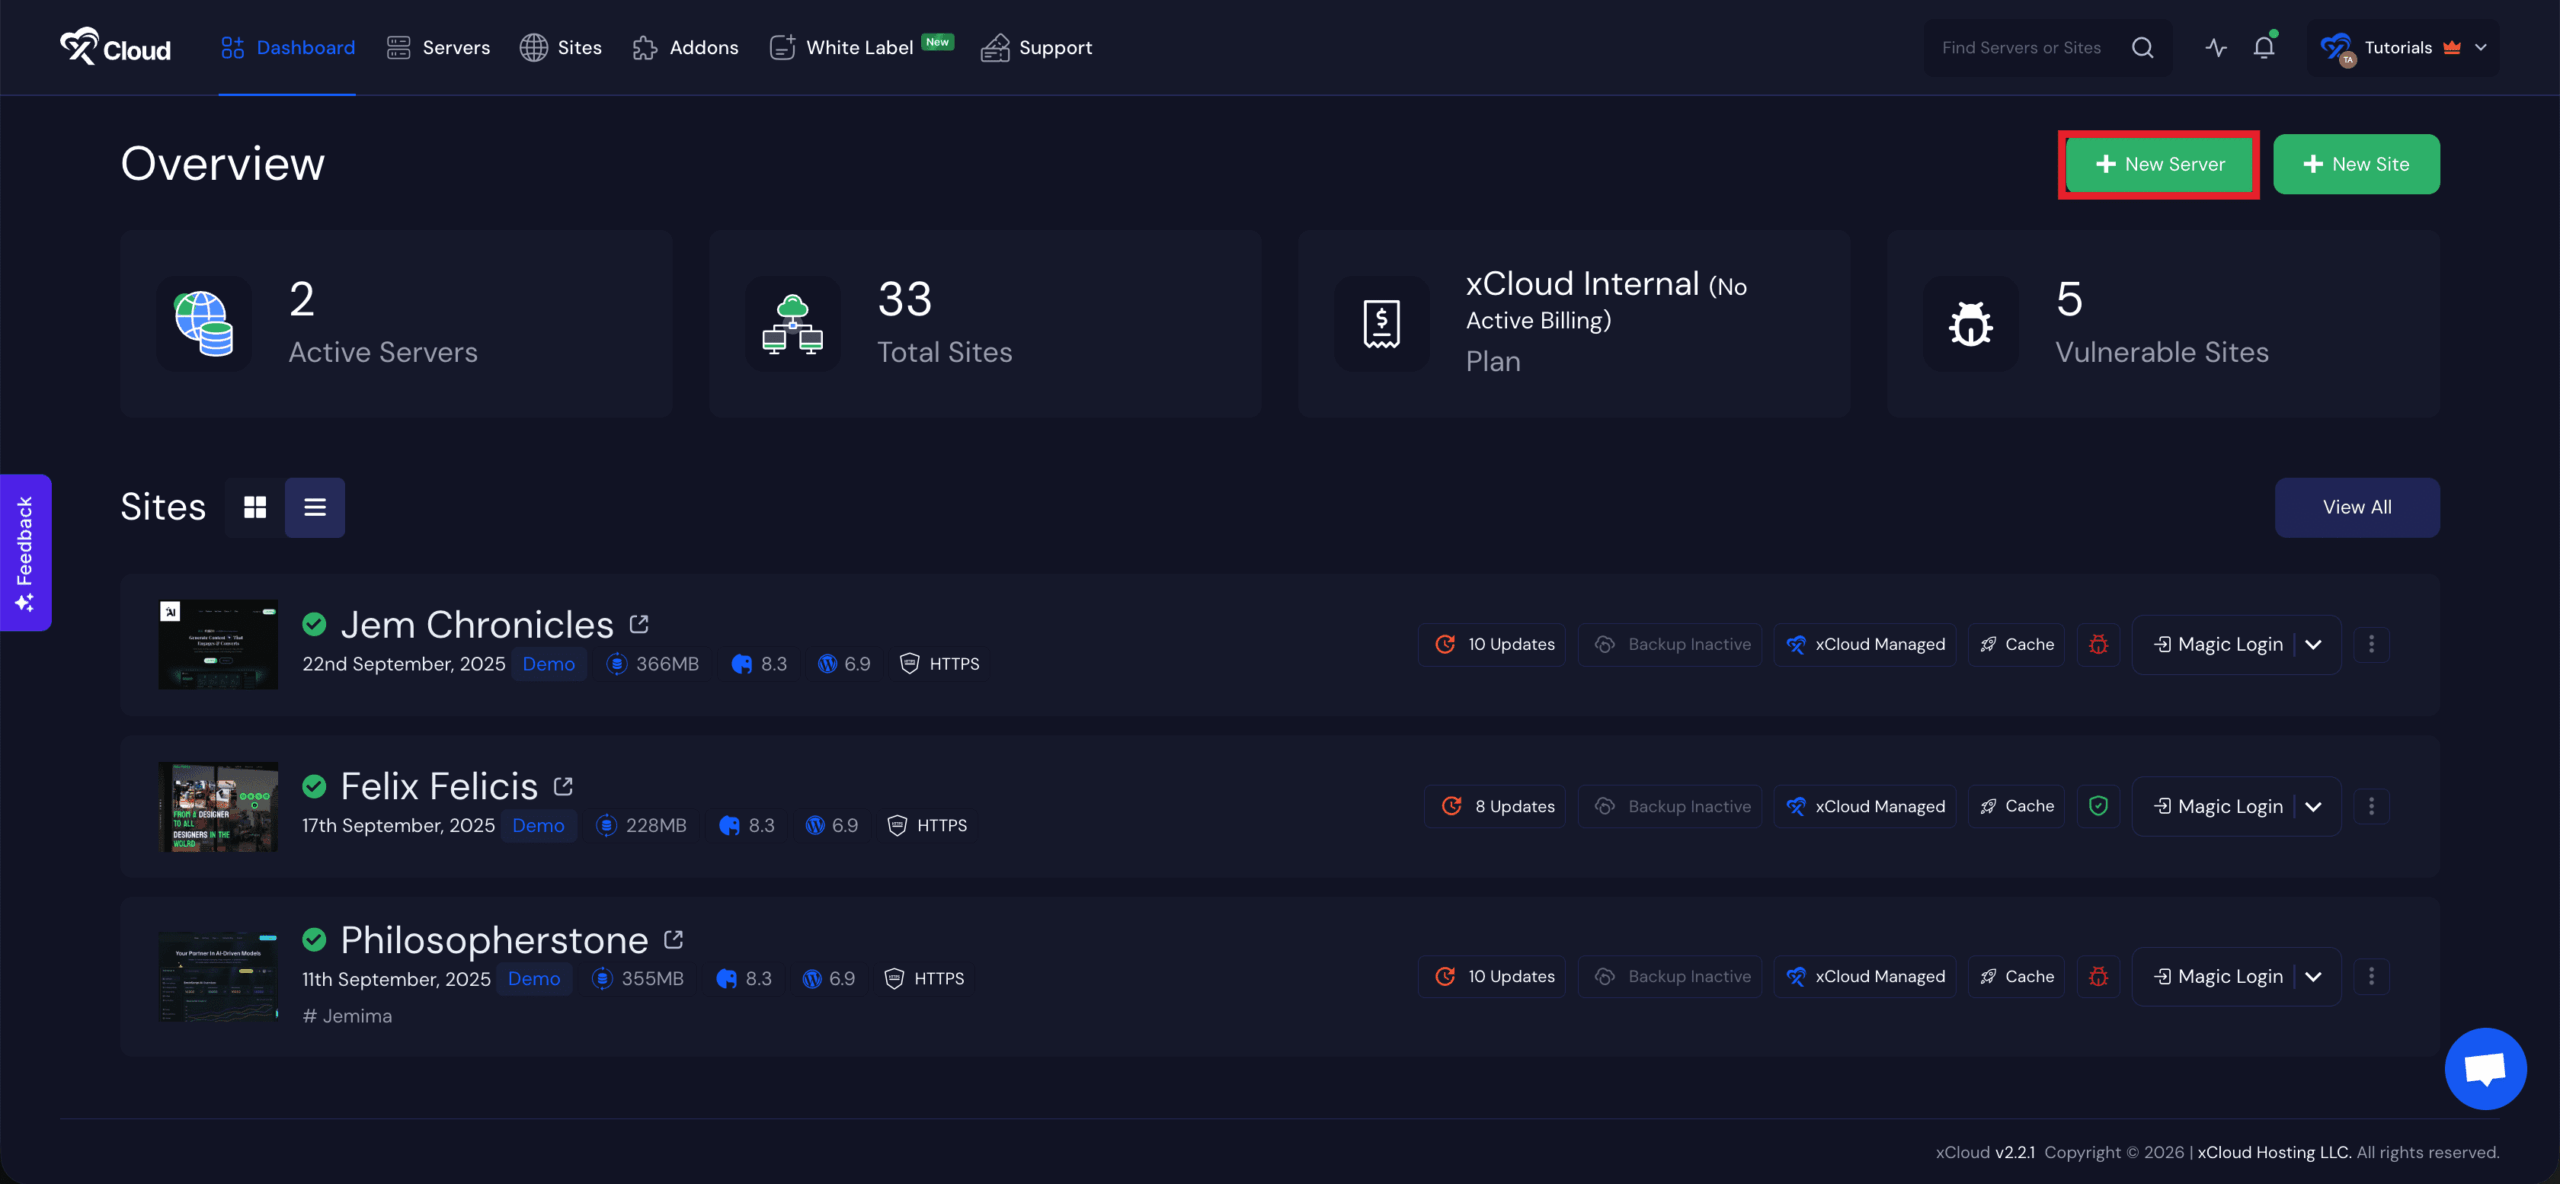
First, you need to create a Docker server to deploy Custom Docker. Click the ‘Add New Server’ button on the dashboard and enter all the necessary credentials to connect your server. You can deploy Custom Docker either on your own server or on an xCloud server.
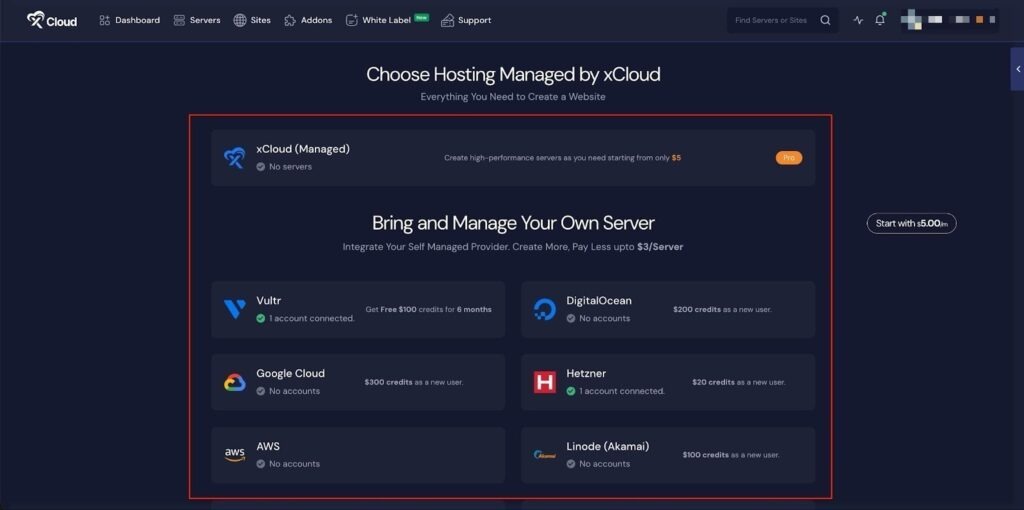
Next, choose your server provider to deploy Custom Docker with xCloud. You can either use an xCloud Managed Server or select your preferred provider. In this guide, we’ll use the xCloud Managed Server.
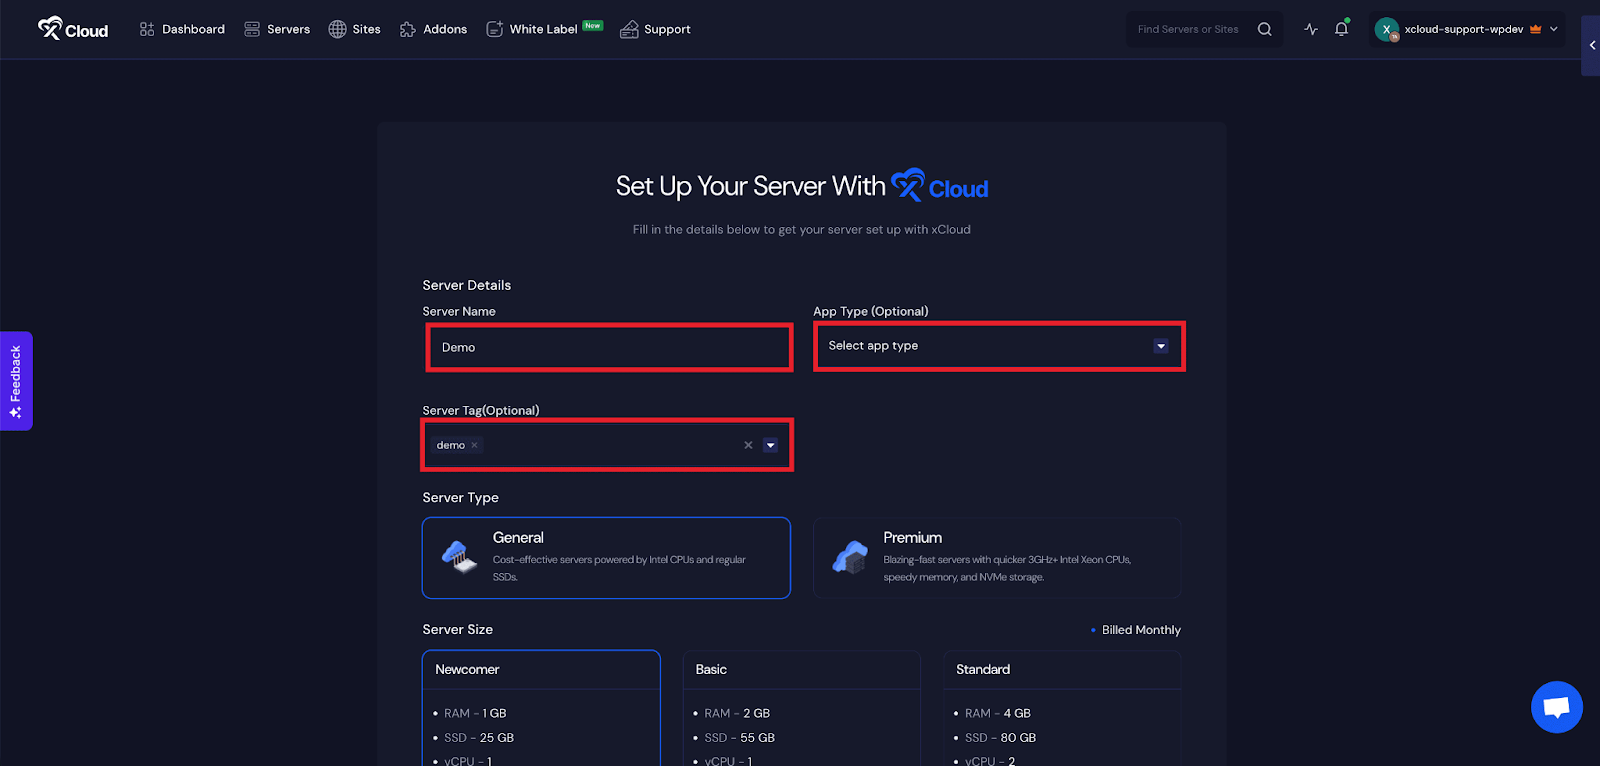
Afterward, enter the ‘Server Name’, set the ‘App Type’ to Custom Docker(it is optional to select), and add any relevant ‘Tags’ to help identify your server later.
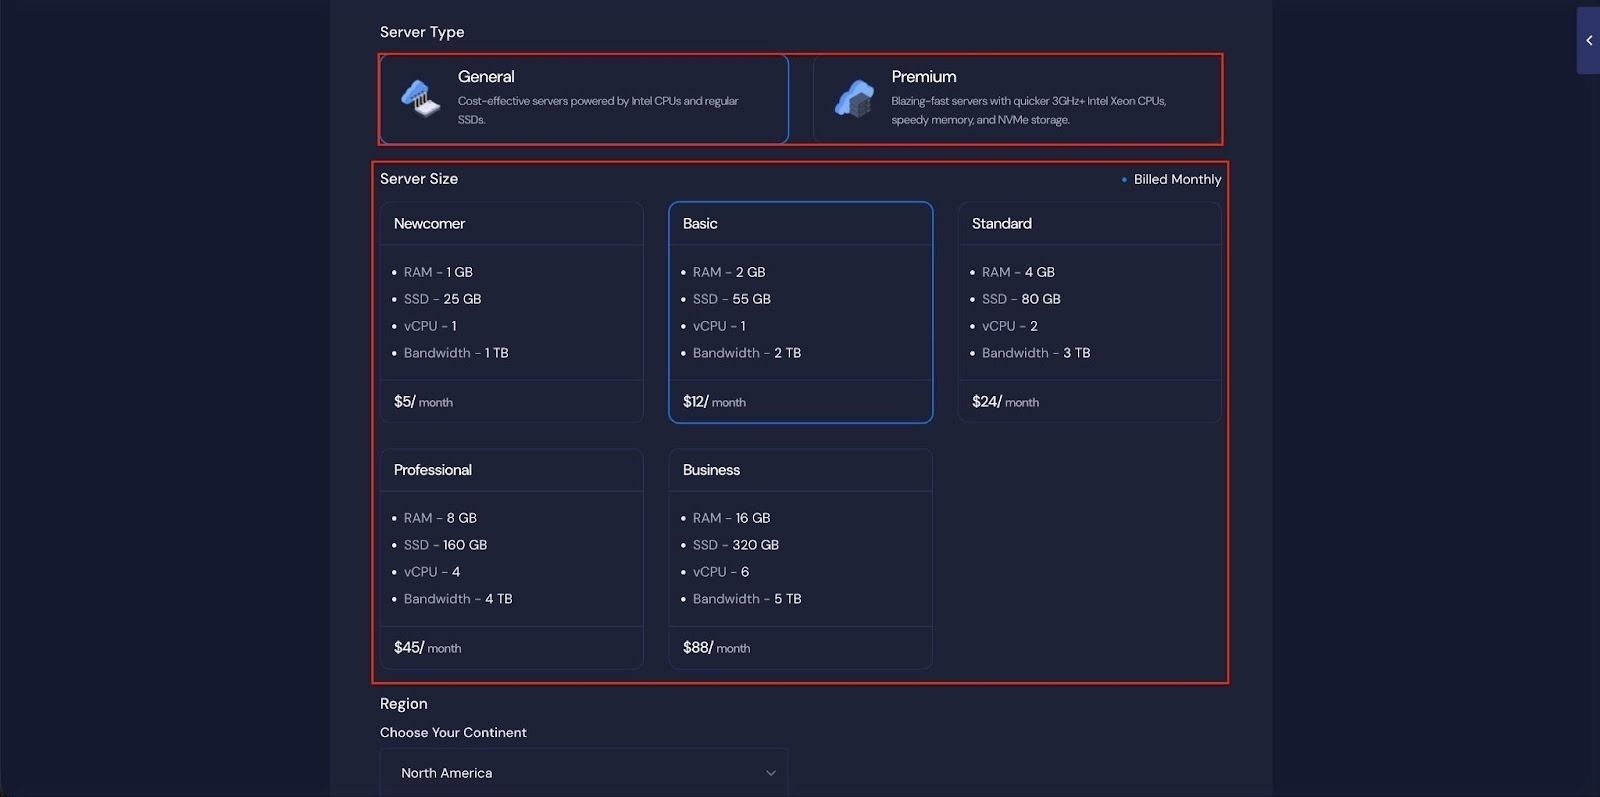
Next, choose between the ‘General’ and ‘Premium’ options based on your requirements. Then, select a plan that best fits your needs.
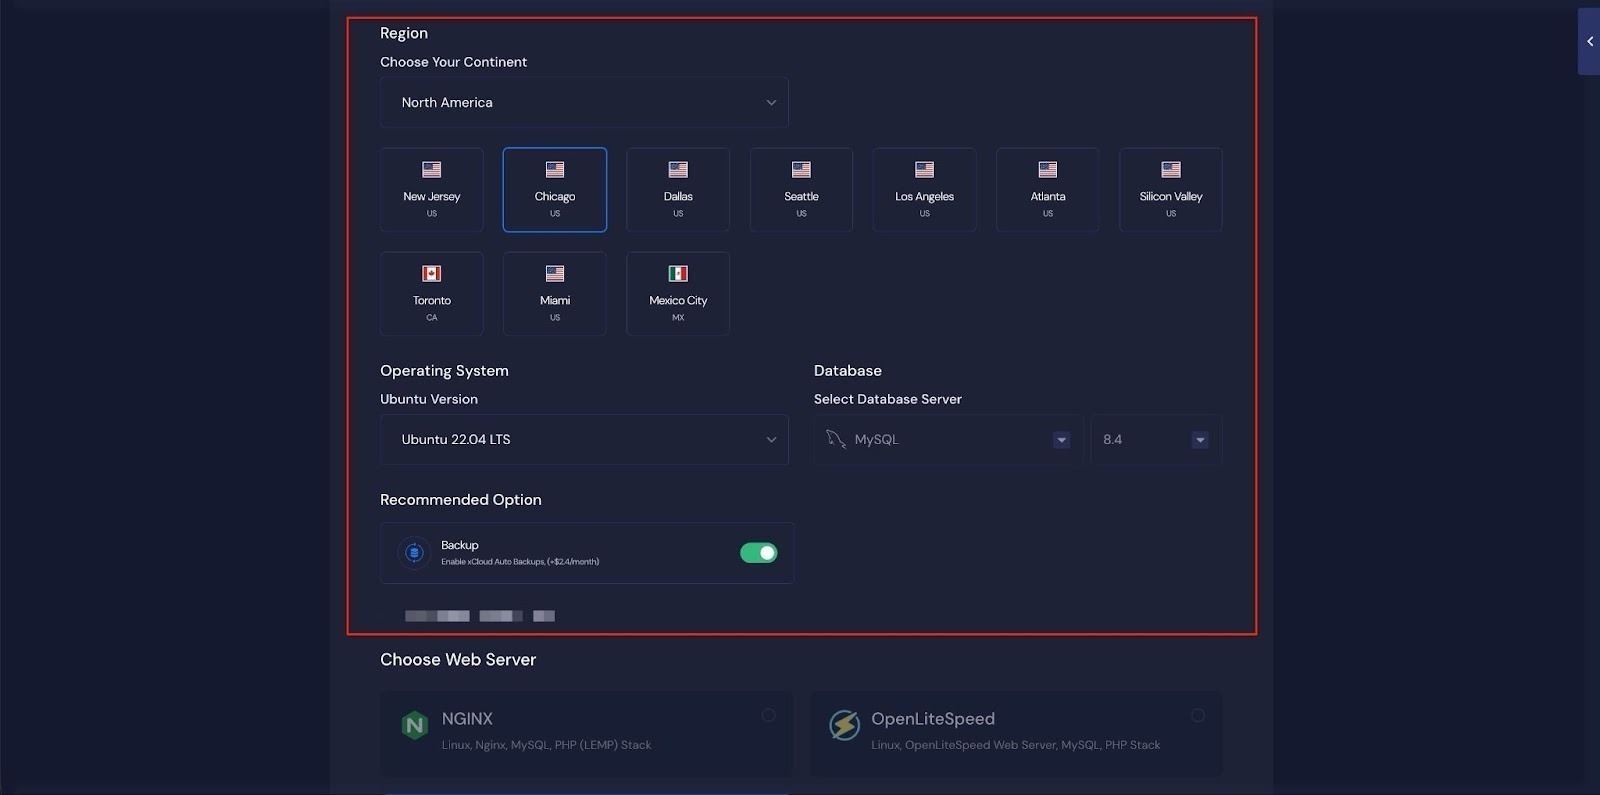
Next, choose the ‘Region’ and ‘Ubuntu Version’ for your server. You can also enable or disable the Backup option as needed.
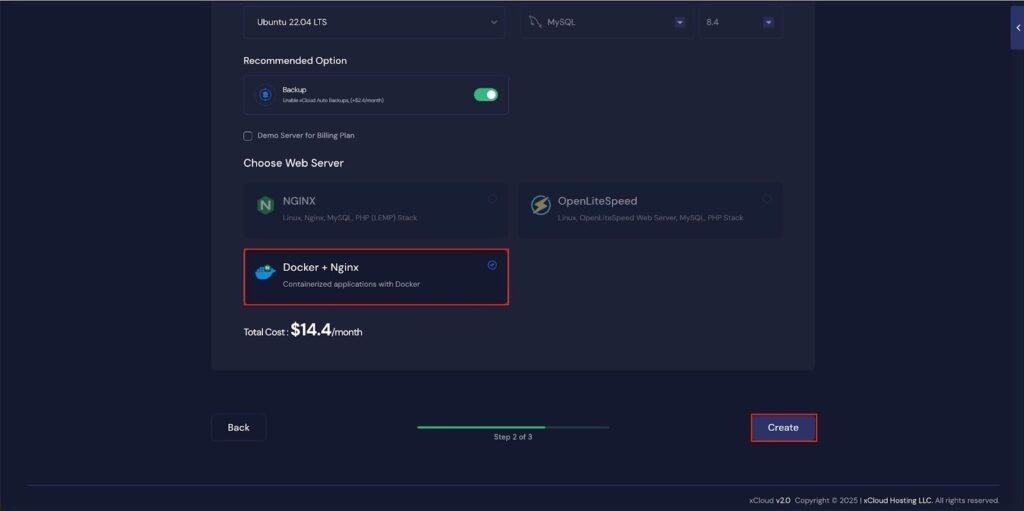
Next, you can see the ‘Docker + NGINX’ stack is already selected, which is mandatory for deploying the Custom Docker application. Then click on the ‘Create’ button to proceed.
Once the server is created, you will be able to deploy your Custom Docker Application on this server.
After creating a server, it may take a while to become fully operational. Wait a few minutes before deploying your applications to ensure everything starts correctly.
Step 2: Create a New Site #
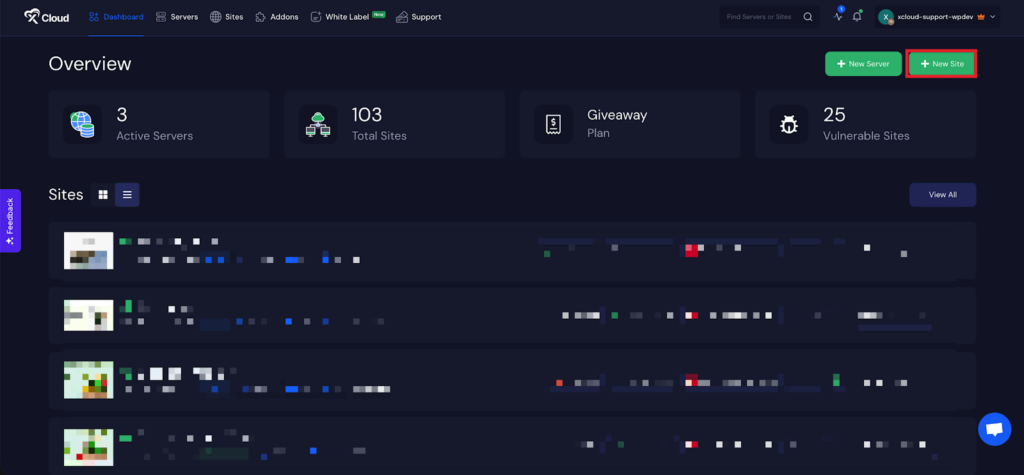
Begin by logging into your xCloud account. Once logged in, navigate to your dashboard and click on the ‘New Site’ button.
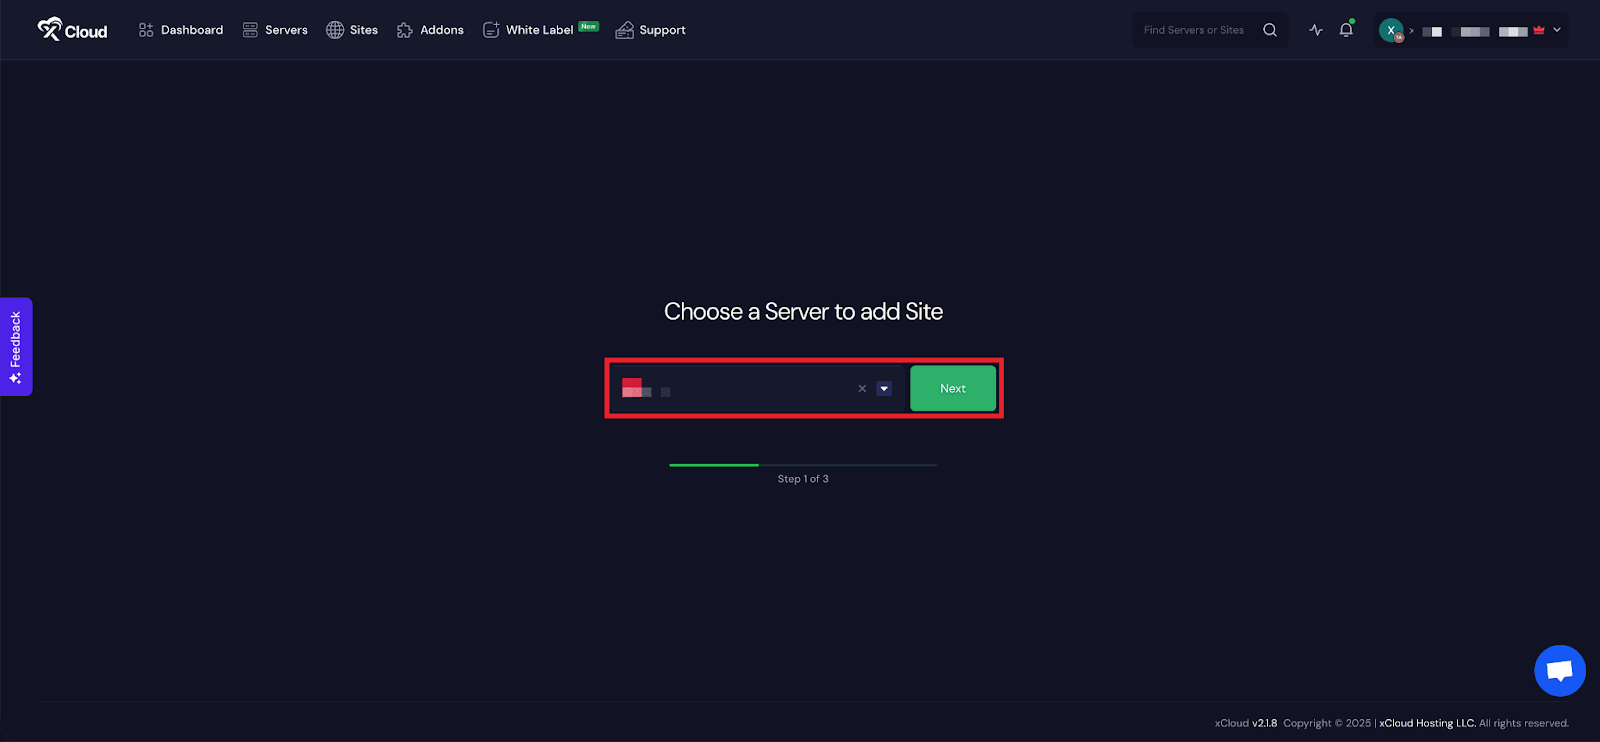
Step 3: Choose Your Server #
Then choose your server from the dropdown menu. Next, click on the ‘Next’ button to proceed to start creating Custom Docker applications.
Step 4: Go to The Custom Docker Tab #
From here, go to the ‘Custom Docker’ tab and click on the ‘Docker Compose’ to deploy your Custom Docker applications.

Step 5: Set Up the Docker Compose Application #
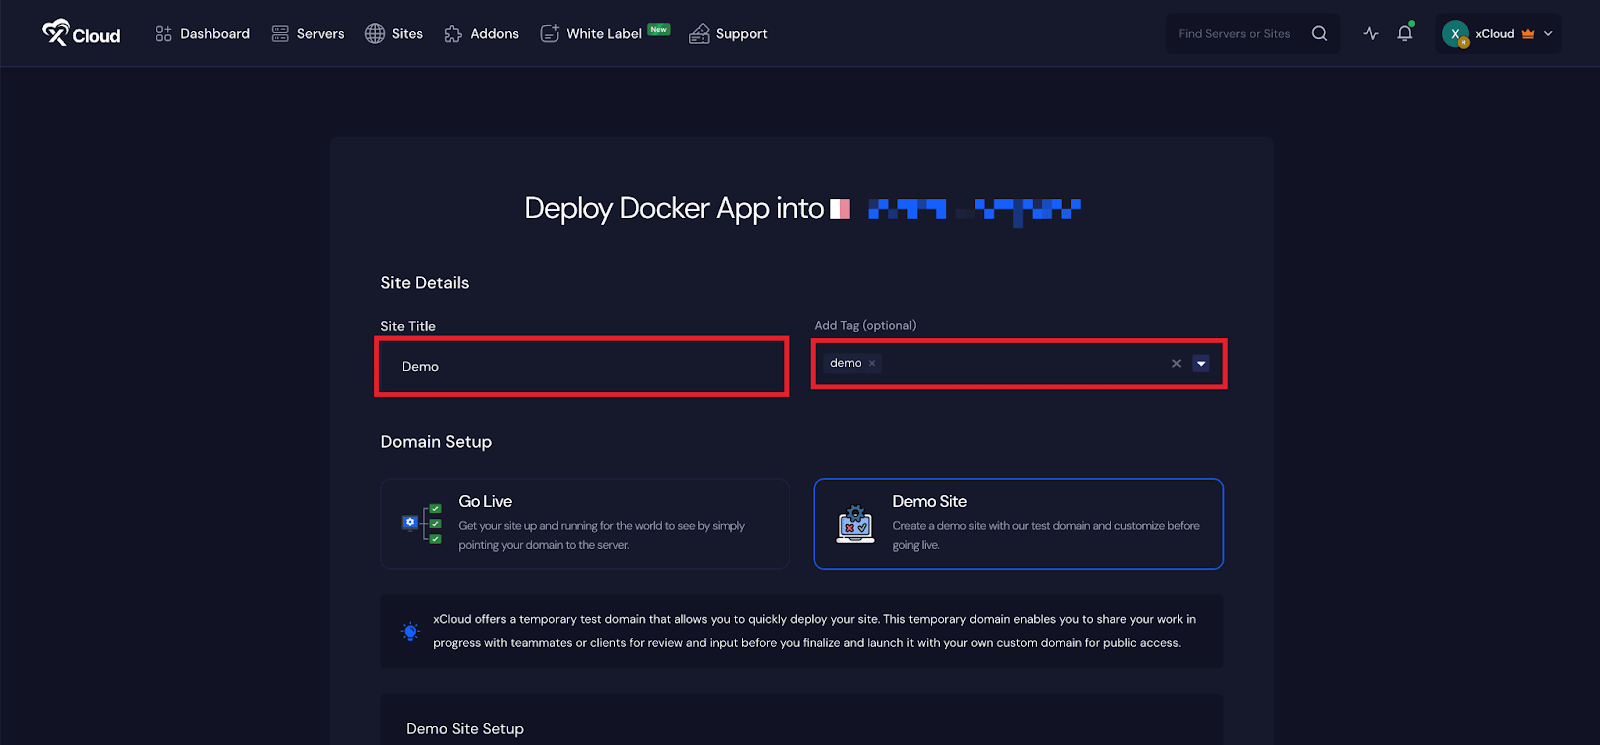
In the site setup screen, you will be prompted to enter basic site information. Provide a ‘Site Title’ and add relevant ‘Tags’ to help organize your deployment.
Step 6: Set Up Domains #
From the ‘Domains’ tab, you will get two options: either you can create a ‘Demo Site’ with a test domain and refine it until it is ready for launch, or, you can migrate into a new domain to get your site up and running in a new domain.
Or you can create your site with your live domain. Just proceed with the ‘Go Live’ option.
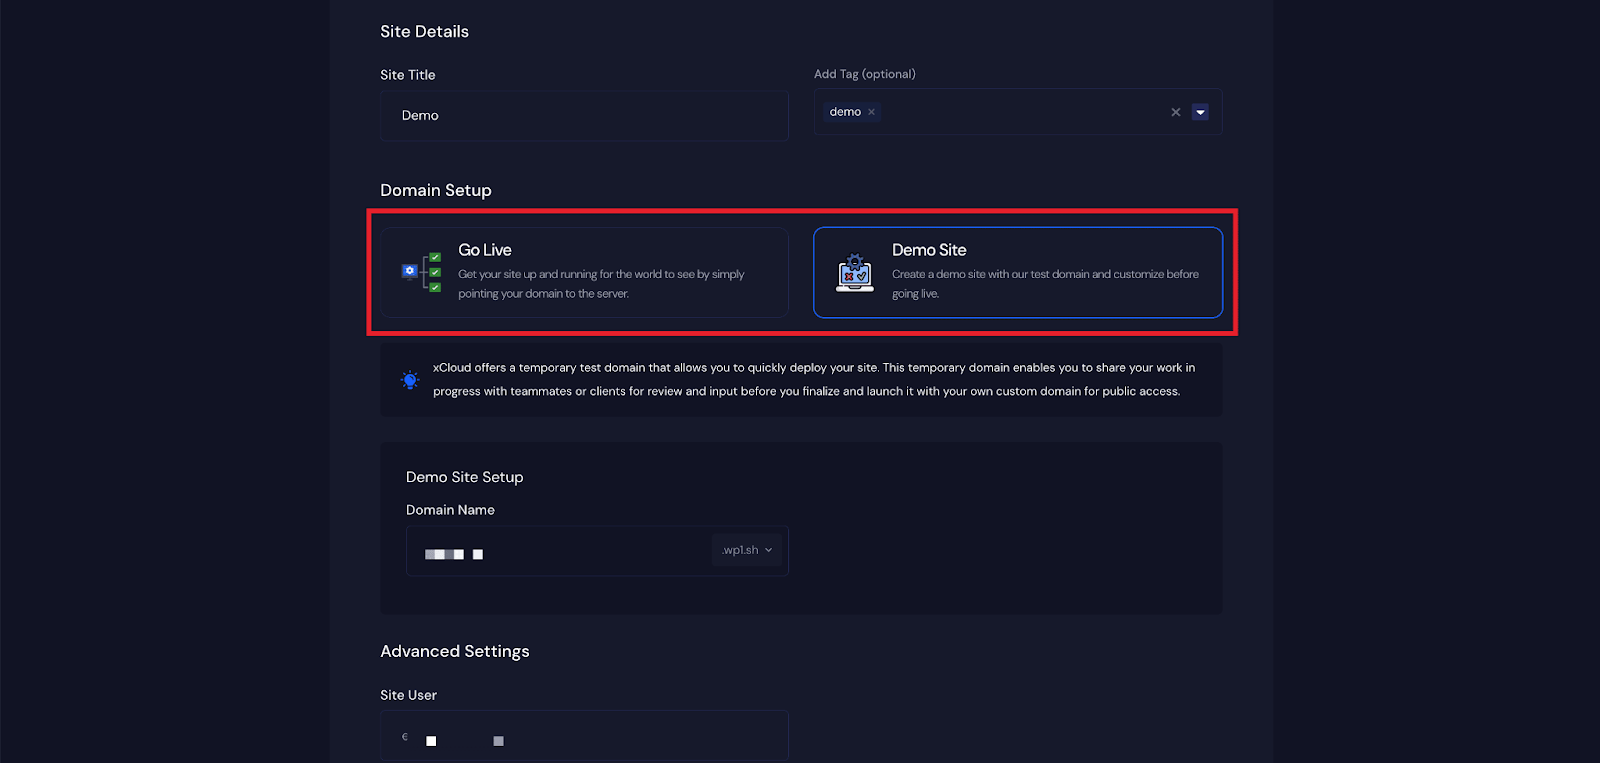
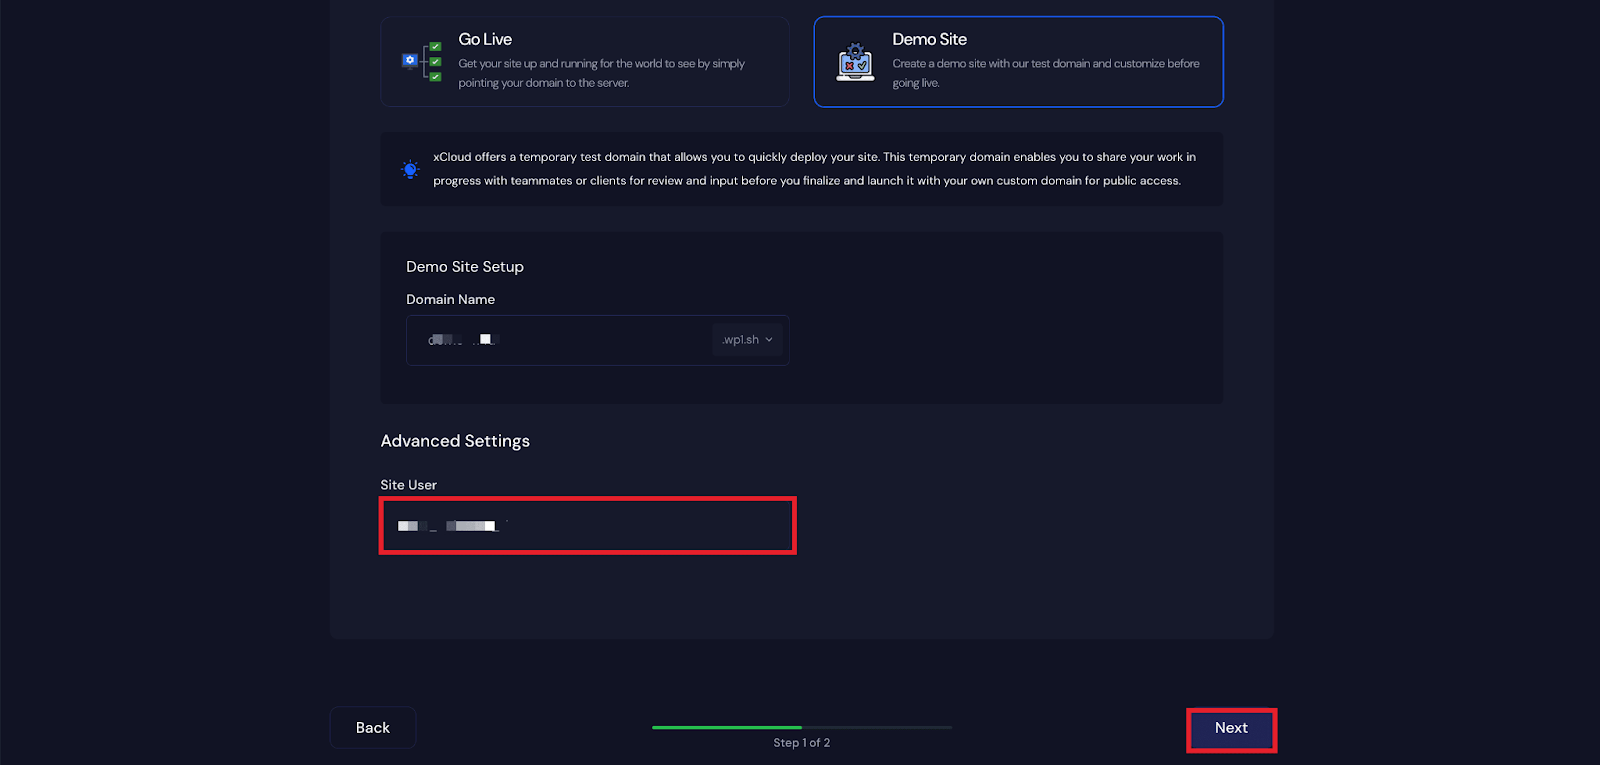
For the ‘Demo Site’, you will get a free demo domain for xCloud. Under the ‘Domain Setup’ section, choose your preferred domain.
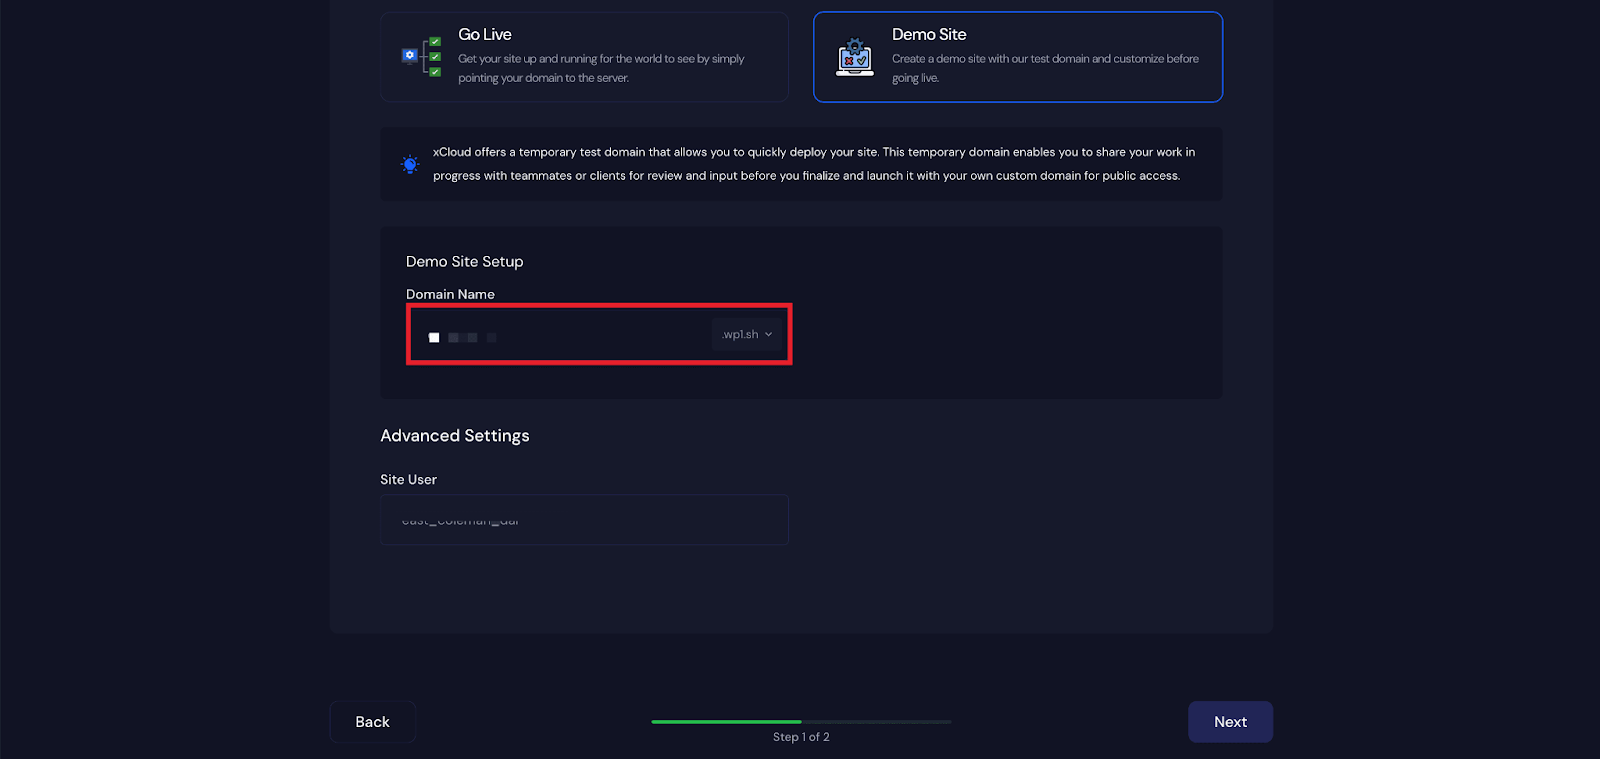
Then you will get a ‘Site User’ of xCloud and click on the ‘Next’ button to proceed.
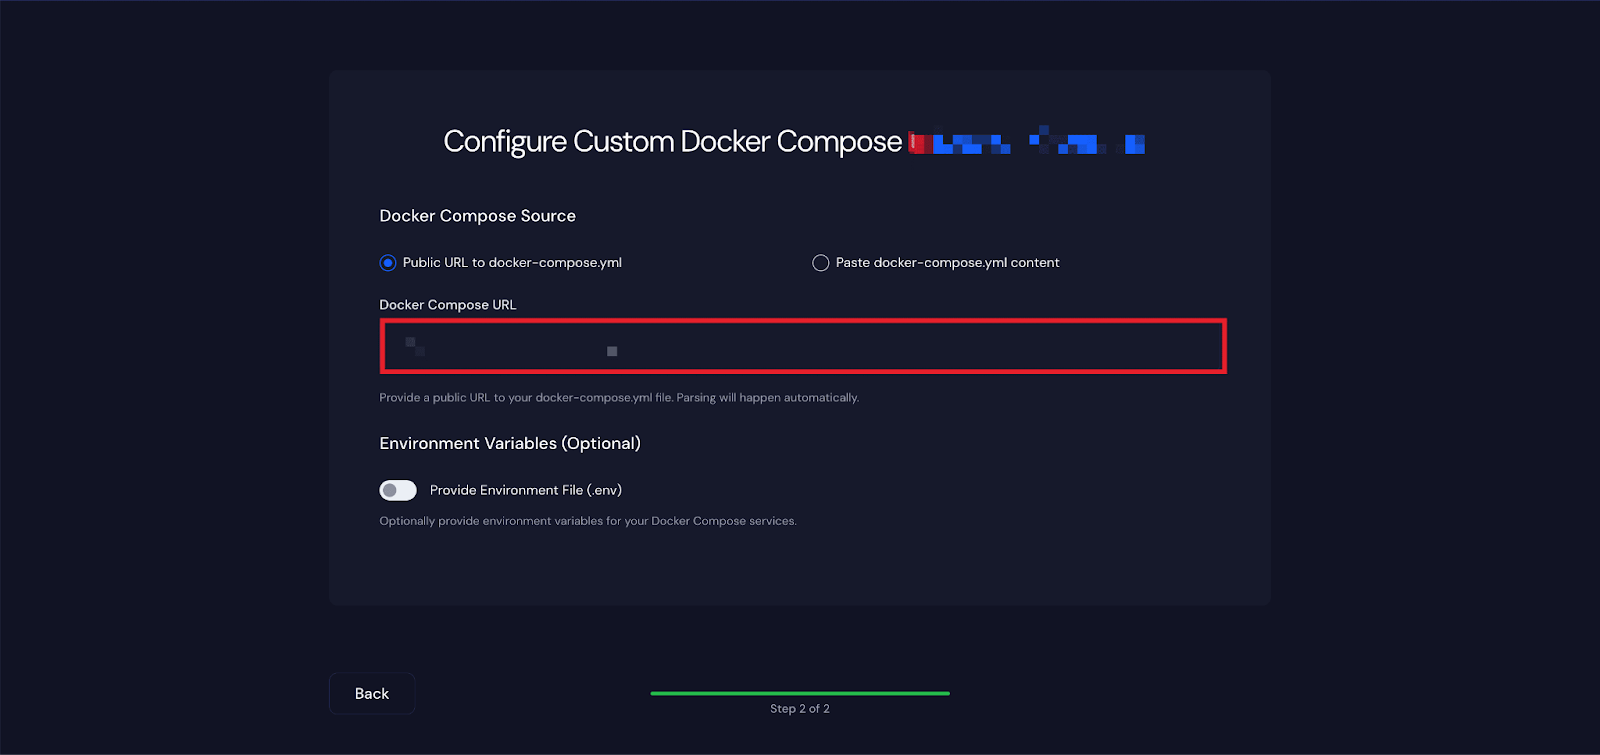
Step 7: Set Up Docker Compose Source #
Next, configure the source of your Docker Compose file. You can either deploy using a Public URL to docker-compose.yml or by directly pasting the docker-compose.yml content.
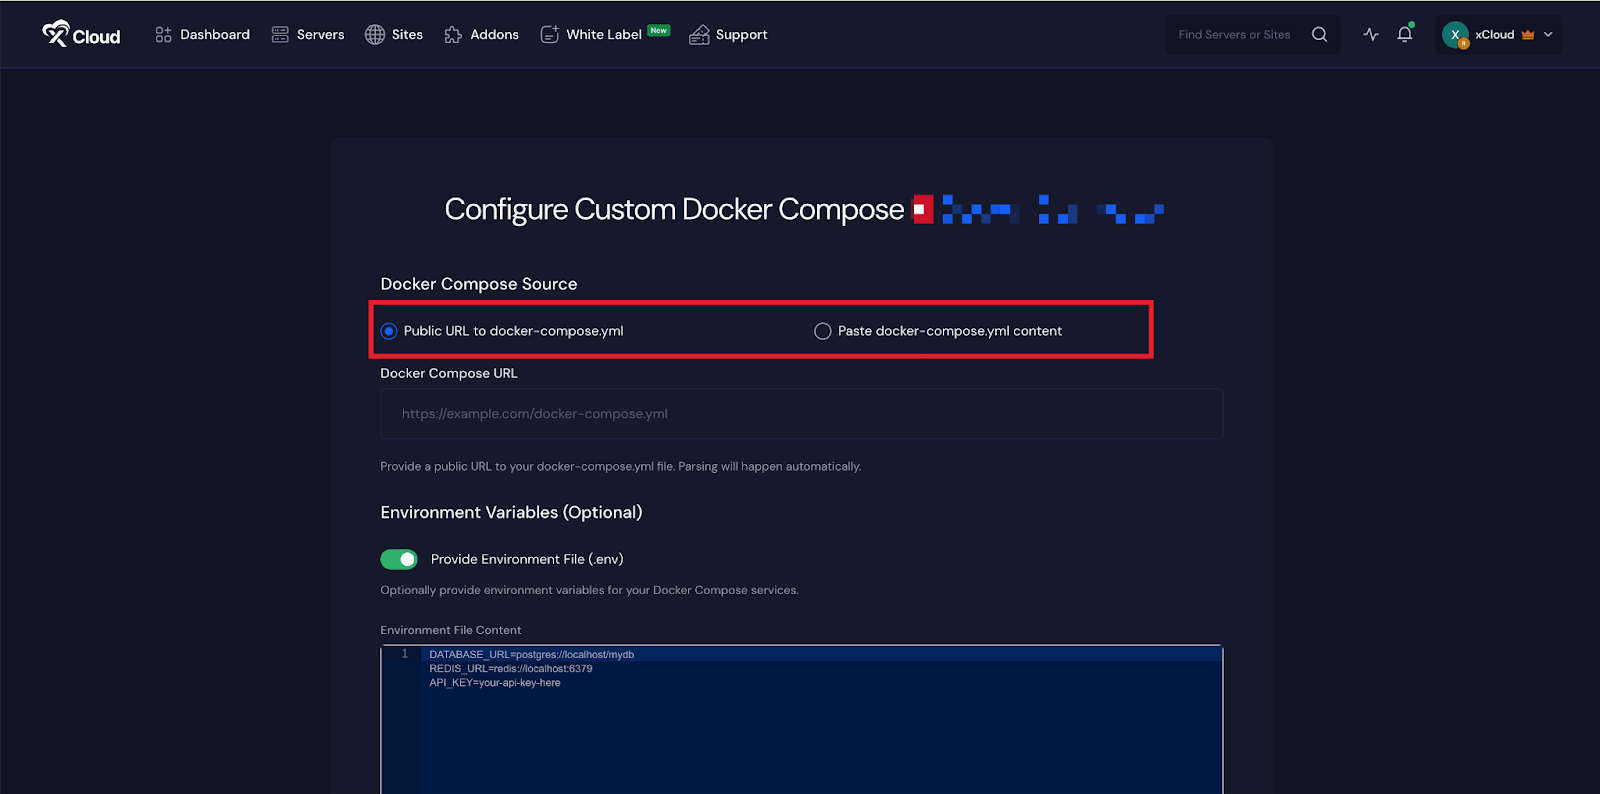
Public URL to docker-compose.yml #
If you choose the public URL option, enter the URL where the docker-compose.yml file is hosted in the ‘Docker Compose URL’ field.
Paste docker-compose.yml content #
If you choose to paste the content directly, ensure the YAML syntax is valid and properly formatted before proceeding. Enter the Docker compose content and click ‘Next‘.

Step 8: Set Up Environment (Optional) #
In the ‘Environment Variables’ section, you may optionally enable environment configuration by toggling the option on. This allows you to define environment variables required by your Docker Compose services. Once configured, proceed to finalize the deployment.
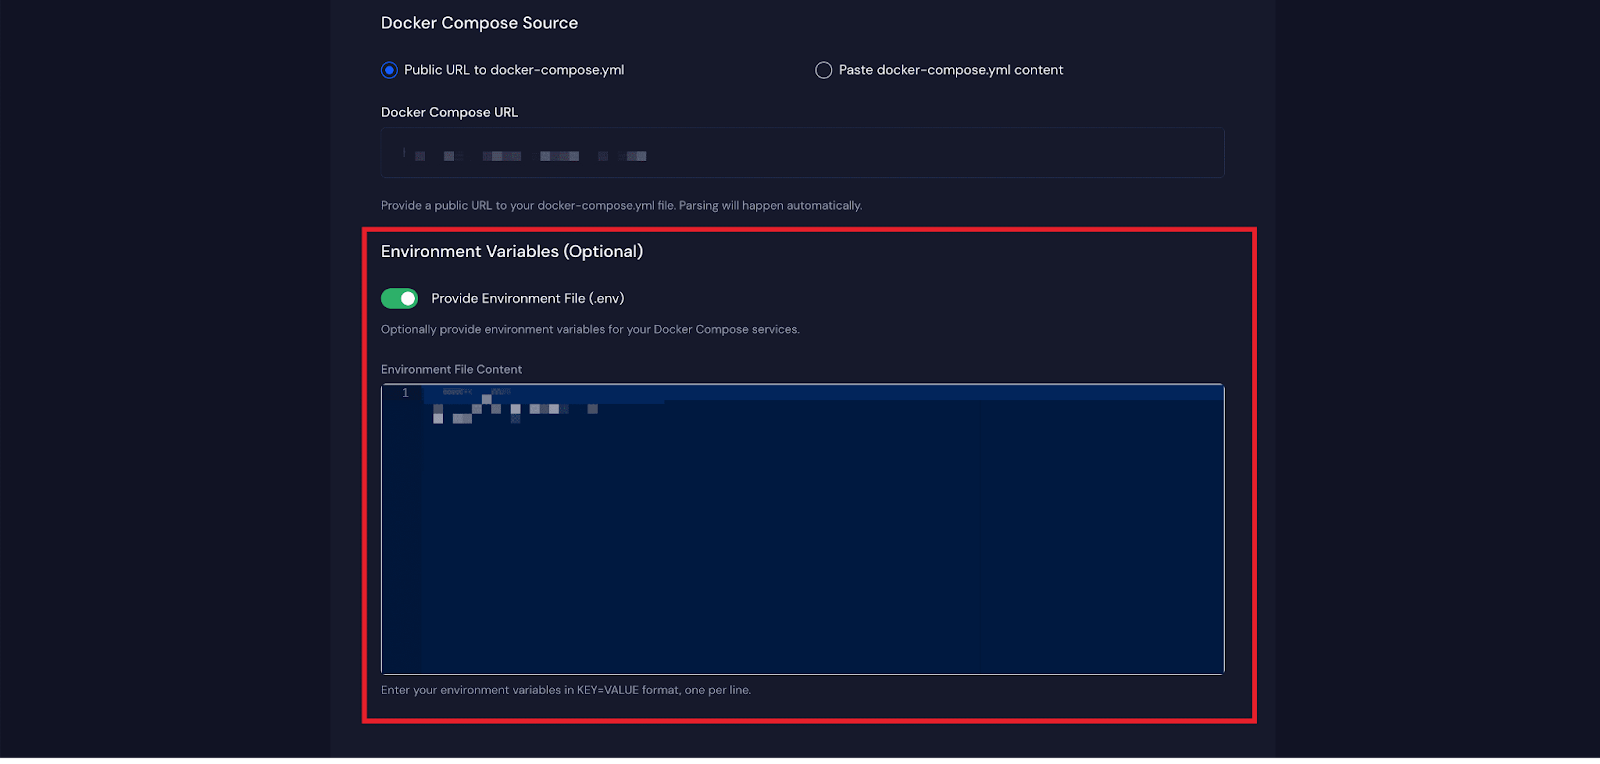
When you click Next, xCloud automatically parses the Docker Compose YAML file. If only a single port is exposed, the deployment will begin immediately. However, if multiple ports are detected, you’ll be asked to choose which port should be exposed publicly before the deployment continues.
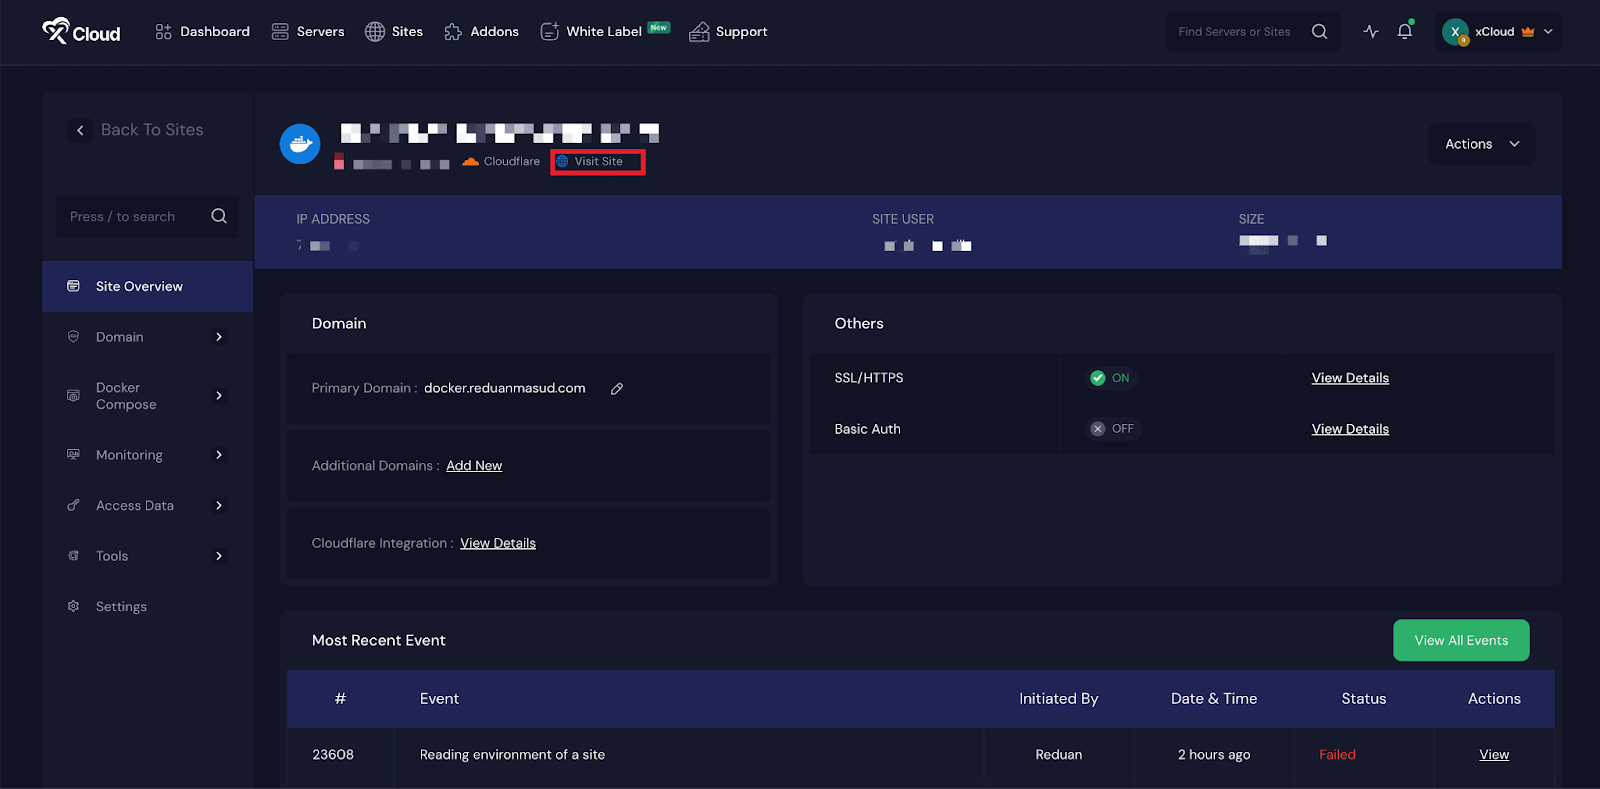
Step 9: Visit the Application #
After the deployment process is complete, your Custom Docker application will be live. From the site dashboard, click ‘Visit Site’ to access your application in the browser.
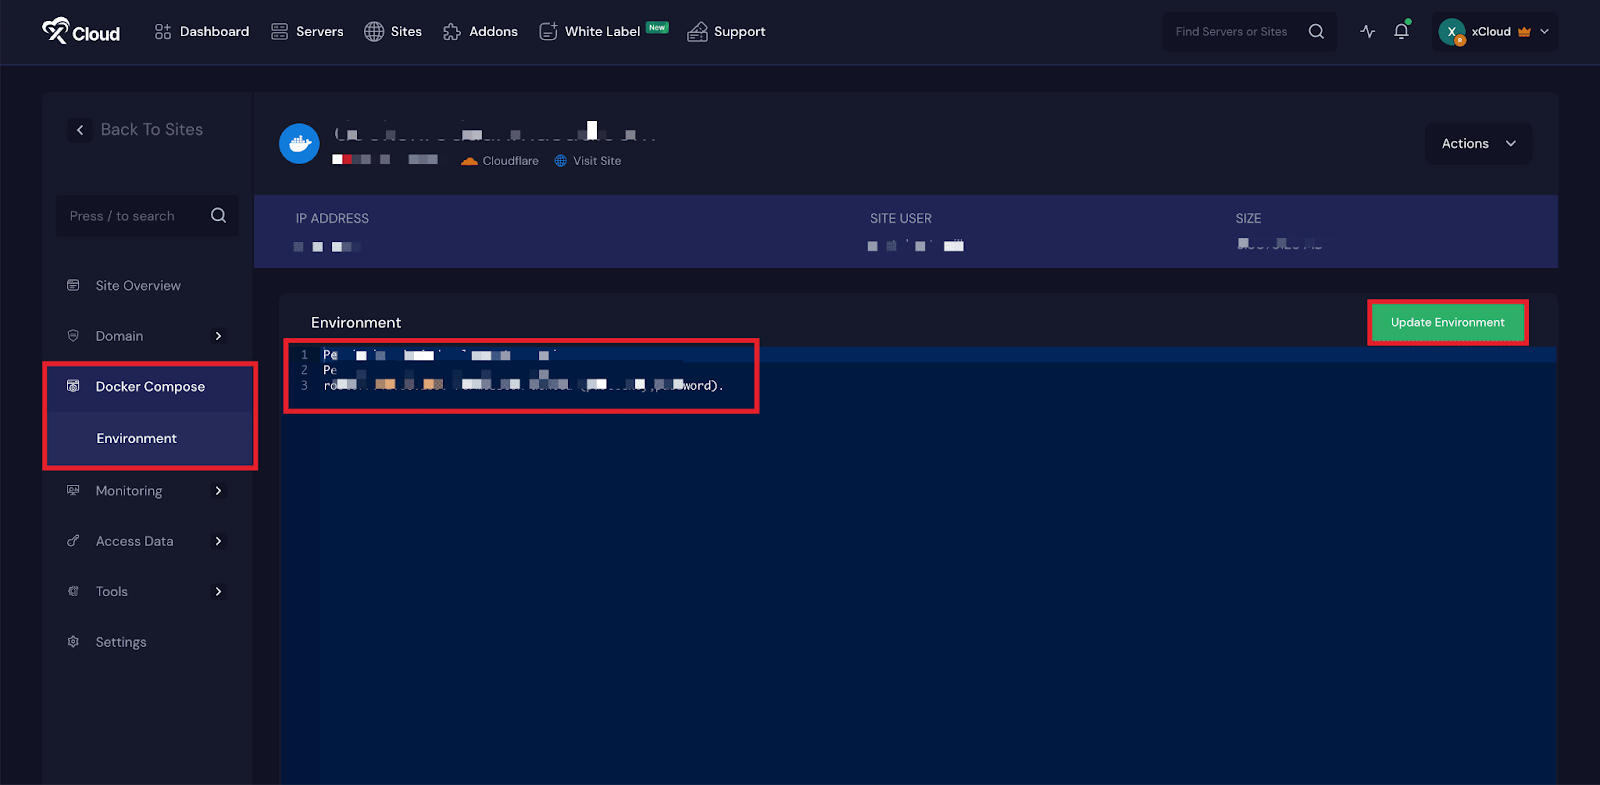
Environment Editor for Custom Docker #
The Environment section in xCloud allows you to customize configuration settings for your Umami app. Just go to the ‘Environment’ option from the sidebar and adjust as you need, then click on the ‘Update Environment’ button.
And that’s it, this is how easily you can deploy a Docker Compose-based application on xCloud.
By pairing Docker Compose with xCloud’s managed infrastructure, the process of running multi-container applications becomes far more straightforward. You can define your entire application stack in a single YAML file, while xCloud handles the underlying server setup, networking, and routing for you.
This workflow reduces operational overhead and keeps deployments consistent, allowing you to focus on building and maintaining your services rather than managing infrastructure. Whether you are testing an application on a demo domain or deploying it to production, xCloud provides a simple and reliable way to run Docker Compose applications with confidence.
Still stuck? Feel free to reach out to our support team.


