


phpMyAdmin is a popular web-based interface used to manage MySQL and MariaDB databases. xCloud simplifies the deployment process through its intuitive dashboard, allowing users to launch and configure PHPMyAdmin instances with minimal effort.
Follow the steps below to quickly set up phpMyAdmin in a demo or production environment using xCloud.
Note: To access the phpMyAdmin feature, disable the 7G or 8G firewall.
Install phpMyAdmin from the Server Dashboard #
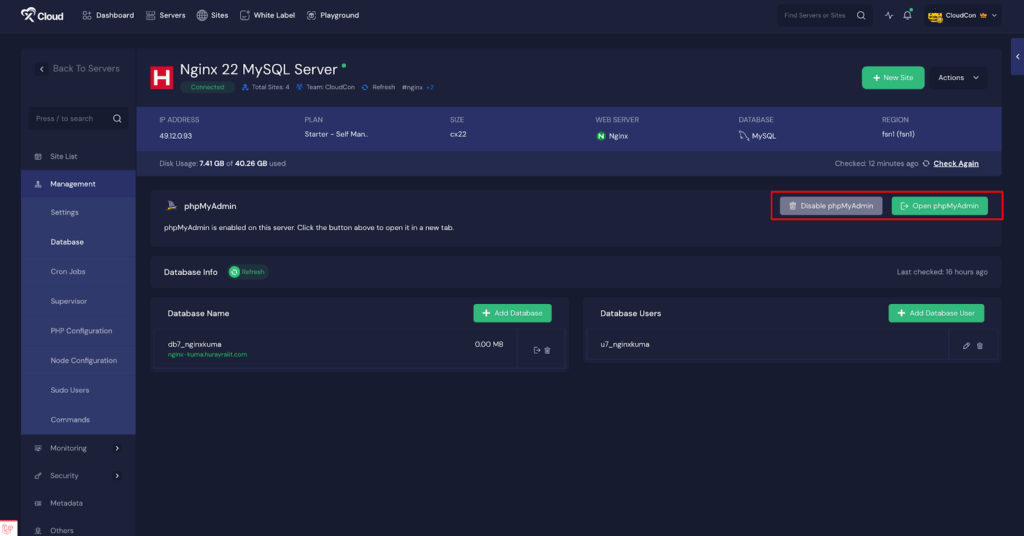
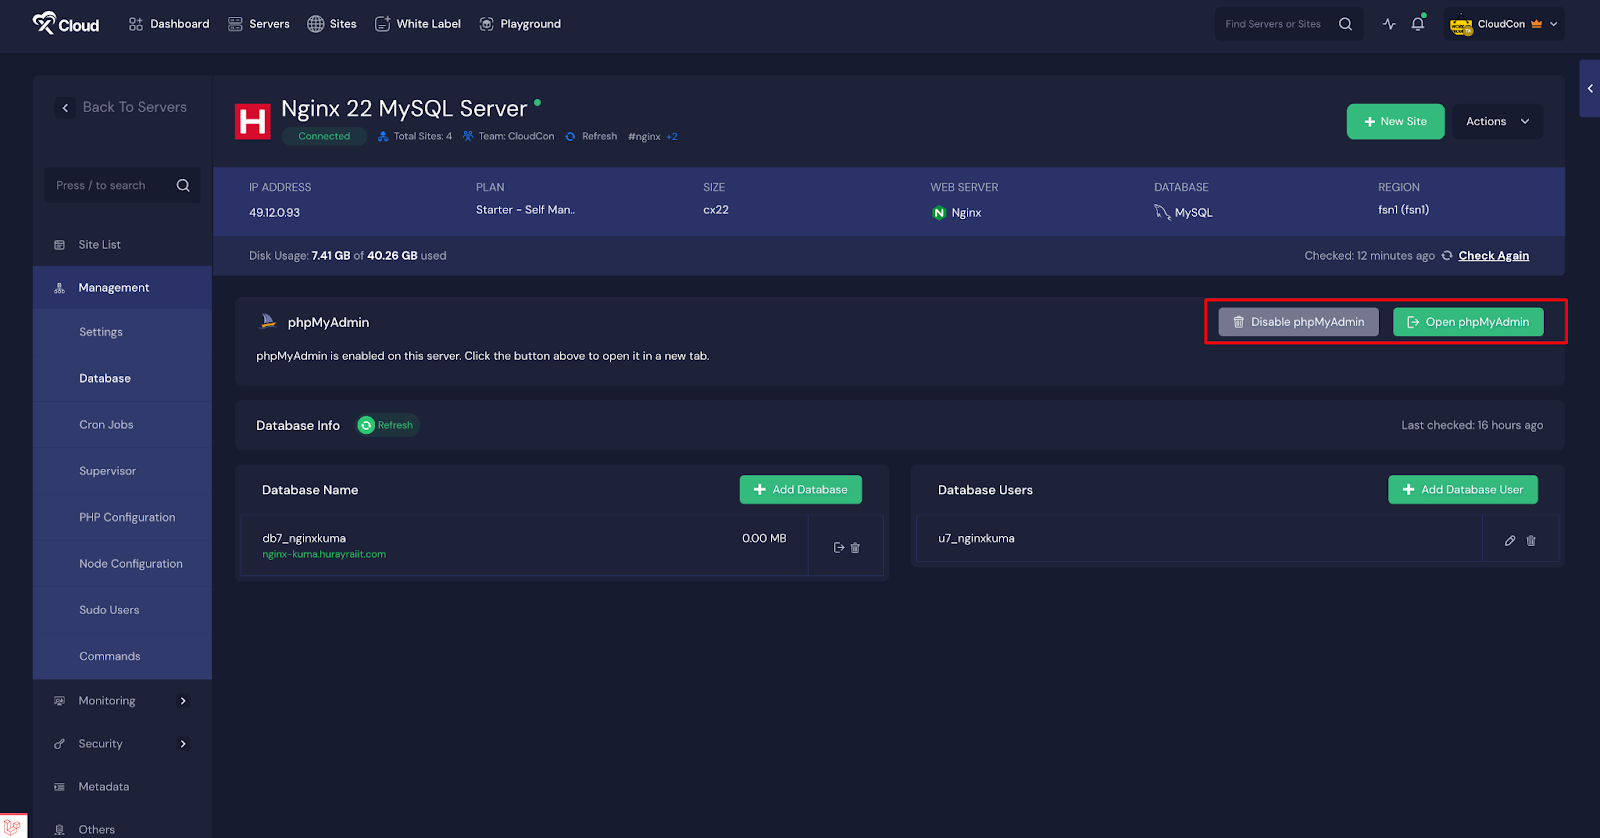
You can also manage phpMyAdmin from your xCloud server dashboard. Just go to ‘Server’ → ‘Database’ to access the phpMyAdmin options. From there, click ‘Open My phpMyAdmin’ to open the phpMyAdmin dashboard.
You can also disable it by clicking ‘Disable phpMyAdmin’. Additionally, you can create a new database or database user for that server directly from the dashboard.
In this way, the application will be created as a demo site with a test domain. Later, you can update the domain and use a custom domain. Read the documentation for more details:
How To Go Live From Staging Domain?
How To Deploy phpMyAdmin in 1 Click #
You can also deploy your phpMyAdmin application by creating a new site. To create a new site follow the steps below:
Step 1: Access the One Click Apps Dashboard #
Begin by logging into your xCloud account. Once authenticated, navigate to your dashboard and click on the ‘New Site’ button.
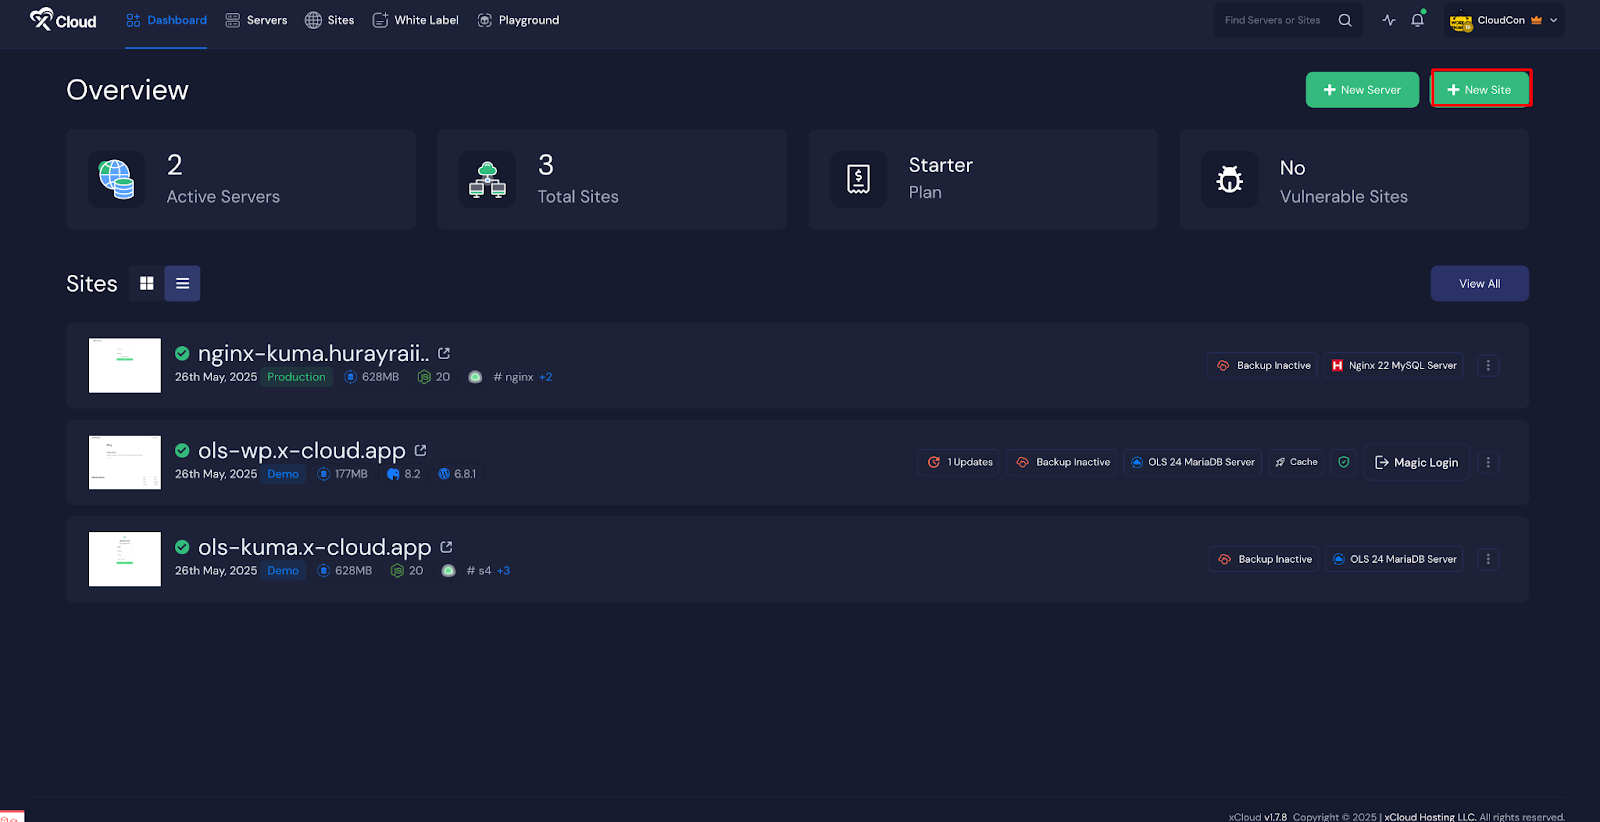
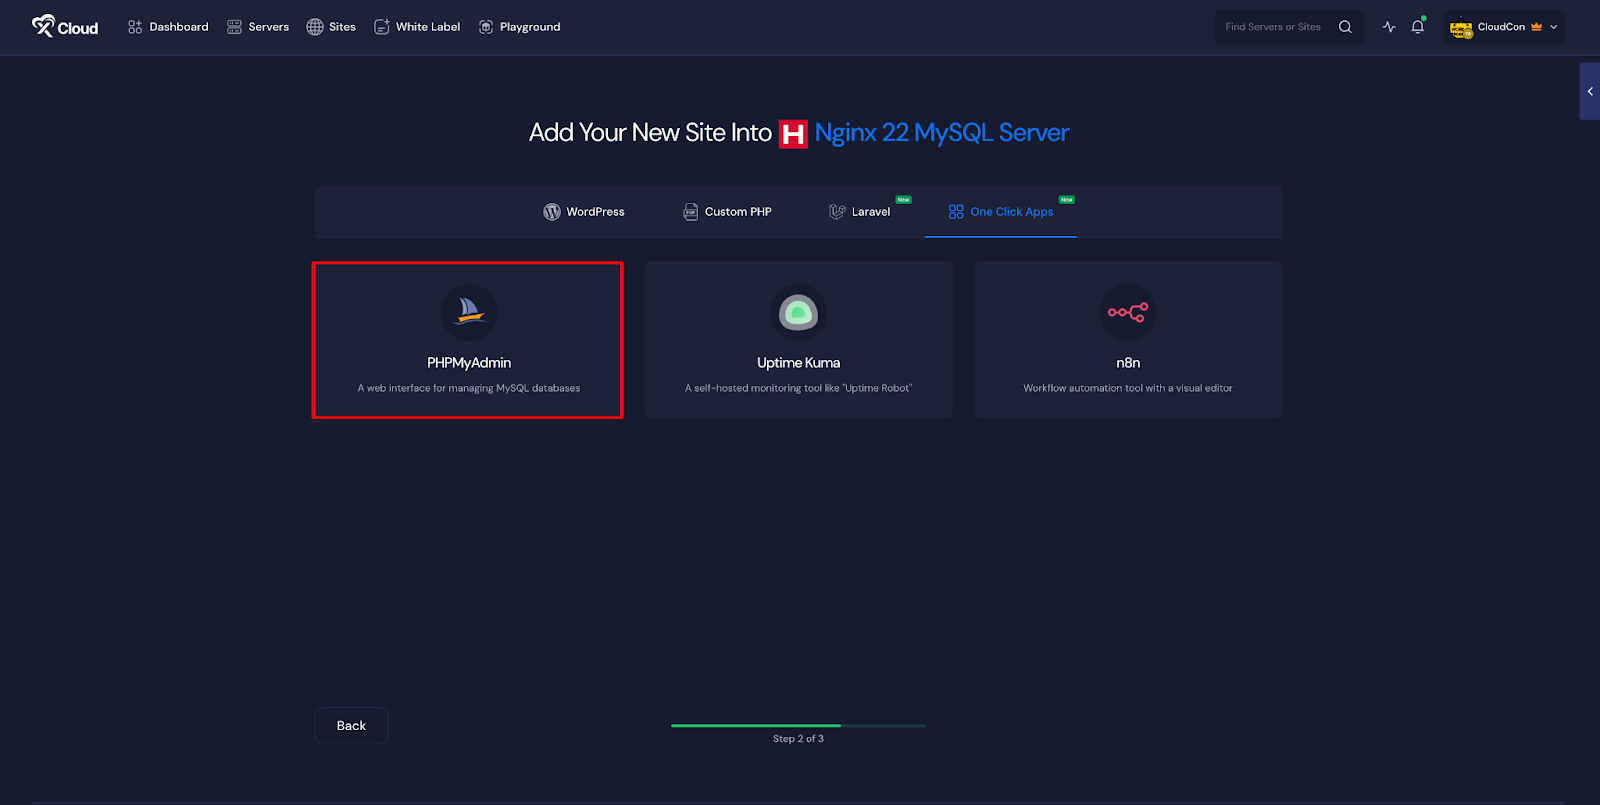
This will take you to the site creation interface. From here, go to the ‘One Click Apps’ section. Select ‘phpMyAdmin‘ from the available applications to initiate the deployment process.
Ensure your server is already connected to xCloud. If not, follow the instructions on the dashboard to establish a server connection. Once connected, you can create a new site either from the main dashboard or the site list by selecting the ‘Create New Site‘ option.
Step 2: Set Up the phpMyAdmin Application #
In the site setup screen, you will be prompted to enter basic site information. Provide a ‘Site Title’ and add relevant ‘Tags’ to help organize your deployment. At this point, you can choose between two deployment modes: ‘Go Live’ for a production-ready deployment or ‘Demo Site’ for testing purposes. Selecting ‘Go Live’ will immediately create a live environment, while choosing ‘Demo Site’ allows you to experiment in a staging environment before promoting to production.

Step 3: Configure Domain Settings #
If you select the ‘Demo Site’ option, xCloud will assign a temporary subdomain for your phpMyAdmin instance. Available subdomain extensions include .wp1.site and .wp1.sh, both managed through Cloudflare. These demo domains are intended for temporary use and should be used for testing and development purposes only.
Note that once a demo site is promoted to a live environment, you cannot revert back to using the demo domain. Ensure your choice aligns with your deployment goals before proceeding.

Step 4: Configure and Install the Site #
At the bottom of the configuration screen, select the appropriate ‘PHP Version for your application. Also, ‘Site user’ will be created for this application. Keep it as it is. Once all settings have been reviewed and configured, click the ‘Next‘ button to proceed.
xCloud will begin provisioning the environment, and within a few minutes, your phpMyAdmin instance will be deployed and accessible from your dashboard.

Step 5: Visit the phpMyAdmin Site #
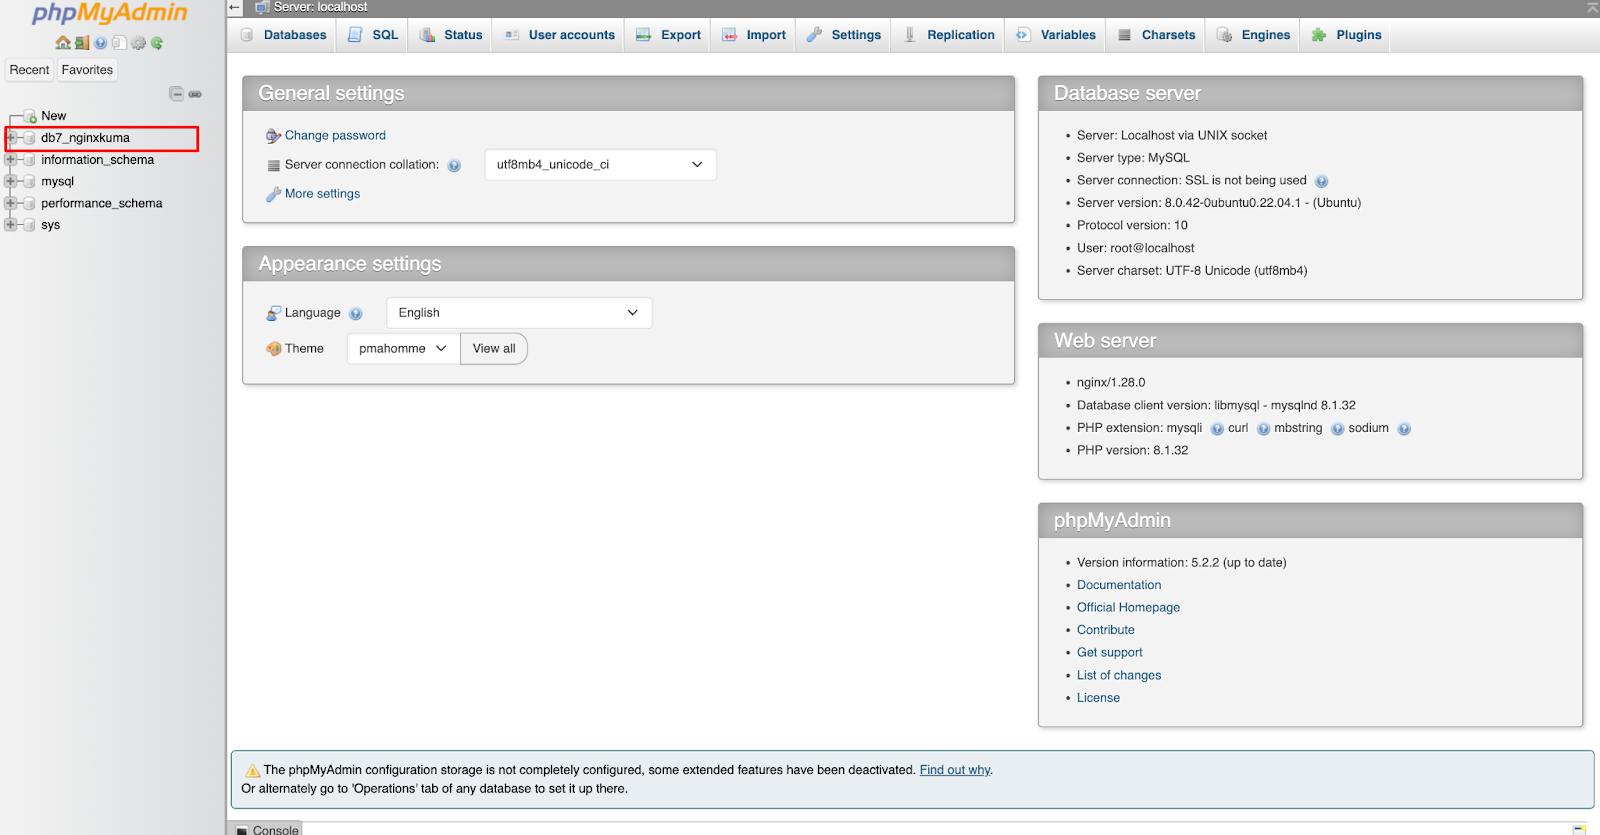
With phpMyAdmin set up with xCloud, you should be able to log in and confirm that it’s working. From the dashboard, click on the ‘Magic Login’ app. Once you click on the magic login button, you will be redirected to the phpMyAdmin dashboard. Here, you can check out the ‘Database’ of your site from the phpMyAdmin dashboard.
This will open the PHPMyAdmin dialog window for registration, which should look something like the example below. Simply enter your details and create a password according to the specs indicated. Hit the Next button, then click through any additional popups, leaving them empty for now.
Managing phpMyAdmin from the xCloud Server Dashboard #
You can also manage phpMyAdmin from your xCloud server dashboard. Just go to ‘Server’ → ‘Database’ to access the phpMyAdmin options. From there, click ‘Open My phpMyAdmin’ to open the phpMyAdmin dashboard. You can also disable it by clicking ‘Disable phpMyAdmin’. Additionally, you can create a new database or database user for that server directly from the dashboard.
And that’s it, this is how easily you can quickly and reliably deploy a phpMyAdmin instance using xCloud One Click Apps feature. If you are working in a staging environment or setting up a live application, xCloud provides a streamlined interface for configuring and managing your deployment.
Still, feeling stuck? Contact our dedicated support team for further assistance.


