


ionCube Loader is a PHP extension that decodes and executes PHP files that have been encoded using the ionCube Encoder. This is often needed when running commercial PHP software.
This guide will show you how to install ionCube Loader on a Linux server such as Ubuntu, Debian, or CentOS using SSH. Let’s go through the steps to install ionCube loader using SSH for the Nginx and OpenLiteSpeed (OLS) web servers.
Step 1: Connect to Your Server #
You first need to connect to your server using SSH. Open your terminal and run the command below, replacing username and your_server_ip with your actual server login details.
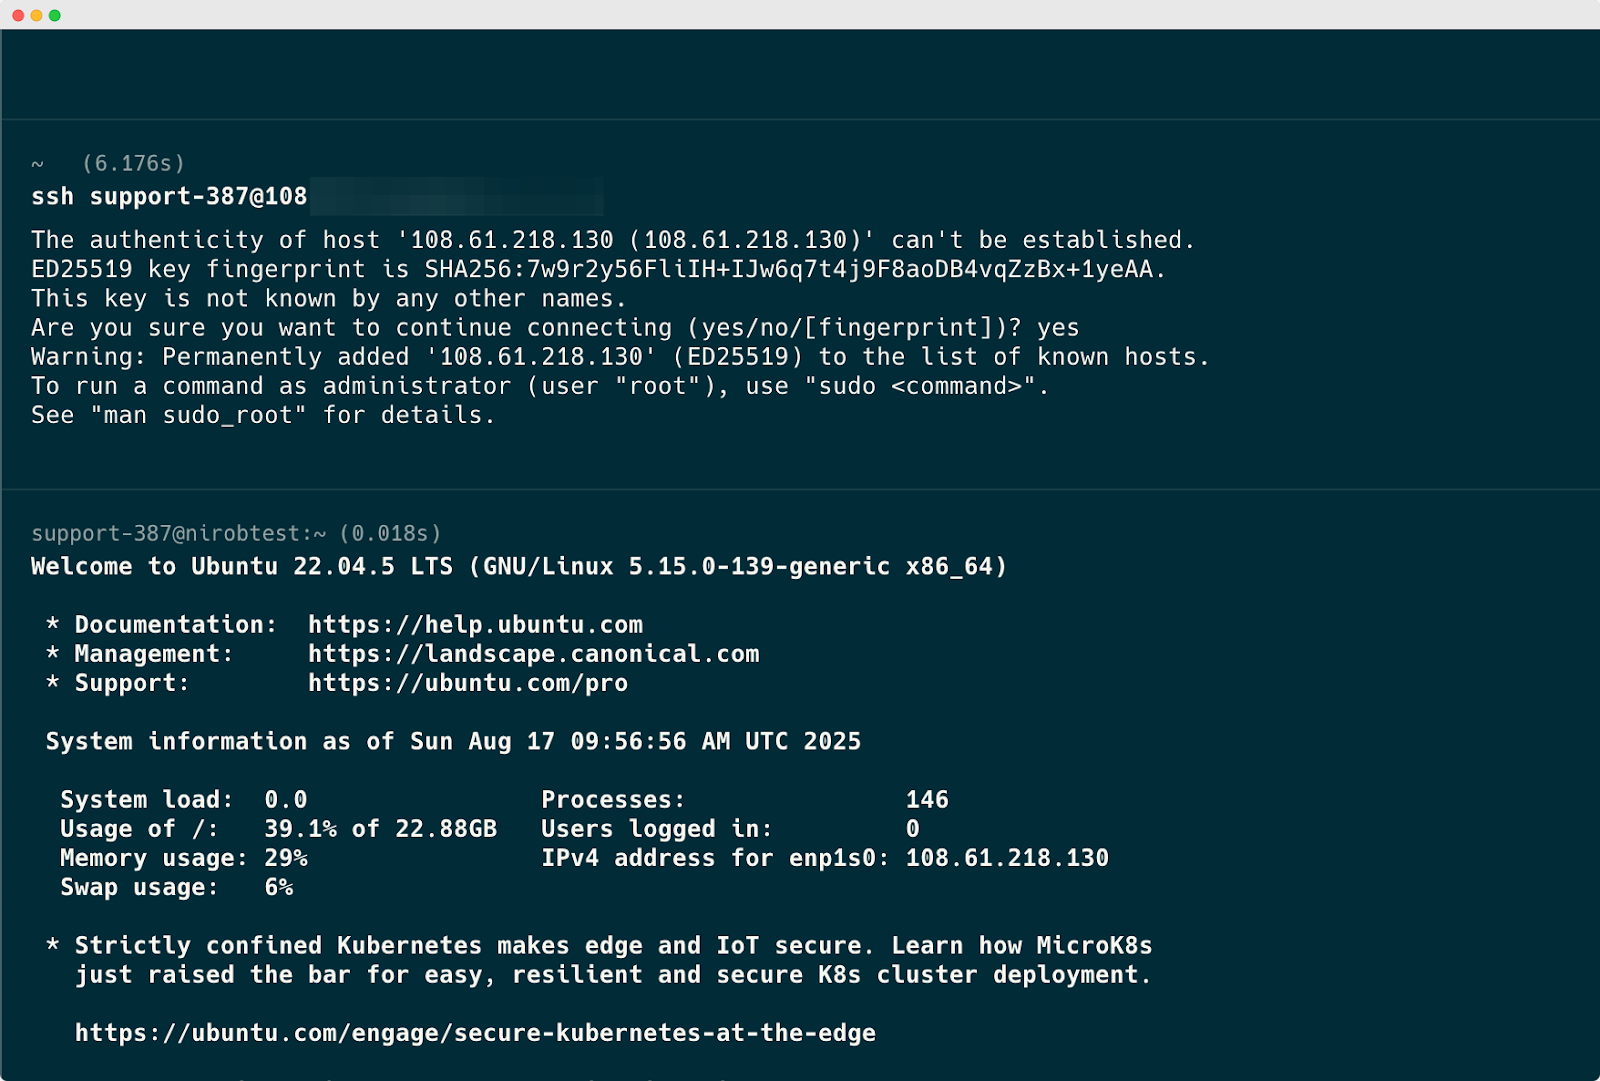
| ssh username@your_server_ip |
ssh username@your_server_ip
Step 2: Check Your PHP Version #
Before downloading the loader, you must know which version of PHP is installed on your server. This will determine which loader file you need to use.
php -v
The output will show your PHP version. For example:
PHP 8.1.28 (cli) (built: Apr 15 2024 14:34:08) (NTS)
Copyright (c) The PHP Group
Zend Engine v4.1.28, Copyright (c) Zend Technologies
From this, collect the version numbers. For example, you have PHP 8.1, which means you will use a loader file named ioncube_loader_lin_8.1.so.
Step 3: Download and Extract ionCube Loader #
Now, download the ionCube Loader package into a temporary directory and extract it.
 # Navigate to the temporary directory
cd /tmp

# Download the latest loader package for 64-bit systems
wget https://downloads.ioncube.com/loader_downloads/ioncube_loaders_lin_x86-64.tar.gz

# Extract the archive
tar -xzf ioncube_loaders_lin_x86-64.tar.gz
This will create a new folder named ioncube inside /tmp.
Step 4: Find Your PHP Extension Directory #
PHP needs to know where to load extensions from. Run the following command to find the extension directory path.
php -i | grep extension_dir
The output will look similar to:
extension_dir => /usr/lib/php/20210902 => /usr/lib/php/20210902
Copy this path. You will use it when placing the loader file in the next step.
Step 5: Copy the Correct Loader File #
Move into the extracted ionCube folder and look for the file that matches your PHP version.
cd ioncube
ls
Look for the file that matches your PHP version from Step 2. For example, if you are using PHP 8.1, choose ioncube_loader_lin_8.1.so.
Copy that file into your PHP extension directory (the path you found in Step 4):
# Replace 'ioncube_loader_lin_8.1.so' and the destination path if yours are different
sudo cp ioncube_loader_lin_8.1.so /usr/lib/php/20210902/
Using sudo here ensures you have permission to copy files into system directories.
Step 6: Configure PHP to Load the Extension #
You now need to edit your php.ini file to load ionCube Loader. The location of this file depends on your setup. You may need to edit more than one file one for your web server (FPM or OLS) and one for the command-line interface (CLI).
Common locations include:
- For Nginx / PHP-FPM:
/etc/php/8.1/fpm/php.ini
- For OpenLiteSpeed:
/usr/local/lsws/lsphp81/etc/php/8.1/litespeed/php.ini
- For CLI:
/etc/php/8.1/cli/php.ini
Open the relevant file(s) with a text editor such as nano.
# Example for Nginx (PHP-FPM)
sudo nano /etc/php/8.1/fpm/php.ini

# Example for CLI
sudo nano /etc/php/8.1/cli/php.ini
At the very top of the file, add the following line. If there are other zend_extension entries, make sure this one is listed first.
zend_extension=/usr/lib/php/20210902/ioncube_loader_lin_8.1.so
Save and close the file. For nano, you do this with Ctrl+X, then press Y, then Enter.
Step 7: Restart Services #
For the changes to take effect, restart your PHP process and your web server.
For Nginx / PHP-FPM: #
# Replace with your PHP version
sudo systemctl restart php8.1-fpm
sudo systemctl restart nginx
For OpenLiteSpeed: #
# This command restarts the OLS server
sudo systemctl restart lsws
Step 8: Verify the Installation #
You can confirm that ionCube Loader is working in two ways.
Check via Command Line: #
php -v
You should now see an additional line mentioning ionCube Loader, for example:
with the ionCube PHP Loader v13.0.3, Copyright (c) 2002-2023, by ionCube Ltd.
Check via Web Server (Recommended): #
Create a file named phpinfo.php in your website’s public root directory.
<?php
phpinfo();
?>
Open this file in your browser by visiting http://your_domain.com/phpinfo.php. You should see a section that says “with the ionCube PHP Loader” near the top.
Delete this file afterward for security.
Troubleshooting #
- Loader Not Appearing: If php -v does not show ionCube Loader, you may have edited the wrong php.ini file or used an incorrect path. Check the extension directory from Step 4 and the path in Step 6.
- Website Errors (500, etc.): Review your web server’s error logs. This can happen if there are permission issues with the .so file or if you are using a loader version that does not match your PHP version.
- Wrong Loader Version: The .so file version must match your PHP version exactly. For example, a PHP 8.0 loader will not work on PHP 8.1.
That is it. You have successfully set up ionCube Loader. Your server can now decode and run ionCube protected PHP code with Nginx or OpenLiteSpeed. You can continue your work, deploy apps, and test your site with confidence in a smooth environment.
Still stuck? Contact our support team for any of your queries.


