


Supabase is an open-source backend-as-a-service (BaaS) platform designed to help developers build scalable applications faster. It provides essential backend features such as a PostgreSQL database, authentication, real-time subscriptions, storage, and APIs – all wrapped into a developer-friendly ecosystem. Often described as an open-source alternative to Firebase, Supabase gives you full control over your data while maintaining simplicity and performance.
Follow the guide to install Supabase with xCloud with One Click Apps with xCloud. Let’s get started.
Note: xCloud currently supports one Supabase project per server due to service and port conflicts in its multi-container Docker setup, especially with Kong. To ensure a stable environment, each Supabase project should be deployed on a separate server.
Step 1: Create a Docker+ NGINX Server #
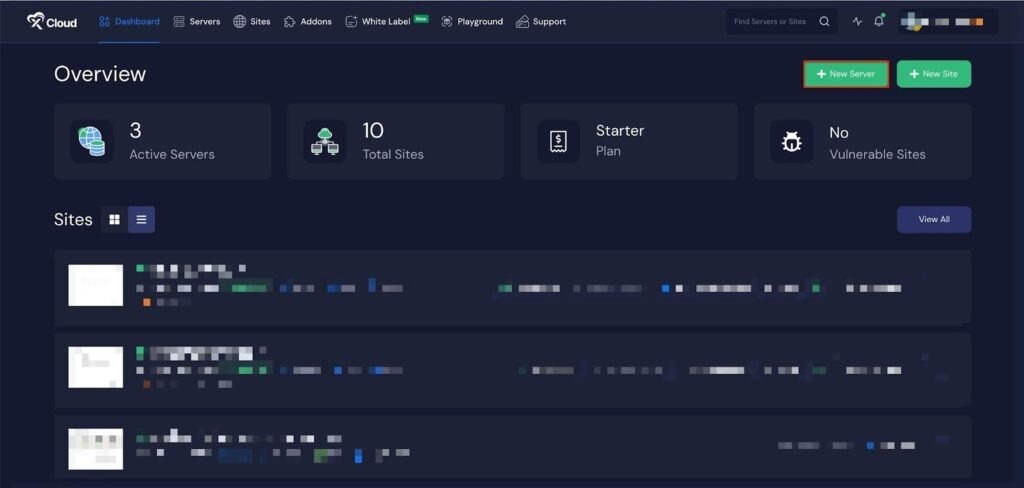
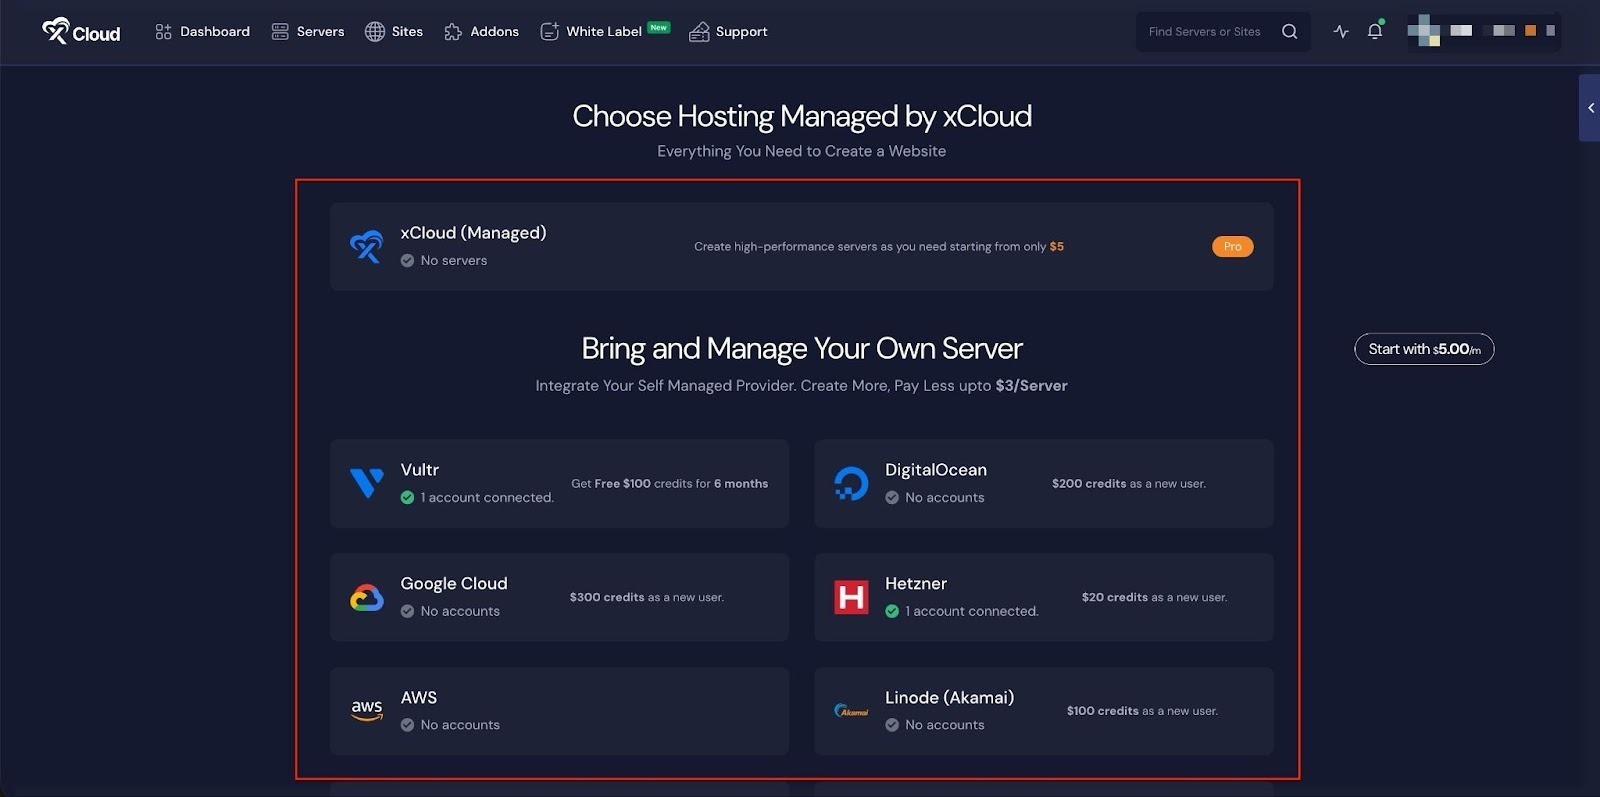
First, you need to create a Docker server to deploy Supabase. Click the ‘Add New Server’ button on the dashboard and enter all the necessary credentials to connect your server. You can deploy Supabase either on your own server or on an xCloud server.
Next, choose your server provider to deploy Supabase with xCloud. You can either use an xCloud Managed Server or select your preferred provider. In this guide, we’ll use the xCloud Managed Server.
Afterward, enter the ‘Server Name’, set the ‘App Type’ to Supabase(it is optional to select), and add any relevant ‘Tags’ to help identify your server later.
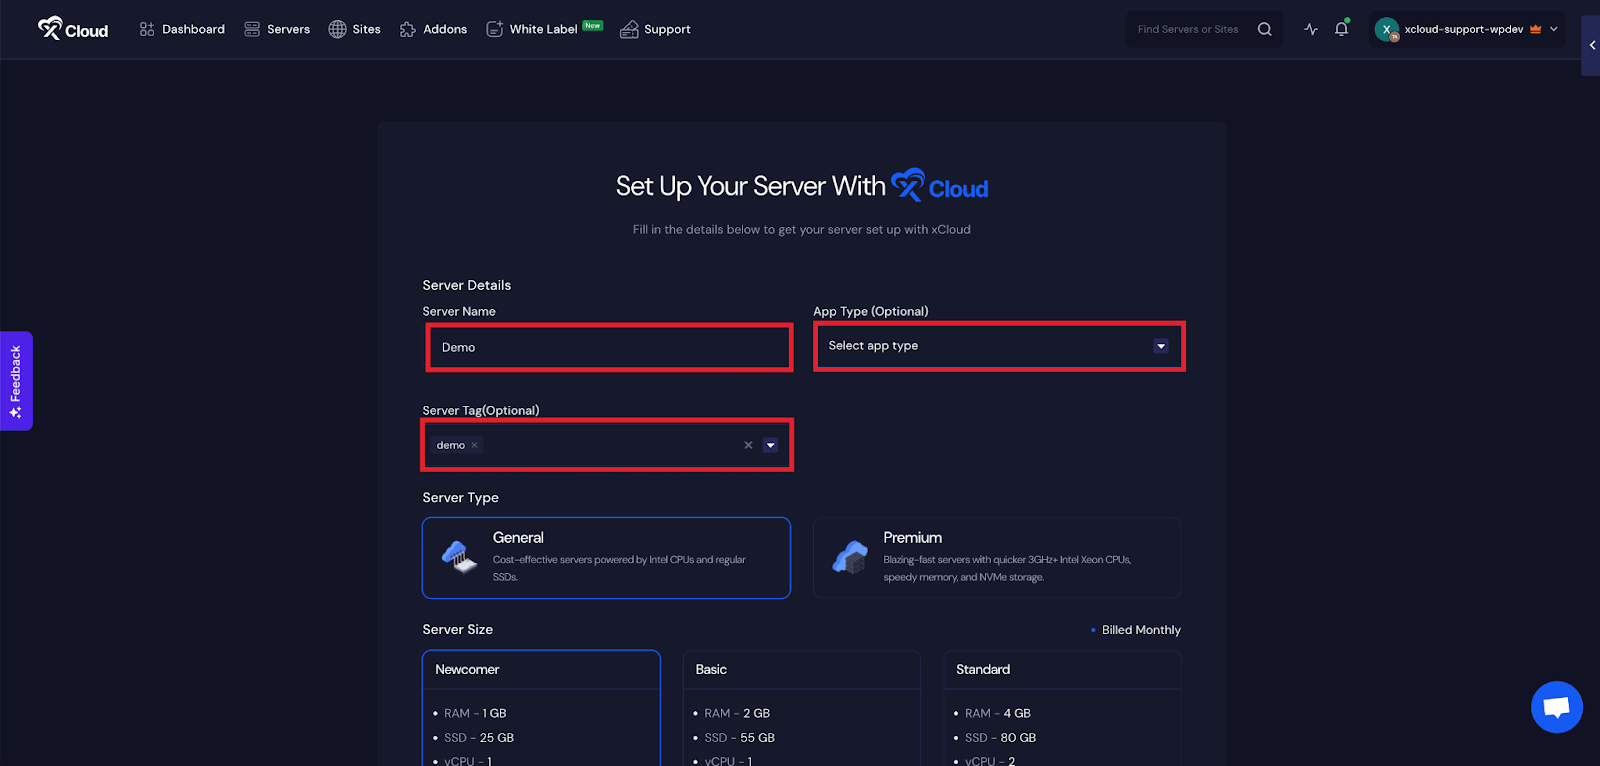
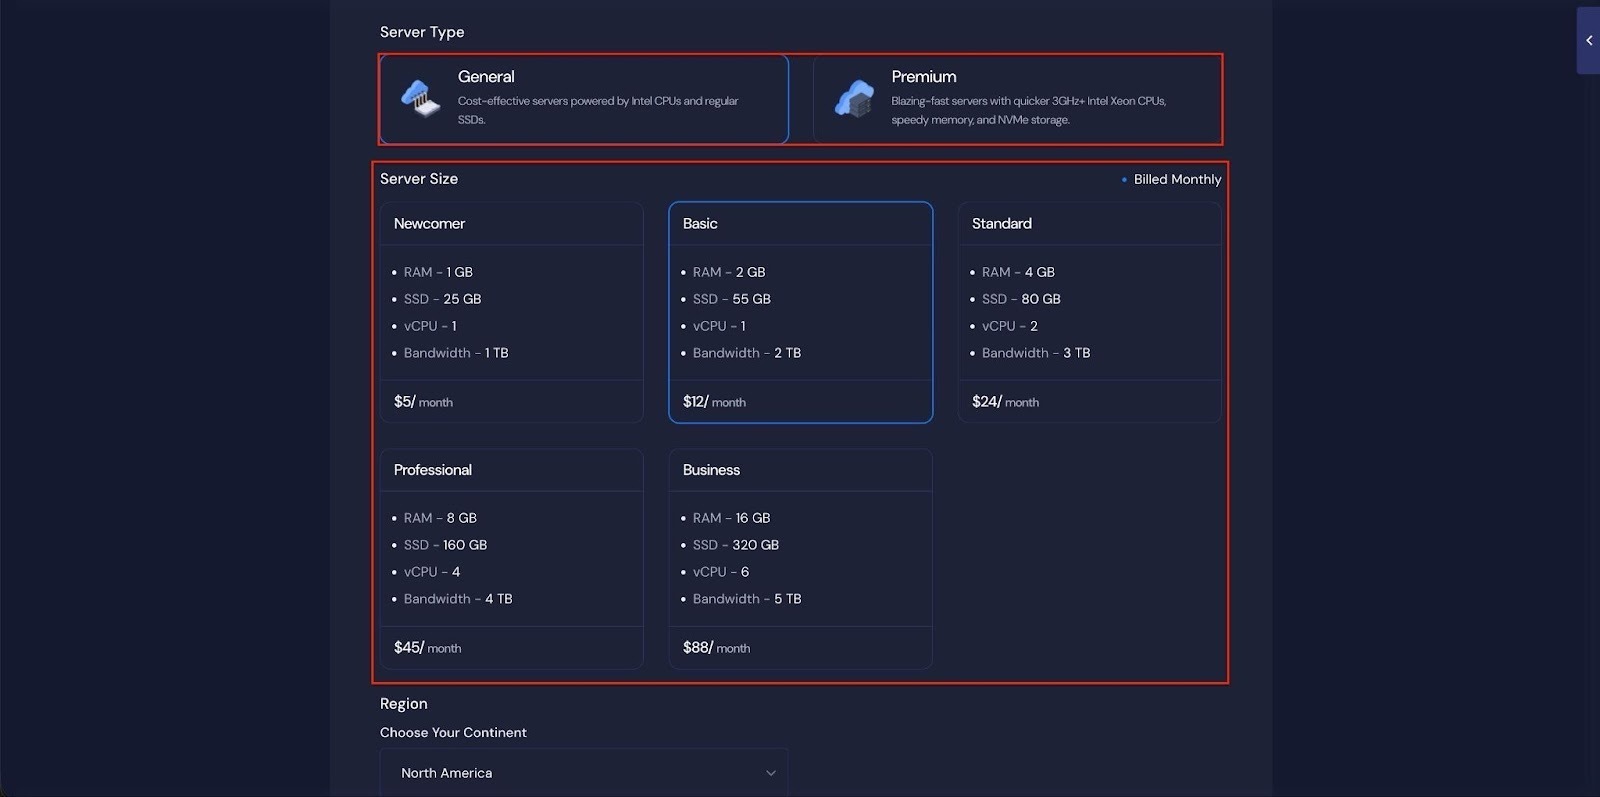
Next, choose between the ‘General’ and ‘Premium’ options based on your requirements. Then, select a plan that best fits your needs.
Next, choose the ‘Region’ and ‘Ubuntu Version for your server. You can also enable or disable the Backup option as needed.

Next, you can see the ‘Docker + NGINX’ stack is already selected, which is mandatory for deploying the Supabase application. Then click on the ‘Create’ button to proceed.

Once the server is created, you will be able to deploy your Supabase Application in this server.
After creating a server, it may take a while to become fully operational. Wait a few minutes before deploying your applications to ensure everything starts correctly.
How to Install Supabase on a Cloud Server #
Learn how to install Supabase on a cloud server. It walks you through creating a server, configuring the environment, and launching your Supabase application easily.
Step 2: Access the One Click Apps Dashboard #
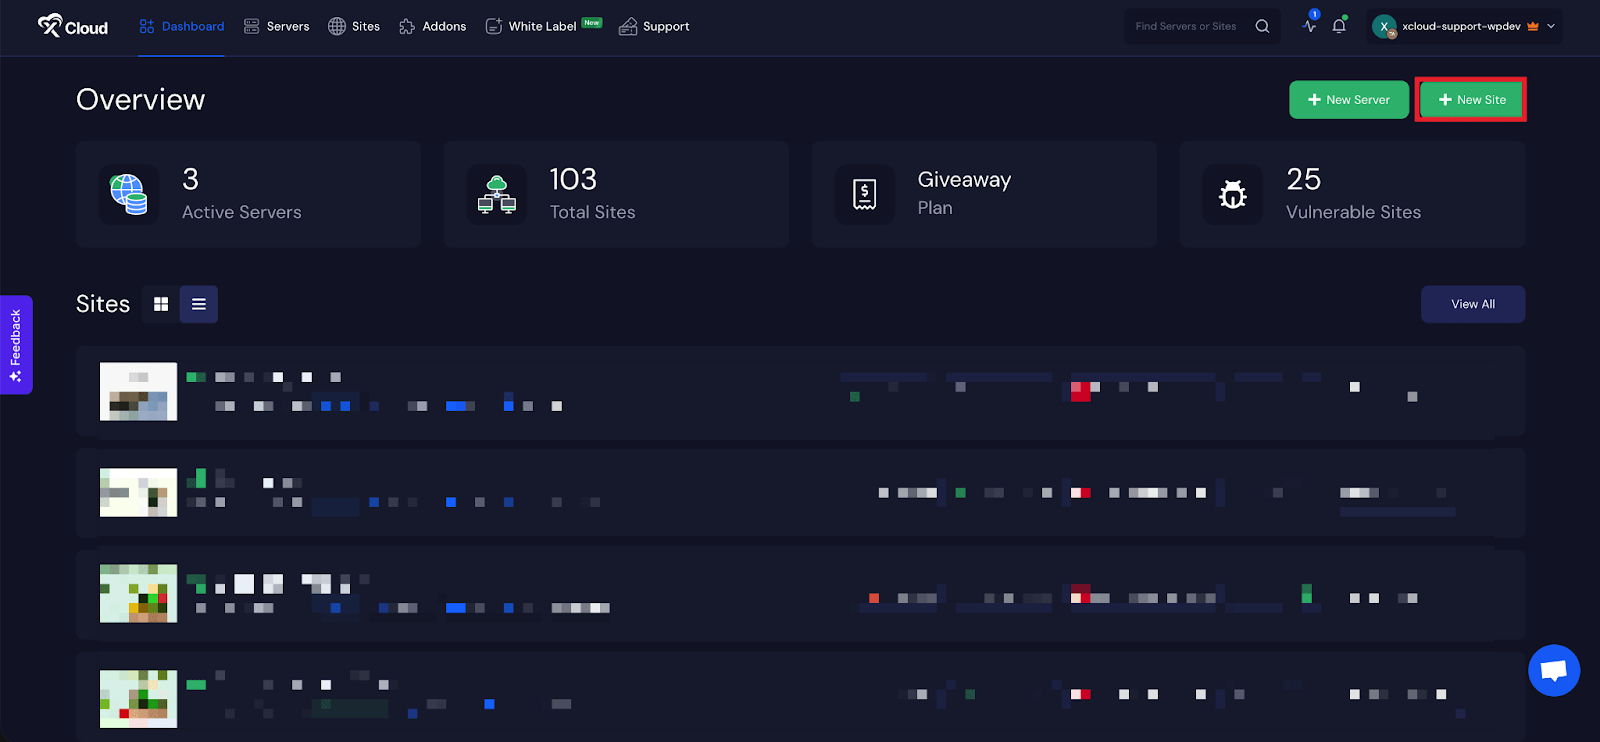
Begin by logging into your xCloud account. Once logged in, navigate to your dashboard and click on the ‘New Site’ button.
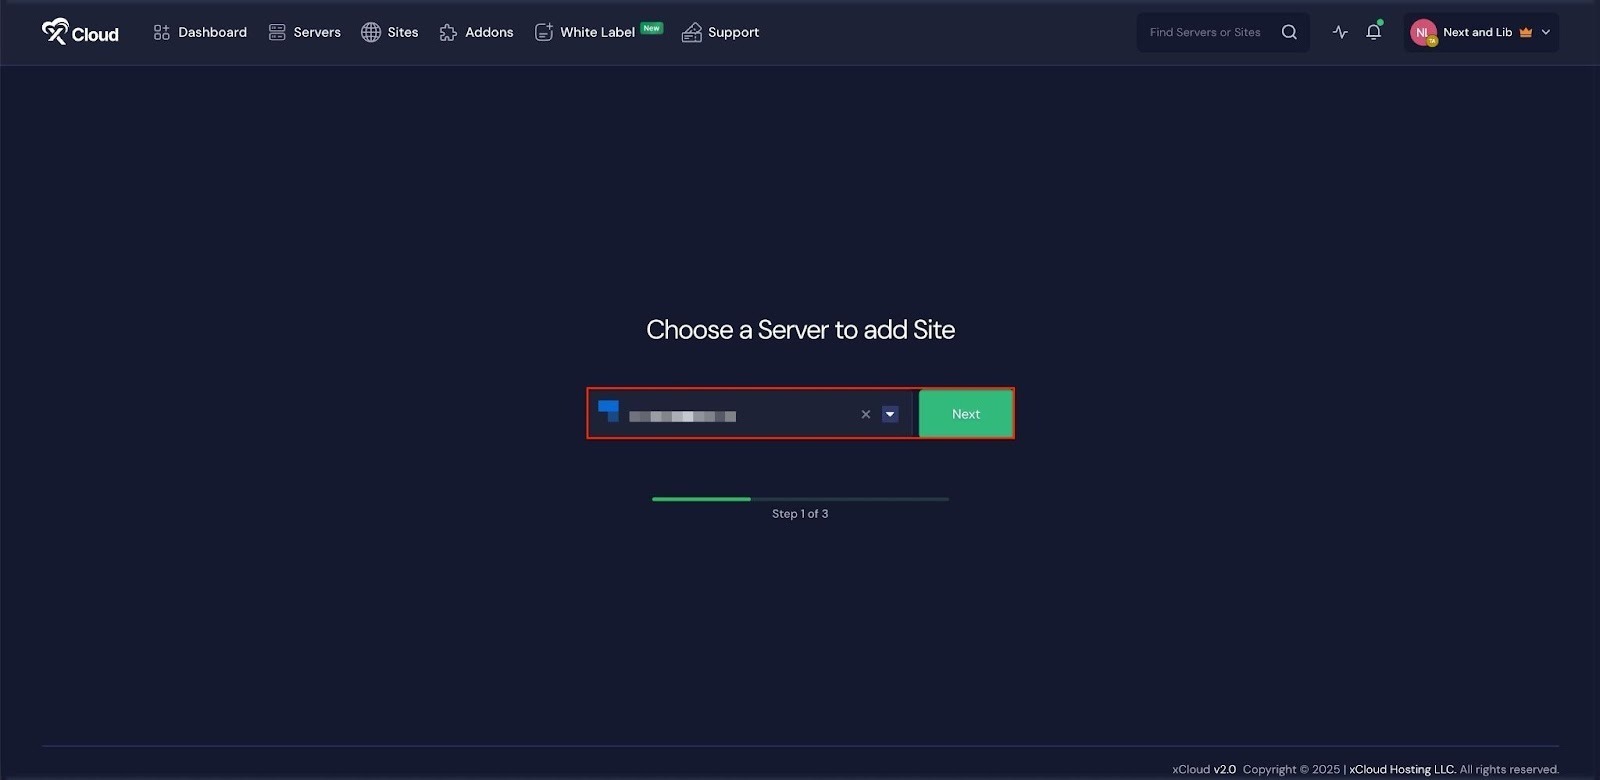
Then choose your server from the dropdown menu. Next, click on the ‘Next’ button to proceed.
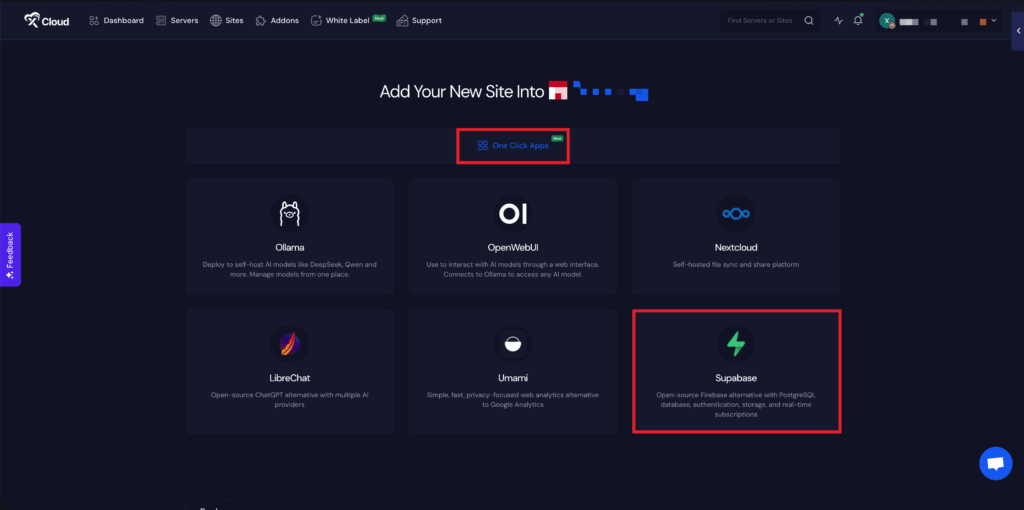
This will take you to the site creation interface. From here, select your Server, then navigate to the One Click Apps section. You will see ‘Supabase’, click on it to proceed with the deployment of this application.
Step 3: Set Up the Supabase Application #
In the site setup screen, you will be prompted to enter basic site information. Provide a ‘Site Title’ and add relevant ‘Tags’ to help organize your deployment.
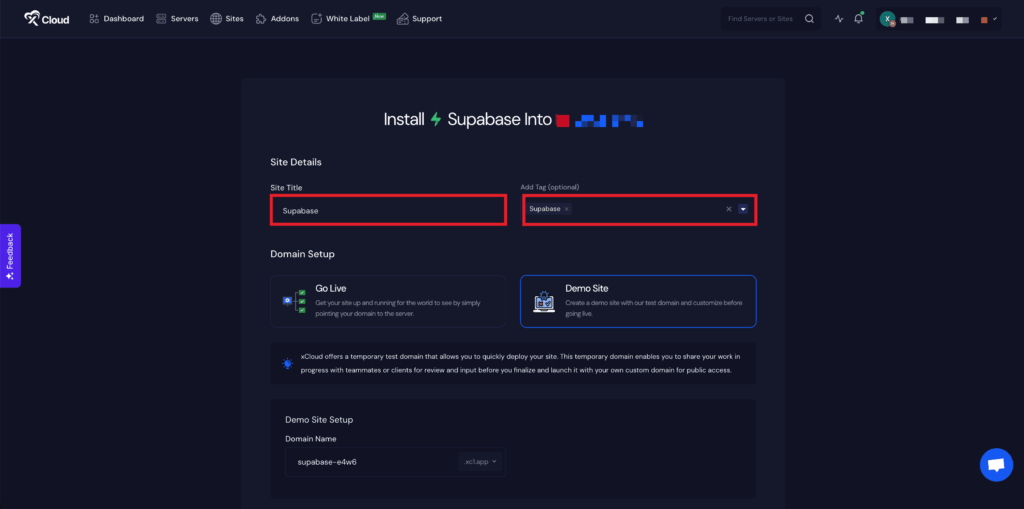
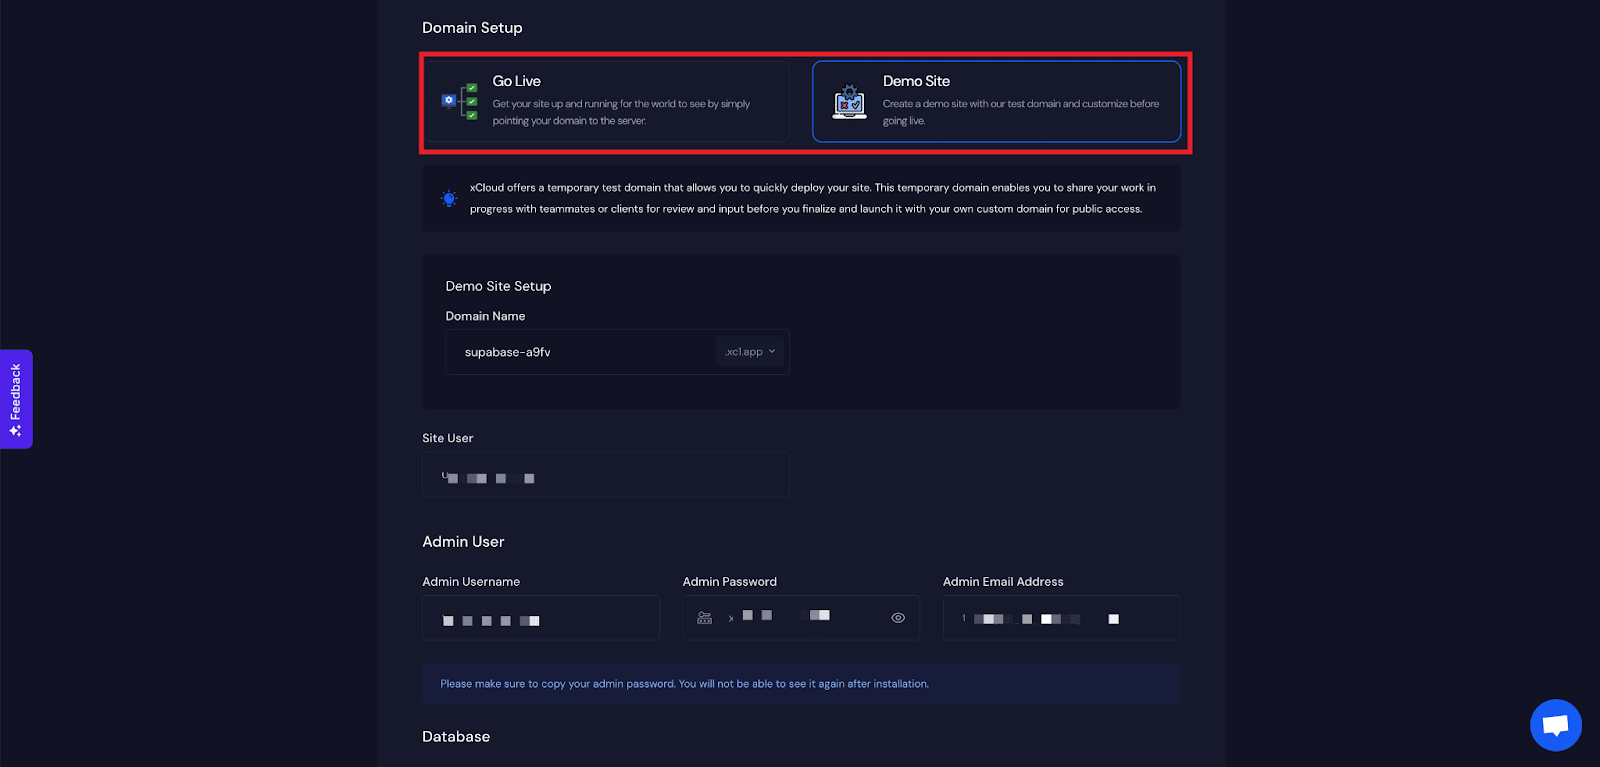
At this point, you can choose between two deployment modes: ‘Go Live’ for a production-ready deployment or ‘Demo Site’ for testing purposes. Selecting ‘Go Live’ will immediately create a live environment, while choosing ‘Demo Site’ allows you to experiment in a staging environment before promoting it to production.
Step 4: Configure Domain Settings #
If you select the ‘Demo Site’ option, xCloud will assign a demo domain for your Supabase application. Next, enter your application’s domain.
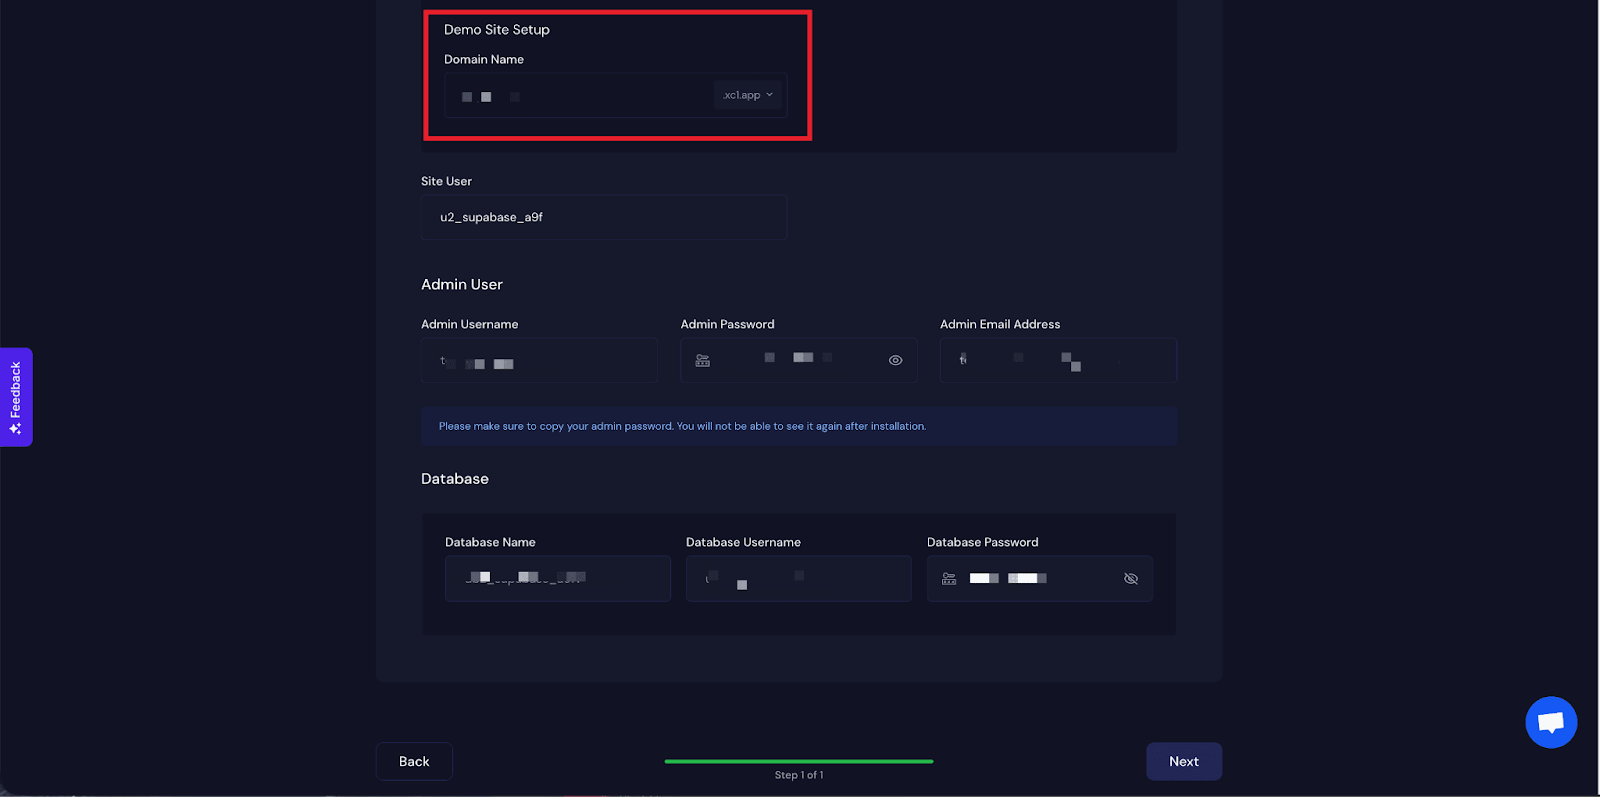
You will get a ‘Site User’ of your application. You can also adjust it according to your preferences, or leave it as the default. In the next section, you will get ‘Admin Username’, ‘Admin Password’, and ‘Admin Email Address’.
Note: From here, copy your Admin Username and Admin Password to log in to your Supabase application later.
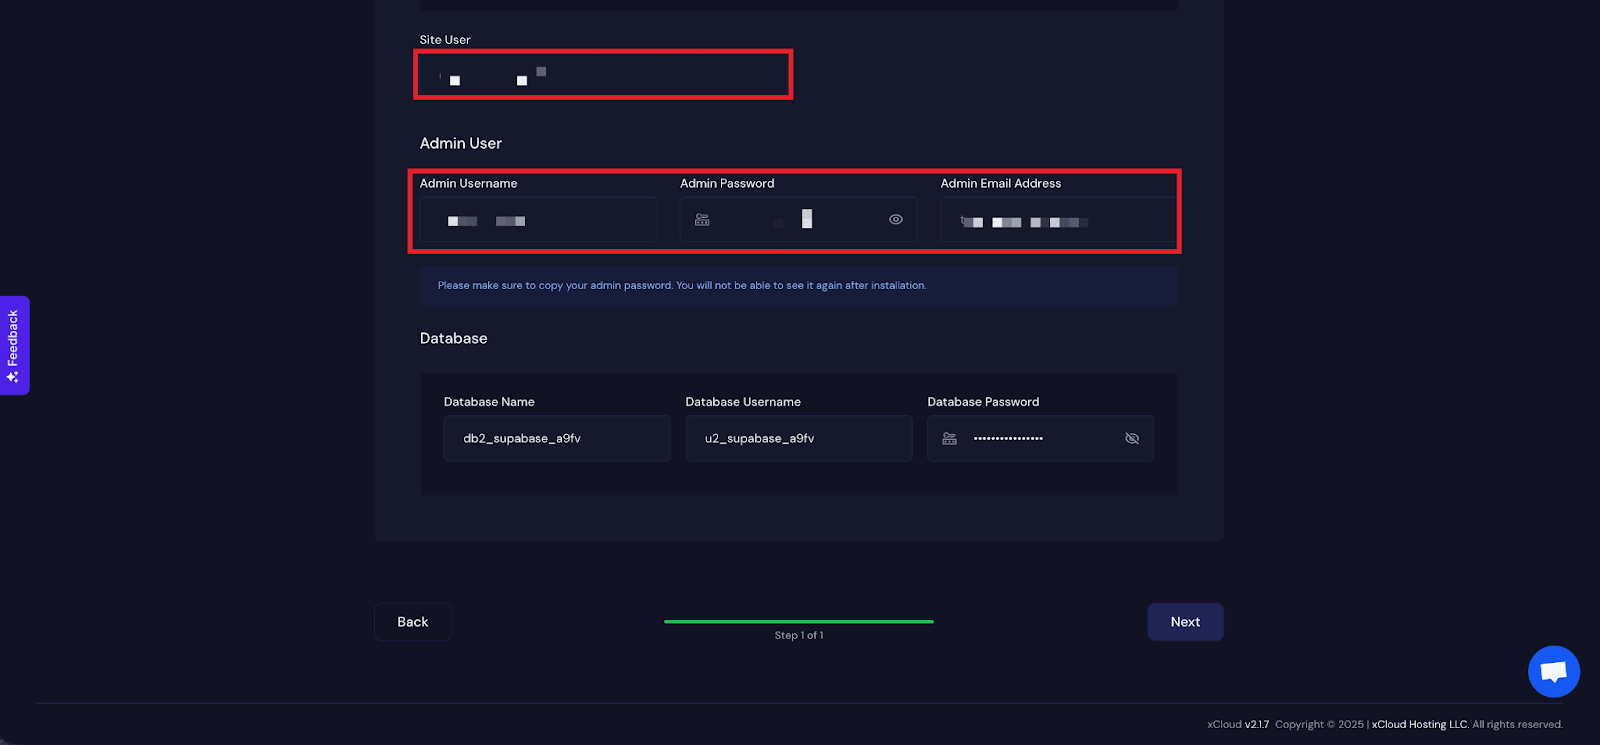
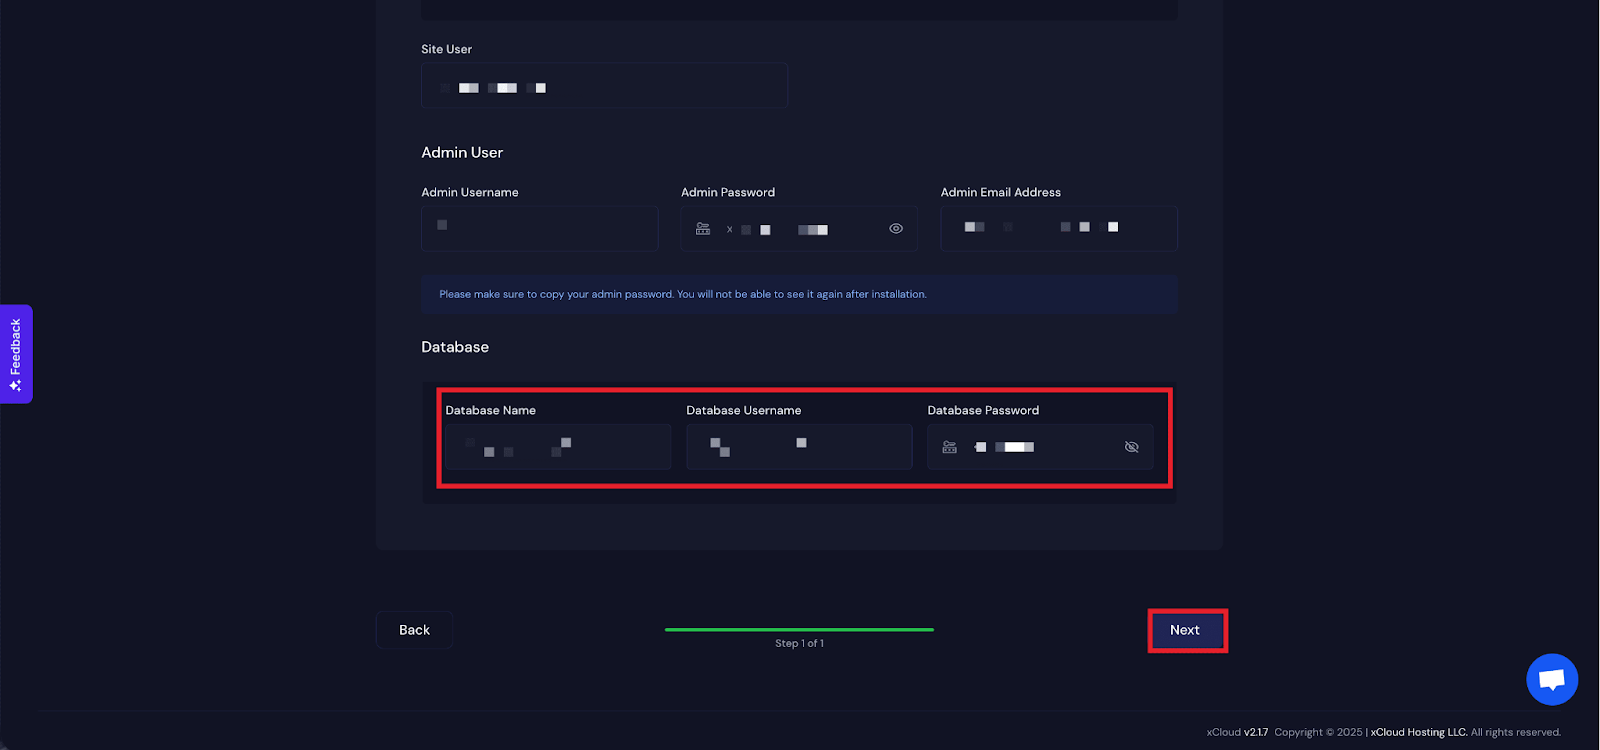
Next, get the ‘Database Name’, ‘Database Username’ and ‘Database Password’ for this application and click on the ‘Next’ button
Step 4: Visit the Application #
After completing the setup, you will be able to visit your Supabase site. From the dashboard, click on the ‘Visit Site’ app.

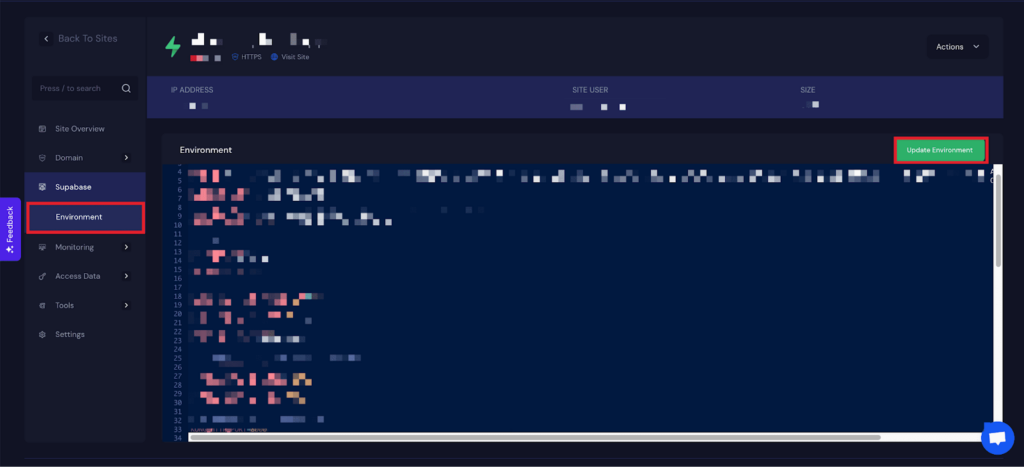
Environment Editor for Supabase #
The Environment section in xCloud allows you to customize configuration settings for your Supabase app. Just go to the ‘Environment’ option from the sidebar and adjust as you need, then click on the ‘Update Environment’ button.
⚠️ Important Notes for Self-Hosted Supabase #
- Edge Functions won’t deploy automatically to a self-hosted instance – you must deploy them manually to your self-hosted Supabase.
- Self-hosted Supabase does NOT auto-run database migrations.
Unlike Supabase Cloud, you are responsible for applying SQL migrations manually. If you update Supabase versions, enable new features, or pull a newer Docker Compose, the DB schema does NOT update by itself.
That’s it! This is how easily you can install Supabase using xCloud’s One Click Apps. xCloud takes care of the heavy lifting, server provisioning, Docker configuration, and deployment, so you can focus on building and scaling your application with Supabase’s powerful backend features.
If you’re setting up a demo project or going live in production, this streamlined process lets you get started quickly and confidently.
Still stuck? Contact our support team for any of your queries.


