


When someone accessed your server using its IP address, they were previously shown a generic default page. With the new Default Site feature, you can now replace that page with your own chosen website or domain. This lets you control what visitors see first and create a more intentional, branded landing experience.
This helps you control where visitors land by automatically redirecting them to the site you prefer. Follow the steps below to set it up quickly and easily.
Note: If anyone points any domain or subdomain, it will redirect to the default domain.
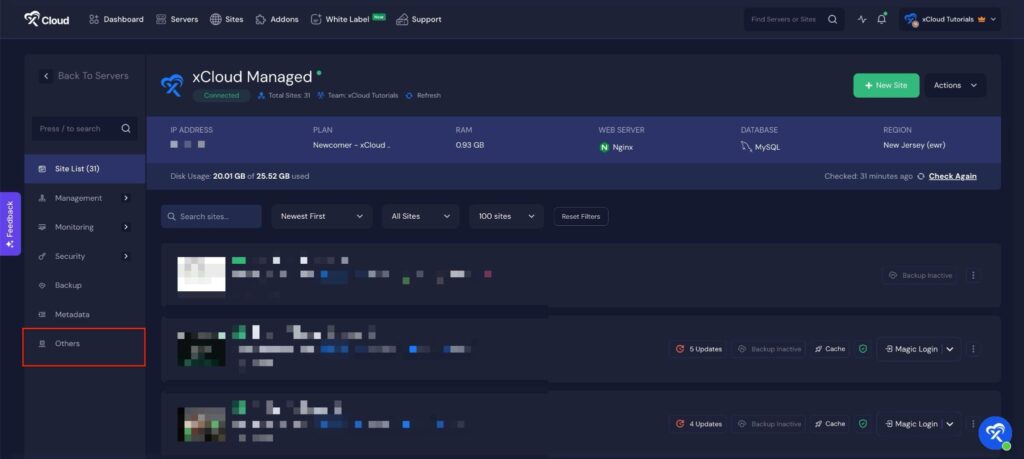
Step 1: Go to Your Server #
Begin by logging into the server where you want to set the default site. Once you’re on the server dashboard, navigate to the ‘Others’ section.
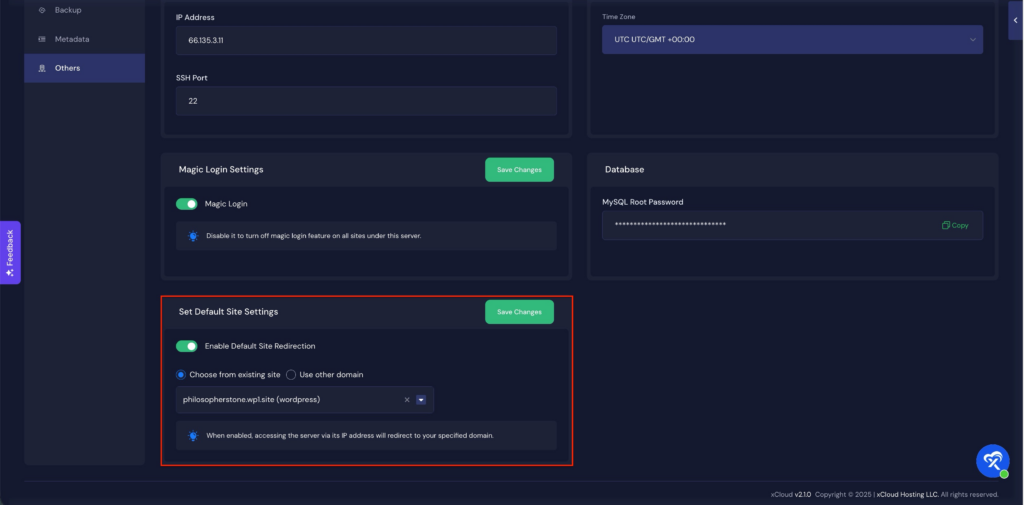
Step 2: Configure Default Site Settings #
Next, locate the ‘Set Default Site Settings’ section. Toggle the ‘Default Site Redirection’ switch to enable the feature. After enabling it, you will see two options ‘Choose from Existing Site’, ‘Use Other Domain’
Using an Existing Site #
Select “Choose from Existing Site” to pick your preferred site from the dropdown menu.
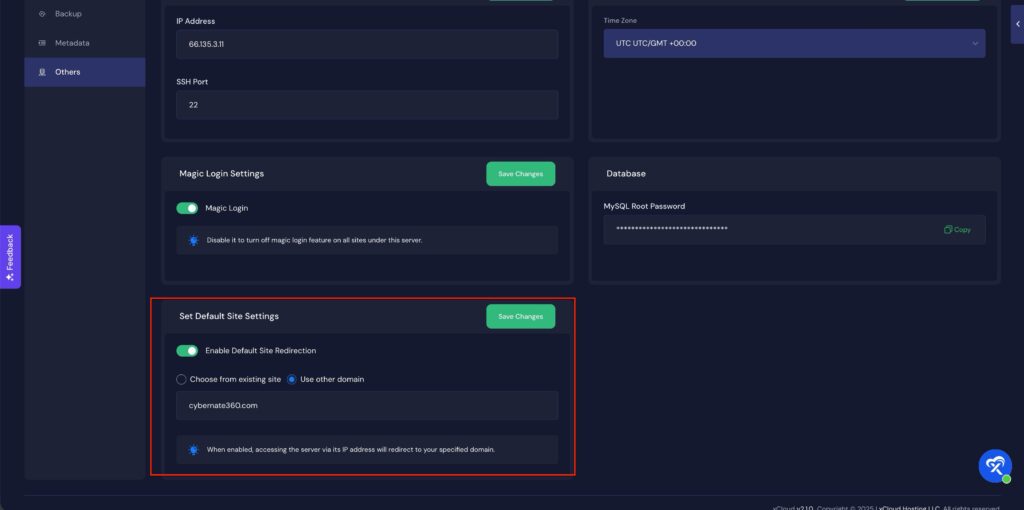
Using a Different Domain #
If you want to set a separate domain as the default, select “Use Other Domain” and enter the domain name you want to use.
And that’s it! This is how easily you can set a custom landing page for your server and replace the old default view. With just a few steps, you can guide visitors to the page you want them to see first.
If you use your existing site, when you update the domain of that site, it will automatically update the server’s default domain redirection as well.


