When you increase maximum upload size for websites, it encourages user-generated content and makes sharing large multimedia files and teamwork easier. Plus, this option improves the functionality and overall user experience of eCommerce product listings while also supporting development jobs.
With a few simple steps, you can easily increase the maximum upload size for websites in xCloud. Follow the step-by-step instructions below to learn how to do that.
Step 1: Access To Your Site In xCloud #
Log in to xCloud dashboard, go to ‘Sites’ tab, and select your preferred site for which you want to increase maximum upload size.

Step 2: Check PHP Version For Your Site #
From the site’s ‘Overview’ page, click on the ‘Site Settings’ tab from the left panel.

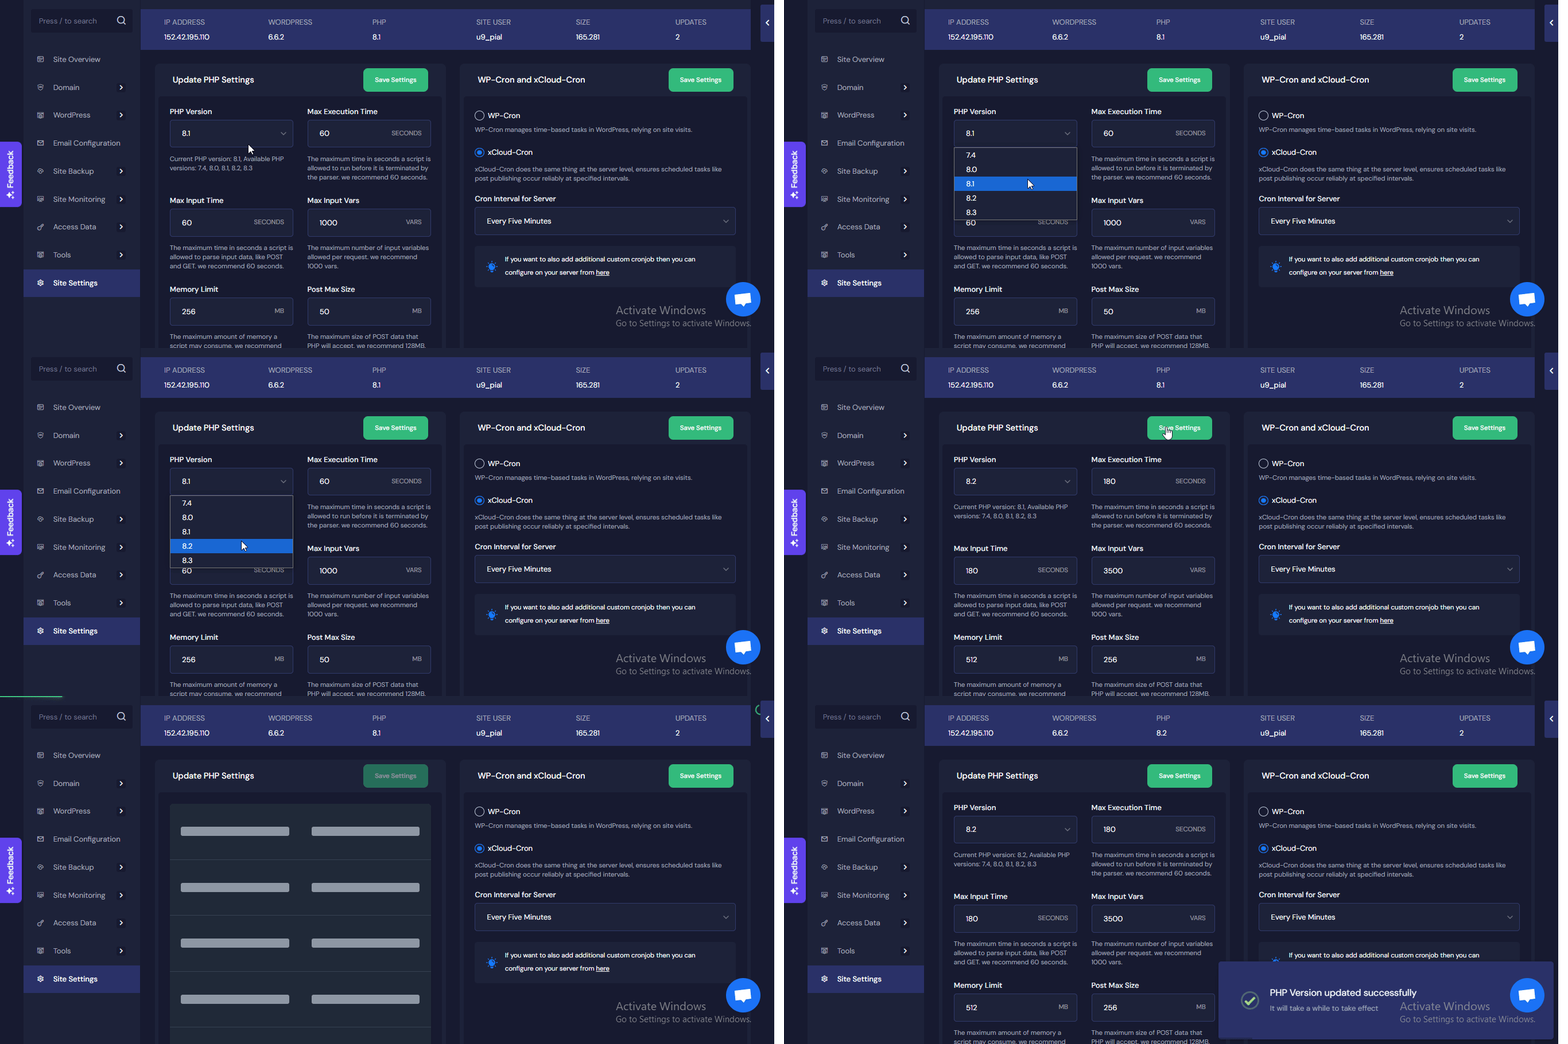
Now, check your site’s PHP version. You can also change your Site’s PHP version. If you want to do that, select the PHP version you want and tap the ‘Save Settings’ button.

Step 3: Access Server PHP Settings & Change Upload Size #
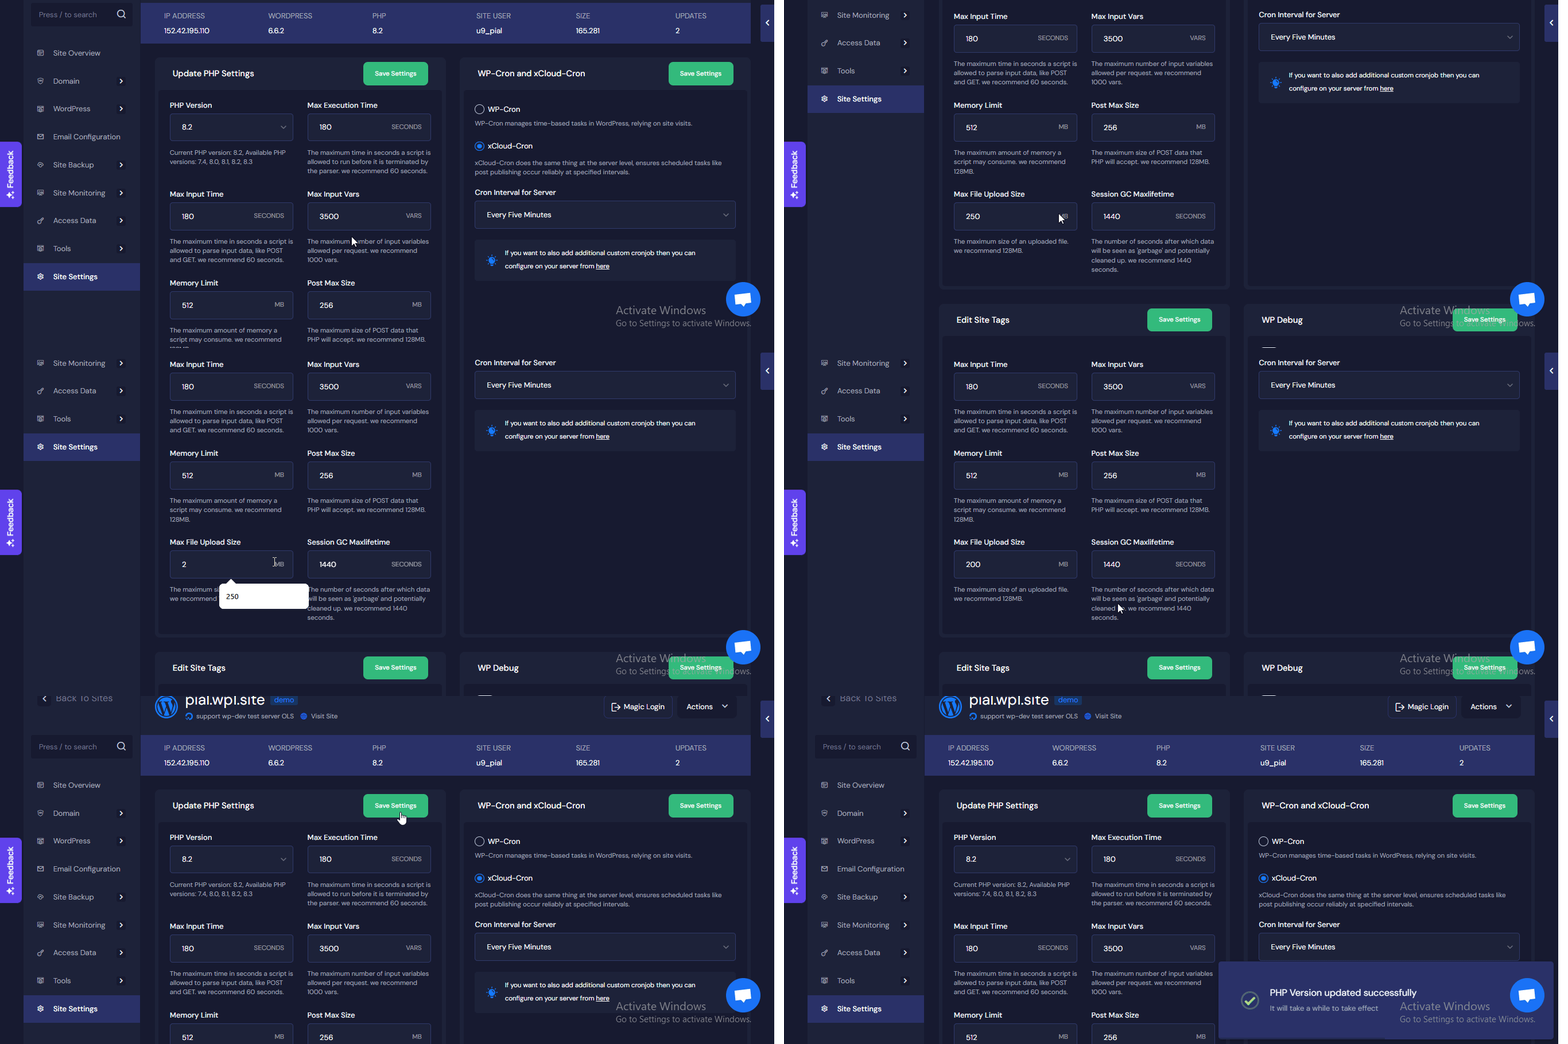
Now, Click on your server’s name (below your site domain) to access your site’s server. There, you can increase the maximum upload size for the site’s PHP version.

Now if you want to change the file upload size then go to the tab ‘PHP Settings’ option again to change your maximum upload size value. There, you will see your current maximum upload size in MB (Megabyte). Select your site’s PHP version. You can change the maximum upload size value as much as you need, and it will apply to all the sites with that PHP version. Once done, hit the ‘Save Changes’ button.

That is how easily you can increase maximum upload size for websites in xCloud.
Still stuck? Contact our support team for any of your queries.


