Linode is a trusted cloud hosting provider known for its high-performance servers, developer-friendly platform, and cost-effective pricing. With xCloud, you can set up and manage your Linode server with an easy-to-use interface.
xCloud aims to simplify the process of hosting and managing WordPress sites, allowing developers and agencies to focus on building great websites without worrying about the underlying infrastructure. Now let us follow these steps to get you started.
Step 1: Create Your New Linode Server With xCloud #
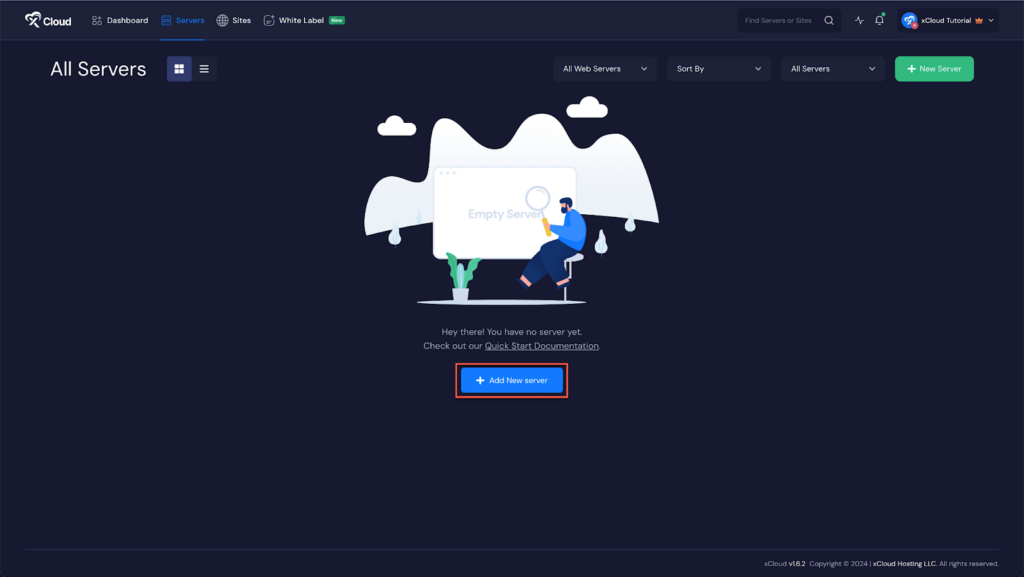
After logging in to your xCloud account, start by adding a new server by clicking on the ‘Add New Server’ button from your server dashboard or you can add it from the Server Provider Integration Page.
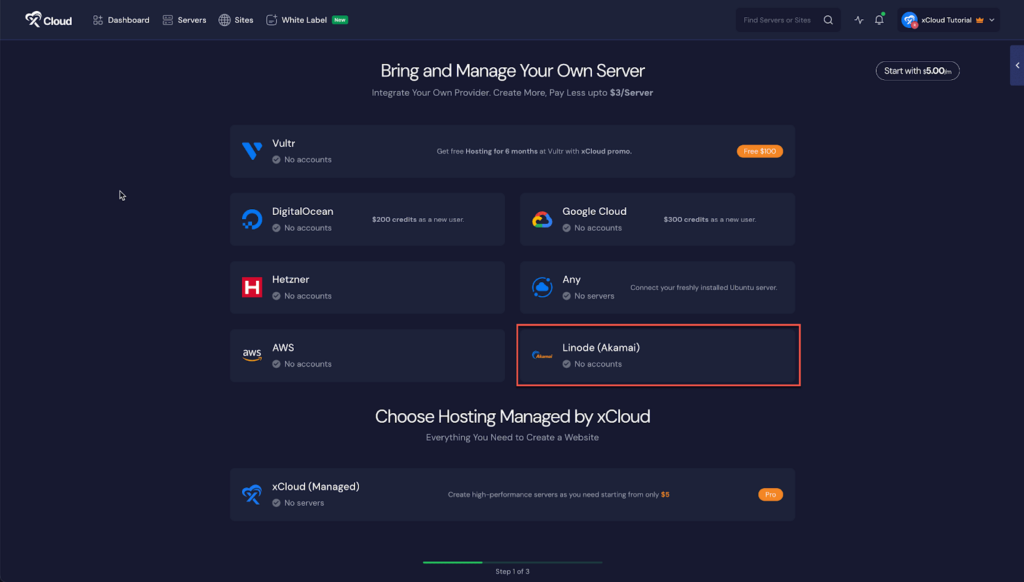
The next screen will provide the list of our available server providers. Now, select the Linode option from there. The server billing will be handled on your Linode account.
Step 2: Authorize Your Linode Account #
We have made it easier and safer for you to connect xCloud with your Linode account. Now provision a new Linode server, click ‘Authorize on Linode’ during the setup, and you will be redirected to Linode to grant permission to your account. It is a straightforward and hassle-free process to set up your server with Linode.
Step 3: Connect the Account & Add the Necessary Information #
You will be taken to the server creation page after successfully integrating your Linode account and your server will be connected with xCloud. Now you need to provide the ‘Server name’, your preferred ‘Server Size’ (CPU, RAM, storage), the ‘Region’ nearest to you and your visitors, and then select the ‘Database Server’ from MySQL and MariaDB.
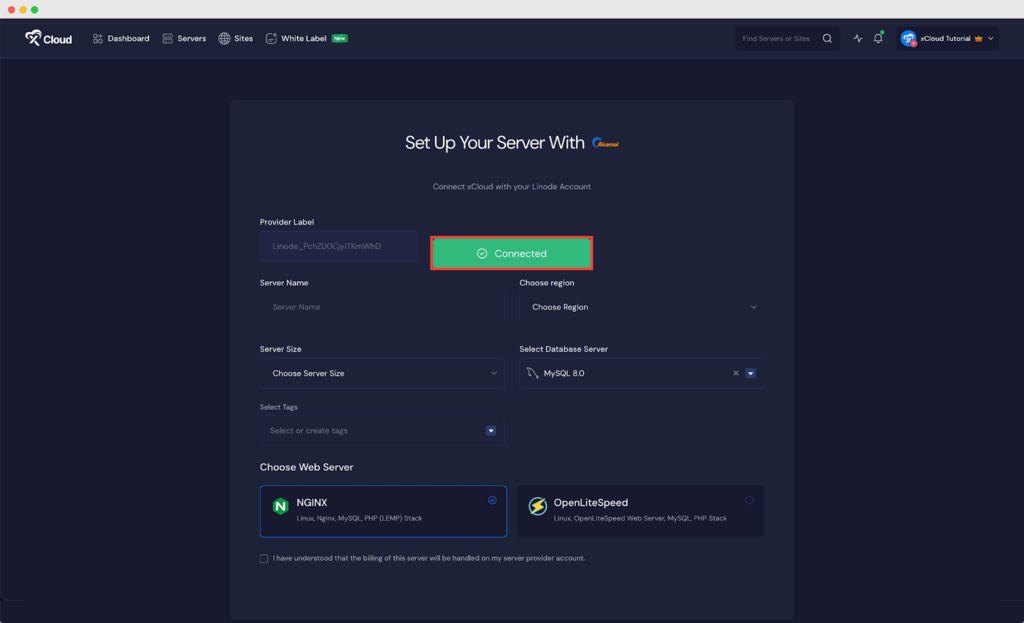
Note: We recommend at least a 2GB/ 1 shared CPU server for 10-20 brochure sites with cache enabled. And for a site whose pages cannot be cached (e.g. WooCommerce site) we recommend a 4 GB / 2 dedicated CPUs server.
Next, choose the web server stack from ‘NGINX’ or ‘OpenLiteSeed’ as your requirements and click on the ‘Next’ button to proceed with the server creation process.
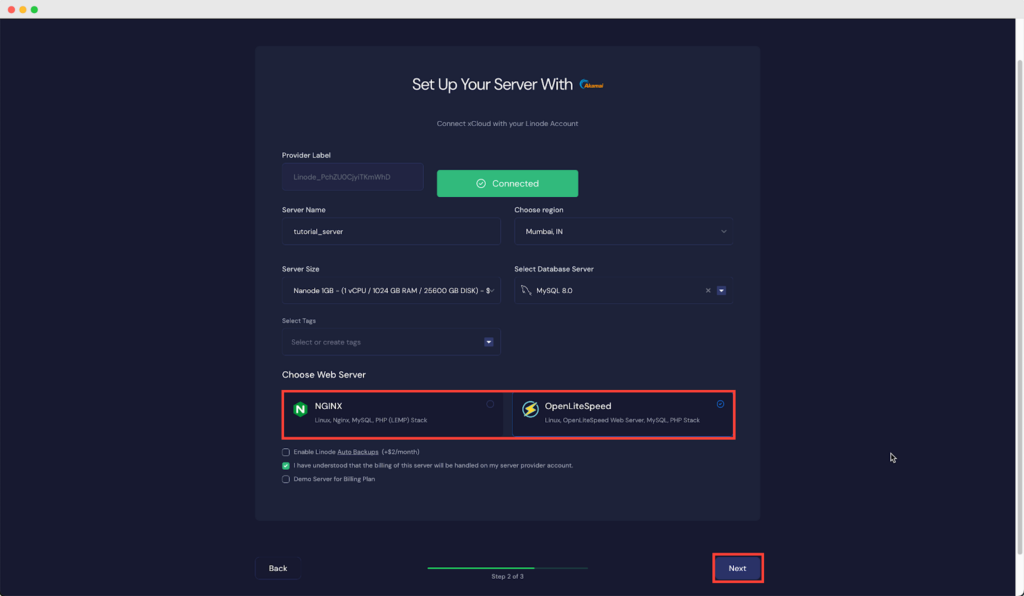
It will start creating a Linode server with xCloud within a while and if you go to the ‘Servers’ from the menu you can see your created server and create as many sites as you want under this server.
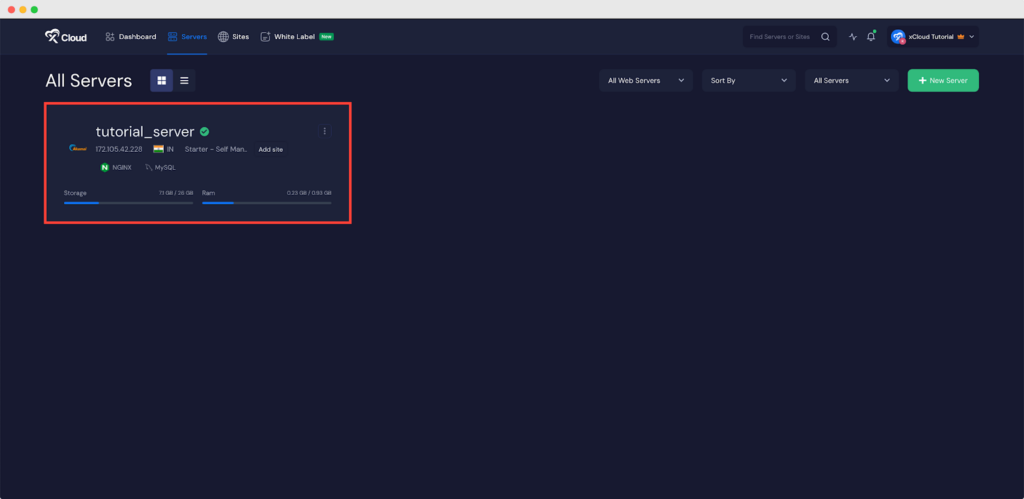
This is how easily you can create an Linode server from xCloud seamlessly without going through any difficulties.
Still stuck? Contact our support team for any of your queries.


