


xCloud allows you to add basic authentication to your site. This can be useful for restricting access to a site for security reasons or if you’re simply running a site that needs to restrict access before you even get to WordPress.
Follow the steps below to learn how to enable authentication on your website.
Step 1: Login To Your xCloud Dashboard #
First, from the dashboard, click on the site you want to enable the authentication for, or go to the “All Sites” tab and select the site.

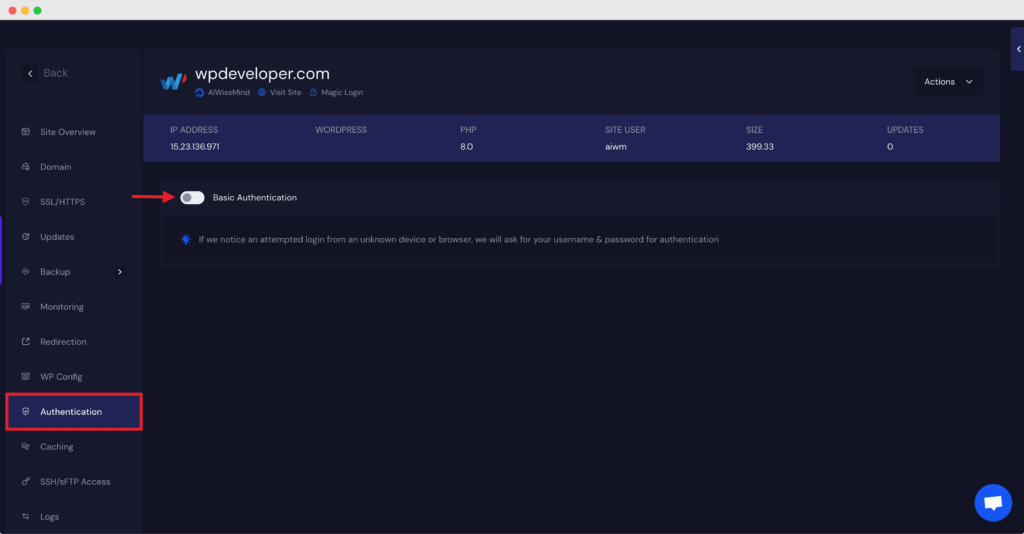
Step 2: Enable Basic Authentication Button #
Next, go to the ‘Authentication’ tab and toggle the authentication button.
Step 3: Add Required Details #
Now, enter the Username and Password as needed. Click on the ‘Save’ button and you are all set.

Thus, you can easily enable authentication on your site. Getting stuck? Feel free to contact our support team for further assistance.


