


Aliases allow you to create extra email addresses that redirect to existing mailboxes without needing to set up new ones.
For instance, if you own a mailbox, user@example.com, and wish to receive emails at another address, user2@example.com, without having a separate mailbox, you can establish user2@example.com as an alias that directs to user@example.com. Now, you only need to log in to user@example.com to check the emails received at both addresses.
Follow the step-by-step process to set up email Alias with xCloud MailBox Addon:
Step 1: Go to Your MailBox Account #
First, go to the MailBox addon, click on your MailBox, and head over to the ‘Aliases’ tab from the dashboard.
Step 2: Add an Email Alias #
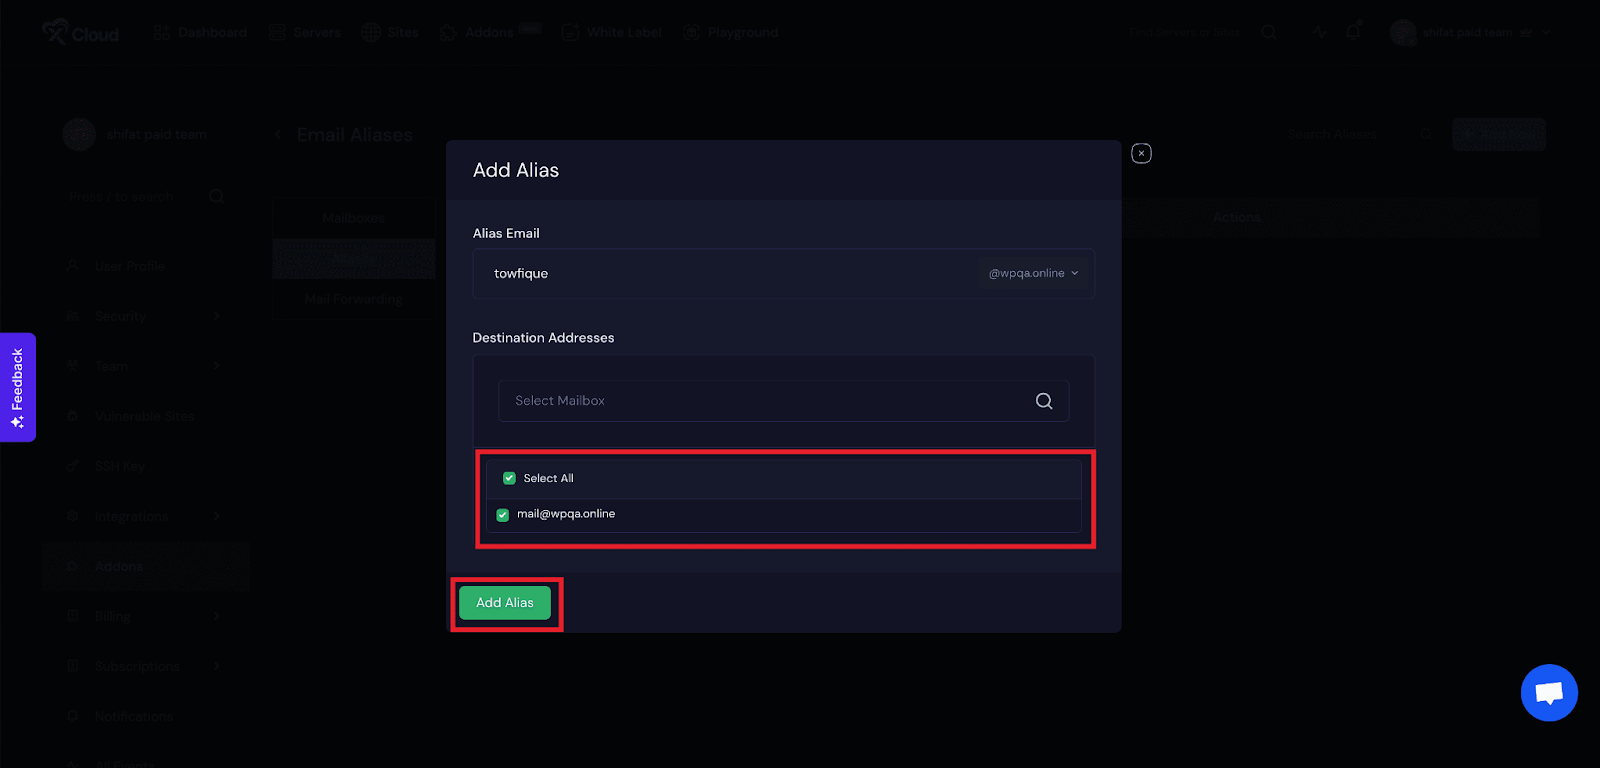
Click the ‘Add New’ button. A pop-up will appear allowing you to add a new alias email address. Enter the alias and select the domain from the dropdown menu.
Next, select the email address you wish to be a member of that alias. Finally, click on the ‘Add Alias’ button.
Next, you will see that your email address has been added as an Alias. You can also delete the email. Just click on the three-dot icon, choose the ‘Delete’ option, and click on the ‘OK’ button.

And that’s it. This is how easily you can set up aliases with the xCloud MailBox Addon. It is a simple way to manage multiple email addresses without the need for separate MailBoxes.
Still stuck? Contact our support team for any of your queries.


