


Mail forwarding allows you to automatically send a copy of incoming emails from one mailbox to another address. This is useful if you want to manage multiple email addresses from a single inbox.
For example, if you own info@yourdomain.com and want to receive those emails at your main address you@yourdomain.com, you can set up forwarding. All emails sent to info@yourdomain.com will automatically be forwarded to you@yourdomain.com. You can also forward emails from multiple mailboxes.
Follow the steps below to set up email forwarding with xCloud MailBox Addon:
Step 1: Go to Your MailBox Account #
First, log in to your MailBox account and click on the ‘Mail Forwarding’ tab in the dashboard.
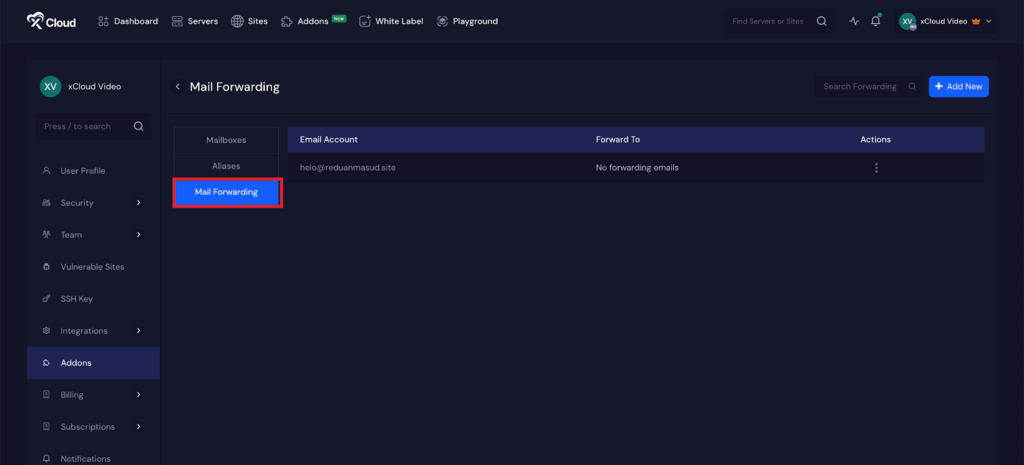
Step 2: Add a New Forwarding Email Address #
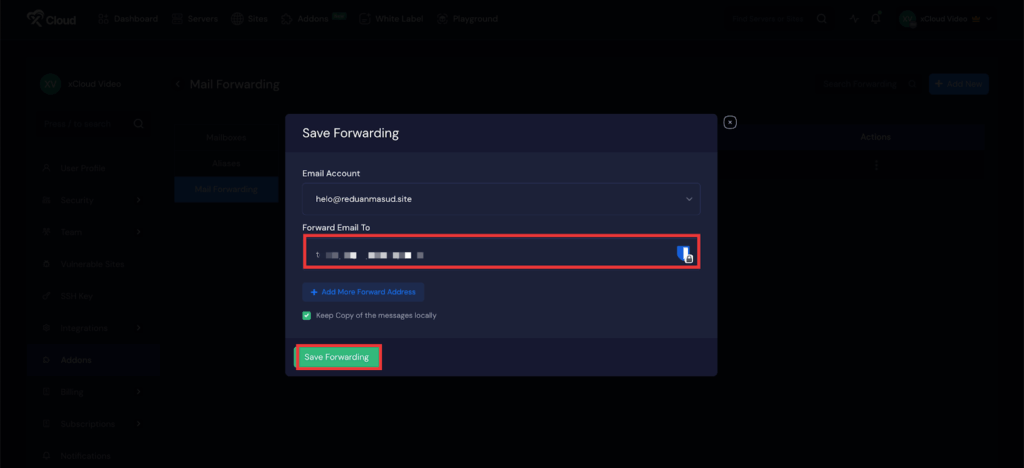
Click the ‘Add New’ button. A popup will appear allowing you to add a new forwarding email address. Select the email account you want to forward from using the dropdown menu.

Enter the destination email address in the ‘Forward email to’ field.If you want to keep a local copy of all forwarded messages, check the corresponding box.Finally, click on the ‘Save Forwarding’ button.
Note: You can set up to 20 forwarding addresses for each mailbox.
You can also add one or more forwarding addresses by clicking ‘Add More Forward Address’ to automatically forward all messages received in your account.
To delete an existing forwarding address, click the three-dot icon next to the address, select ‘Delete’, and save the changes by clicking the ‘Save’ button.
And that’s it this is how easily you can set up email forwarding with the MailBox Addon. It is a simple and effective way to manage multiple email accounts from a single inbox.
Still stuck? Contact our dedicated support team for any of your queries.


