


To upgrade from a free to a Paid Plan on xCloud Self Managed is easy. When you upgrade, you get access to all the features for your server and ensure that your service runs smoothly without interruptions.
Follow the steps below to upgrade from the free Self Managed Hosting tier to a Paid Monthly Plan is with step by step:
Step 1: Add a Payment Method #
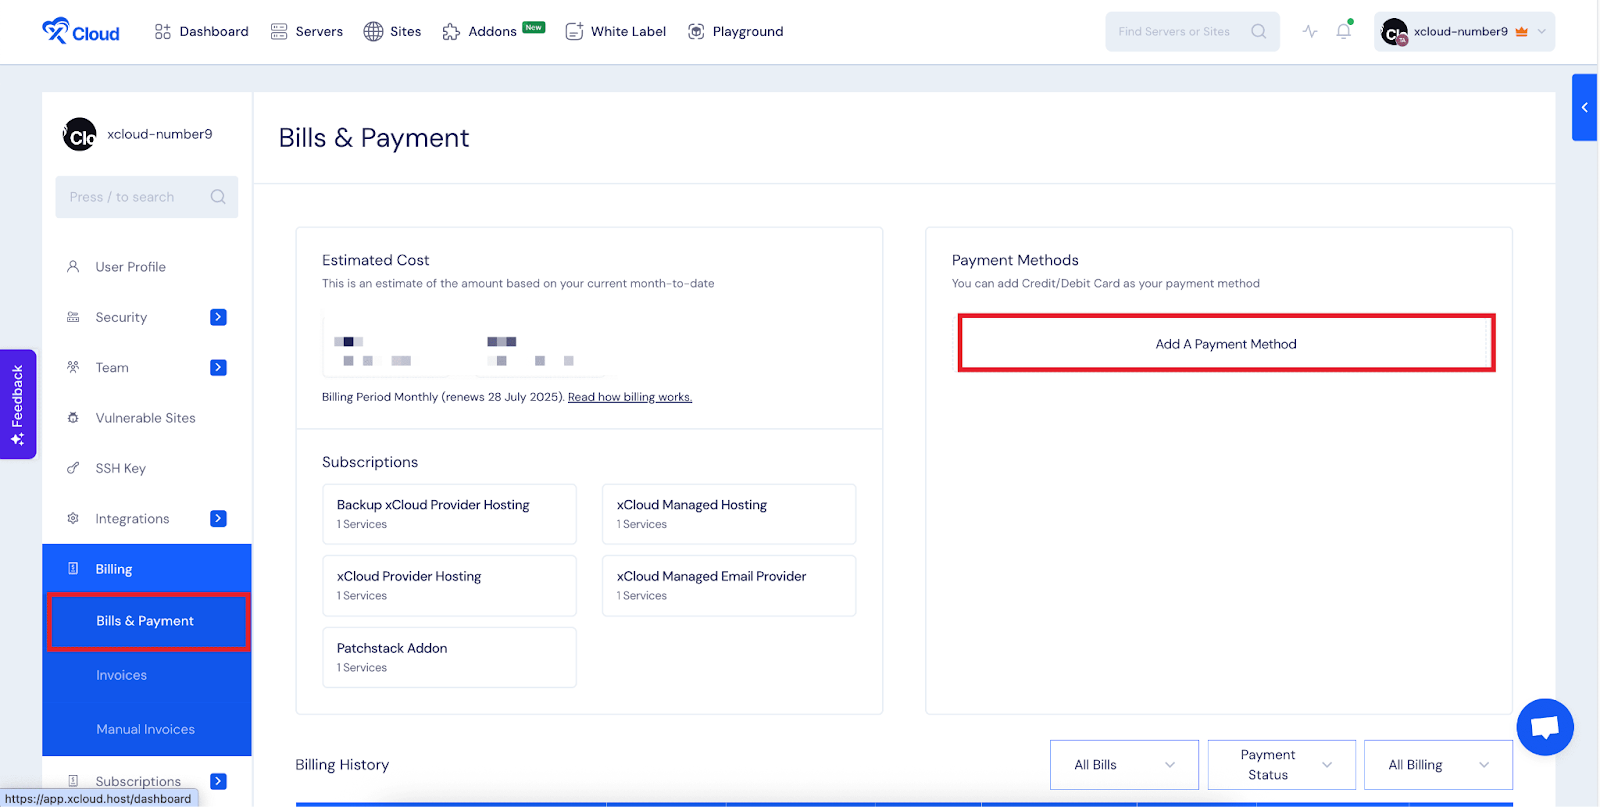
To start the upgrade process, you need to add a valid payment method to your xCloud account. First, go to the Bills & Payment section of your xCloud dashboard. You can access it directly by visiting this link.
On that page, find the box labeled Payment Methods. Inside the box, click on the Add A Payment Method button. A form will appear asking for your credit or debit card details. Fill in your card information and save it. This step ensures that xCloud can bill you correctly once your plan is upgraded.
Step 2: Locate Your Free Plan and Generate the Invoice #
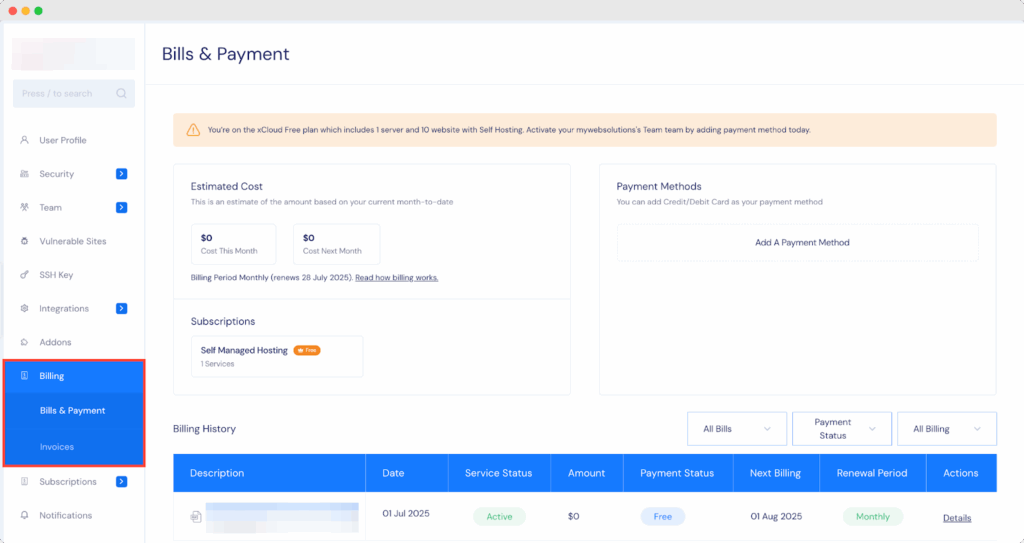
Once your payment method is added, stay on the same Bills & Payment page and scroll down until you reach the Billing History section. In this section, look for the most recent bill with the description Free – Self Managed Hosting.
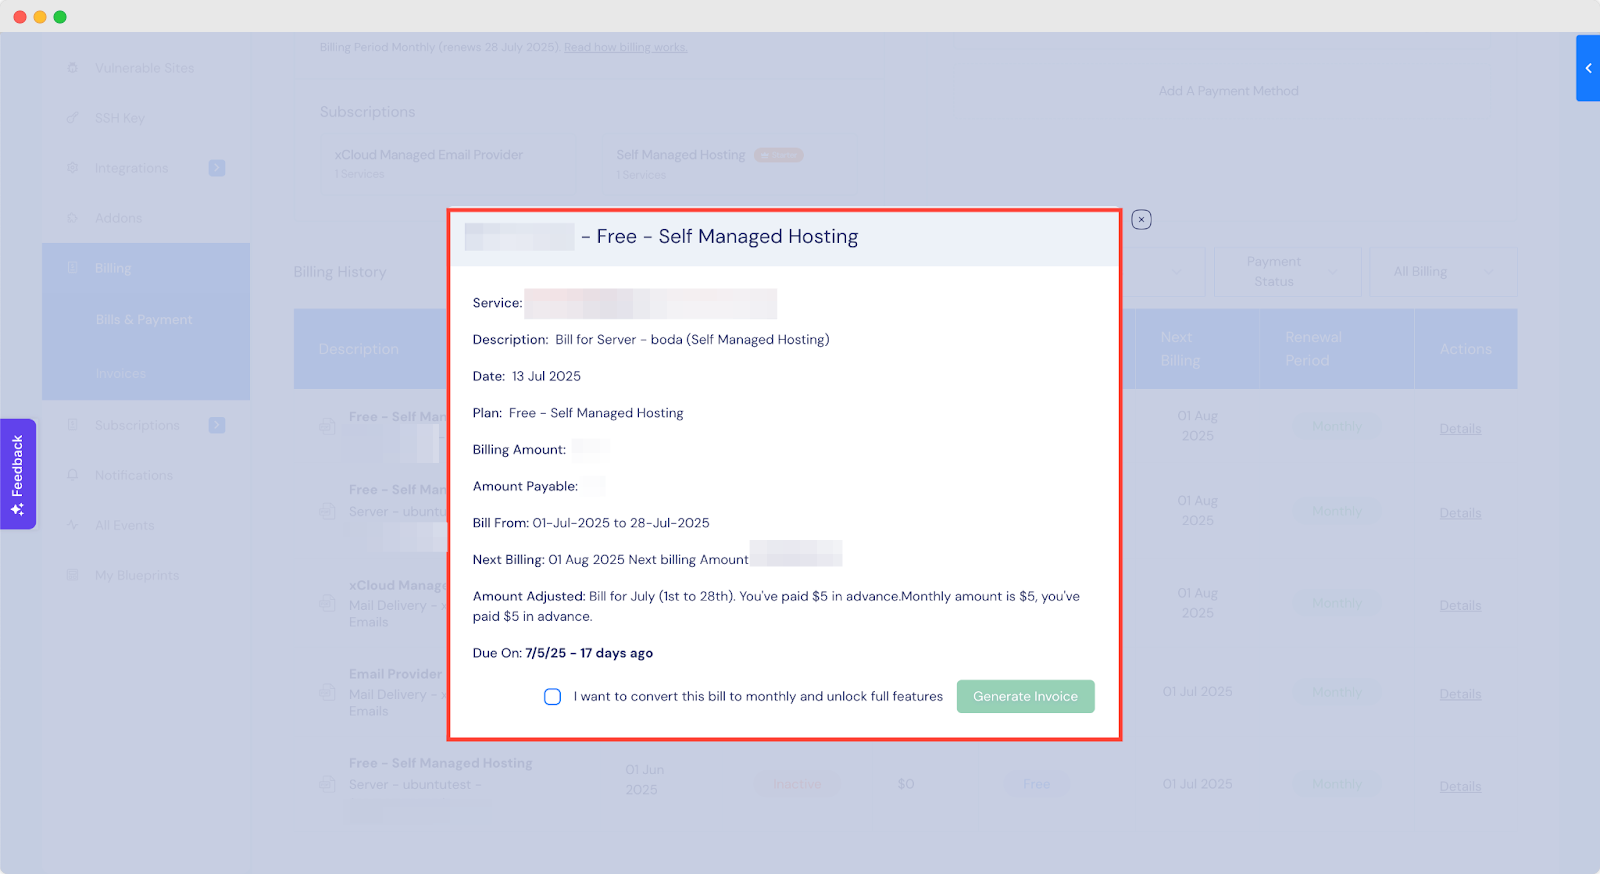
On the right-hand side of that bill entry, click on the Details button. A pop-up window will open showing the bill details. At the bottom of that window, you will see a checkbox next to the sentence “I want to convert this bill to monthly and unlock full features”. Tick that checkbox.
After you select the checkbox, the Generate Invoice button will become active. Click this button to create the new invoice for your upgraded plan. This invoice will reflect your transition from the free tier to the paid monthly plan.
Step 3: Pay the Newly Generated Invoice #
After generating the invoice, you need to complete the payment. Right after the invoice is created, a Pay Now button will appear. Click it to pay immediately and finalize the upgrade.
If you leave the page before paying, you can still access the unpaid invoice by going to the Invoices section of your dashboard. You can access it directly by visiting this link. From there, find the outstanding invoice and complete the payment.
Once your payment is successfully processed, your plan will automatically upgrade to the paid monthly tier. This unlocks all server features and ensures uninterrupted service moving forward.
And that’s it, by following these steps, you make sure your server has full access to features and stays active. If you run into any issues during the process, the xCloud support team is there to help.
Still stuck? Contact our support team for any of your queries.


