


Site Ruled lets you create and manage HTTP header rules and redirect rules for your WordPress site directly from the xCloud dashboard — no manual nginx config editing required. These web rules are validated against your live nginx config before being applied, and automatically rolled back if validation fails, so a bad rule can never break your site.
What Are Site Rules? #
Site Rules give you two types of control over how your site responds to HTTP requests:
- Header Rules: Add, modify, or remove HTTP response headers (e.g., security headers like X-Content-Type-Options, Strict-Transport-Security, custom headers for caching or CDN behavior)
- Redirect Rules: Create 301/302 redirects with optional conditions based on hostname, URI, query string, or device type — without touching .htaccess or nginx config files directly
Rules are processed in priority order, which you control with drag-and-drop sorting.
➡️ To ensure optimal performance and prevent misconfiguration, Site Rules enforces limits: you can create up to 10 Header Rules and 25 Redirect Rules per site.
Prerequisites #
- A WordPress site on an nginx-based server (LEMP stack)
- A paid xCloud plan (Web Rules is not available on the free plan)
- The site must be a production site (not a staging site)
⚠️ Web Rules is not available for OpenLiteSpeed (OLS) servers. The Web Rules nav item will show a “Soon” badge for OLS sites. It is also not available for non-WordPress applications (Laravel, custom PHP, Node.js, etc.).
Step 1: Open Web Rules #
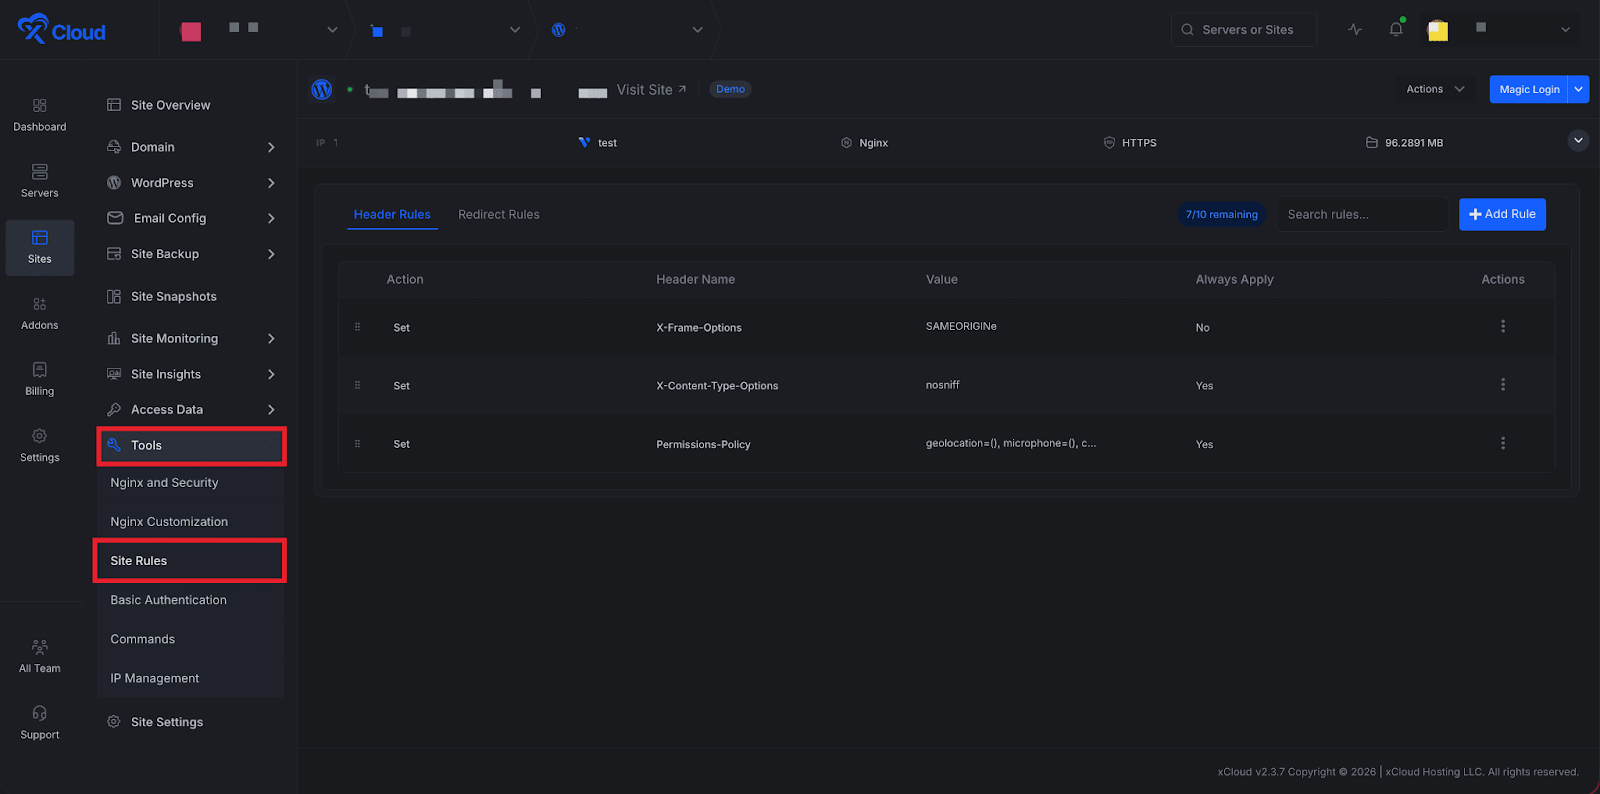
First, go to your site dashboard. From your site dashboard, go to Tools → Site Rules in the left sidebar.
Step 2: Choose a Rule Type #
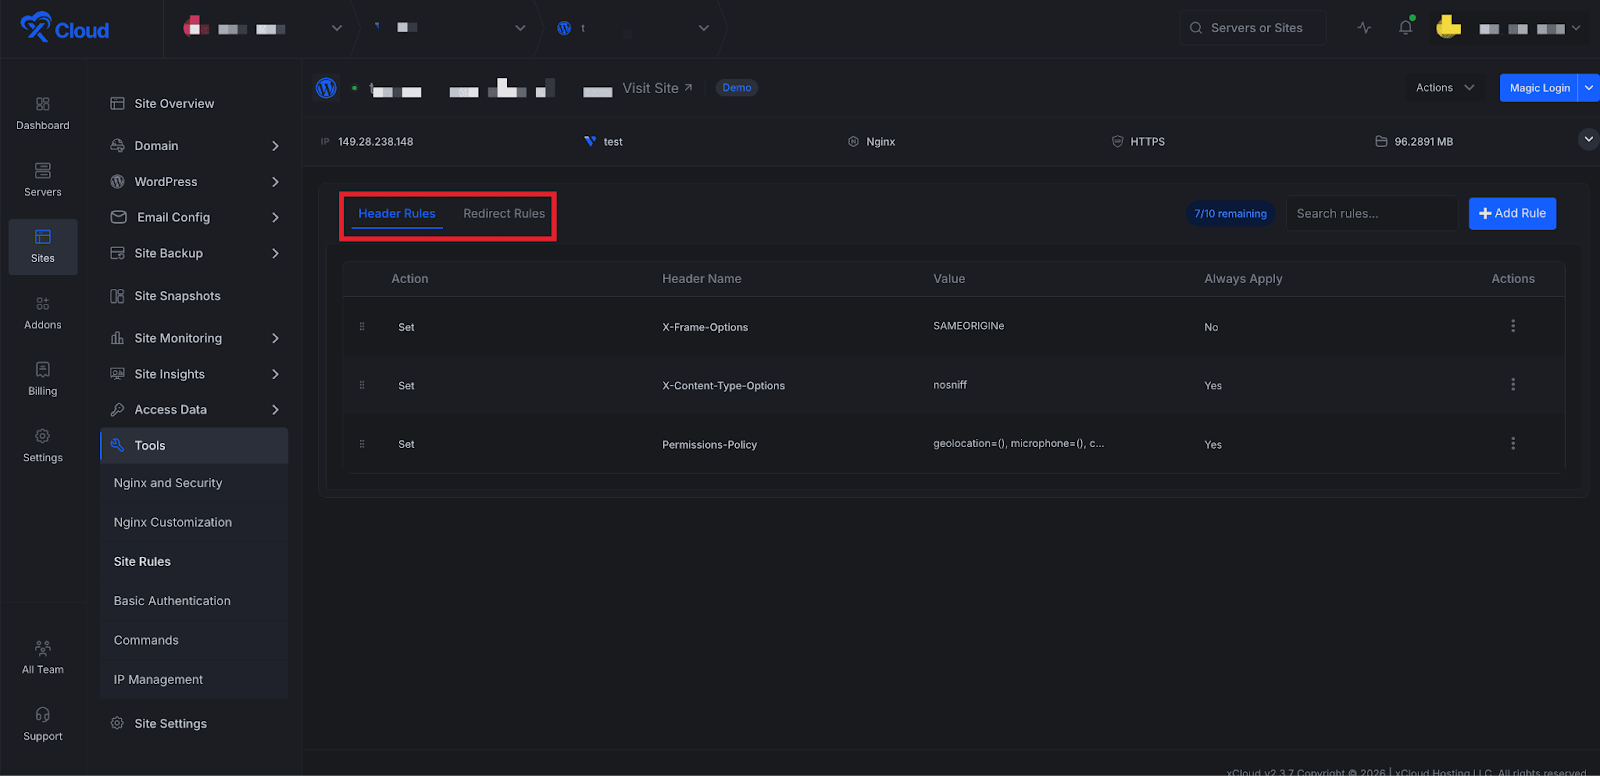
Next, you will find the two tabs:
- Header Rules — for managing HTTP response headers
- Redirect Rules — for managing URL redirects
Click the tab for the type of rule you want to create.
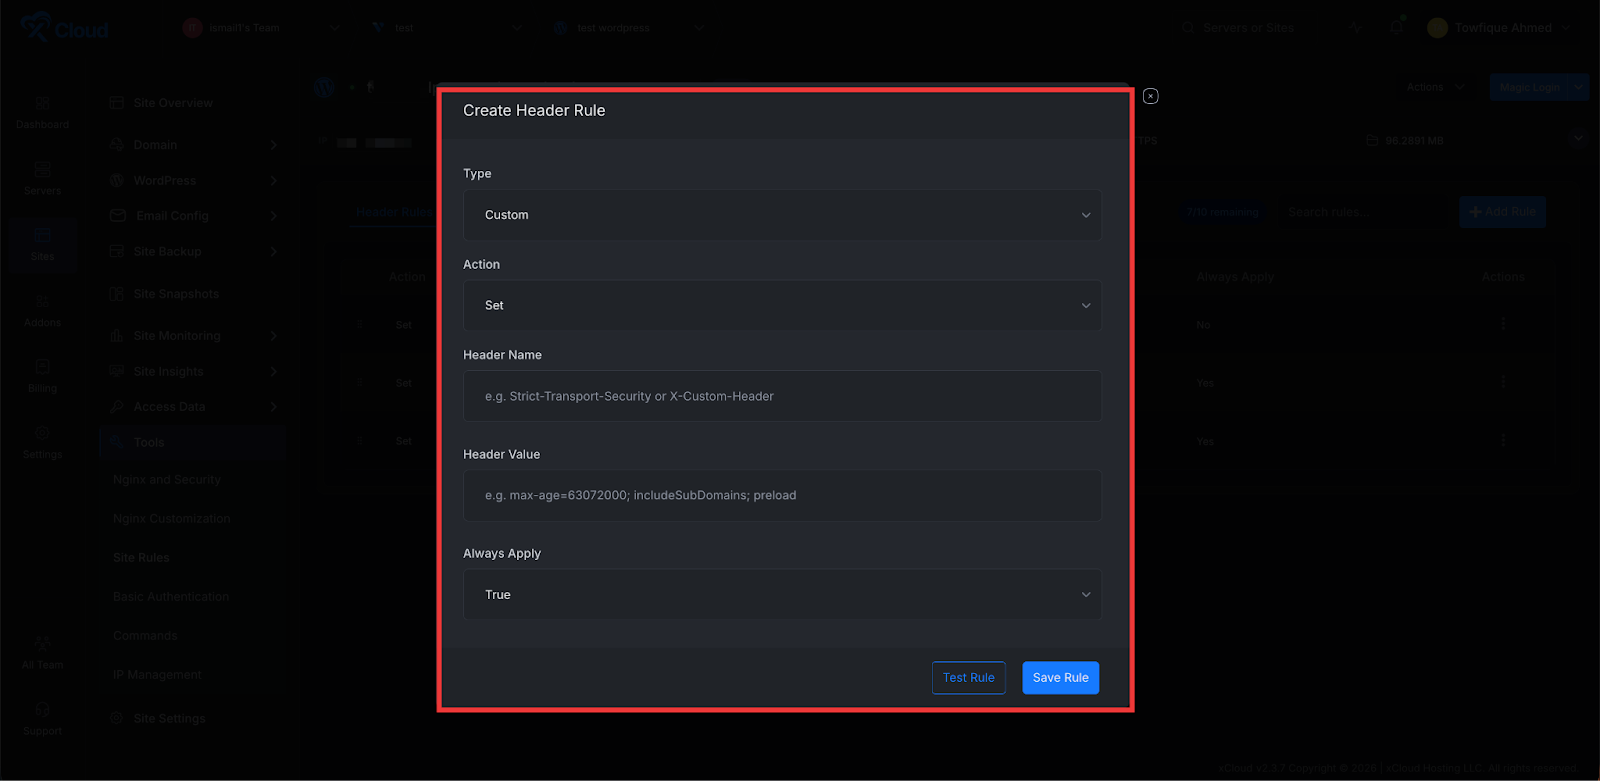
Step 3: Create a Header Rule #
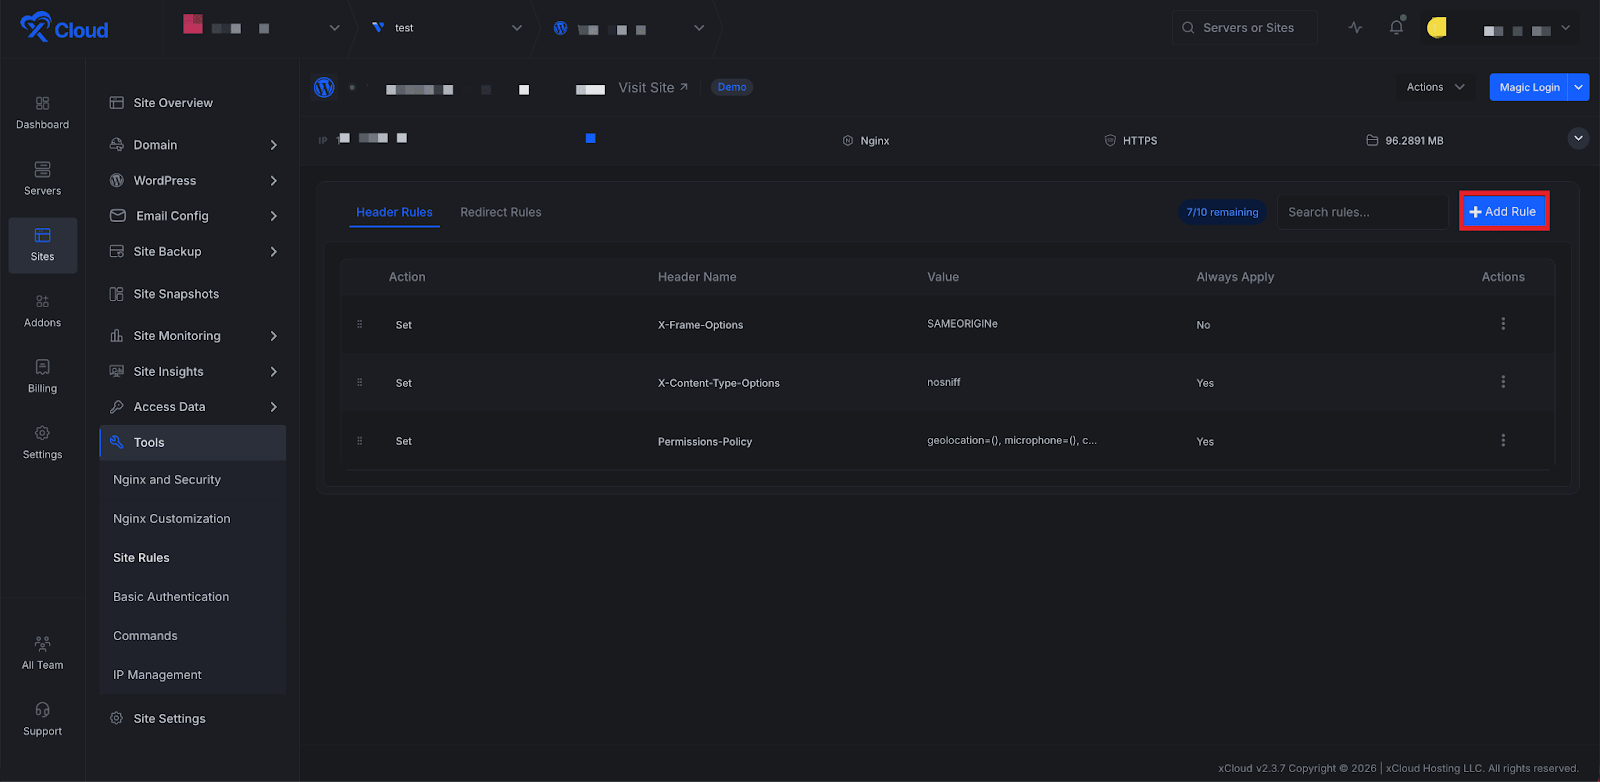
Click on the ‘Add Rule’ button from the top right of the dashboard to open the rule creation modal.
Fill in the following:
| Field | Description |
| Header Name | The HTTP header name (e.g., X-Content-Type-Options, Cache-Control). Only letters, numbers, and hyphens allowed. |
| Header Value | The value to set for the header (e.g., nosniff, no-store). Leave blank to remove the header. |
Click ‘Save Rule’. xCloud writes the rule to your nginx config, runs nginx -t to validate, and reloads nginx. If validation fails, the change is rolled back automatically and an error message is shown.
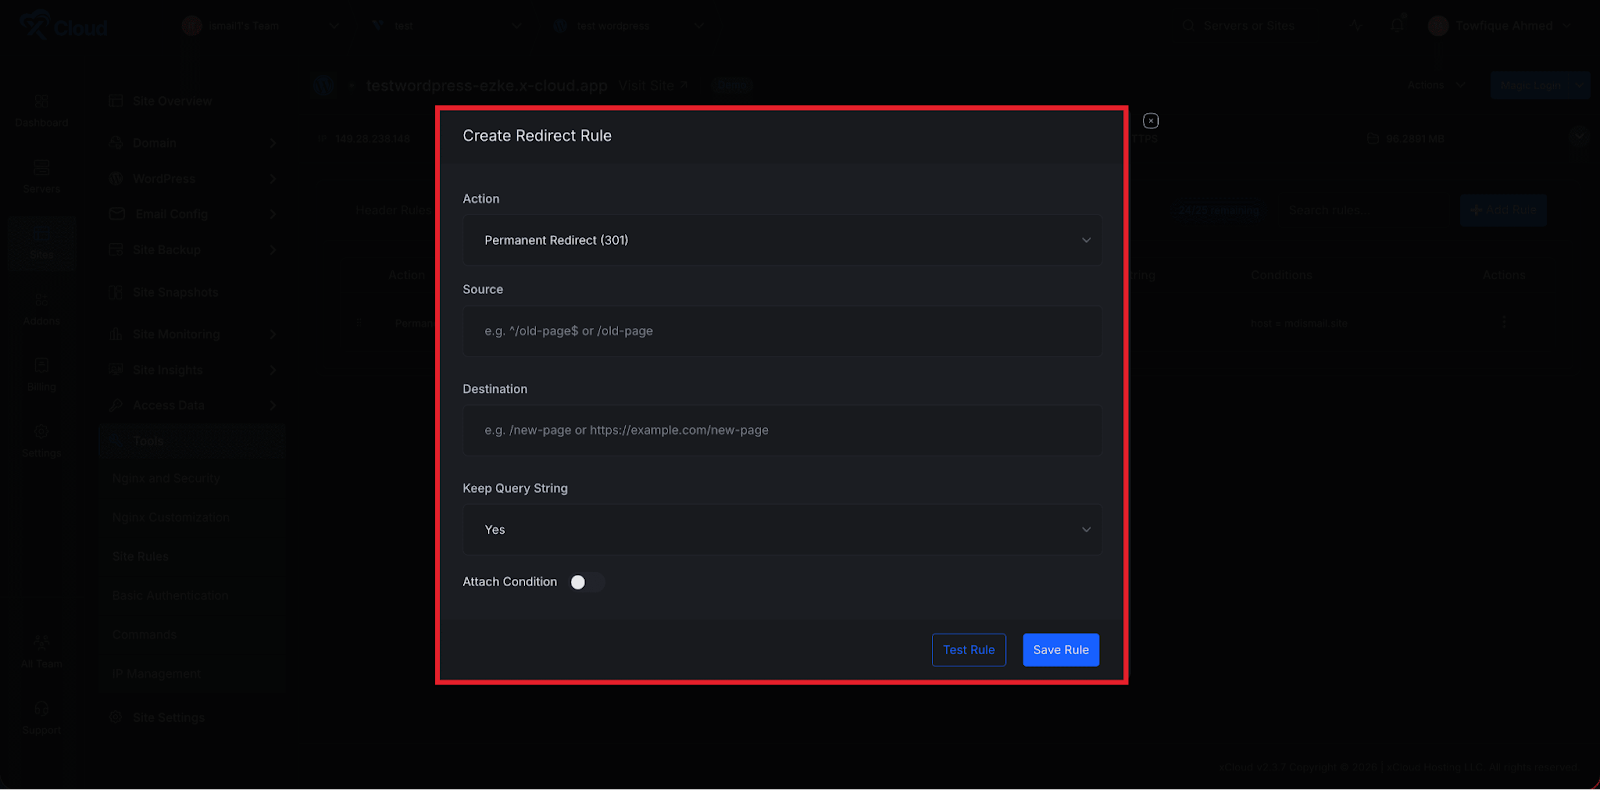
Step 4: Create a Redirect Rule #
Next, switch to the ‘Redirect Rules’ tab, then click on ‘Add Redirect’ rule.

Fill in the following:
- From (Source URL): The path to redirect from (e.g., /old-page)
- To (Destination URL): The full URL or path to redirect to (e.g., /new-page or https://example.com/new)
- Redirect Type: 301 (permanent) or 302 (temporary)
Click the ‘Save Rule’ button, and proceed to add the redirect rule
You can also check how a rule will behave without actually applying it to your site by using the ‘Test Rule’ button
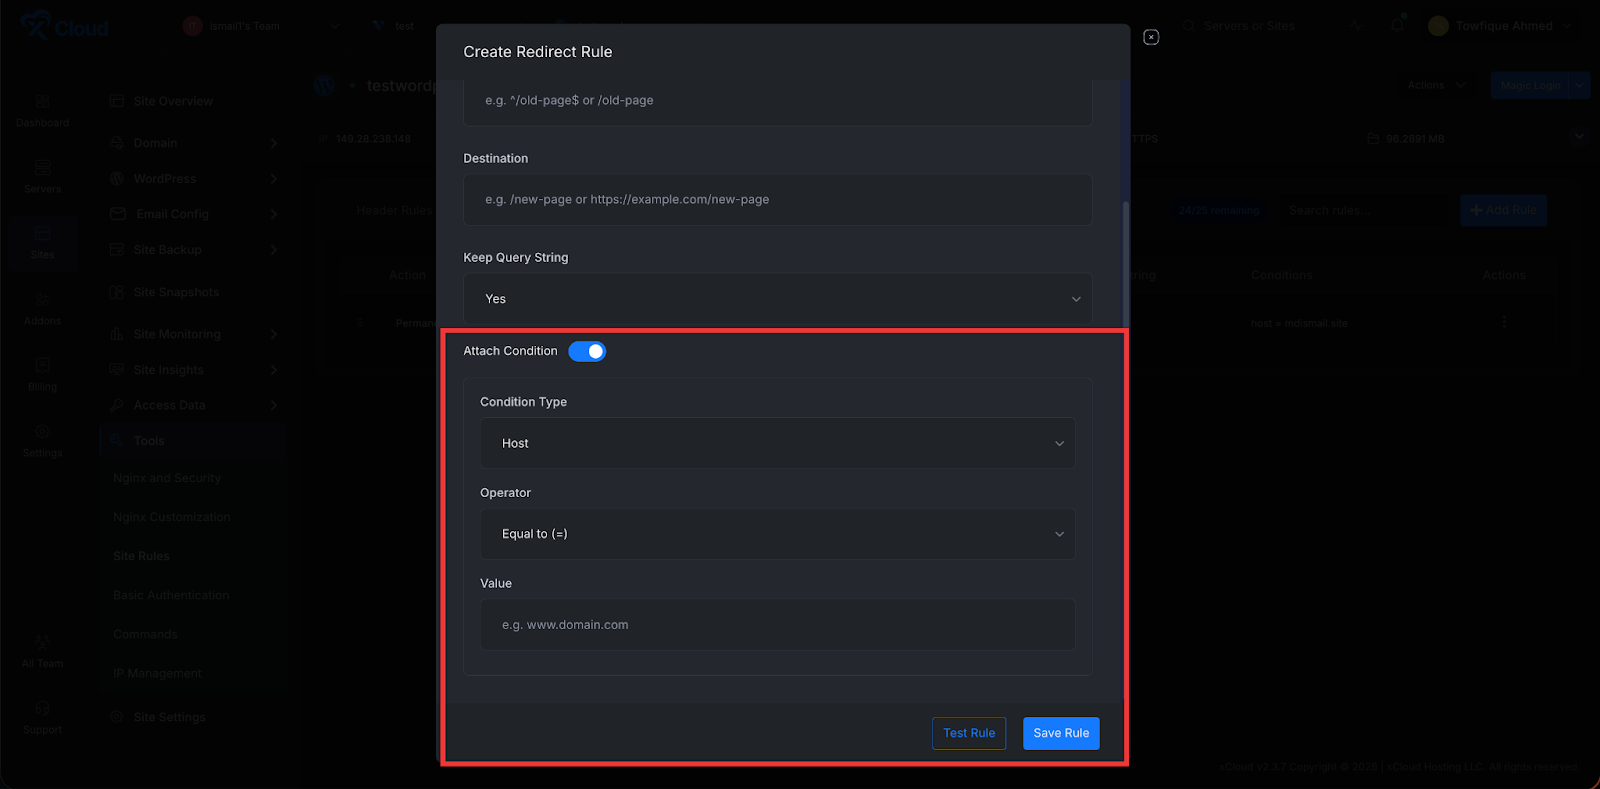
You can also add conditions that let you create conditional redirects. For example, redirecting mobile users to a different URL, or only redirecting when a specific query parameter is present.
Click on the ‘Attach Condition’ button to access the Conditions options. Restrict when the redirect applies based on hostname, URI pattern, query string, or device type
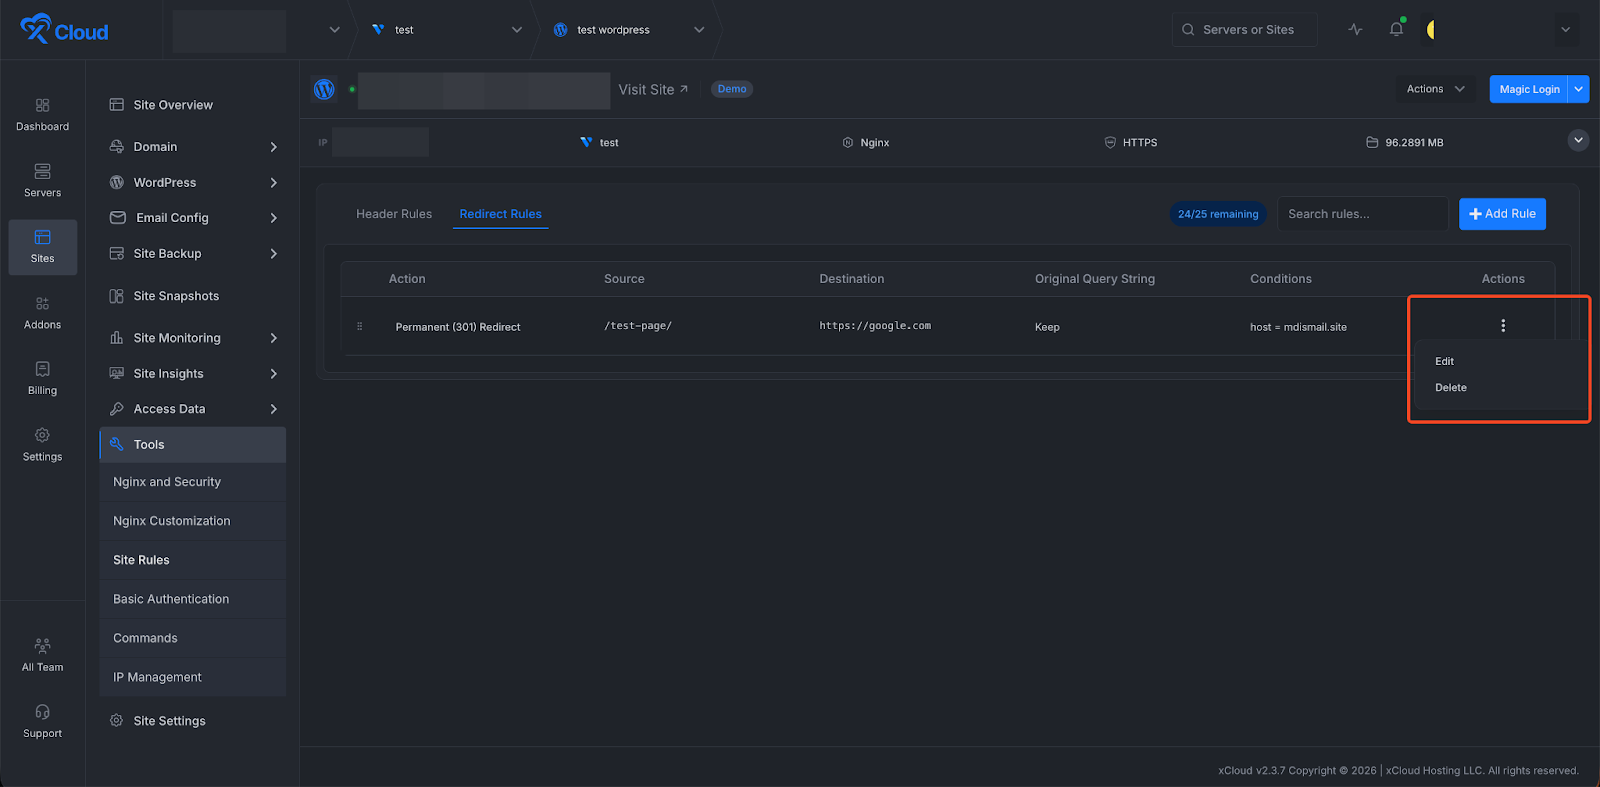
Step 7: Edit or Delete a Rule #
To edit a rule, click the edit icon on the rule’s row. The same modal opens with the existing values pre-filled. Make your changes and click Save Rule.
To delete a rule, click the delete icon and confirm. The rule is removed from your nginx config immediately.
Troubleshooting #
- Web Rules does not appear in the sidebar. → Web Rules is only available for WordPress sites on nginx servers with a paid plan. Verify your site is WordPress (not Laravel or custom PHP), your server uses the LEMP/nginx stack (not OpenLiteSpeed), and your team is on a paid plan.
- Saving a rule returns a config validation error. → Your rule contains a syntax issue that failed nginx -t. The change was automatically rolled back — your site is unaffected. Review the error message shown in the modal, correct the header value or redirect pattern, and try again.
- A header rule is saved but the header does not appear in the browser. → Also, verify the rule is not being overridden by another rule higher in the priority order. Header rules apply to PHP responses — static files served by nginx directly (images, CSS, JS) may not receive headers from header rules.
- A redirect isn’t triggering. → If you added conditions, verify the condition values are correct (exact hostname, correct query param name). Redirect rules are evaluated before PHP processing — if another nginx rule handles the request first, the redirect may not fire.
- I hit the rule limit but need more rules. → Contact our Support Team to discuss options. Consider consolidating rules where possible — multiple header values can sometimes be combined into a single rule.
- Test Rule shows success but the live rule isn’t working. → The test validates nginx syntax, not rule logic. A syntactically valid rule can still produce unexpected behavior. Test your redirect in a browser using the Network tab in DevTools (look for the 301/302 response) or test headers using curl -I https://yoursite.com.


