


Lovable is a modern AI-powered application-building platform designed to help anyone create user-friendly, scalable, and production-ready applications and websites through chatting.
Set up Lovable on AWS with xCloud quickly and easily. This guide walks you through the basic steps to configure and launch Lovable on a AWS server, helping you streamline deployment and manage your application with minimal effort
You can easily set up an AWS server in xCloud for both EC2 and Lightsail instances. Now let us follow these steps to get you started.
Step 2: Create Your AWS Server In xCloud #
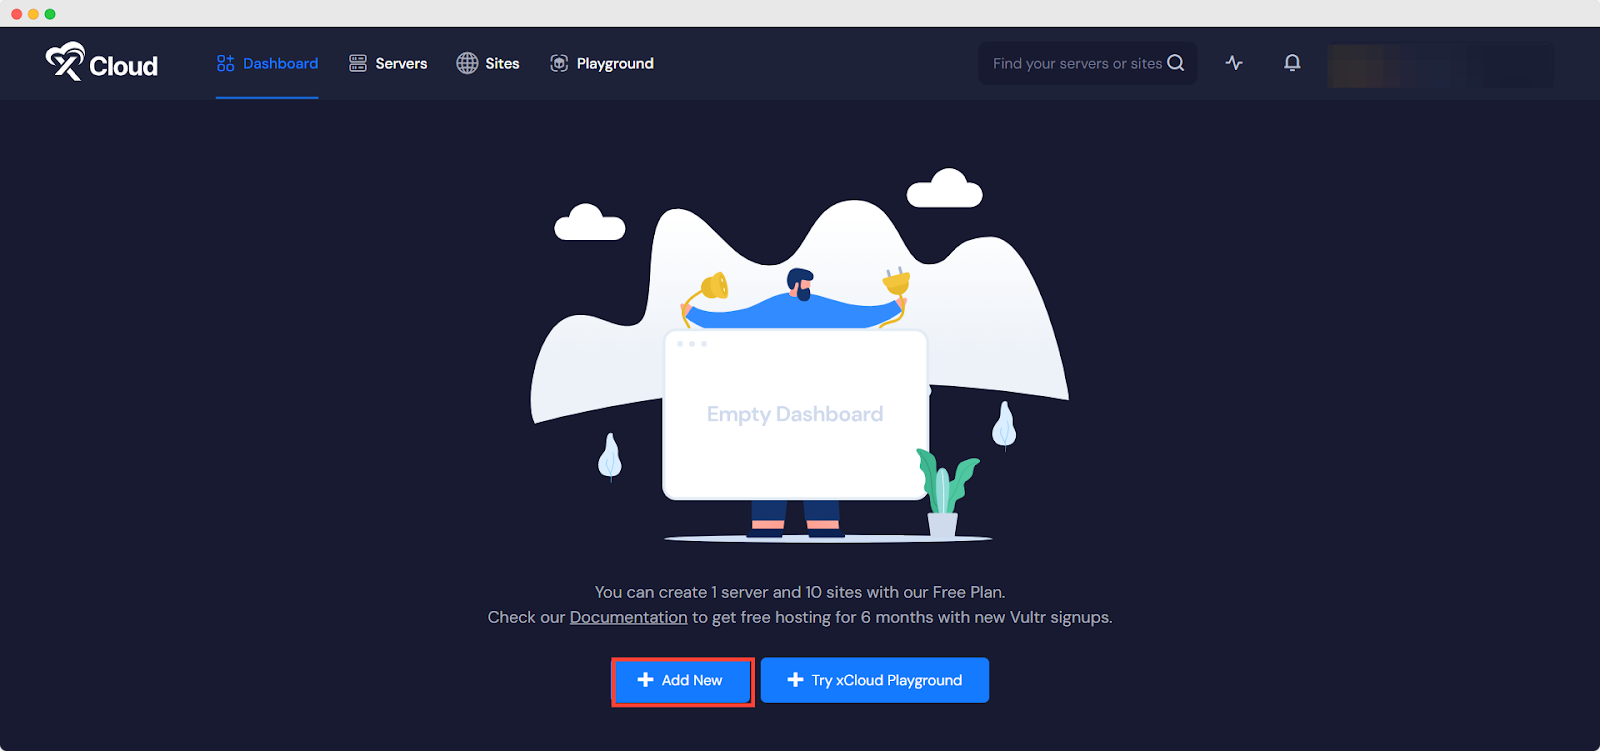
After logging in to your xCloud account, start by adding a new server by clicking on the ‘Add New Server’ button from your dashboard.
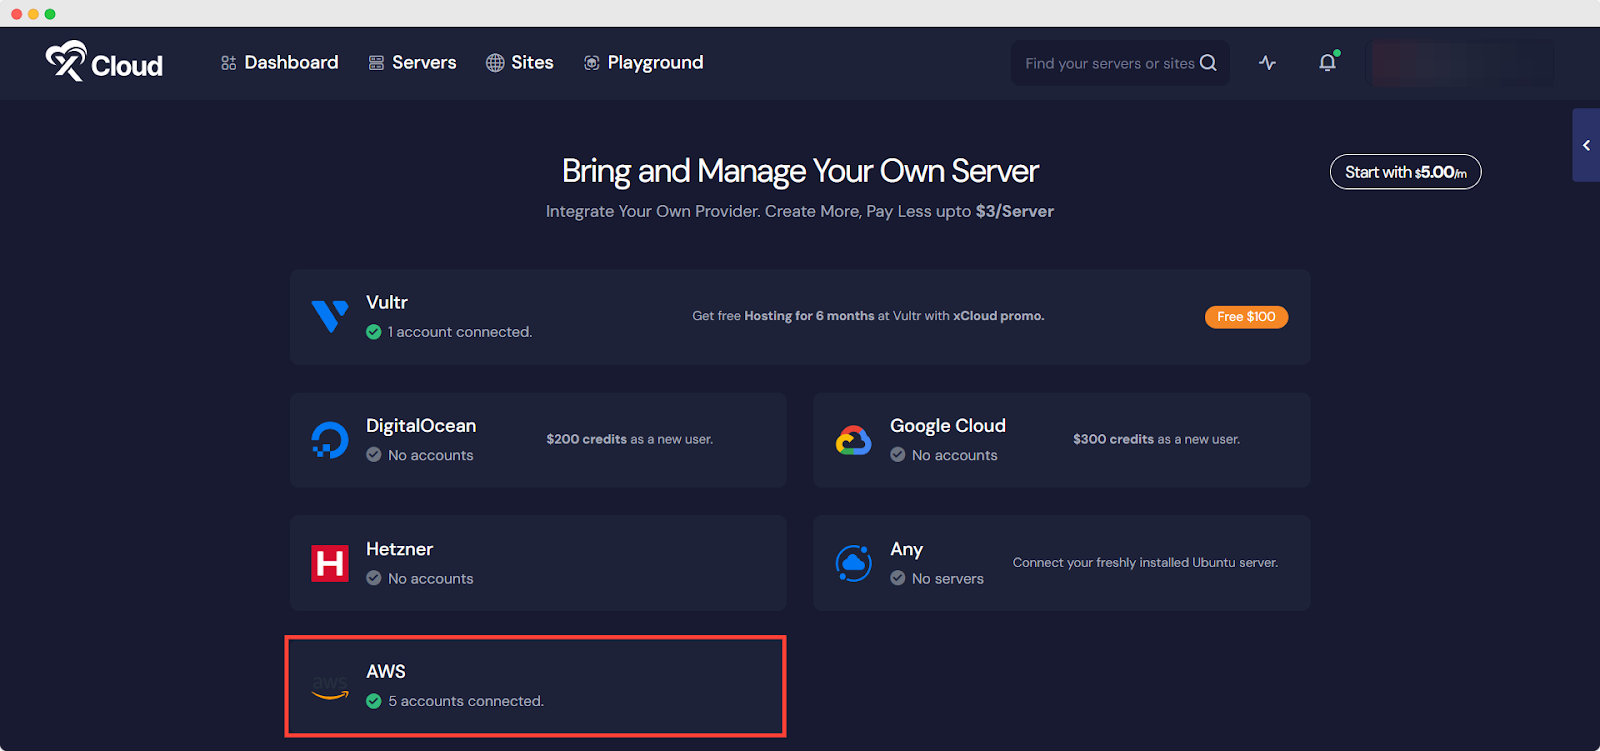
The next screen will provide the list of our available server providers. Select the AWS option from the list. The billing of the server will be handled on your AWS account.
Step 3: Sign In to the AWS Management Console #
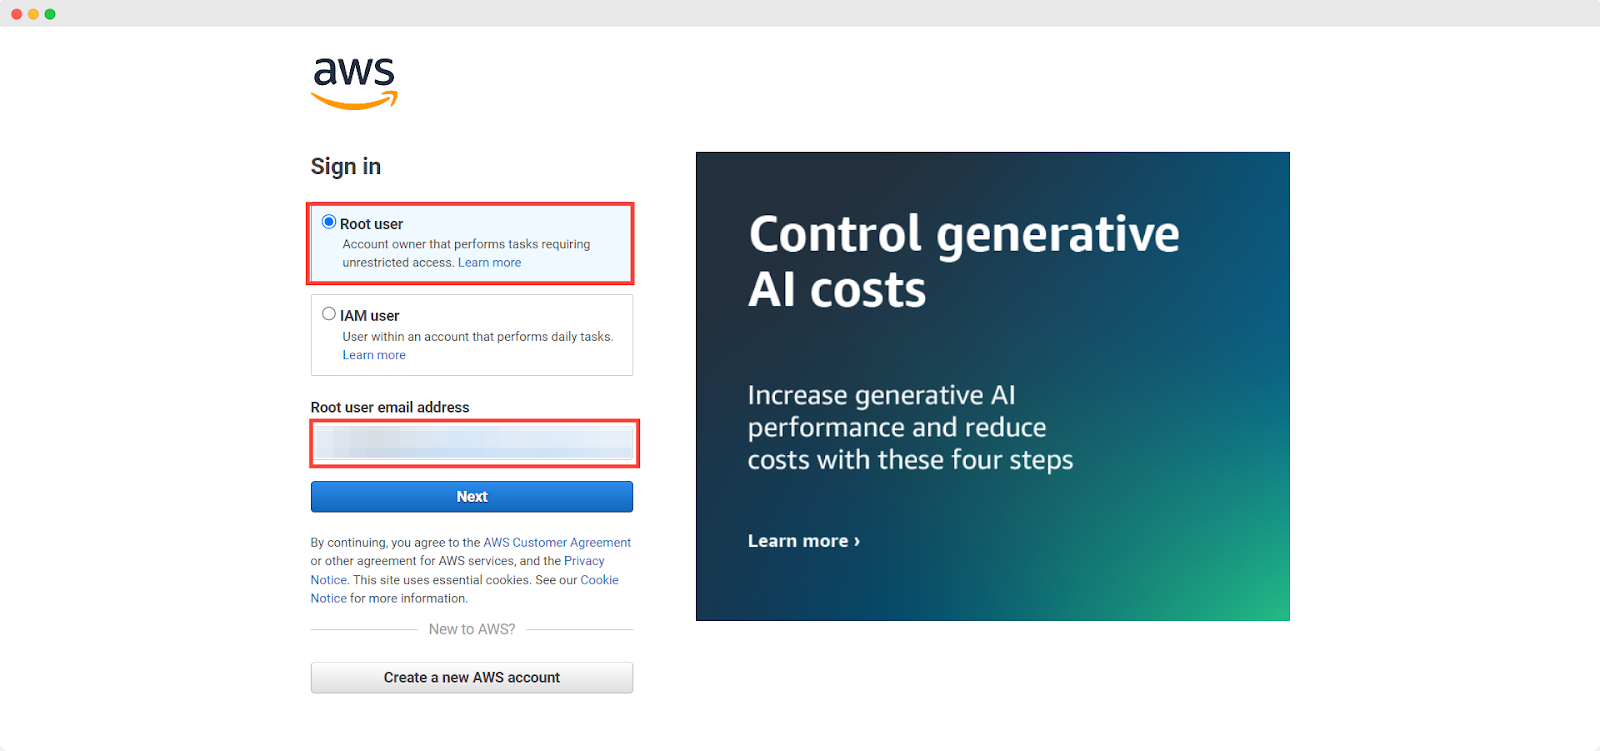
Now, before going to the next step, you need to log in to the AWS management console. Sign in as a ‘Root User’ to the AWS Management Console using your AWS account credentials. Once logged in, navigate to the main dashboard where you can access various AWS services.
Step 4: Navigate to the IAM Console #
From the AWS Management Console, click on the Services menu located at the top left corner or search with “IAM” and select IAM from the list of services. This will direct you to the IAM dashboard, where you can manage users, groups, roles, and policies.

Step 5: Add a New User #
On the IAM dashboard, locate and click on the Users option in the left navigation panel. This will display a list of existing IAM users. To create a new user, click on the ‘Create User’ button.

Step 6: Configure User Details #
In this step, enter a unique ‘Username’ for the new IAM user. Next, choose the type of access the user requires. Check-in ‘AWS Management Console’ access option if the user requires access to the AWS Management Console and click on the ‘Next’ button.
Step 7: Set Permissions for Amazon EC2 Instance #
You have three options to set permissions for the new user. The first one is ‘Add user to group’ which lets you add the user to an IAM group with predefined permissions, which is efficient for managing multiple users with similar access needs. The second one is ‘Copy permissions’ which enables you to duplicate the permissions of another IAM user. And the final policy ‘Attach policies directly’ allows you to assign AWS-managed policies or custom policies.
Here we are choosing the ‘Attach policies directly’ and assigning the access for Amazon EC2 Instance to the user and hit on the Next.
Note: If you do not find the EC2 Access here, search for the policy in the search bar.
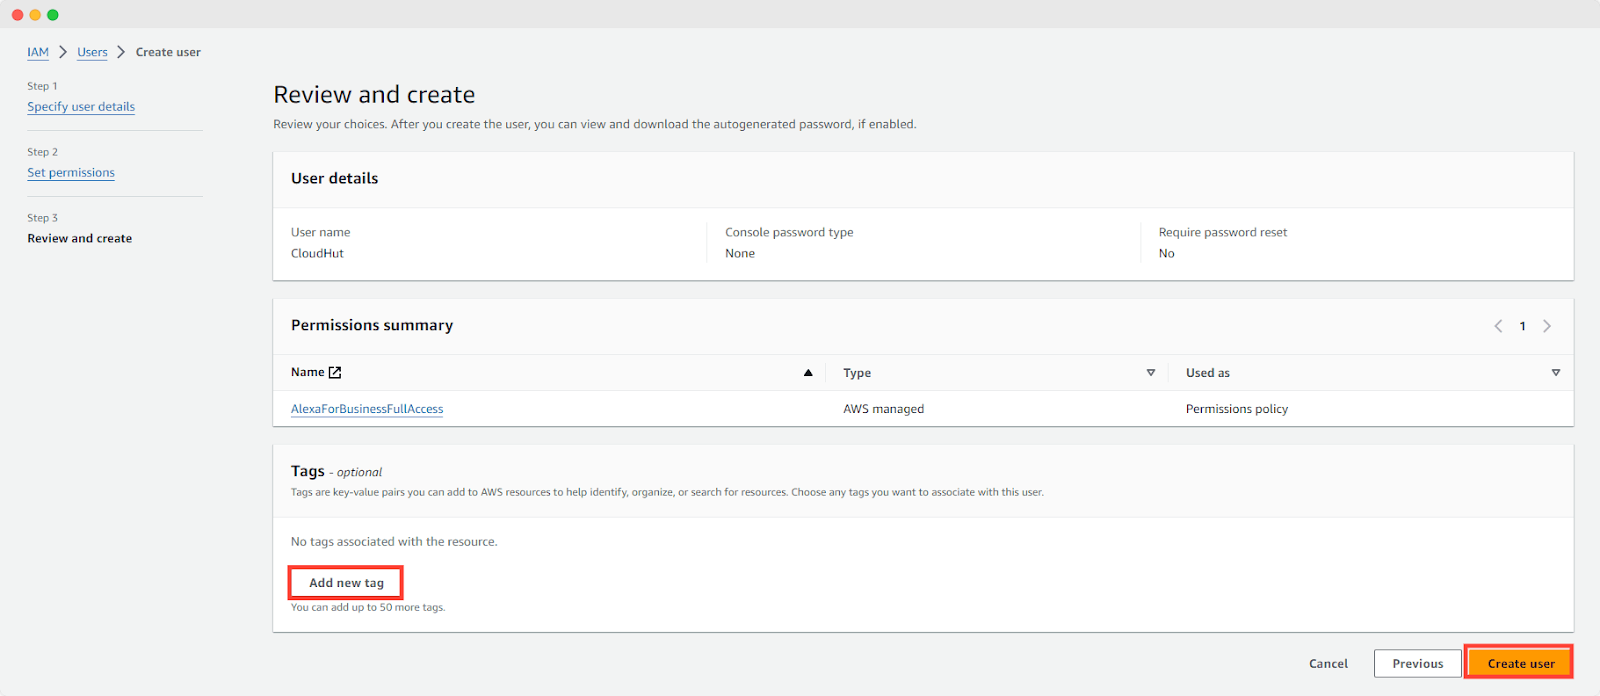
Step 8: Add Tags, Review and Create #
You can add ‘Tags’ to help organize and manage users. Now carefully review all the details and permissions assigned to the new IAM user. If everything is accurate and complete, click the ‘Create user’ button to finalize the creation of the IAM user.
Step 9: Give Another permission for Amazon Lightsail #
Now, set another permission for the new user for Amazon LightSail easily. To specify the permissions for the created user, go to the Permission Policies and click on the ‘Add Permissions Menu’. Choose the ‘Create Inline Policy’ option from the dropdown menu.

Click on the ‘JSON’ button from the Policy Editor and paste the below given JSON code in the editor. Finally, tap on the ‘Next’ button.
Here is the JSON code:
{
     "Version": "2012-10-17",
     "Statement": [
         {
             "Sid": "VisualEditor0",
             "Effect": "Allow",
             "Action": [
                 "lightsail:GetInstances",
                 "lightsail:GetKeyPair",
                 "lightsail:DeleteKeyPair",
                 "lightsail:GetStaticIp",
                 "lightsail:ReleaseStaticIp",
                 "lightsail:SetIpAddressType",
                 "lightsail:CreateInstances",
                 "lightsail:GetInstance",
                 "lightsail:GetInstanceAccessDetails",
                 "lightsail:DeleteInstance",
                 "lightsail:CreateKeyPair",
                 "lightsail:ImportKeyPair",
                 "lightsail:StartInstance",
                 "lightsail:DownloadDefaultKeyPair",
                 "lightsail:GetInstancePortStates",
                 "lightsail:StopInstance",
                 "lightsail:AttachStaticIp",
                 "lightsail:GetRegions",
                 "lightsail:RebootInstance",
                 "lightsail:GetOperation",
                 "lightsail:DetachStaticIp",
                 "lightsail:GetInstanceState",
                 "lightsail:GetBundles",
                 "lightsail:TagResource",
                 "lightsail:PutInstancePublicPorts"
             ],
             "Resource": "*"
         }
     ]
 }
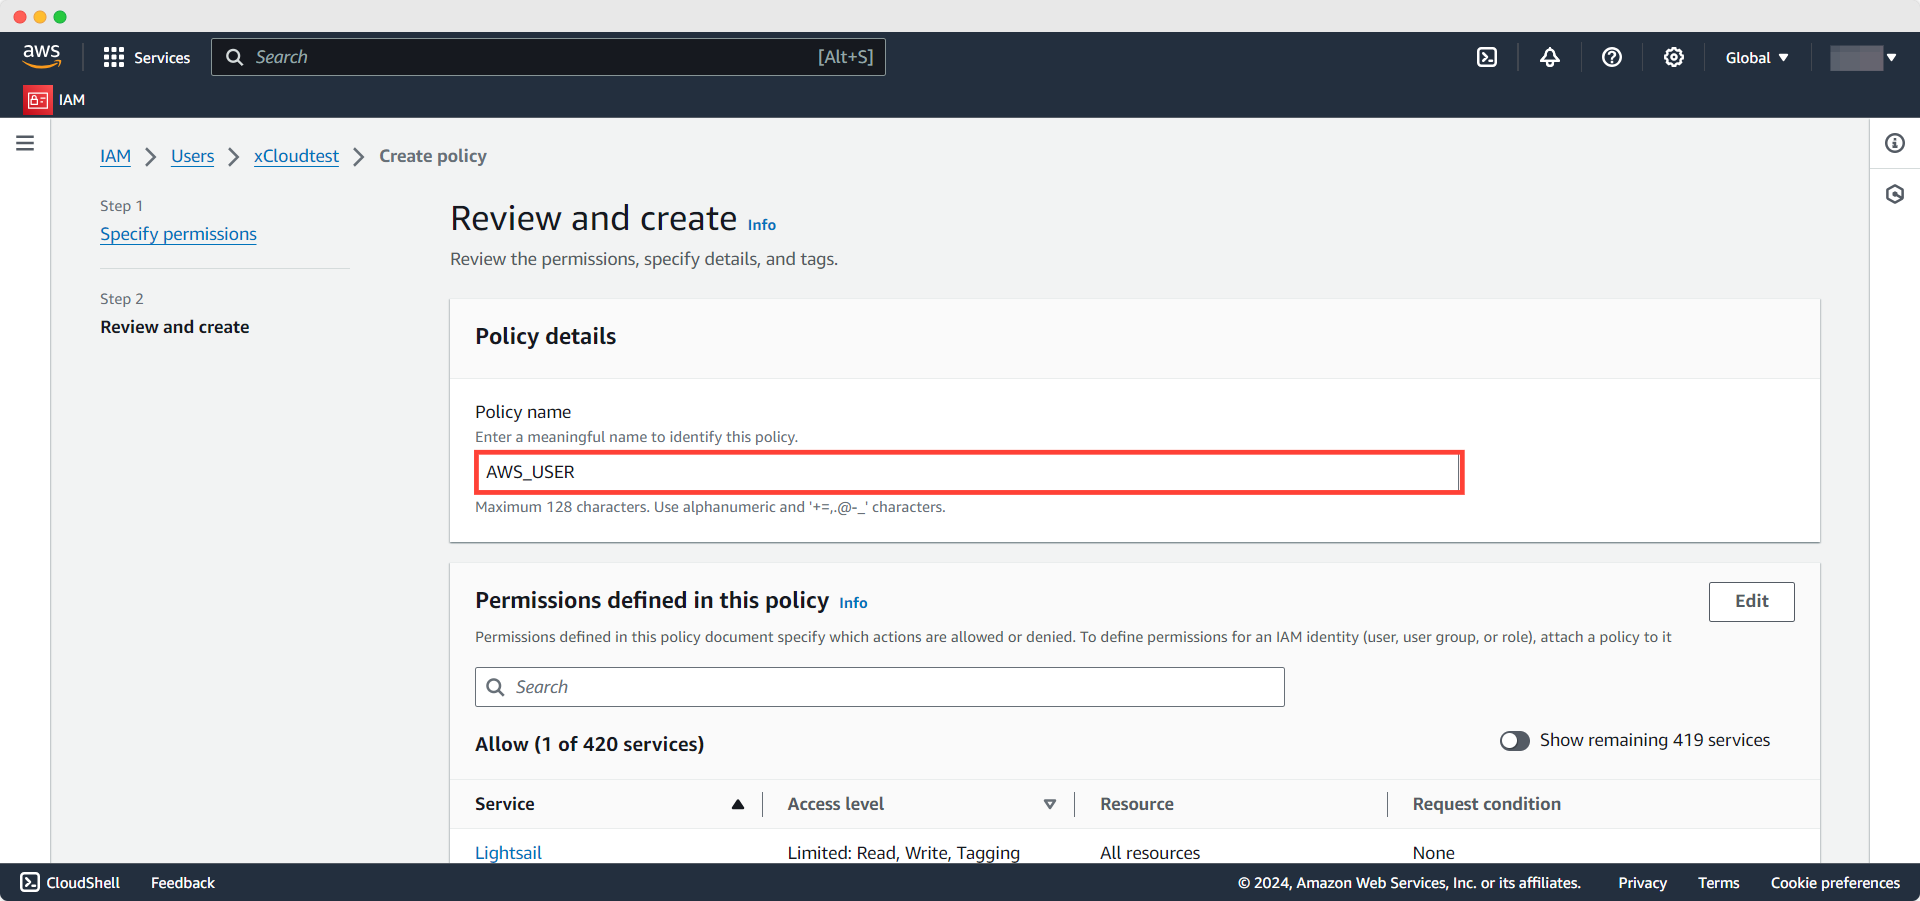
Once the policy is created for Lightsail instance, give the policy a name and hit on the ‘Create Policy’ button.
Step 10: Create & Retrieve a User Access Key #
Now we have to create a user access key. Find ‘Create access key’ under the Summary tab and click on it. Then you will be redirected to the Access Key best practices & Alternatives page, from here select the ‘Other’ option and click on Next.

Now give a Description Tag to proceed to create an access key. Once the access key is created copy the Access Key and Secret from from here and go back to your xCloud Dashboard to integrate the server with xCloud.
Step 11: Connect the Account & Add Necessary Information #
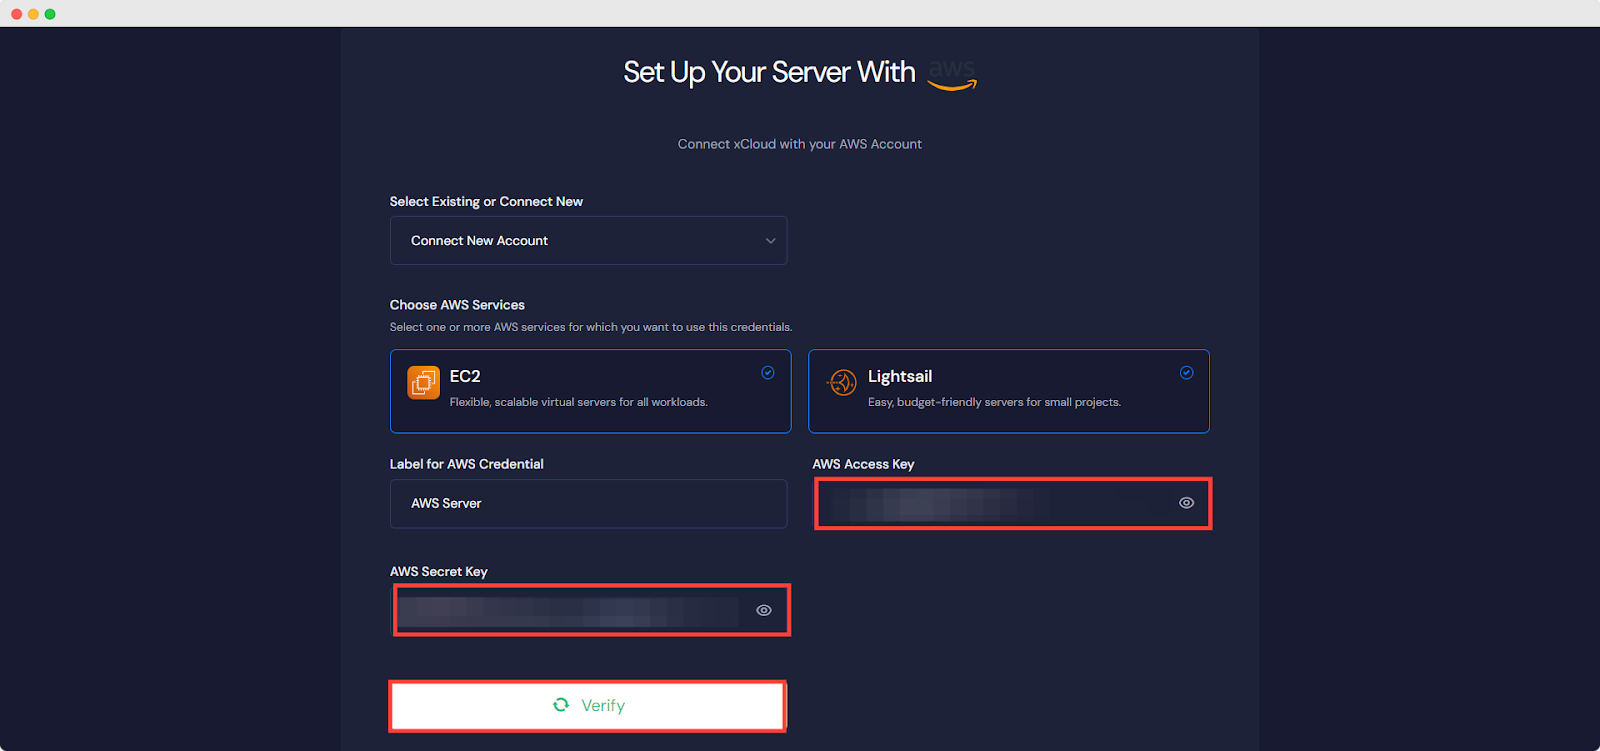
From the AWS dashboard, select an existing or connect new account from the dropdown menu. Then choose the AWS services from, you can use any one with the proper credentials or both from the xCloud dashboard.
Note: EBS-supported instances of AWS are not supported. For example, T3 instances use EBS storage. These instances are not available through the API. However, you can set up such instances manually in your AWS account first and then add them through the Any Provider method in xCloud.
As you have the Access Key and Secret Key Paste them into the designated blank boxes one by one carefully. Now click on ‘Verify’ button, it will start verifying the credential and connect you with the AWS server.
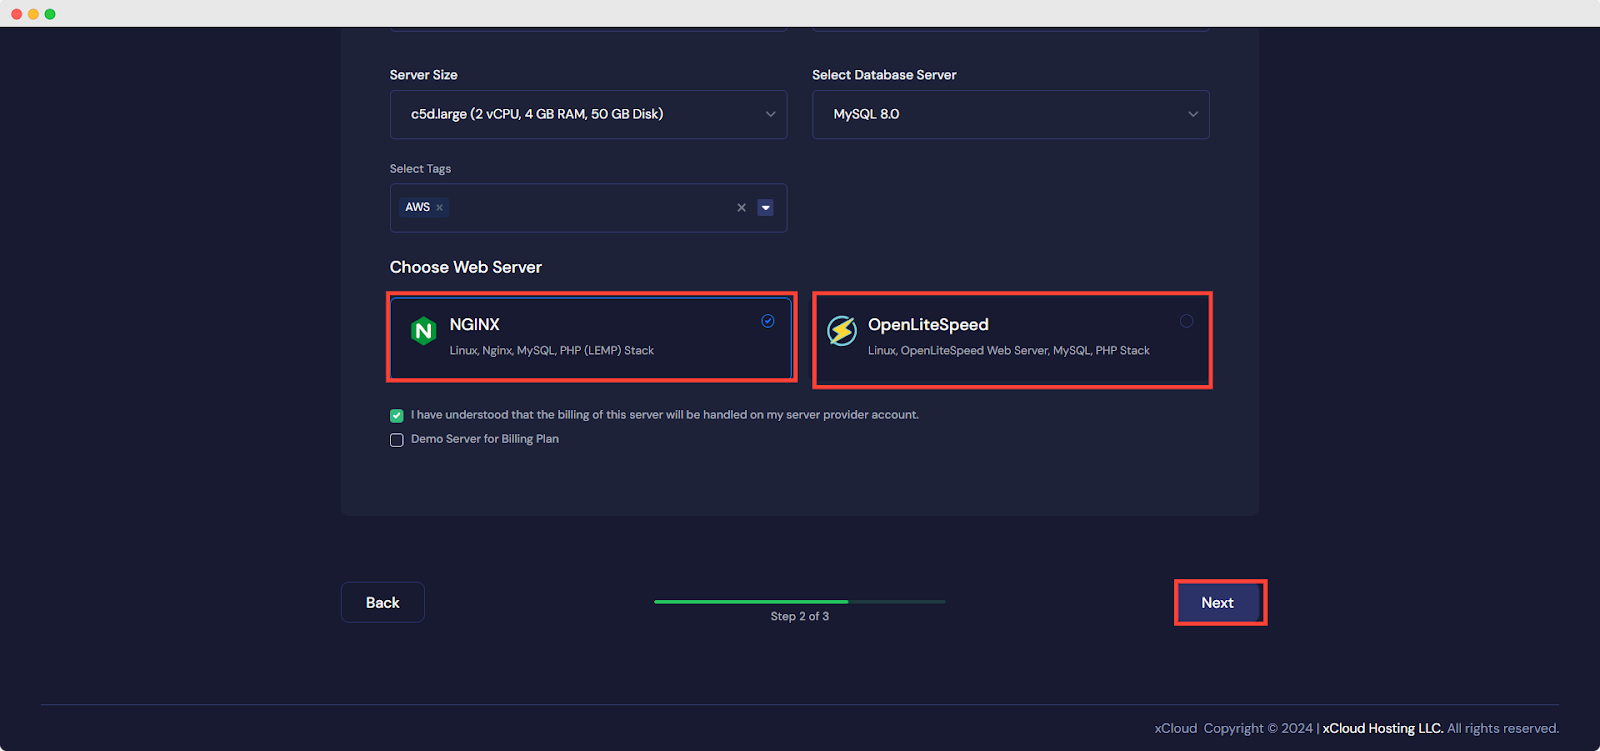
Fill all the information like ‘Server Name’, ‘Server Region’, ‘Server Zone’,’Server Size’, etc according to your preference.
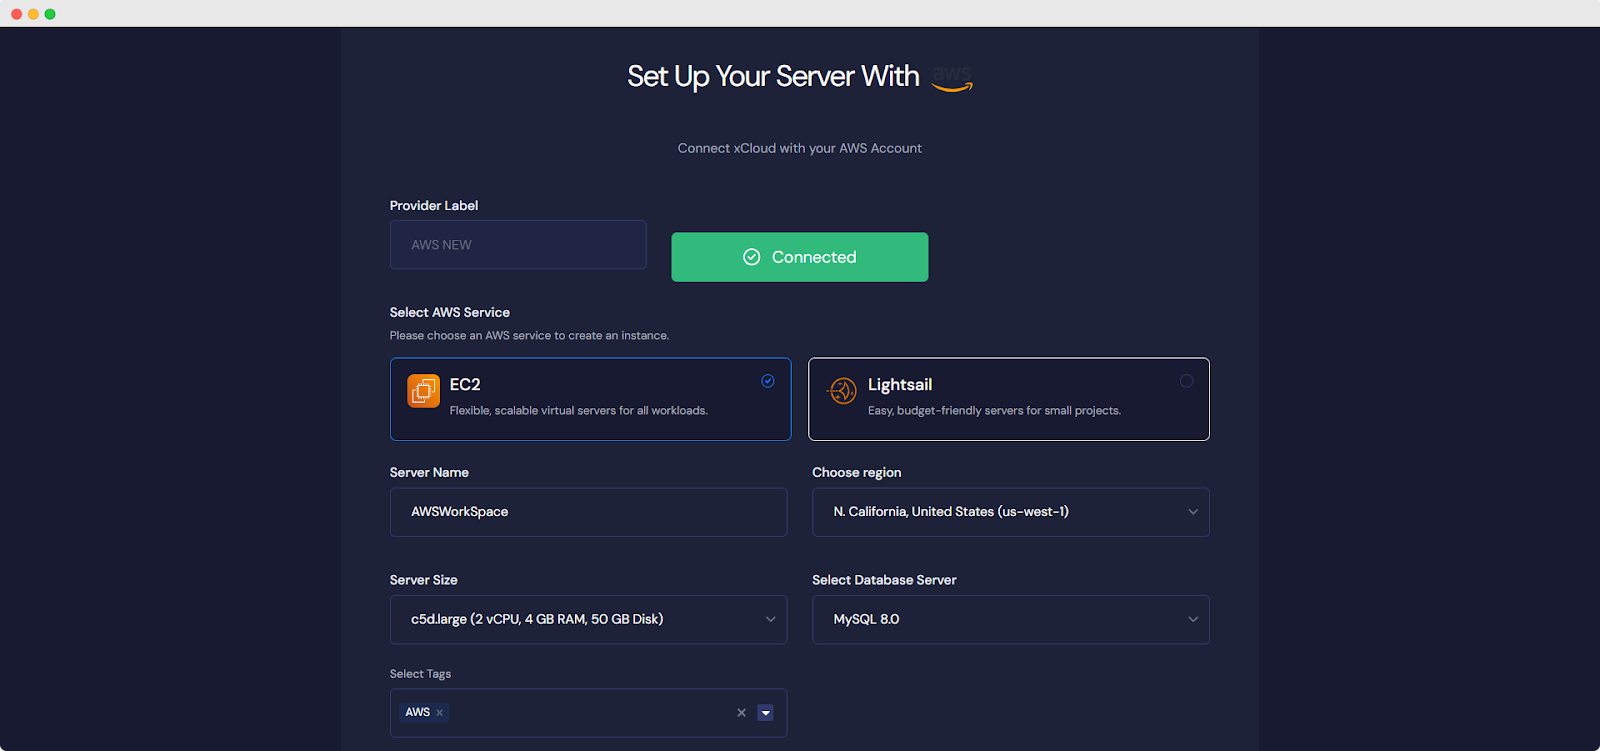
Next, choose the web server stack from NGINX or OLS as your requirements and click on ‘NEXT’ button to proceed with the server creation process.
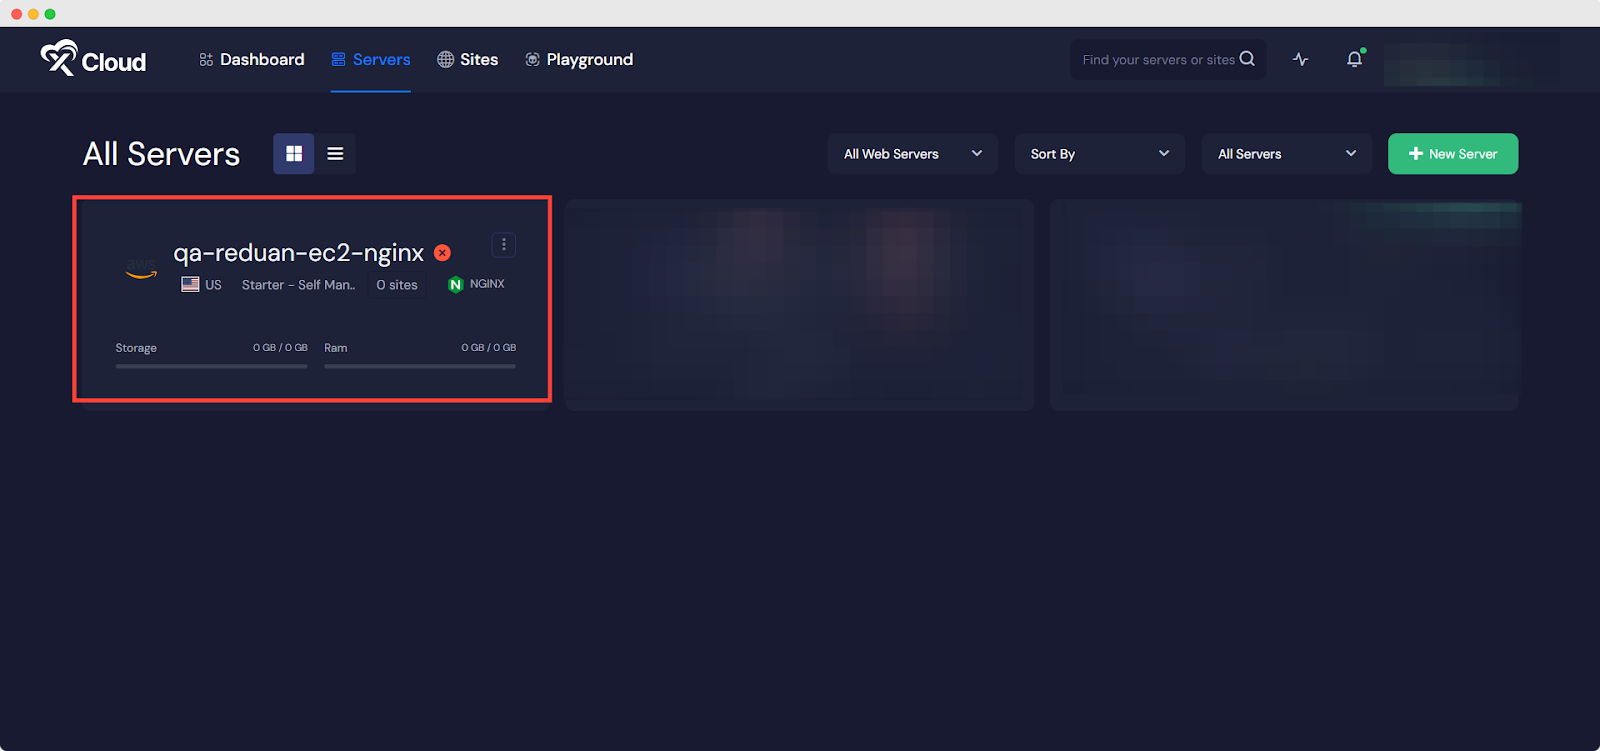
It will start creating a AWS server with xCloud within a while and if you go to the ‘Servers’ from the menu you can see your created server and create as many site as you want under this server
This is how easily you can create an AWS server from xCloud seamlessly without going through any difficulties.
How to Deploy Lovable Applications with xCloud? #
xCloud allows you to deploy Lovable applications easily from your Git repositories. You can install and set up Lovable and get your application live in just a few clicks. Follow the steps below to set up Lovable with xCloud and deploy AI powered projects easily on AWS Server:
Step 1: Create a New Site #
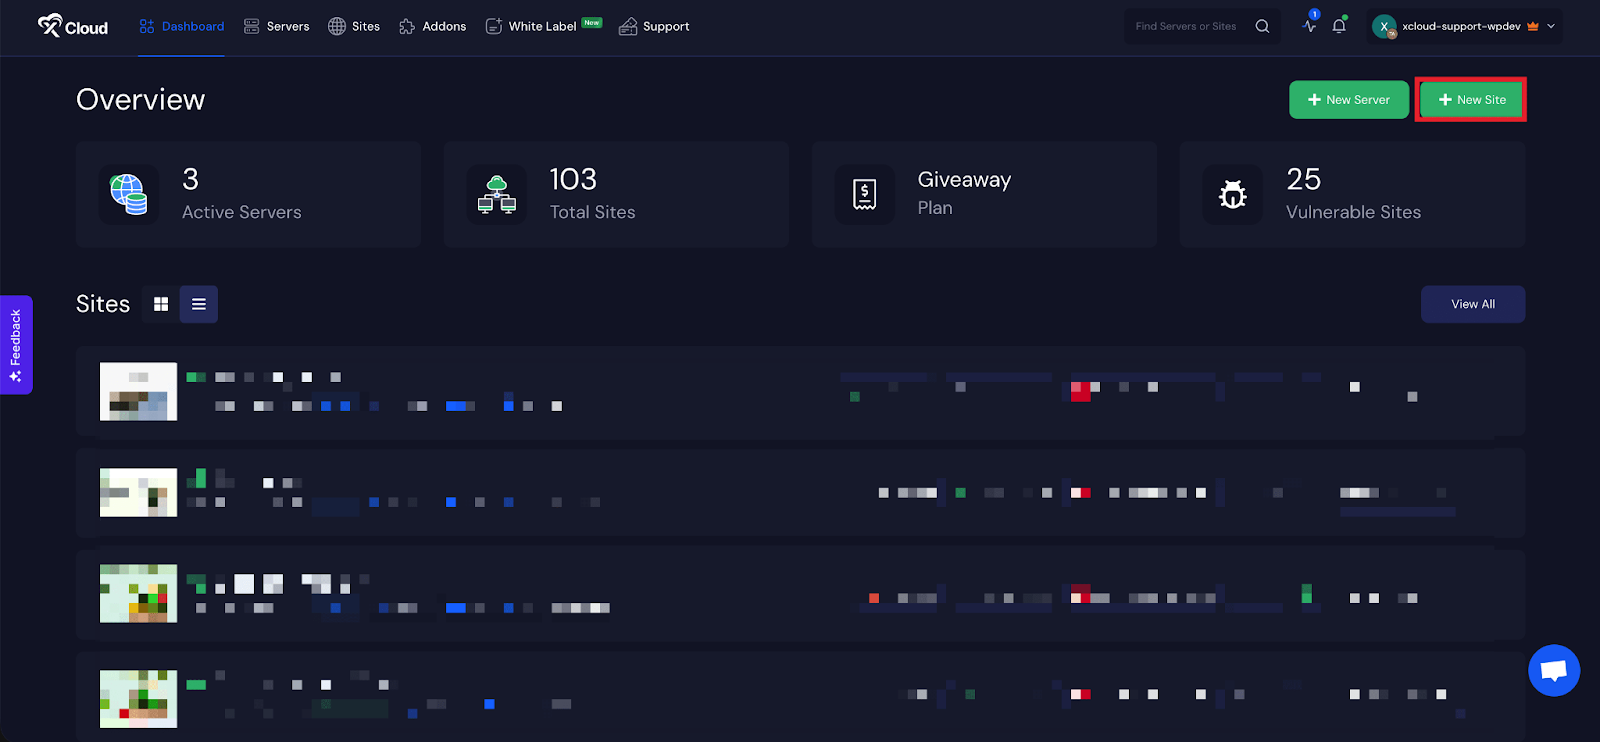
Begin by logging into your xCloud account. Once logged in, navigate to your dashboard and click on the ‘New Site’ button.
Step 2: Choose Your Server #
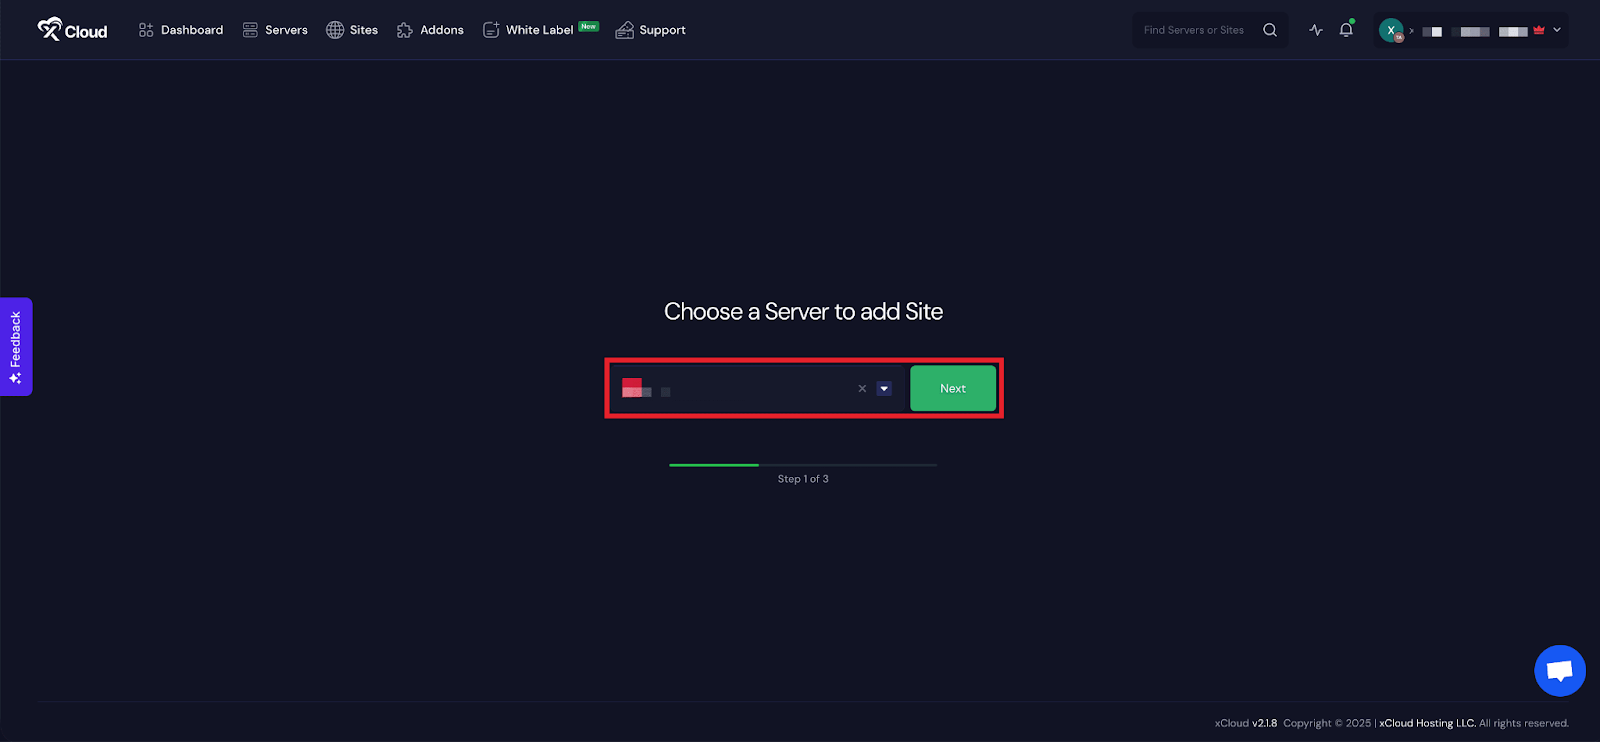
Then choose your server from the dropdown menu. Next, click on the ‘Next’ button to proceed to start creating Lovable applications.
Step 3: Go to the Lovable Tab #
From here, go to the ‘Lovable’ tab to deploy your Laravel applications. Now, choose ‘Clone A Git Repository’ to import your custom PHP site.
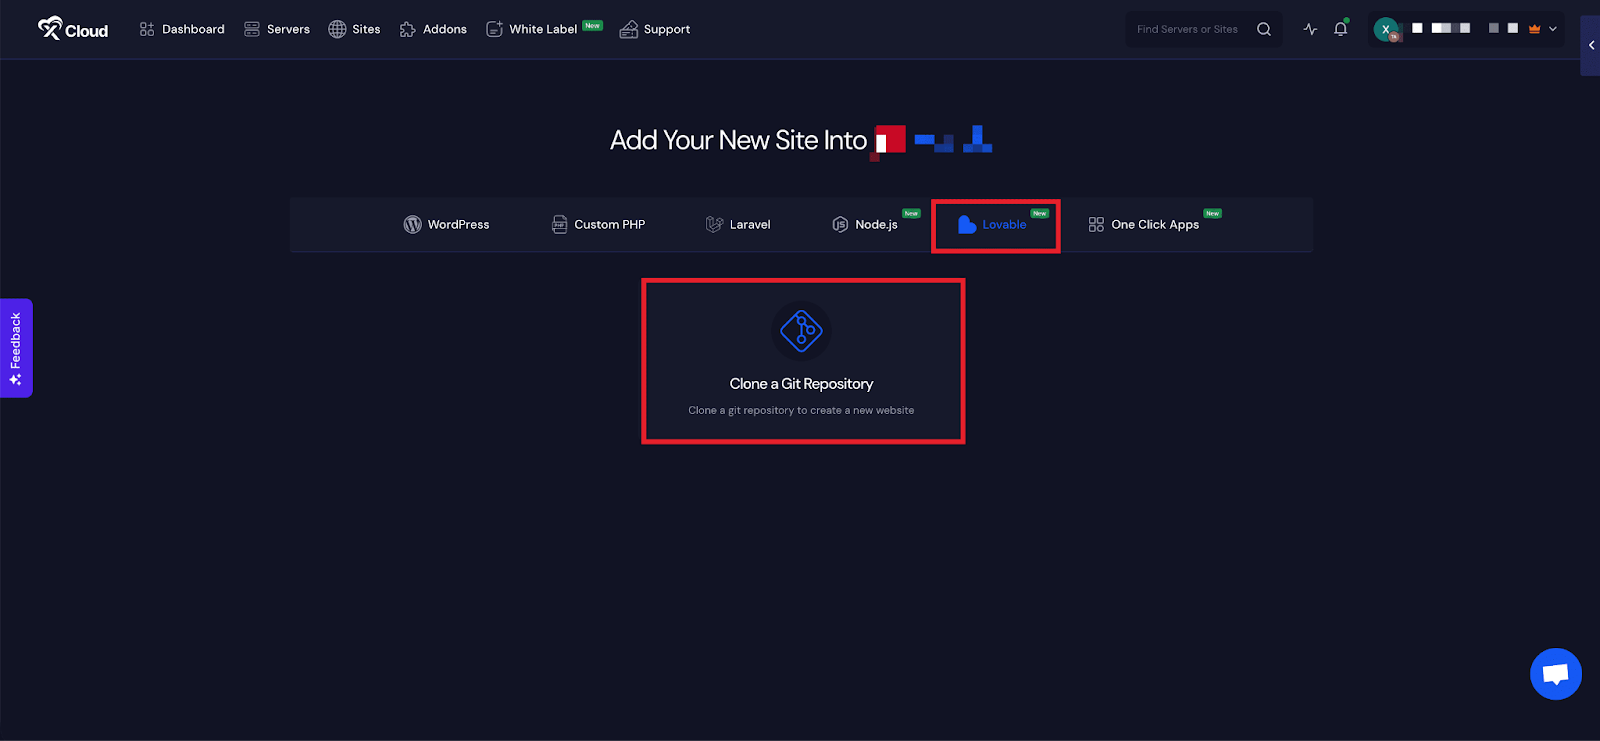
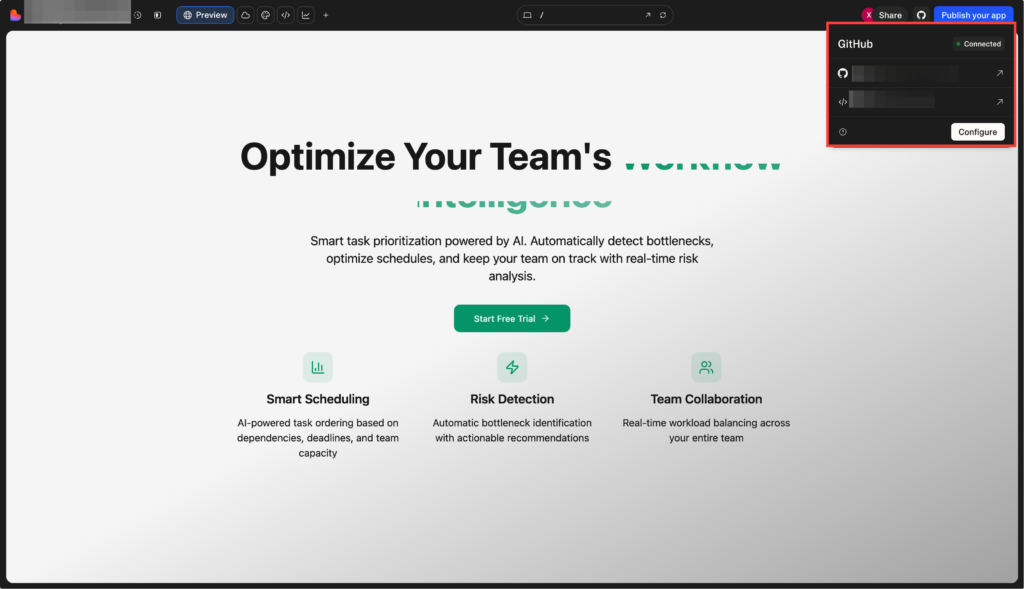
Before you proceed, make sure your Lovable projects are properly synced with Git repositories.
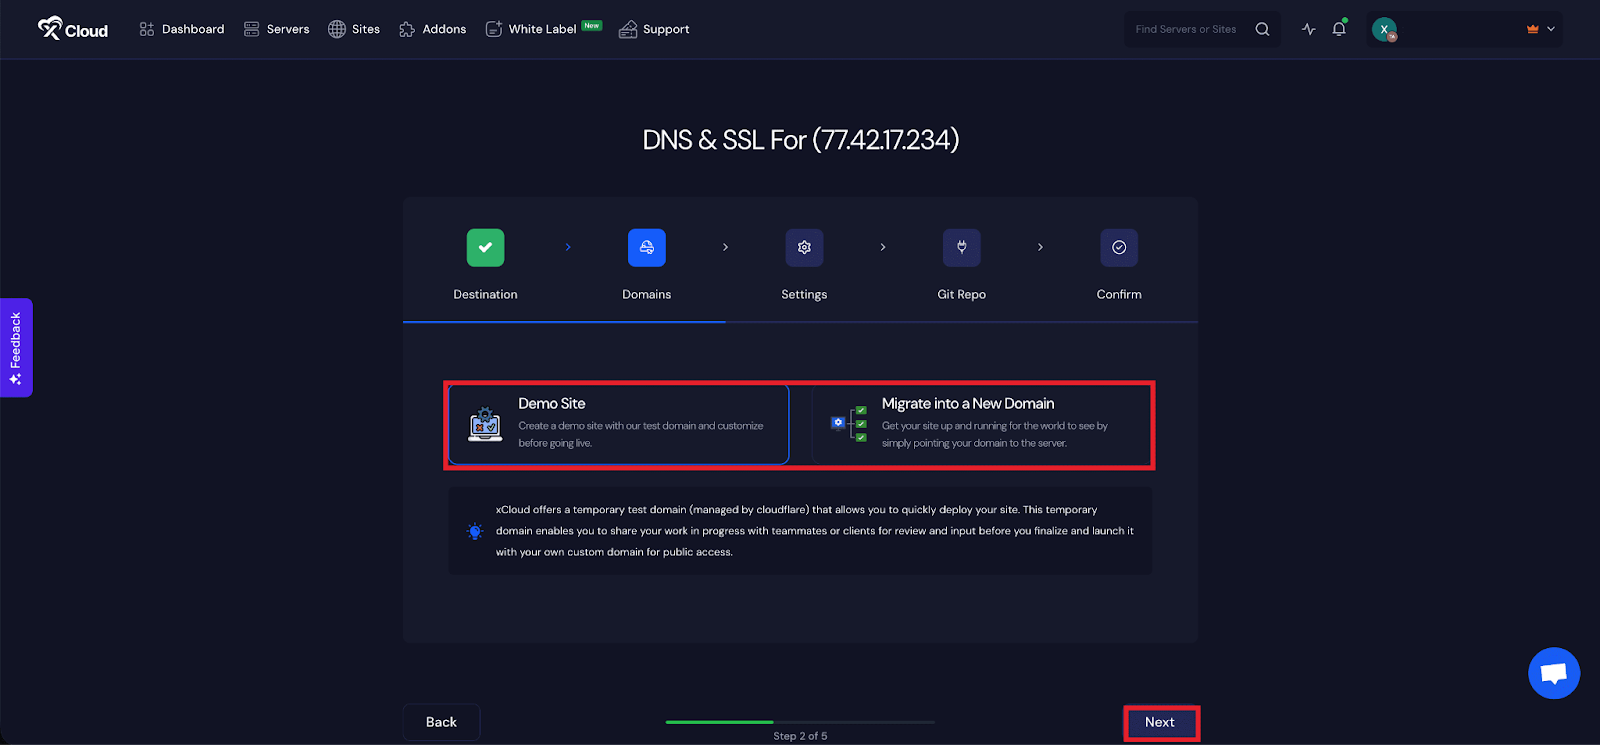
Step 4: Set Up Domains #
From the ‘Domains’ tab, you will get two options: either you can create a ‘Demo Site’ with a test domain and refine it until it is ready for launch, or, you can migrate into a new domain to get your site up and running in a new domain.
Or you can create your site with your live domain; you need to select the ‘Migrate into a New Domain’ option.
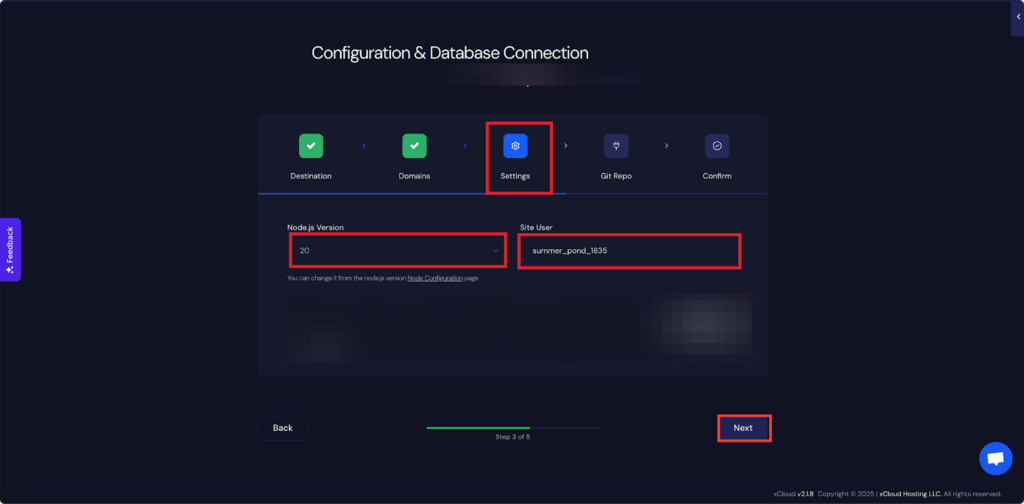
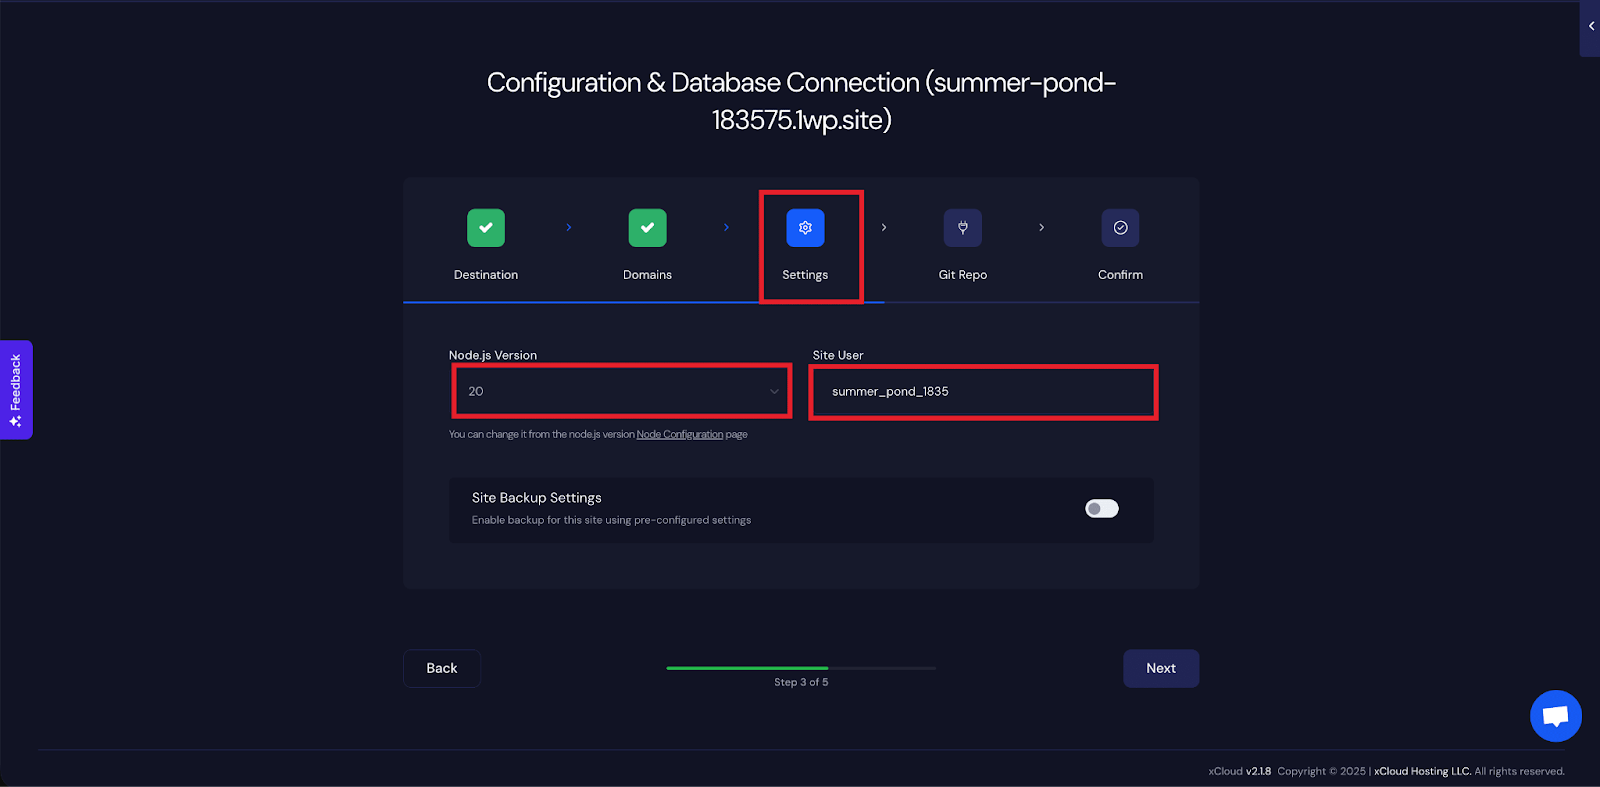
Step 5: Configure Site Settings #
Next, under the ‘Settings’ tab, you will get the ‘Node.js Version’ and ‘Site User’ for this application. After that, click on the ‘Next’ button.
Step 6: Insert Git Repository Credentials #
In the ‘Git Repo’ tab, you will get three repository options: ‘Private Repository (Manual SSH URL)’, ‘Public Repository (Manual HTTPS URL)’ and ‘Connected Git Provider’.
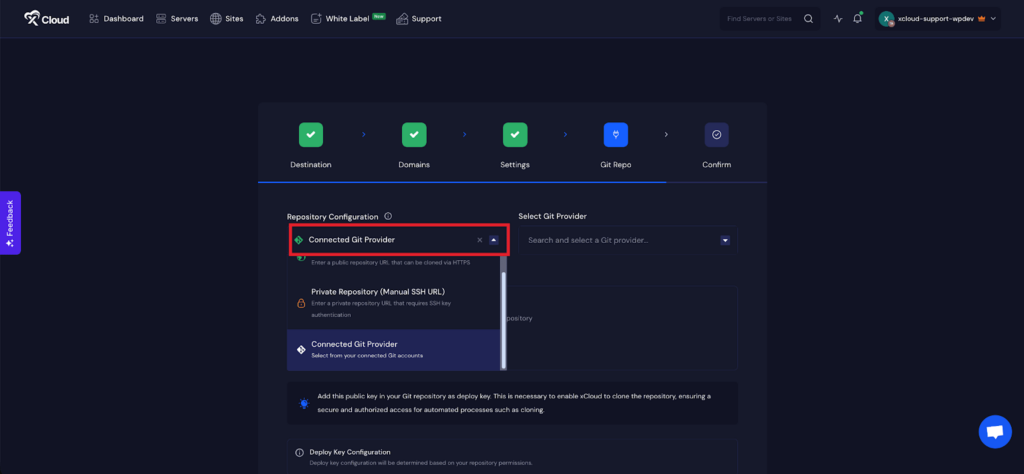
We are going to deploy Git projects using the ‘Git Provider’ option here. Choose the ‘Connected Git Provider’ option from the dropdown menu.
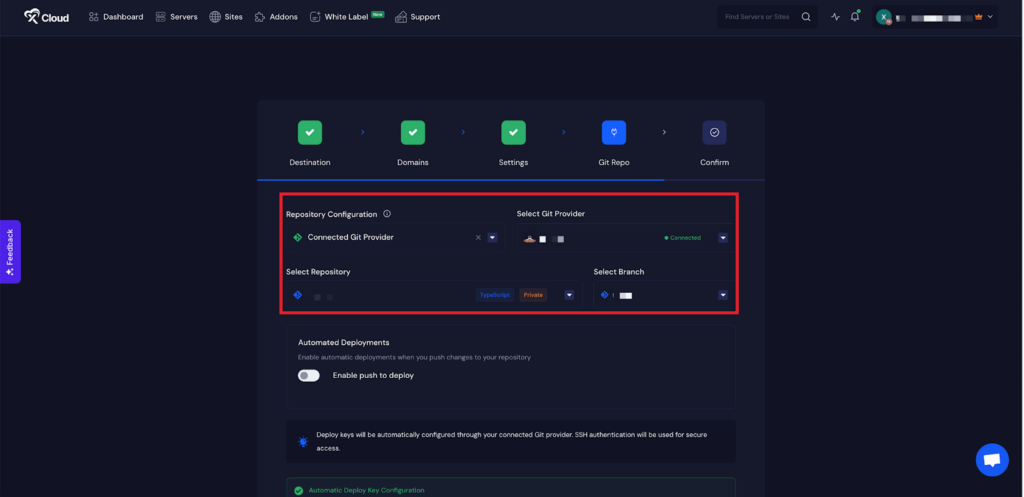
From the ‘Select Git Provider’ dropdown, choose the connected account you want to use. Once selected, navigate through the list of repositories, pick the one you want to deploy and then select the specific ‘Branch’ of that project.
You can also deploy Lovable projects from your Public or Private Git repositories as well. For more details read this documentation:
👉 How to Insert Your Git Repositories with xCloud
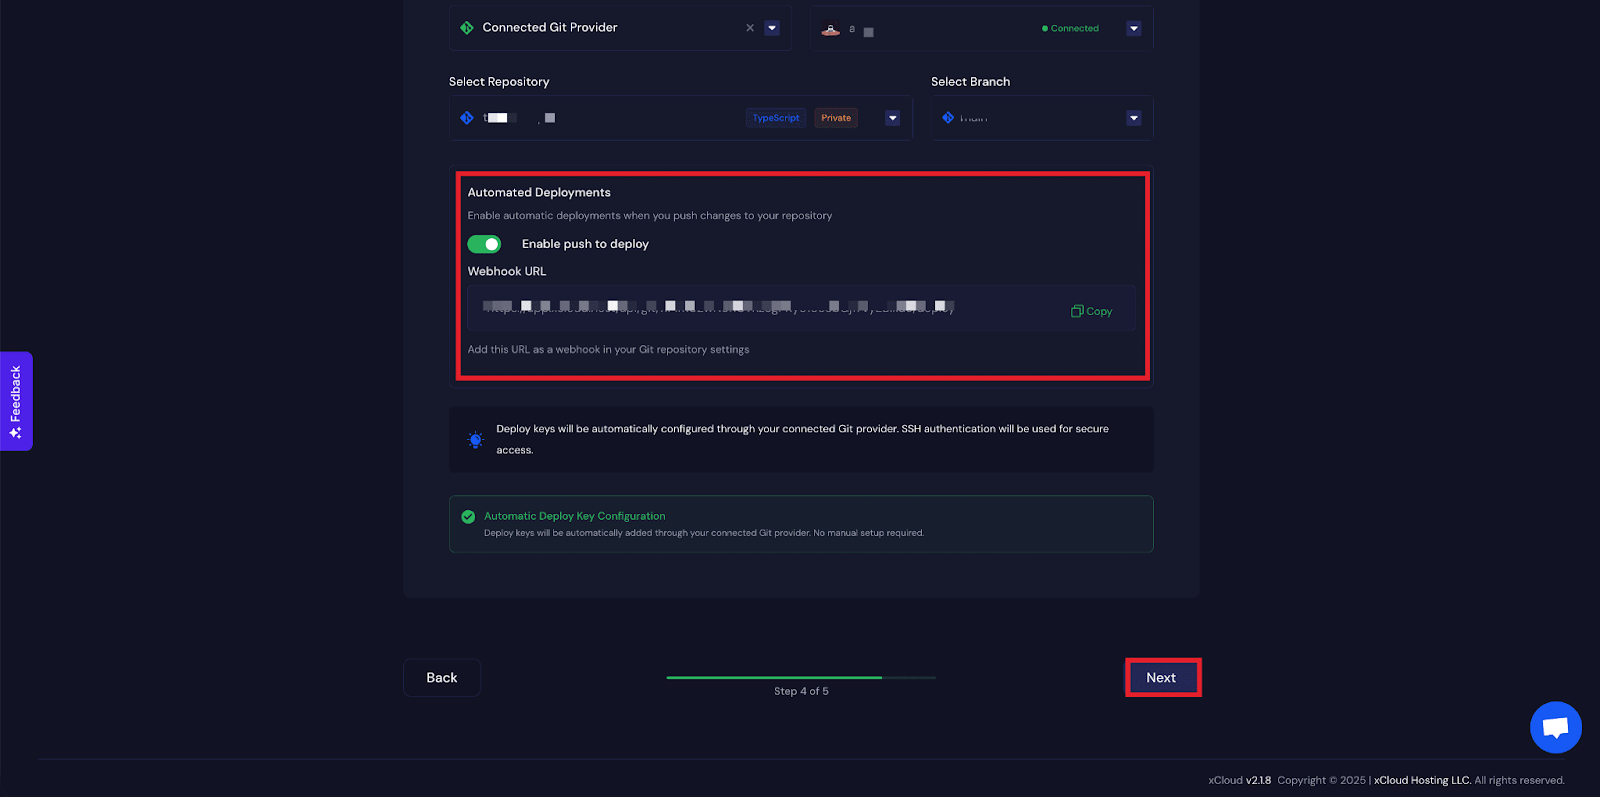
Step 7: Enable Push to Deploy #
The next step is to enable automated deployment. Toggle on the ‘Enable push to deploy’ option. You need to insert this URL into GitHub. Copy the ‘Deployment URL’ from here.
Note: If you want to learn more about the process, follow the steps in this document.
Finally, review all the details and click on the ‘Start’ button to create the Lovable application.
Step 8: Visit the Application #
After completing the setup, you will be able to visit your Lovable site. From the dashboard, click on the ‘Visit Site’ app.
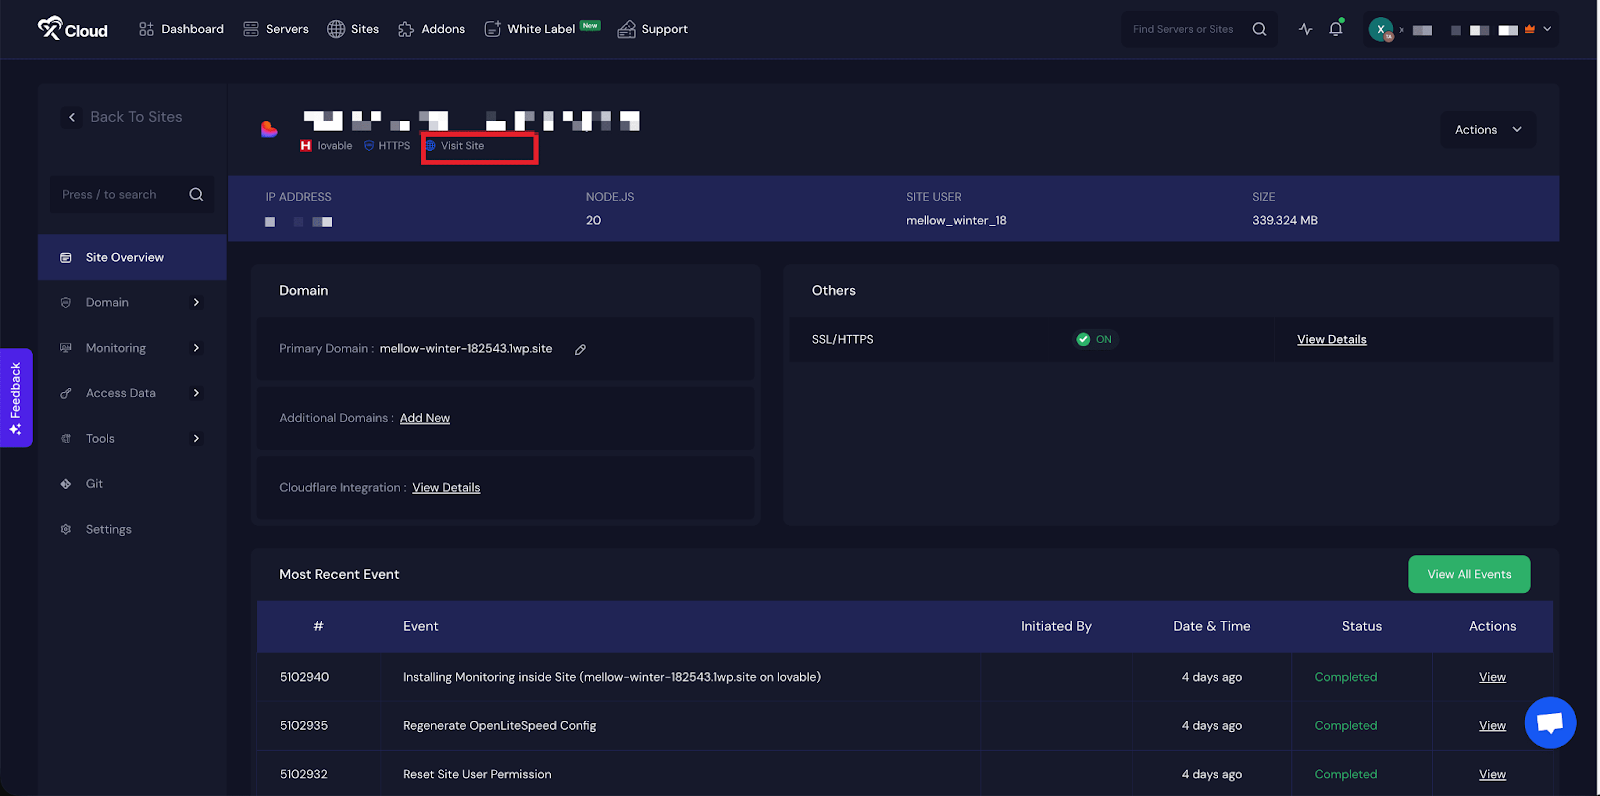
That’s it! This is how easily you can deploy Lovable with xCloud and launch your web apps in just a few clicks.
Still stuck? Contact our support team for any of your queries.


