


If your website is experiencing a sudden spike in malicious traffic or a DDoS attack, every second counts. Cloudflare’s Under Attack mode is a powerful defensive tool that can help protect your site during these critical moments. In this guide, we’ll walk you through how to quickly enable it directly from your xCloud dashboard — no need to log into Cloudflare separately.
Cloudflare’s Under Attack mode performs additional security checks to help mitigate layer 7 DDoS attacks. Validated users can still access your website, while suspicious traffic is blocked. It is designed to be used as a last resort when your site is under attack, and will temporarily pause access to your site and may impact your site analytics.
With xCloud, you can enable Cloudflare Under Attack mode right from the xCloud dashboard.
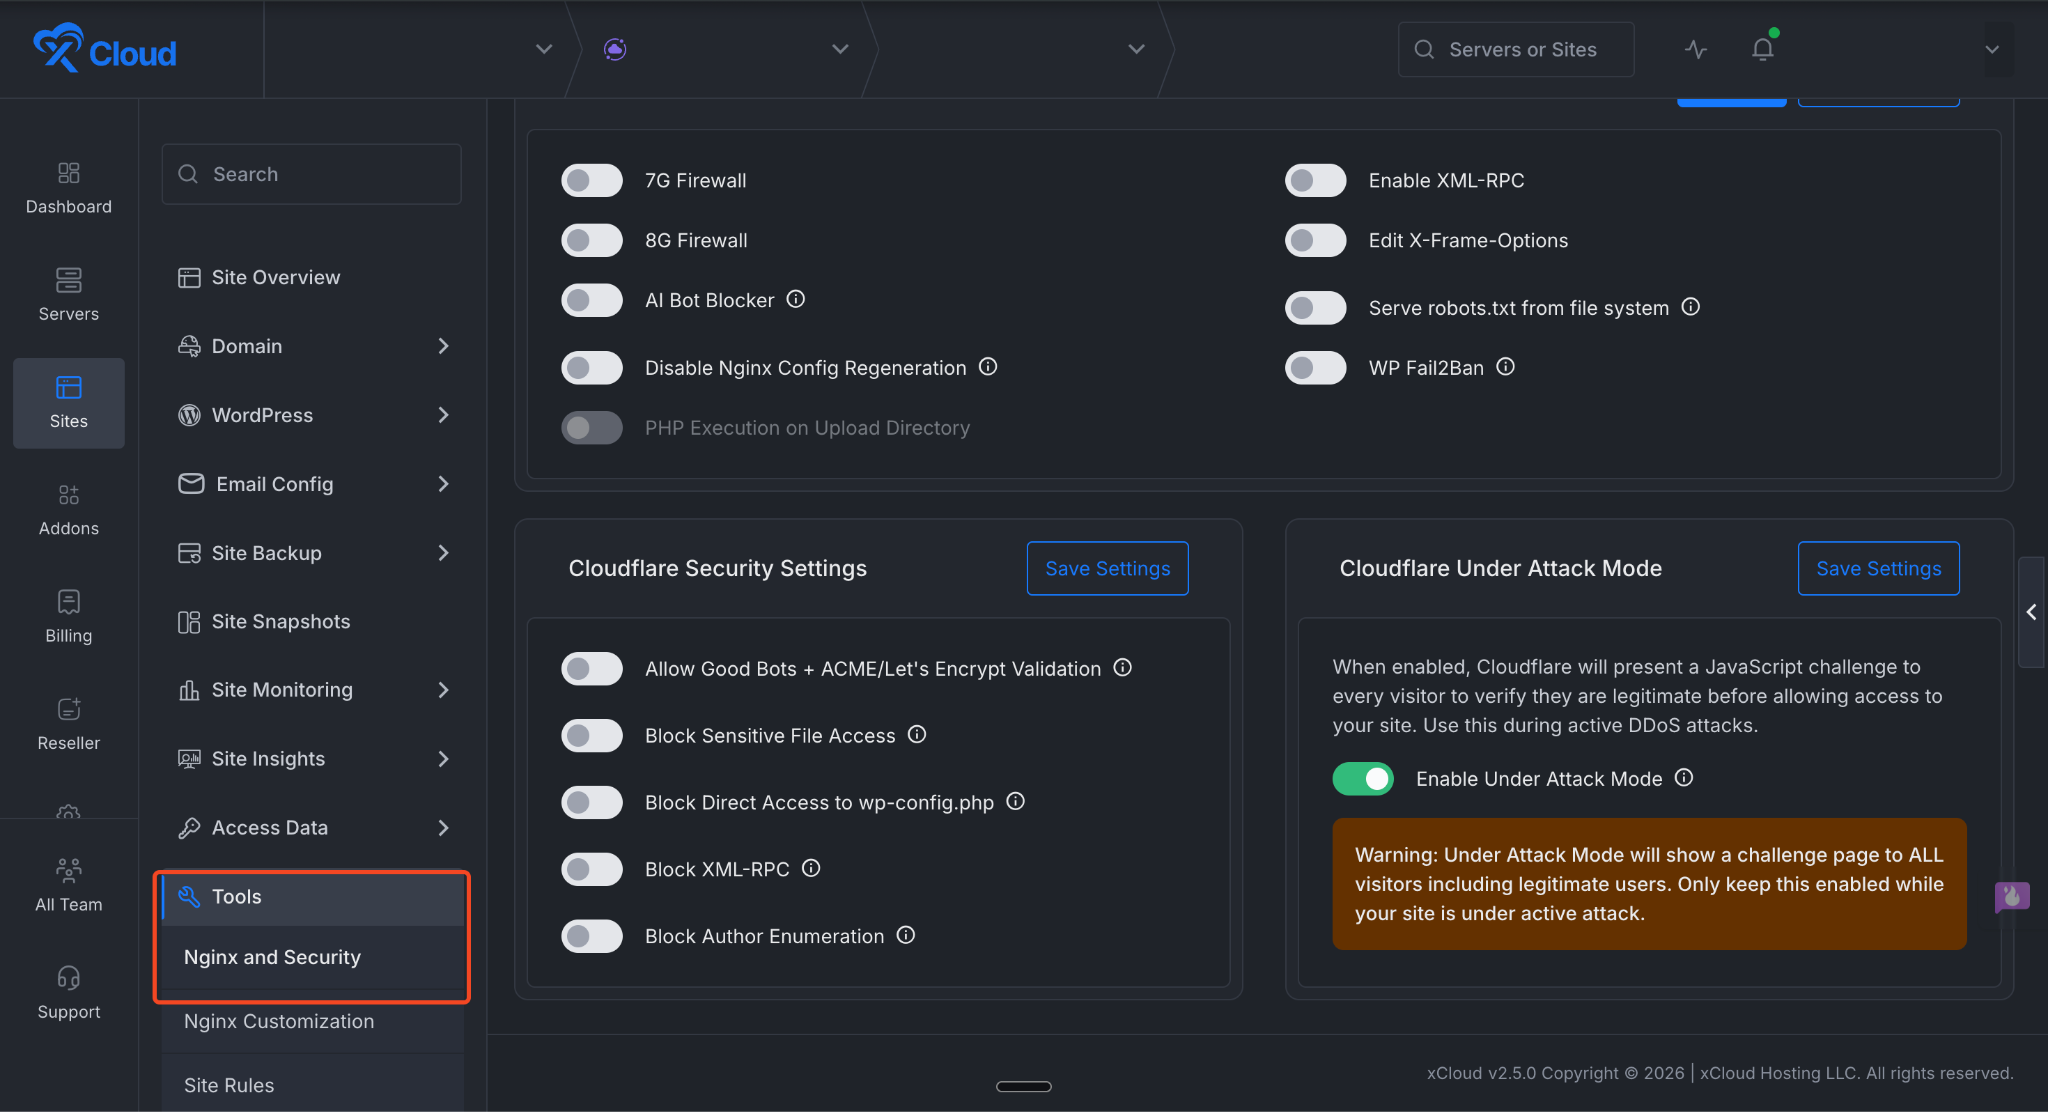
Step 1: Go to the Tools Options #
First, go to your site dashboard. From there, navigate to Tools → Nginx and Security in your xCloud dashboard.
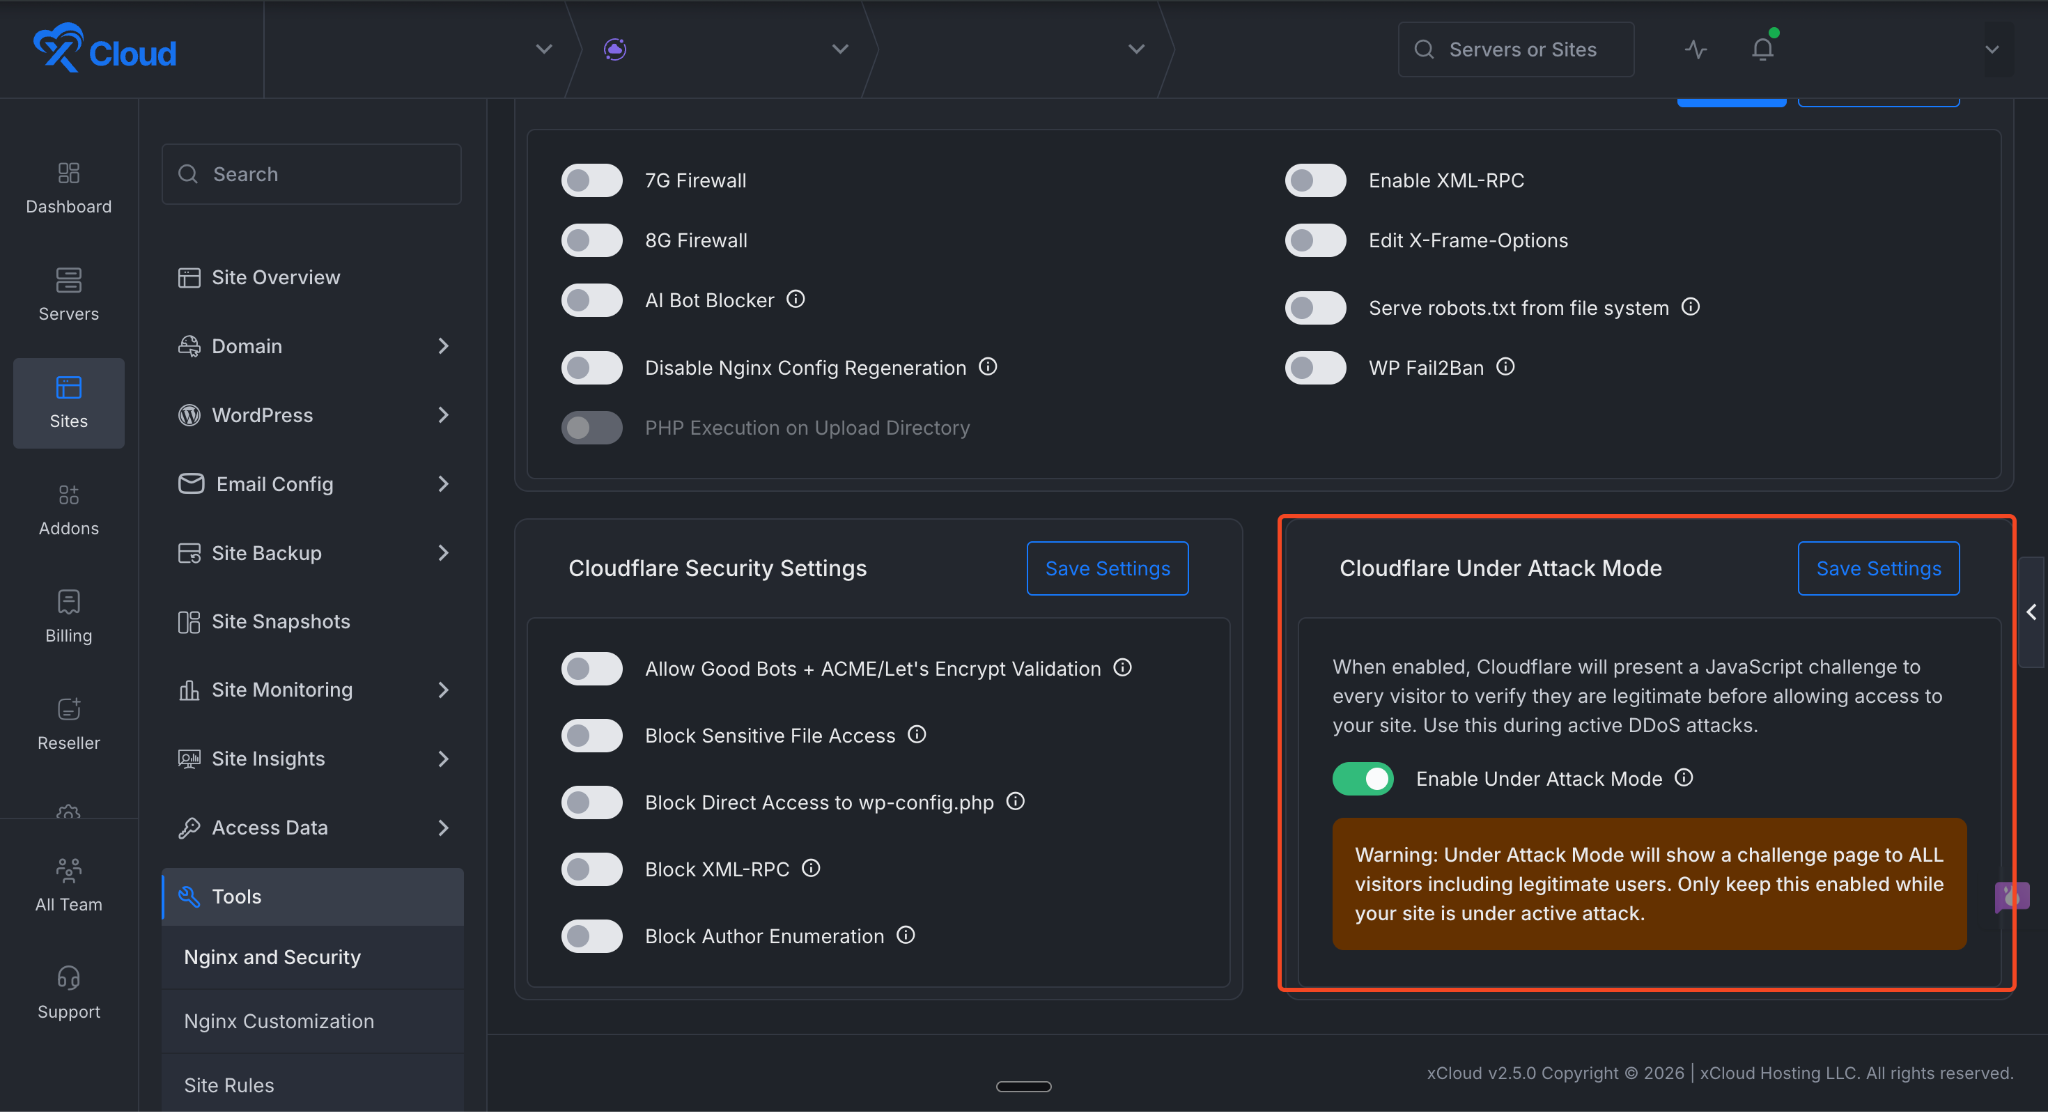
Step 2: Enable Under Attack Mode #
Go to the Cloudflare Under Attack Mode section. Once you are there, toggle the button to enable it and click the Save Settings button.
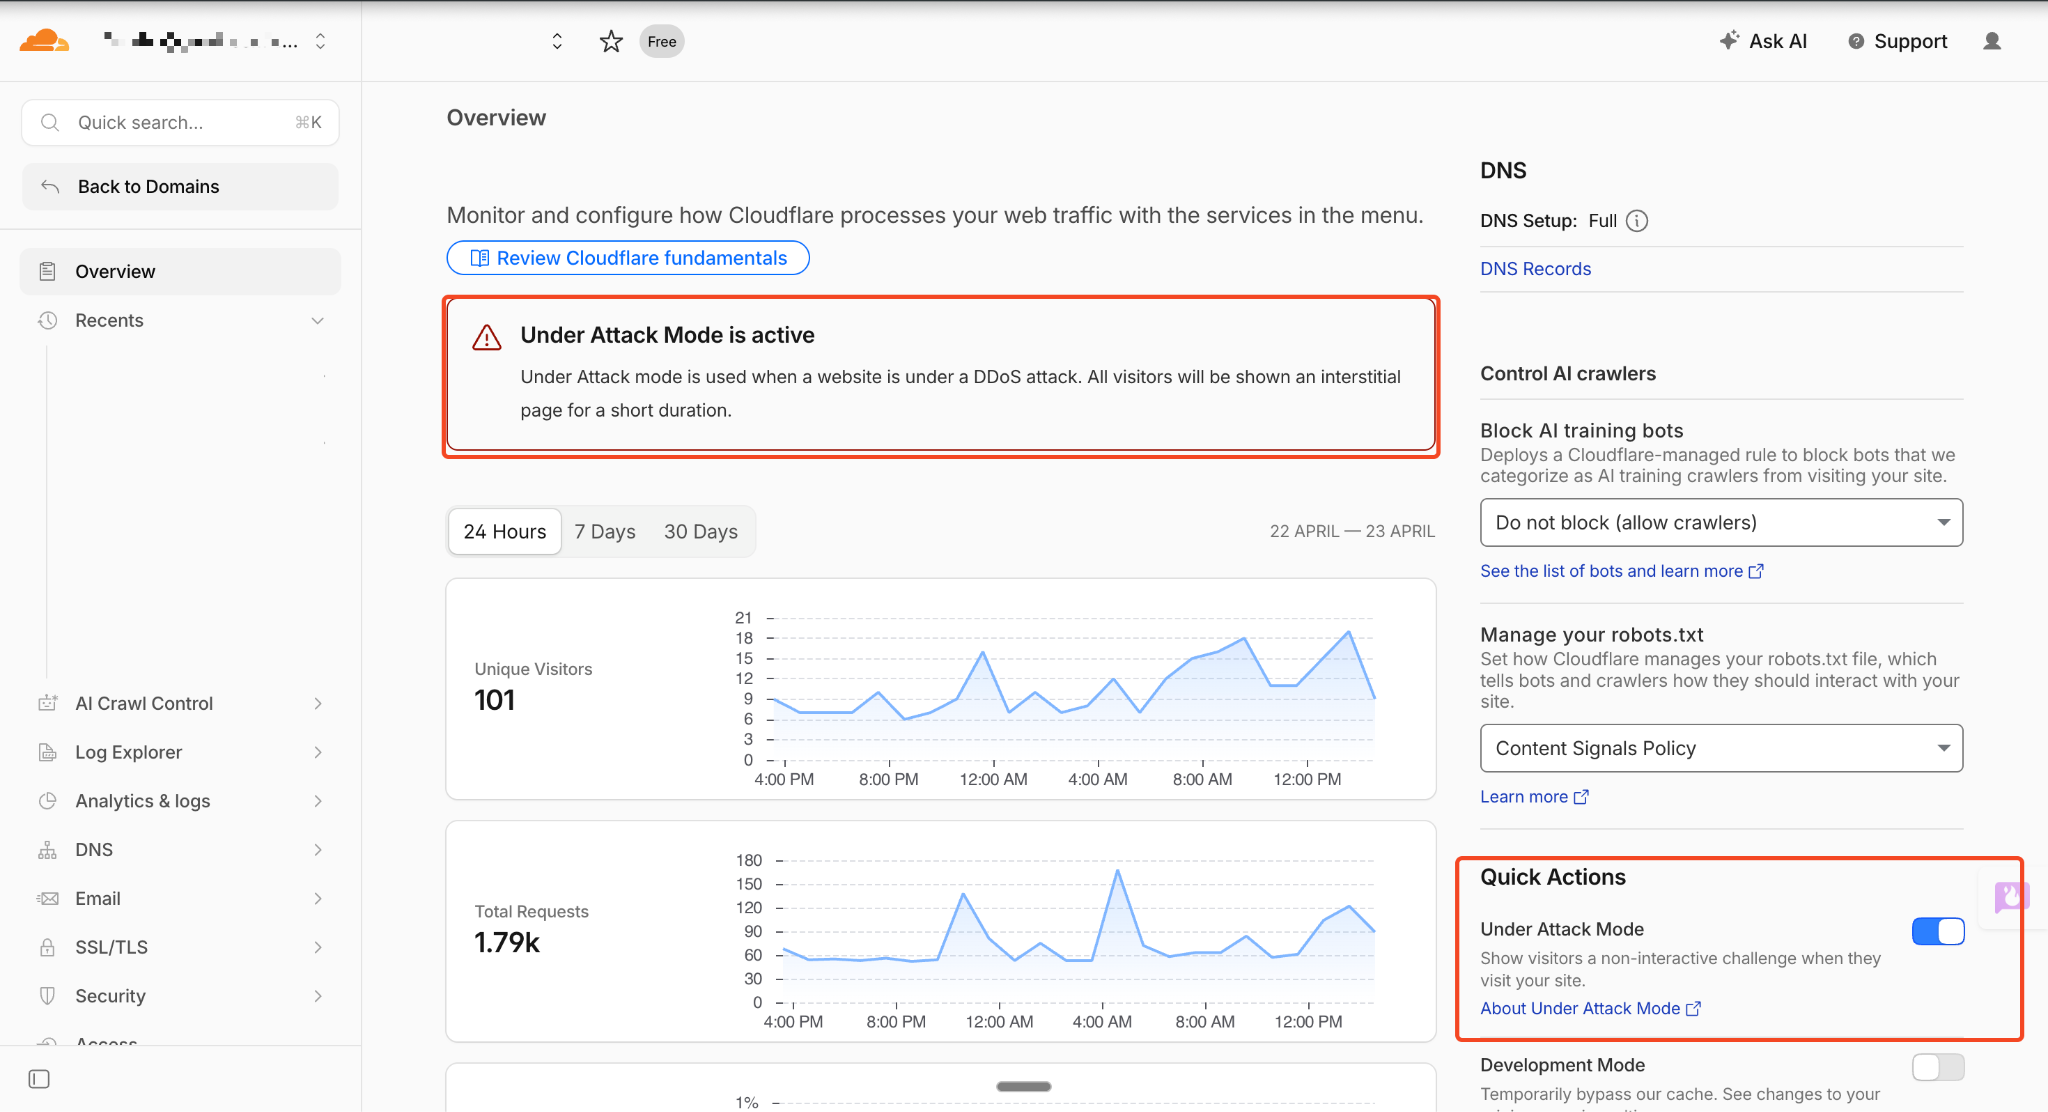
After enabling the feature, if you visit the Cloudflare dashboard and open your domain’s settings, you will see that Under Attack mode is active and working.
That’s all it takes. With just a few clicks in your xCloud dashboard, you can activate Cloudflare’s Under Attack mode and add an extra layer of protection to your site during a DDoS attack. Remember that this mode is meant for active threats — once the attack subsides, turn it off so your visitors can access your site without the additional security challenge.


