


A deployment issue occurs when a webhook triggers a redeploy even if changes are pushed to a branch other than the selected production branch (e.g., main). This behavior causes unintended redeployments and may overwrite production with outdated or unrelated code.
To avoid this, you can control deployments directly from GitHub Actions by restricting execution to specific branches.
Step 1: Open Your GitHub Repository #
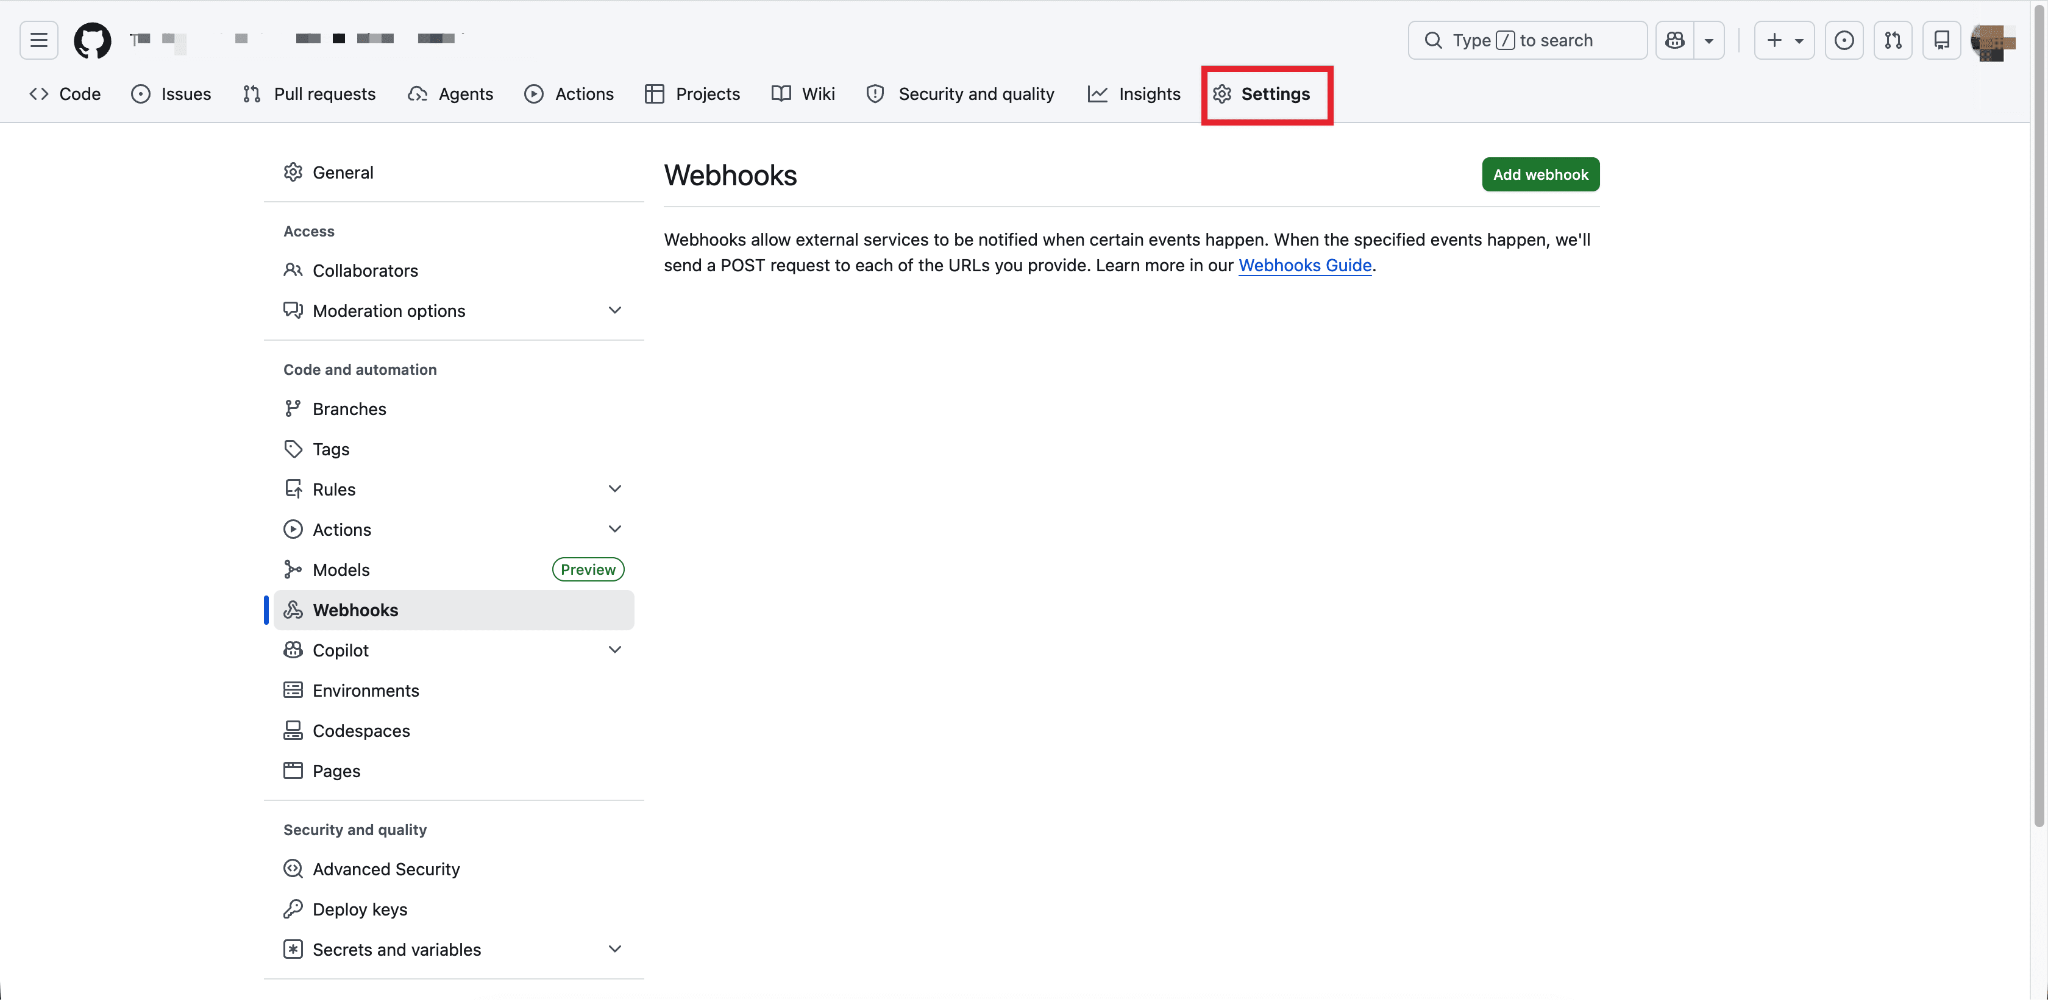
First, go to your GitHub repository. If you have already set the webhook, you need to remove the Webhooks from the dashboard. To remove, go to the ‘Settings’ from the menu. Then click on the ‘Delete’ webhooks that you have set for this repository with xCloud.
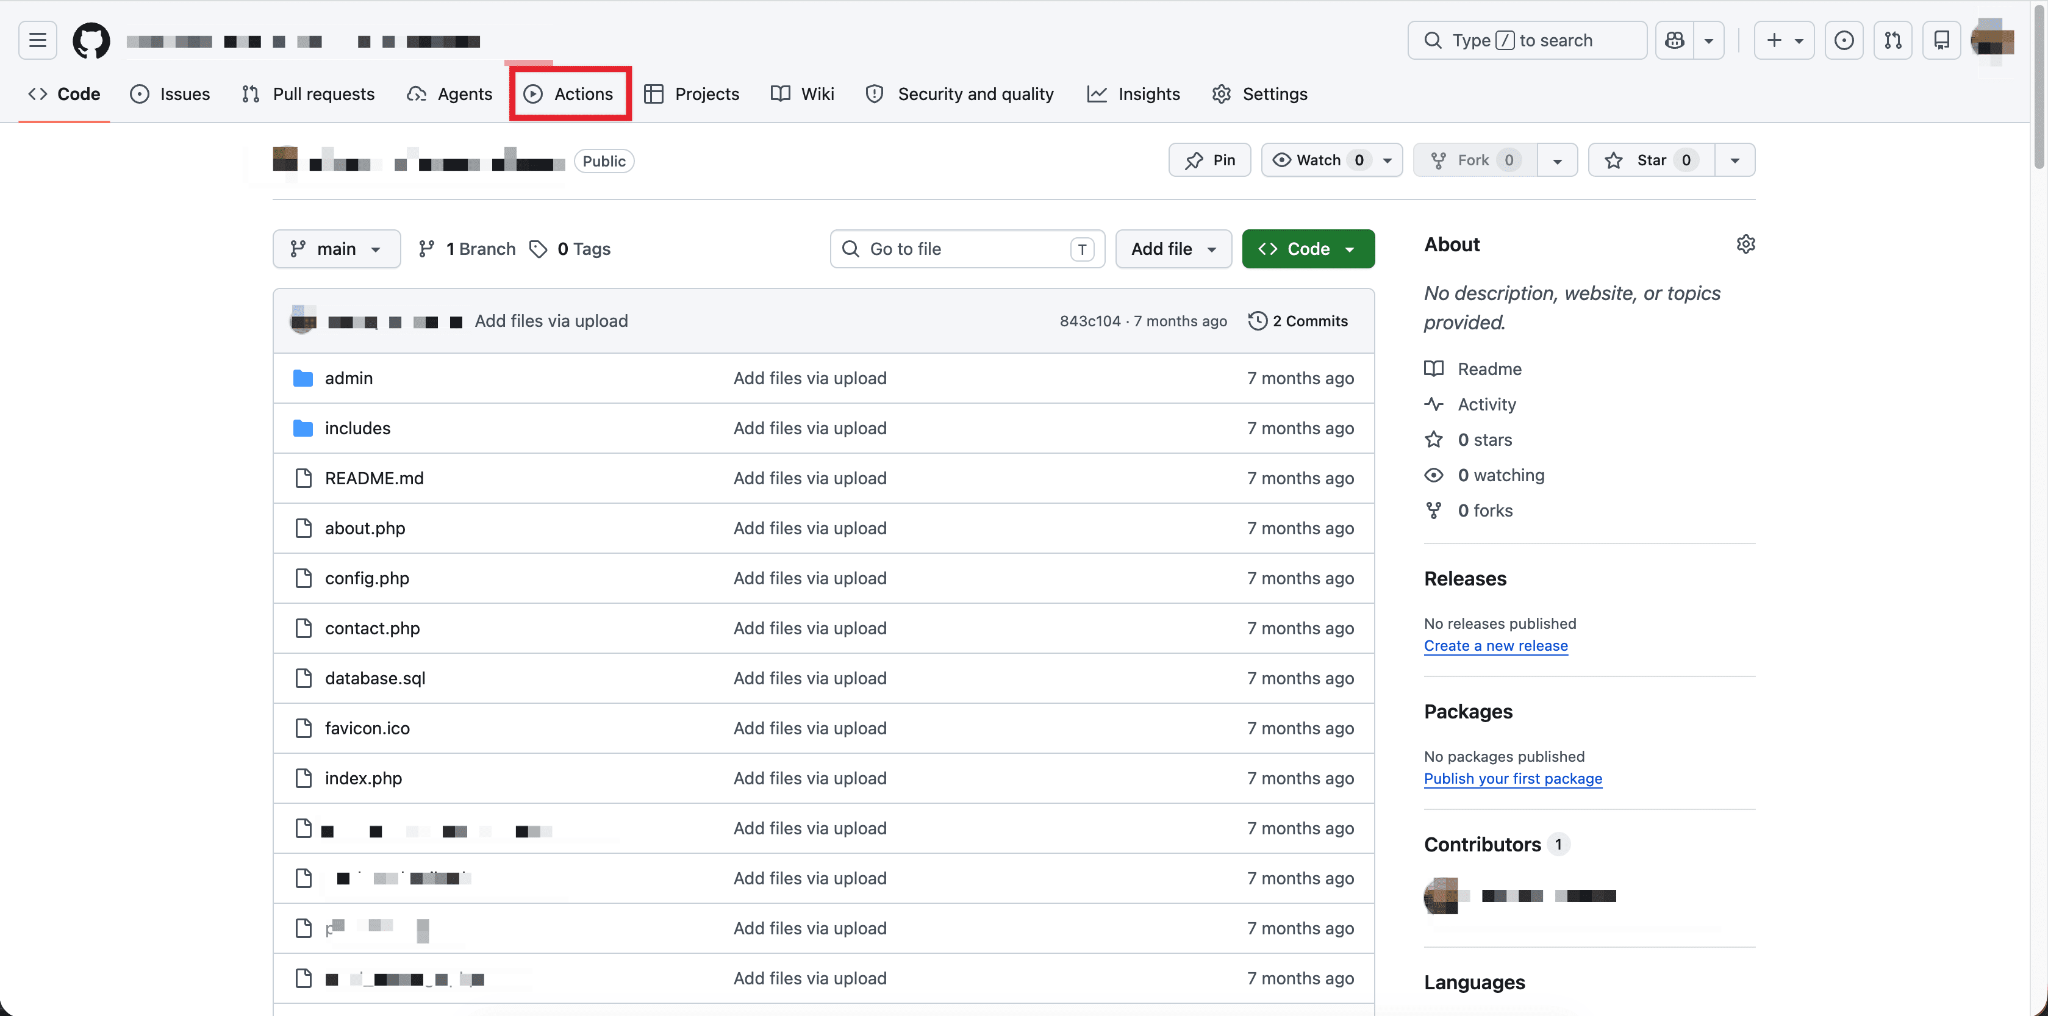
Step 1: Go To The Actions Menu #
Then go to the Actions tab in the top navigation bar. This section contains all automation workflows related to your project.
Step 3. Create a New Workflow #
Inside the Actions tab, look for an option labeled Set up a workflow yourself. Click on it to create a custom workflow from scratch. GitHub will open an editor where you can define your deployment logic using a YAML configuration file.

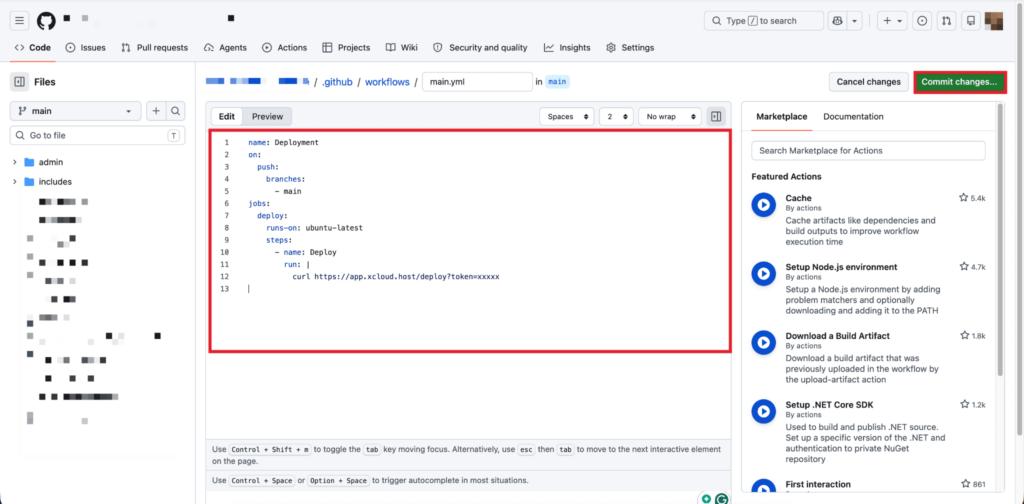
Step 4: Paste the Workflow Code #
In the editor, replace any default content with the following code:
name: Deployment

on:

  push:

    branches:

      - main

jobs:

  deploy:

    runs-on: ubuntu-latest

    steps:

      - name: Deploy

        run: |

          curl https://app.xcloud.host/deploy?token=xxxxx
Update the branch name under “branches:” to match the branch you want to trigger deployments from. For example:
| Branch | YAML Value |
| main | – main |
| dev | – dev |
Replace the placeholder URL in the curl command with your actual xCloud deployment webhook URL:
curl https://app.xcloud.host/deploy?token=YOUR_ACTUAL_TOKEN
Click the green “Commit changes” button to save the workflow file to your repository.
And that’s it, this is how you can activate the workflow immediately. From this point forward, any push to the specified branch will automatically trigger the deployment process. This ensures that only intentional pushes to your production branch will trigger a deployment, preventing the accidental redeployments caused by the previous webhook setup.
Still stuck? Feel free to reach out to our support team.


