

How to Deploy Buzz Workspace with xCloud (One Click Apps)
Updated September 27, 2026 · 6 min read
Buzz is an open-source workspace where you and your AI agents share the same room. Instead of jumping between a chat app, a terminal, and half a dozen tabs, you get one place where people and agents talk, hand off work, and keep the context in view.
To run a Buzz community, you need two things: the desktop app on your machine, and a relay server that your community connects through. The app takes a couple of minutes. The relay is the part that usually means picking a provider, spinning up a Docker host, wiring NGINX, and handling SSL yourself.
That is what xCloud removes with fully managed Buzz Hosting. You create a Docker + NGINX server, pick Buzz from the One Click Apps list, paste in your public key, and xCloud handles the rest. No manual container setup, no config files, no waiting on a DNS record if you just want to test things first, a free demo domain works fine.
Follow this guide to install the Buzz app, set up your identity, and deploy your Buzz relay on xCloud from start to finish.
Create A Docker+ Nginx Server With xCloud
Step 1: Create a Docker+ NGINX Server
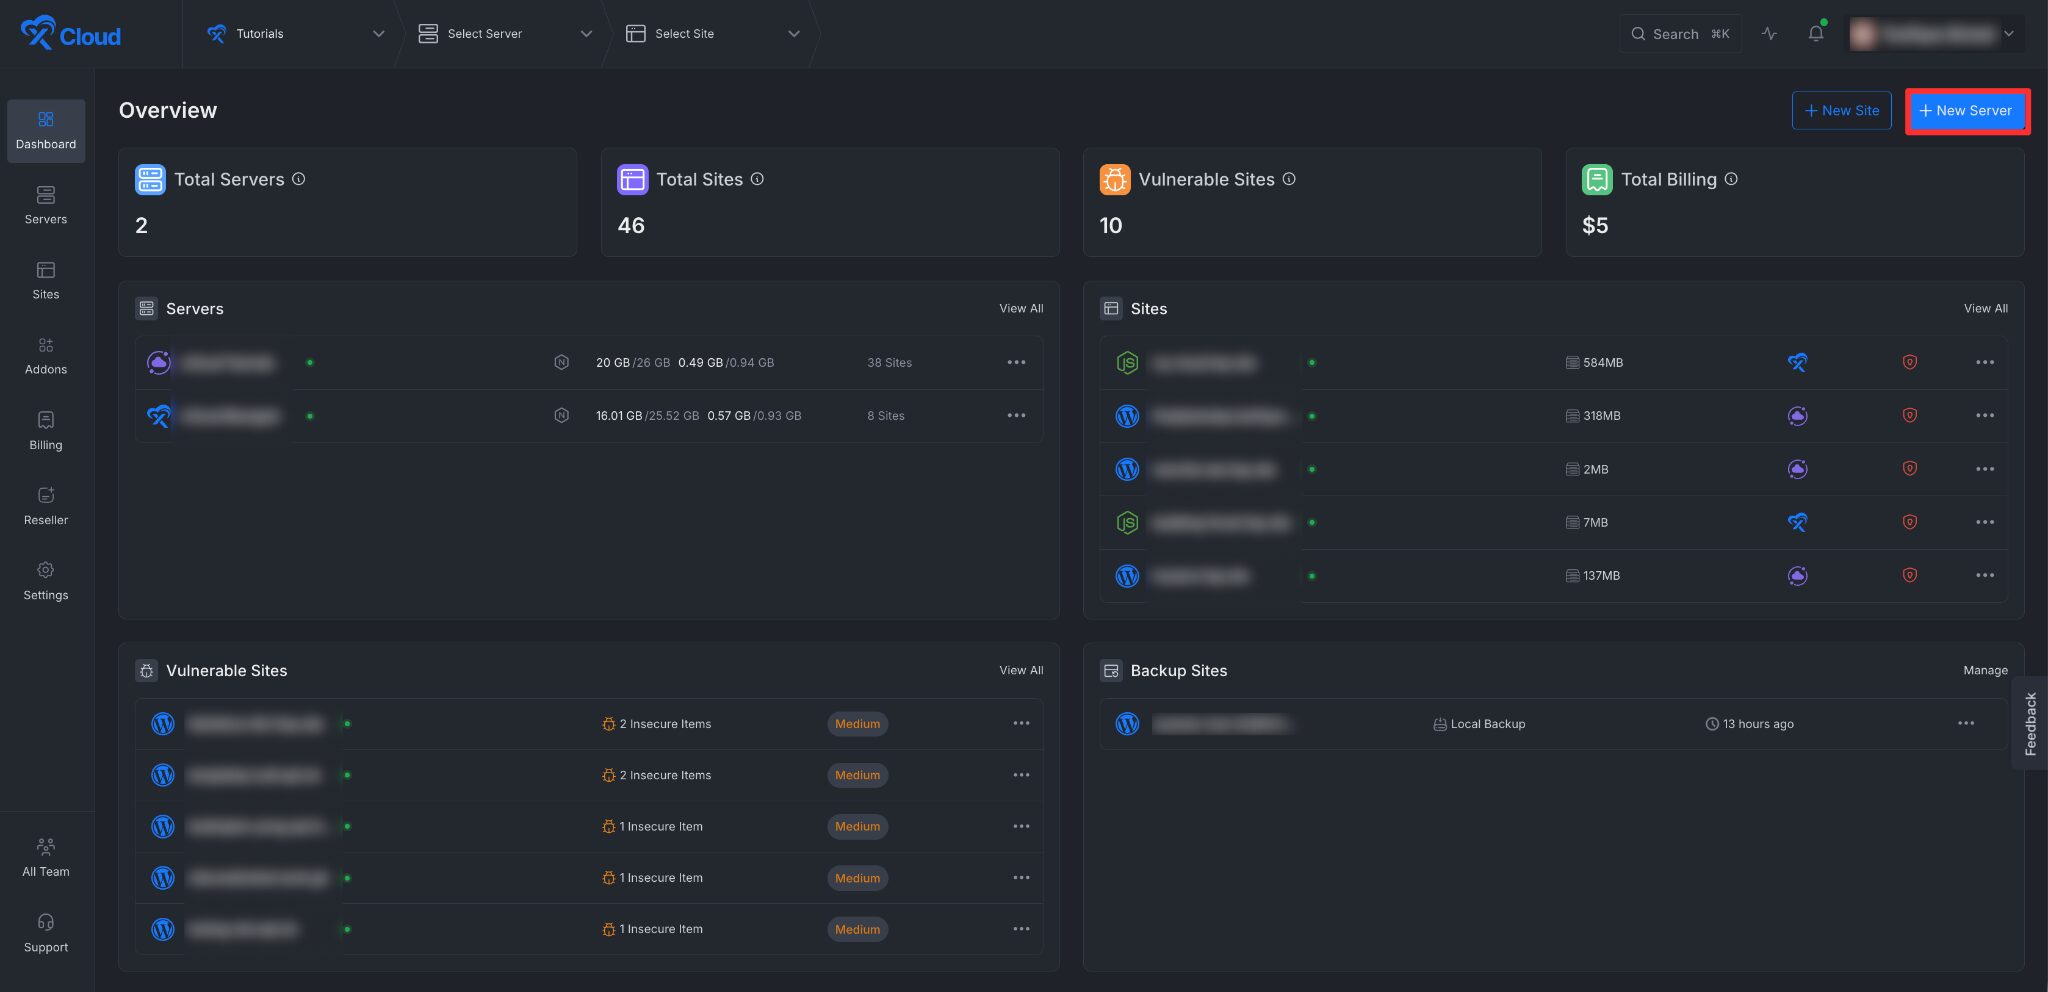
First, create a Docker server to deploy Buzz. Click the ‘New Server’ button on the dashboard and enter all the necessary credentials to connect your server. You can deploy Buzz either on your own server or on an xCloud server.
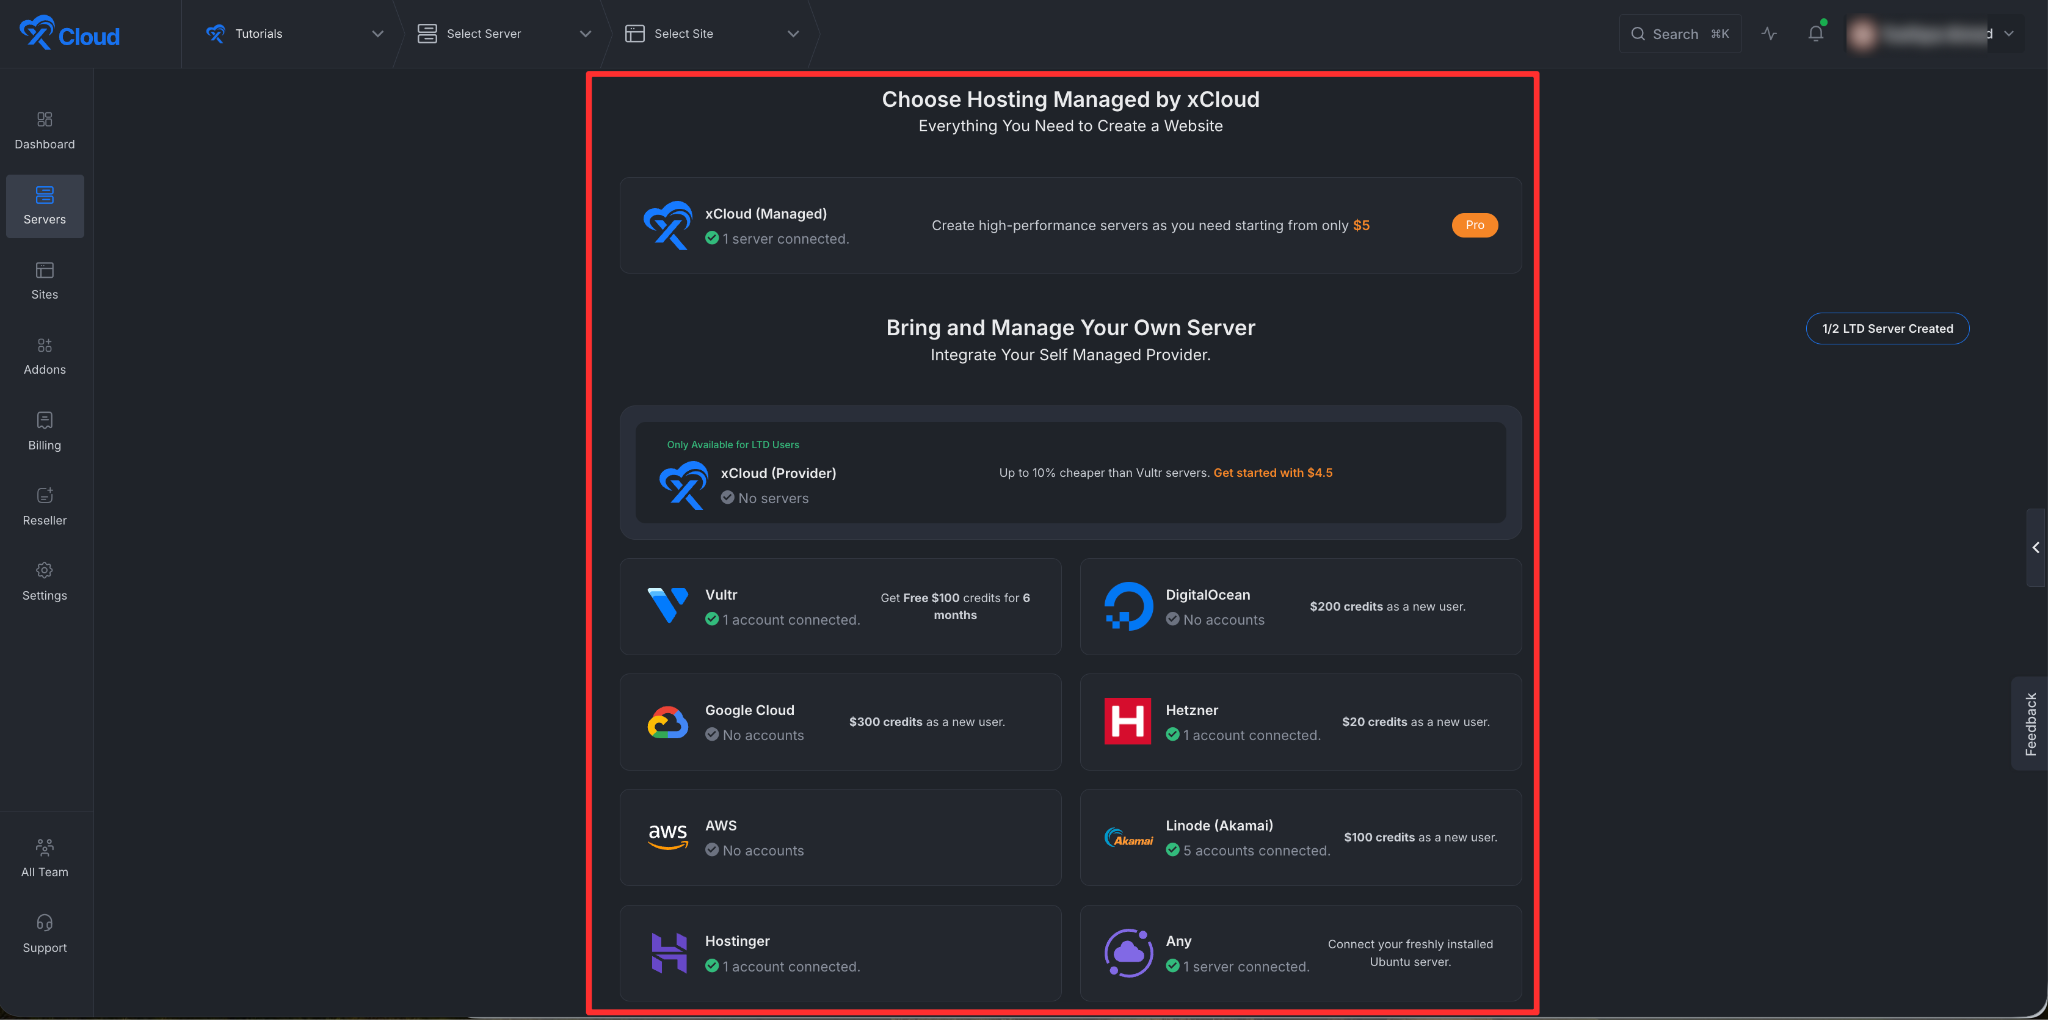
Next, choose your server provider to deploy the server with xCloud. You can either use an xCloud Managed Server or select your preferred provider. In this guide, we’ll use the xCloud Managed Server.
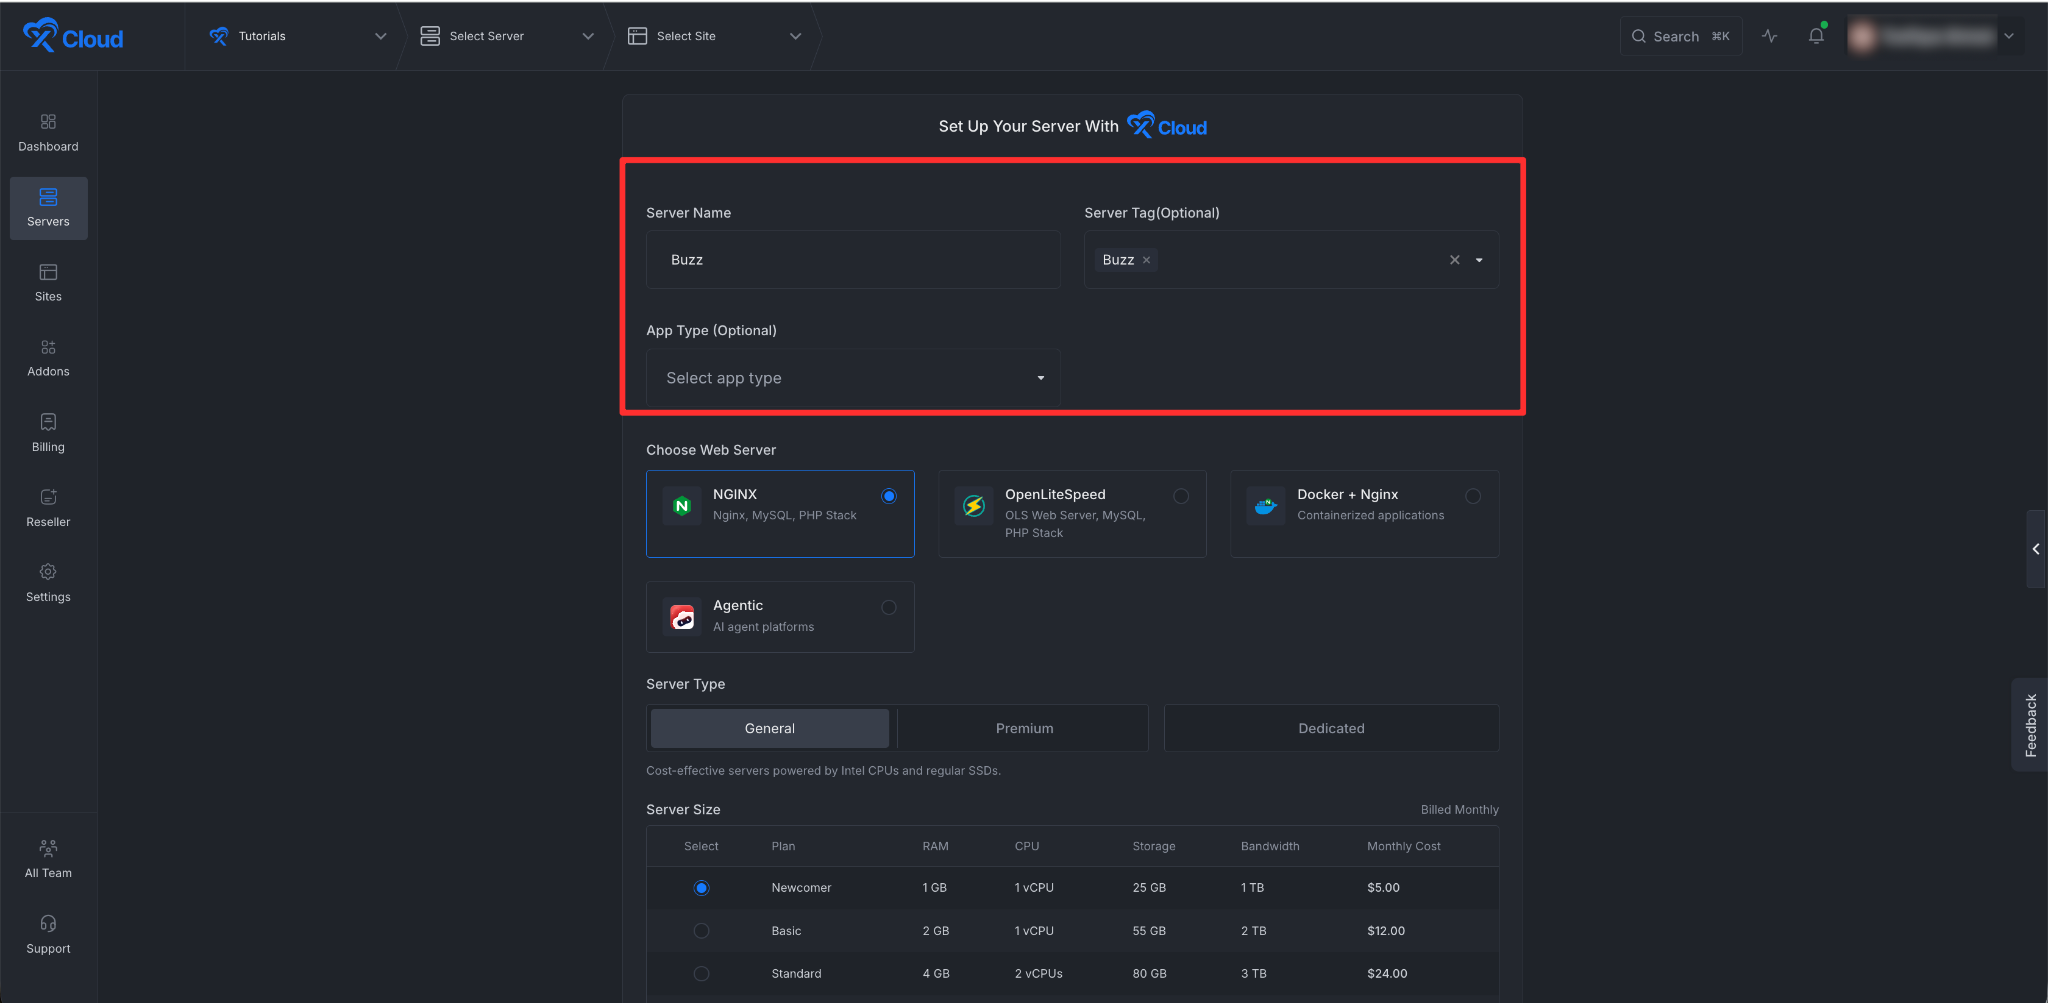
Afterward, enter the ‘Server Name’, set the ‘App Type’ to Buzz(it is optional to select), and add any relevant ‘Tags’ to help identify your server later.
Next, you can see the ‘Docker + NGINX’ stack is already selected, which is mandatory for deploying the Buzz application.
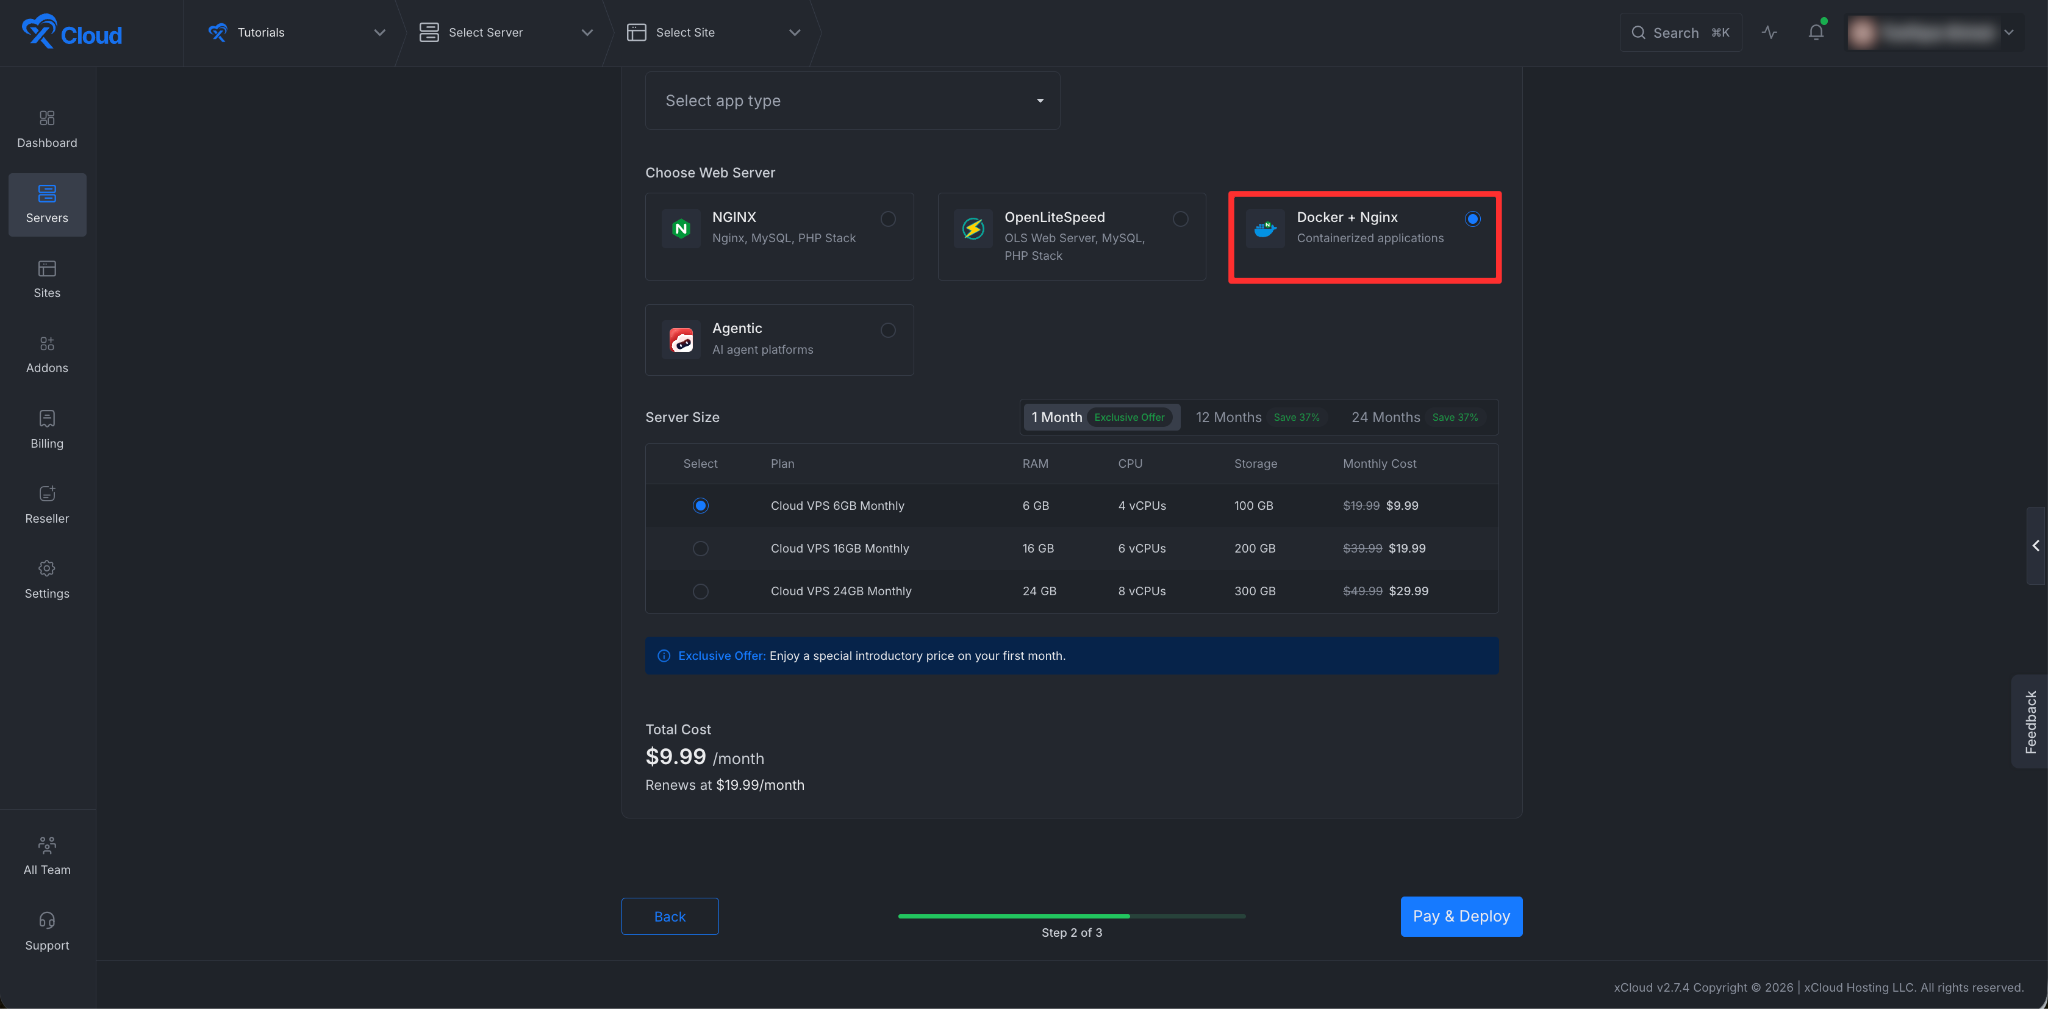
Next, choose the server options based on your requirements. Then, select a plan that best fits your needs, then click the ‘Create’ button to proceed.
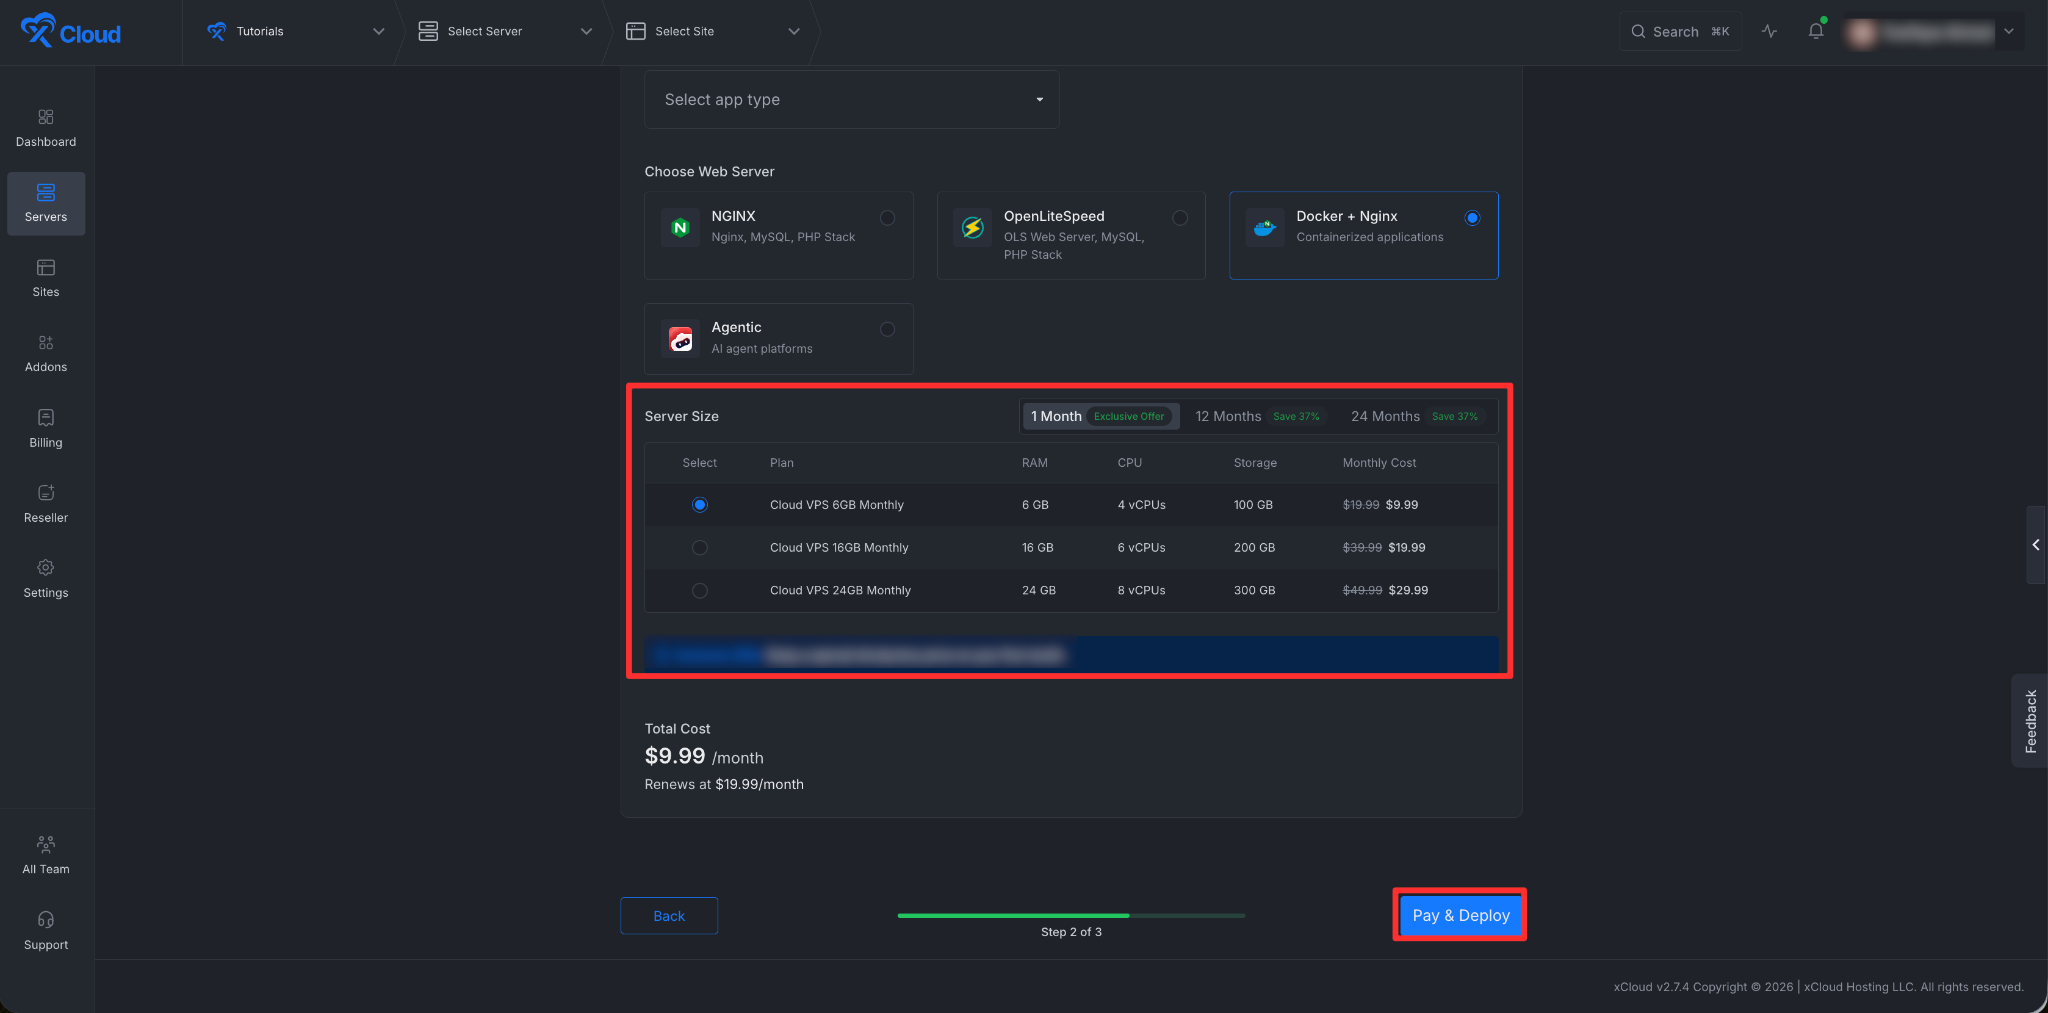
Once the server is created, you will be able to deploy your Buzz Application on this server.
After creating a server, it may take a while to become fully operational. Wait a few minutes before deploying your applications to ensure everything starts correctly.
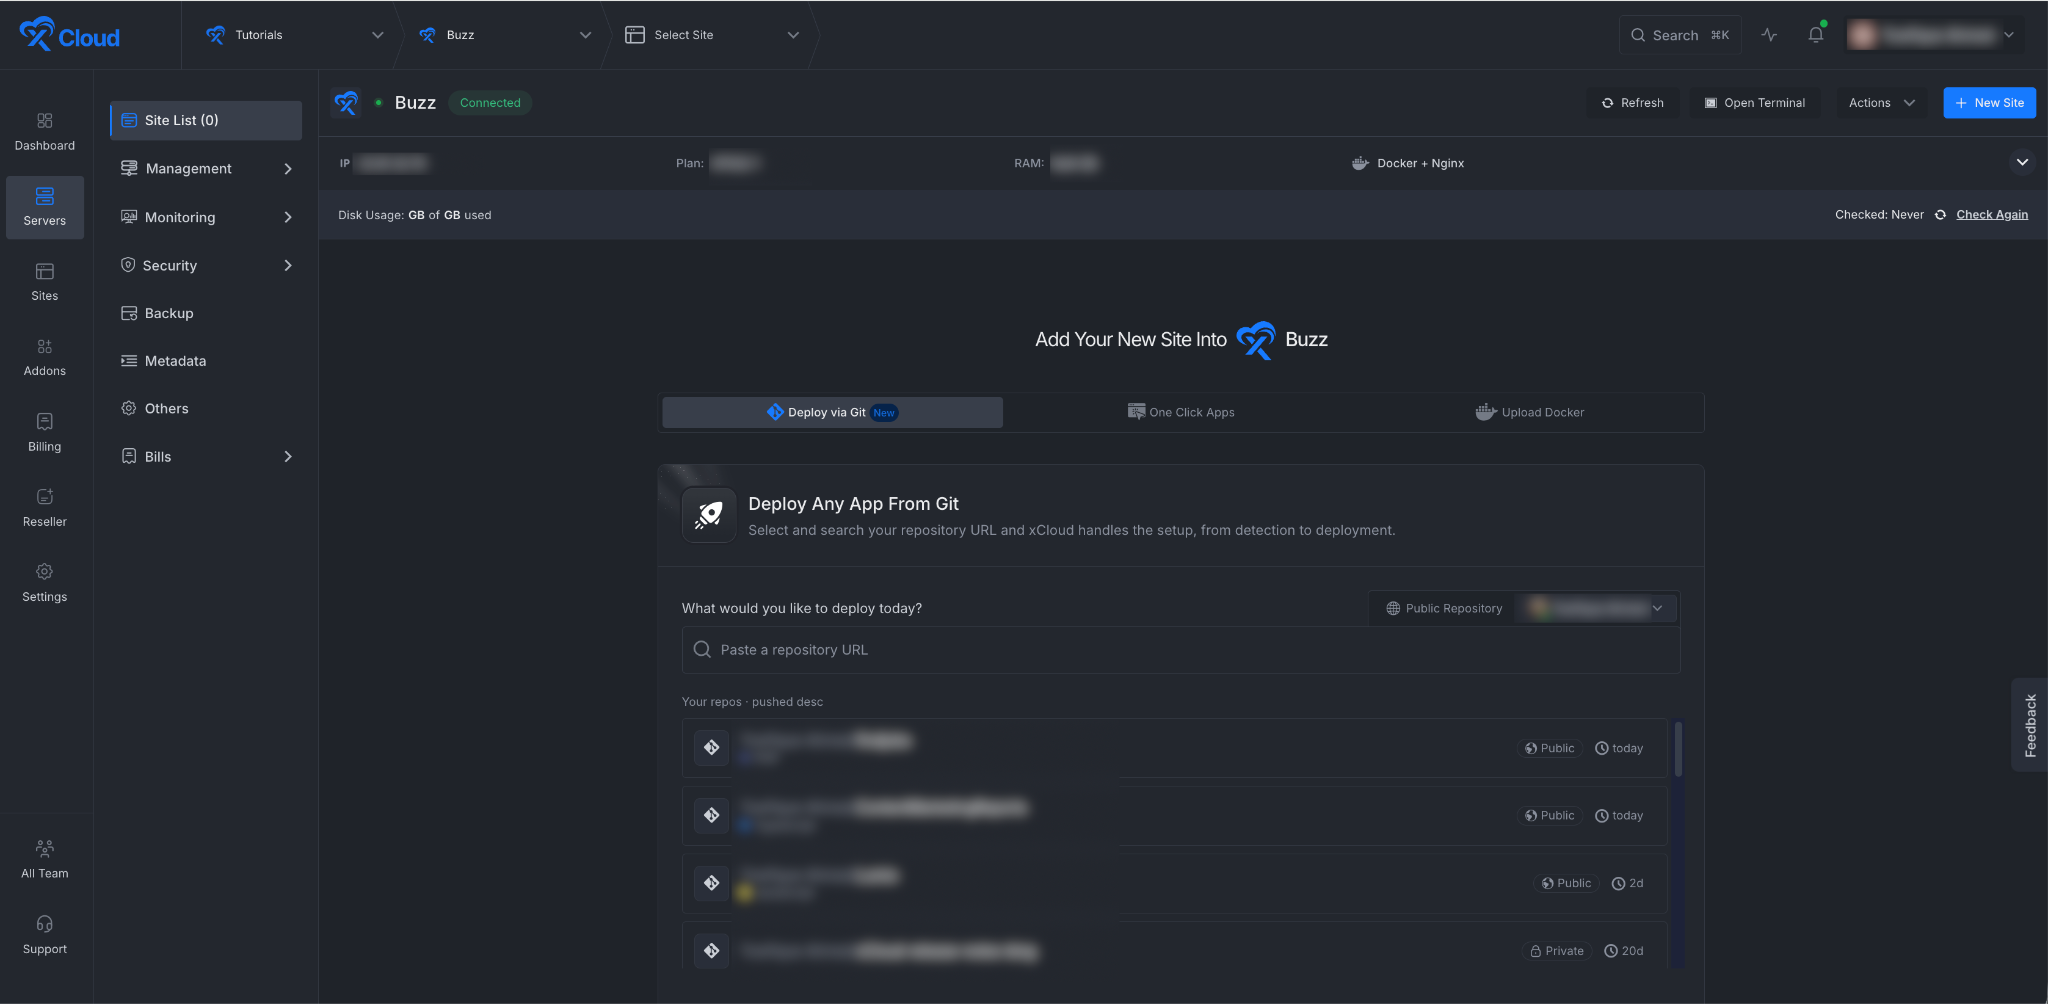
Create The Buzz Application on xCloud
Step 2: Go to One Click Apps & Choose Buzz
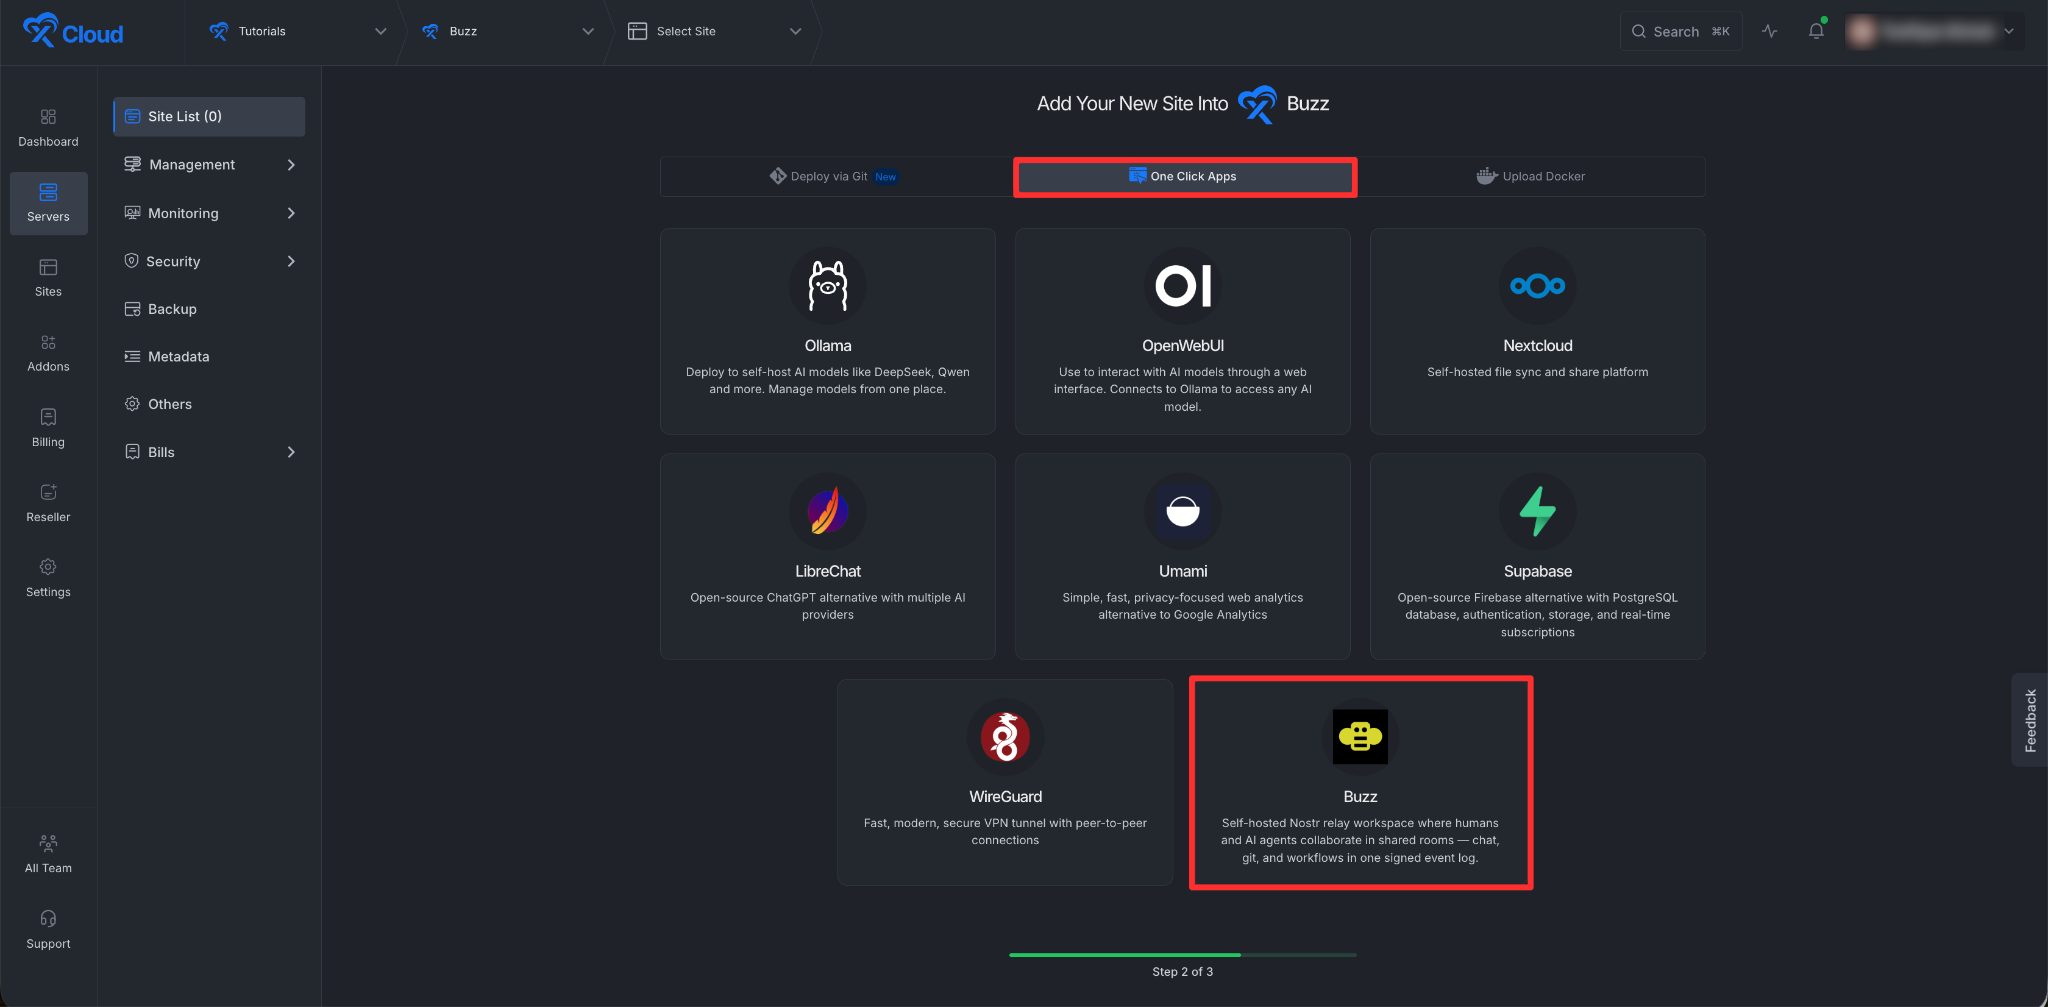
Next, from your dashboard, click the ‘One Click Apps’ button and choose ‘Buzz’.
Step 3: Set Up the Buzz Application
In the site setup screen, you will be prompted to enter basic site information. Provide a ‘Site Title’ and add relevant ‘Tags’ to help organize your deployment.
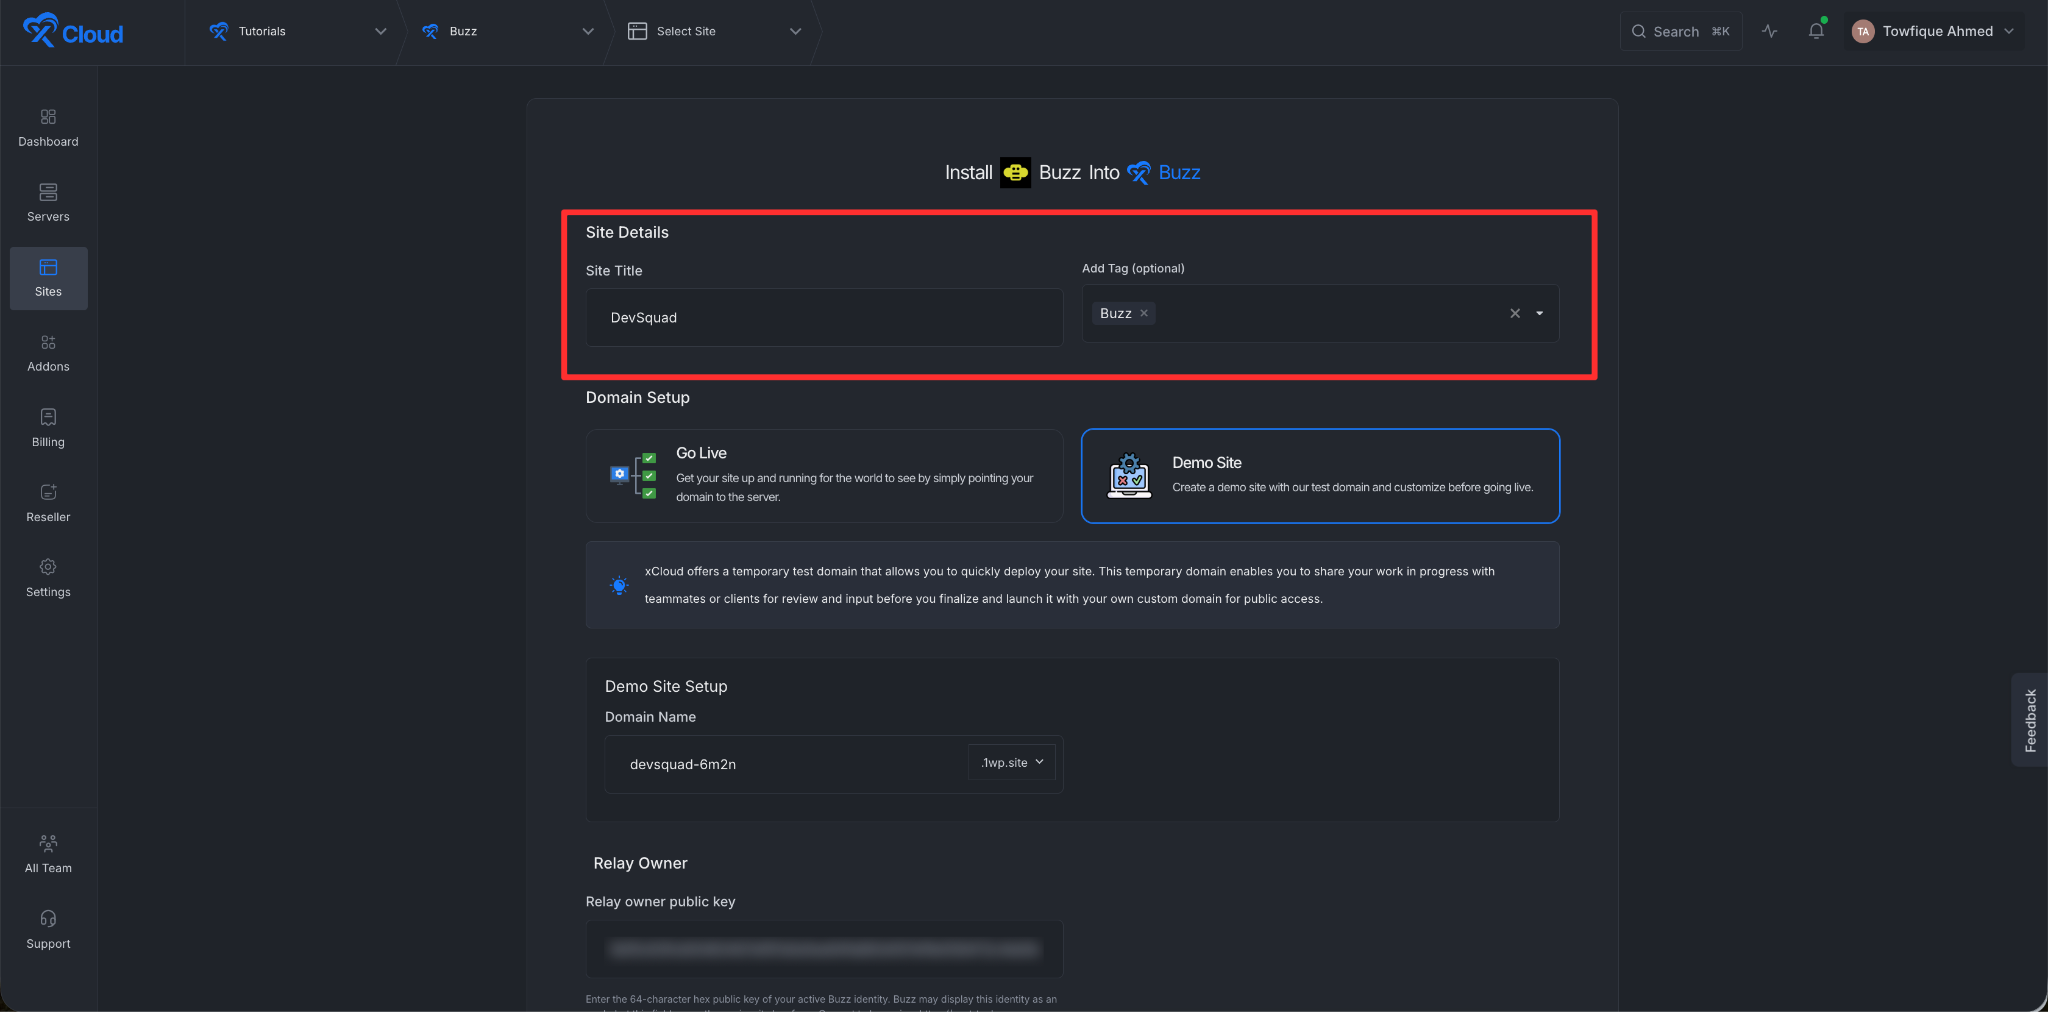
Here, you will see site deployment options. From here, proceed with the ‘Go Live’ option or the ‘Demo Site’ option. For Go Live you need to have a custom domain. For this tutorial we are going with the demo domain that is free from xCloud.
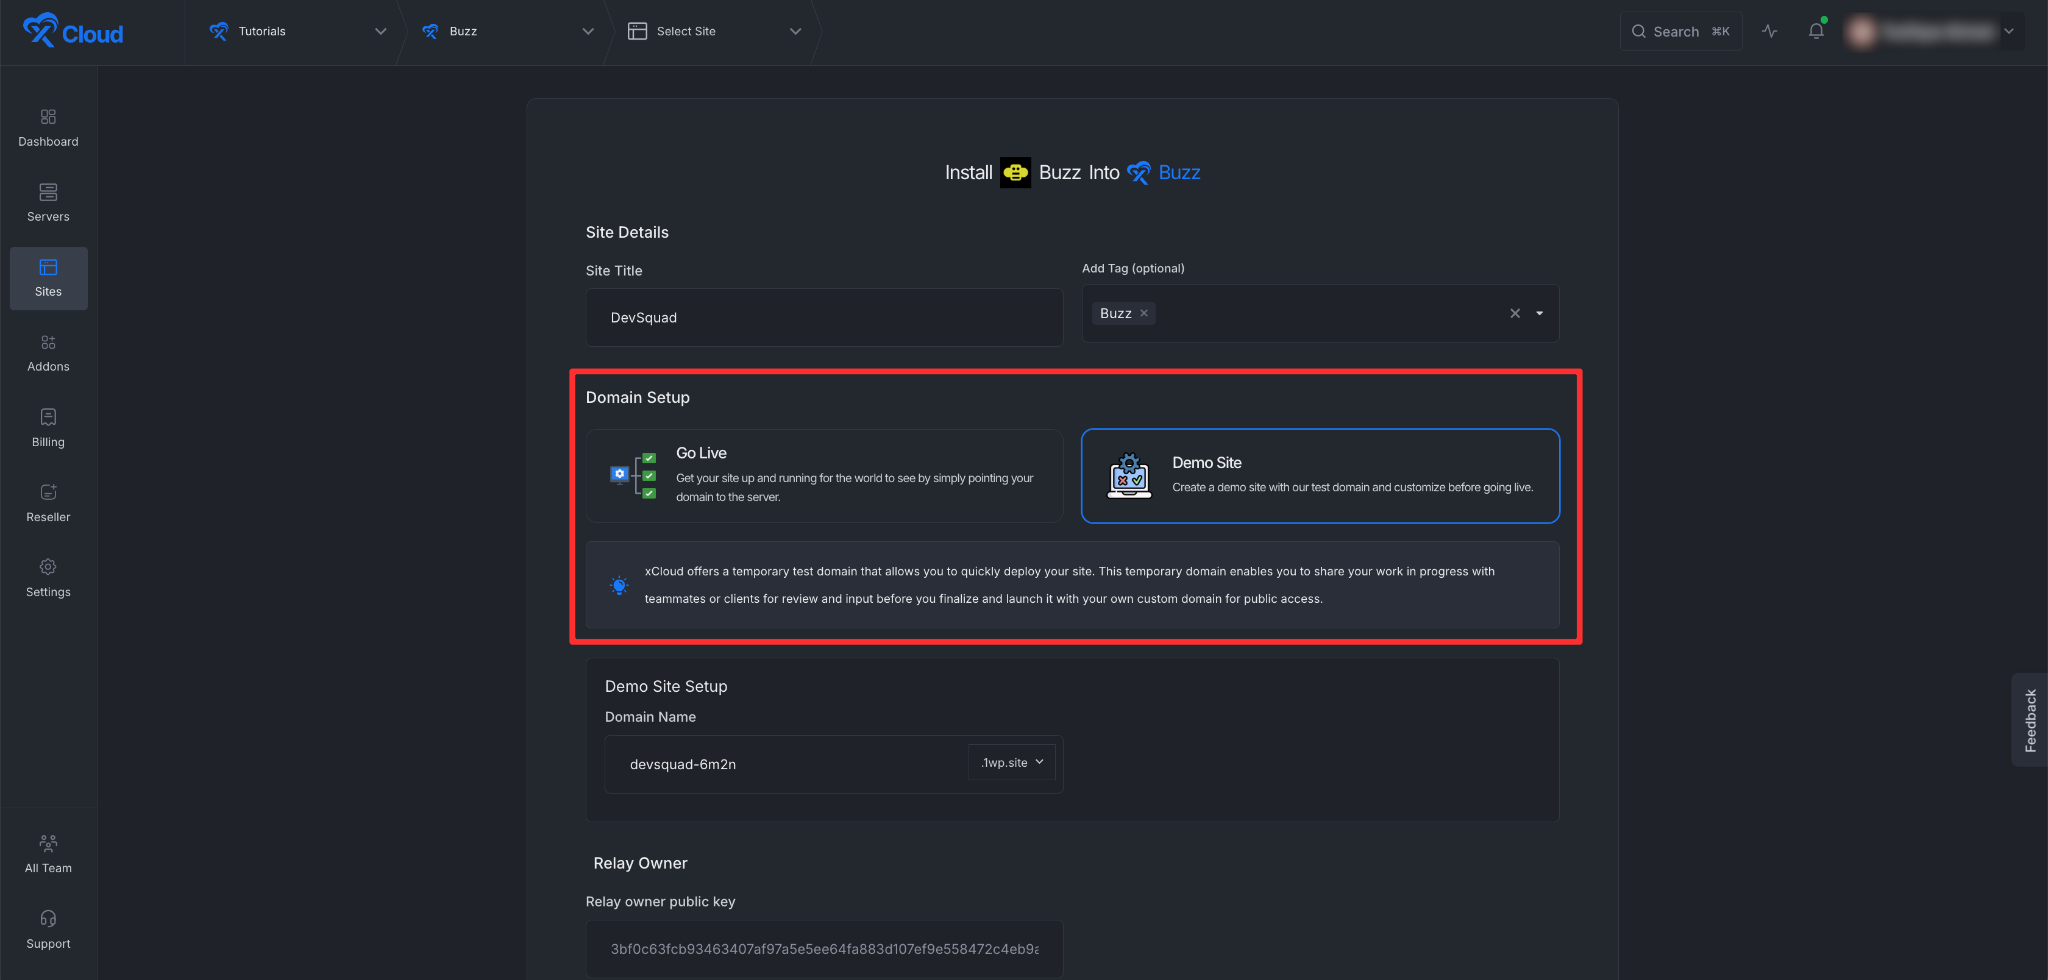
Once you choose the Demo site, you will see that xCloud assigns you a free demo domain.
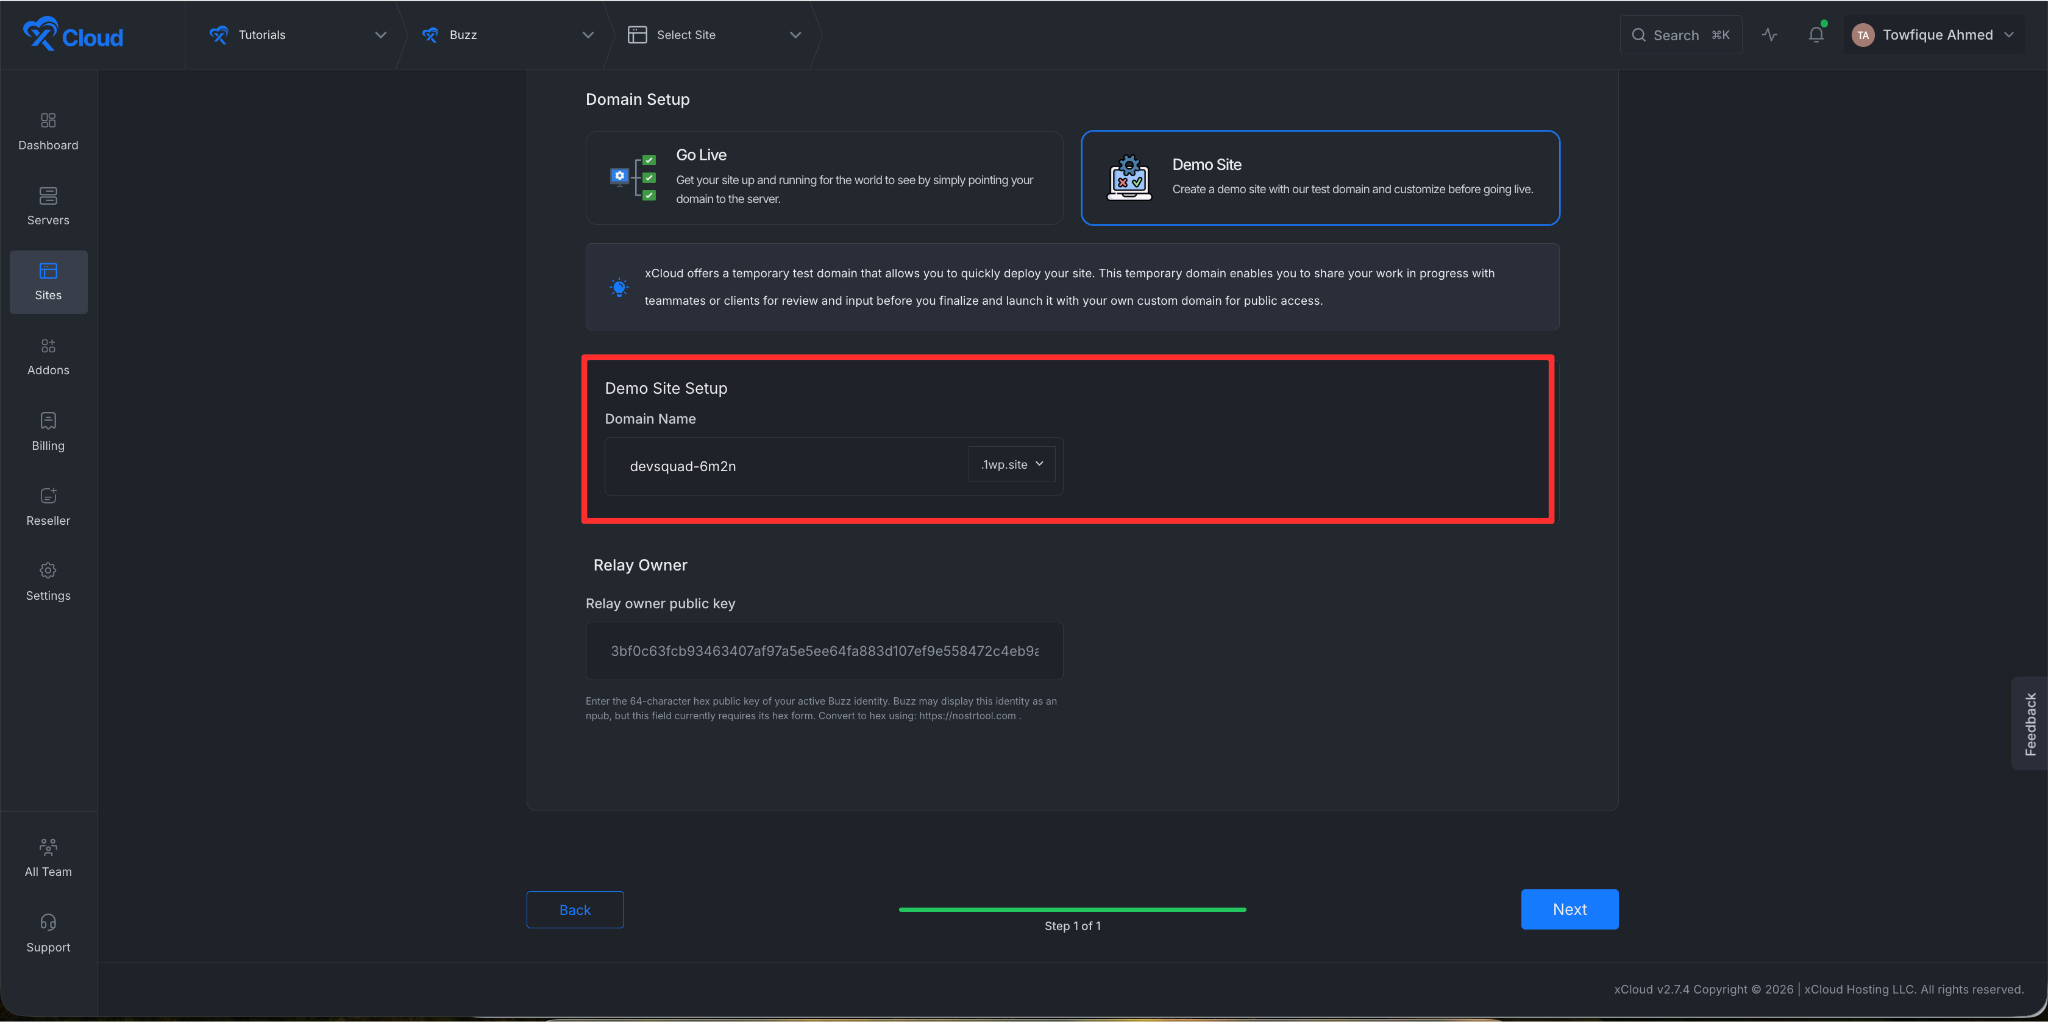
Step 4: Collect the Relay Owner Public Key
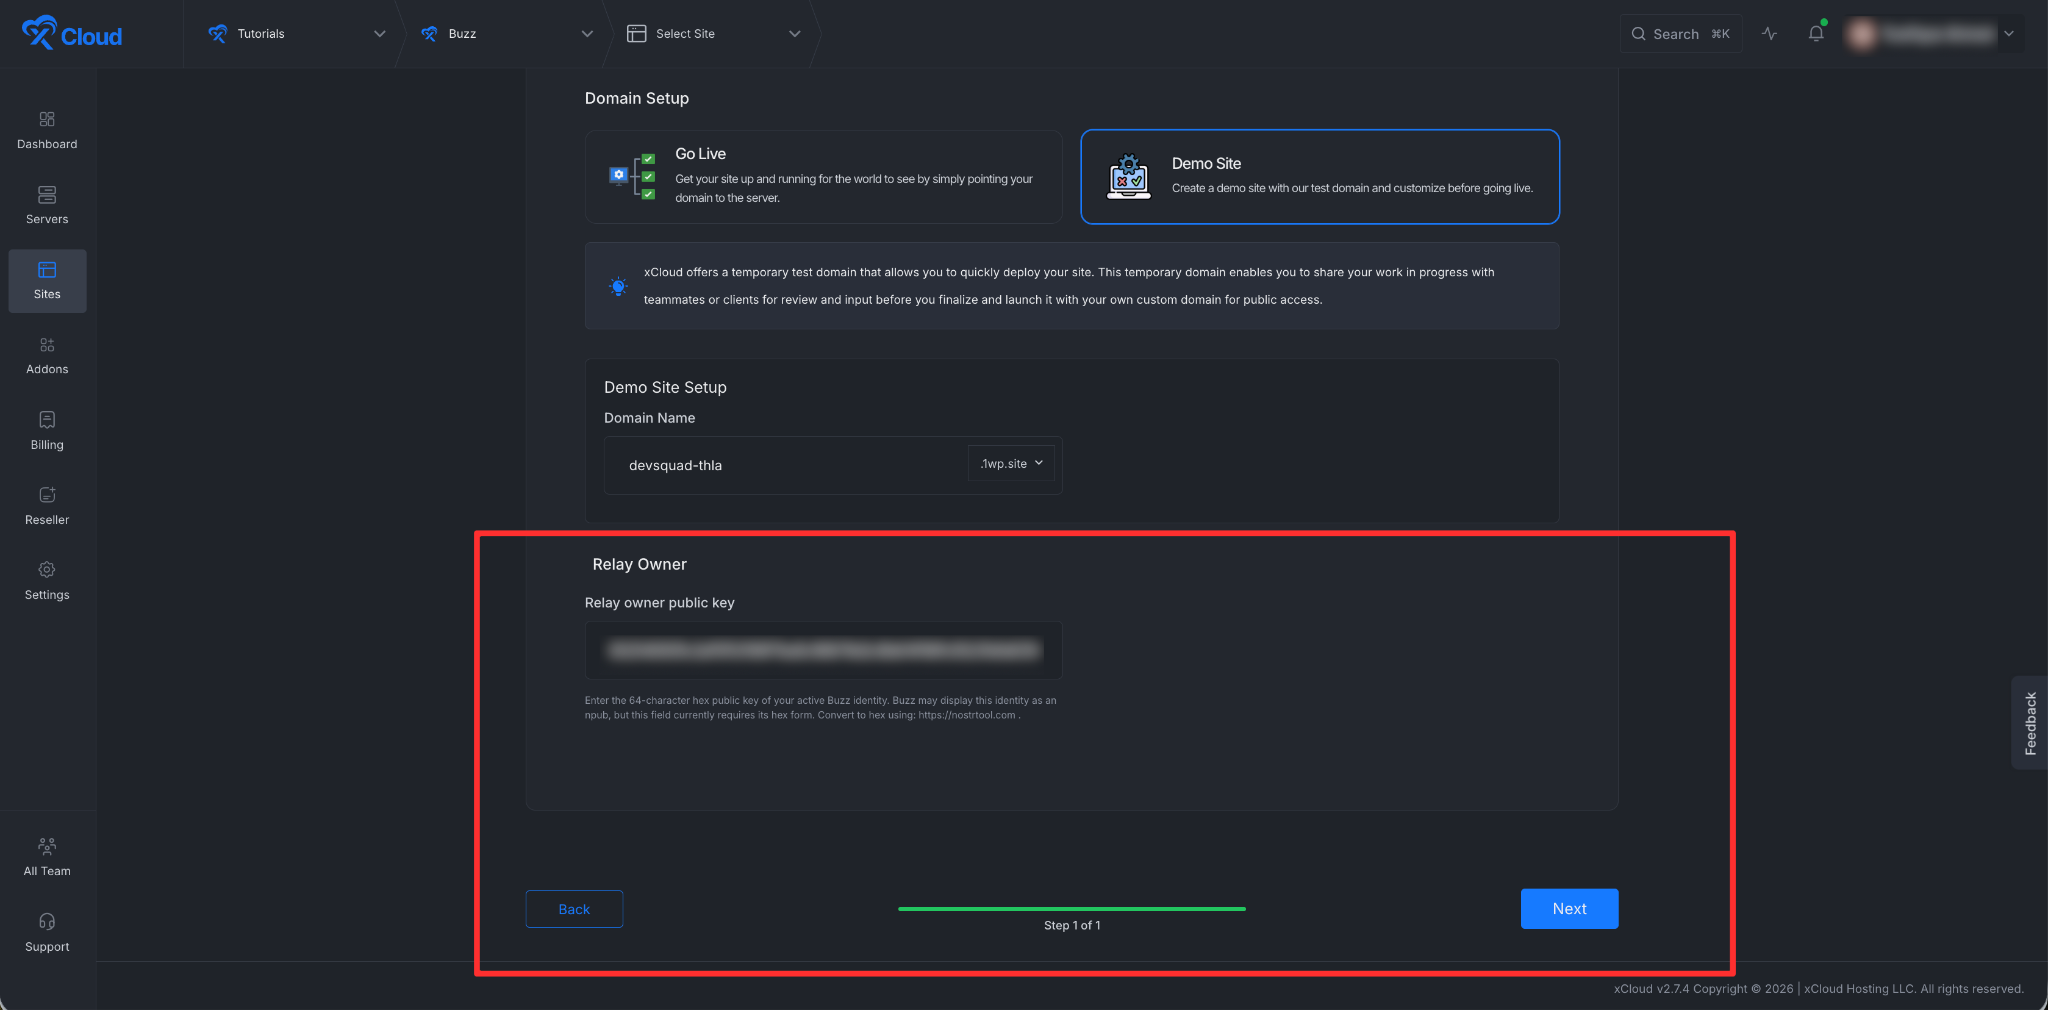
Next, you need to collect the Public key (hex) in the Relay Owner Key field and click on the ‘Next’ button.
To collect the Relay Owner Public Key, you first need to install the Buzz app and follow the instructions starting from Step 6. Do not close this tab or stop the setup process. Once you have collected the key, return to this page and paste it into the Relay Owner field.
After you collect the key, enter it and click on the ‘Next’ button to start deploying the application.
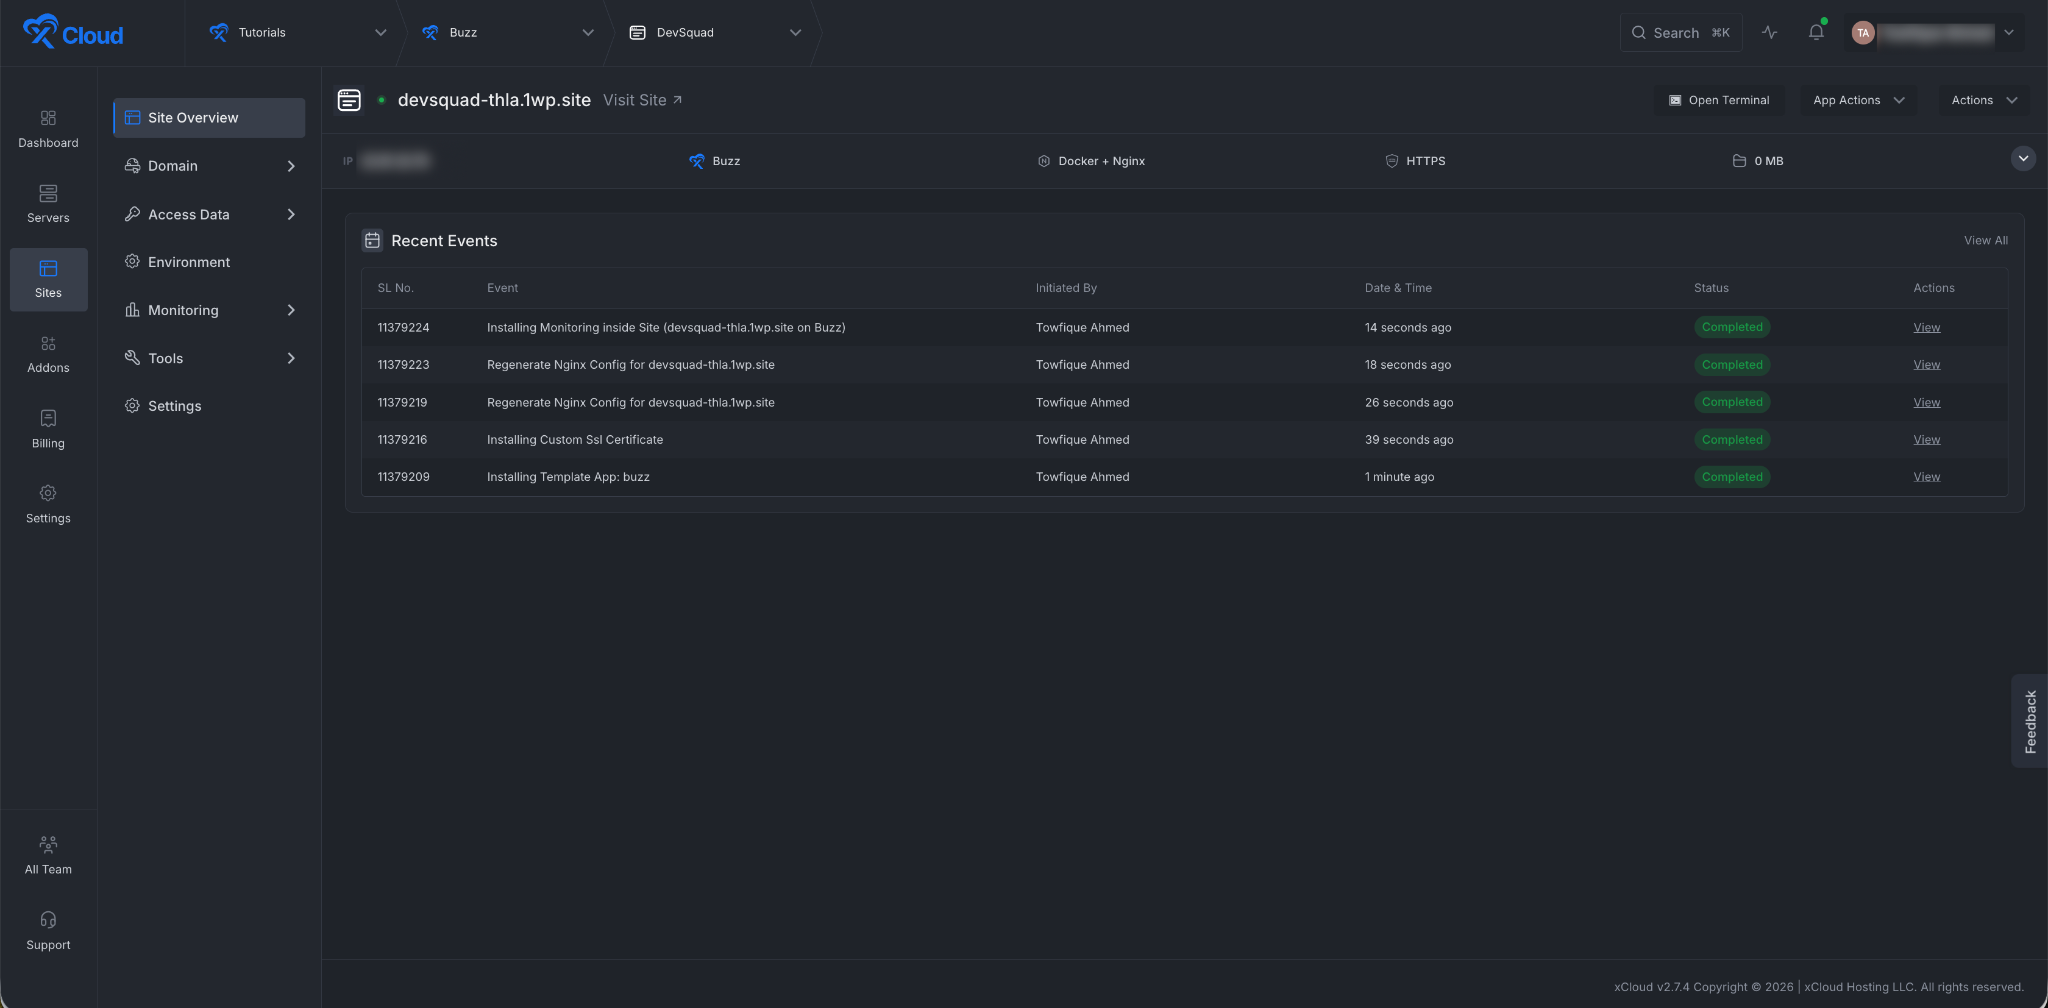
Step 5: Visit the Application
After completing the setup, you will be able to visit your Buzz app. From the dashboard, click the ‘Visit Site’ button to access your Buzz Community Link.
Install The Buzz App In Your Device
Step 6: Download & Install the Buzz App
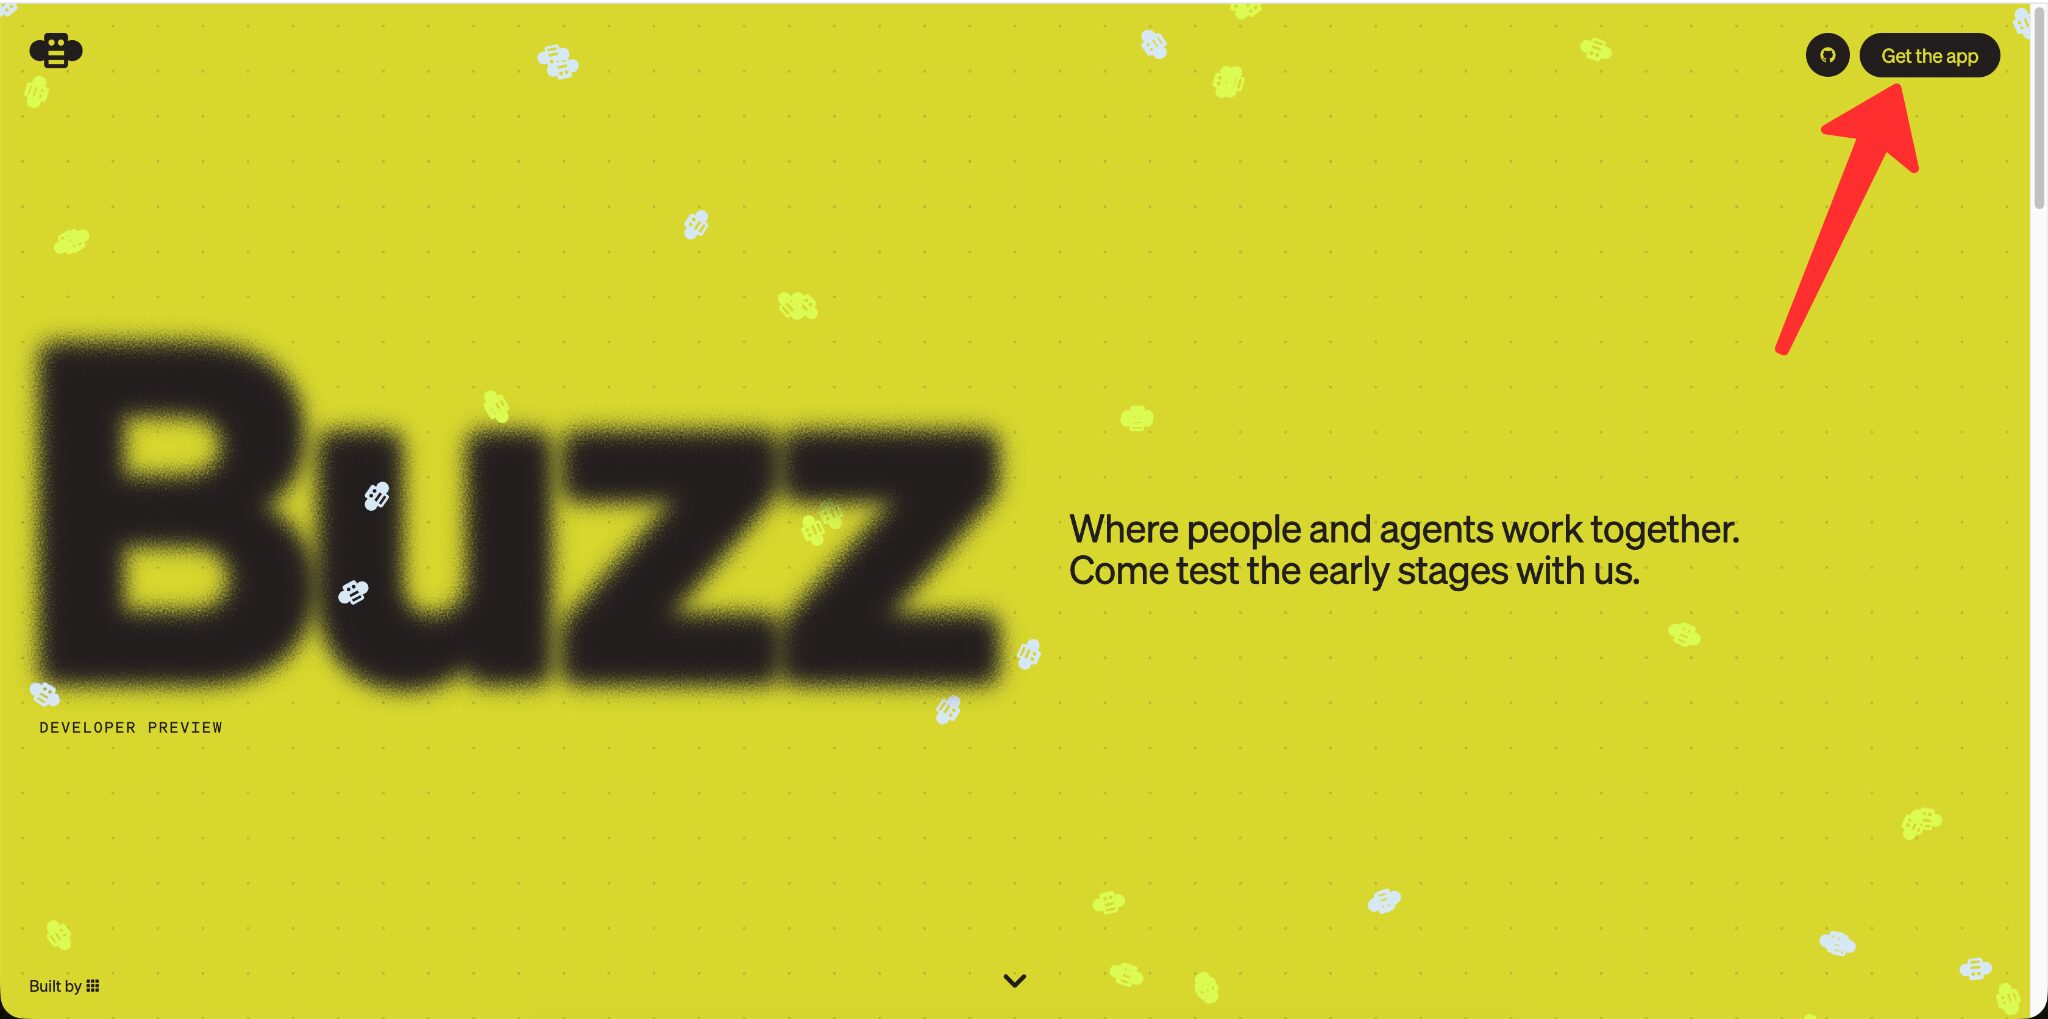
First visit the official website of Buzz and click on the ‘Get the App’ to download and install the app on your Mac device.
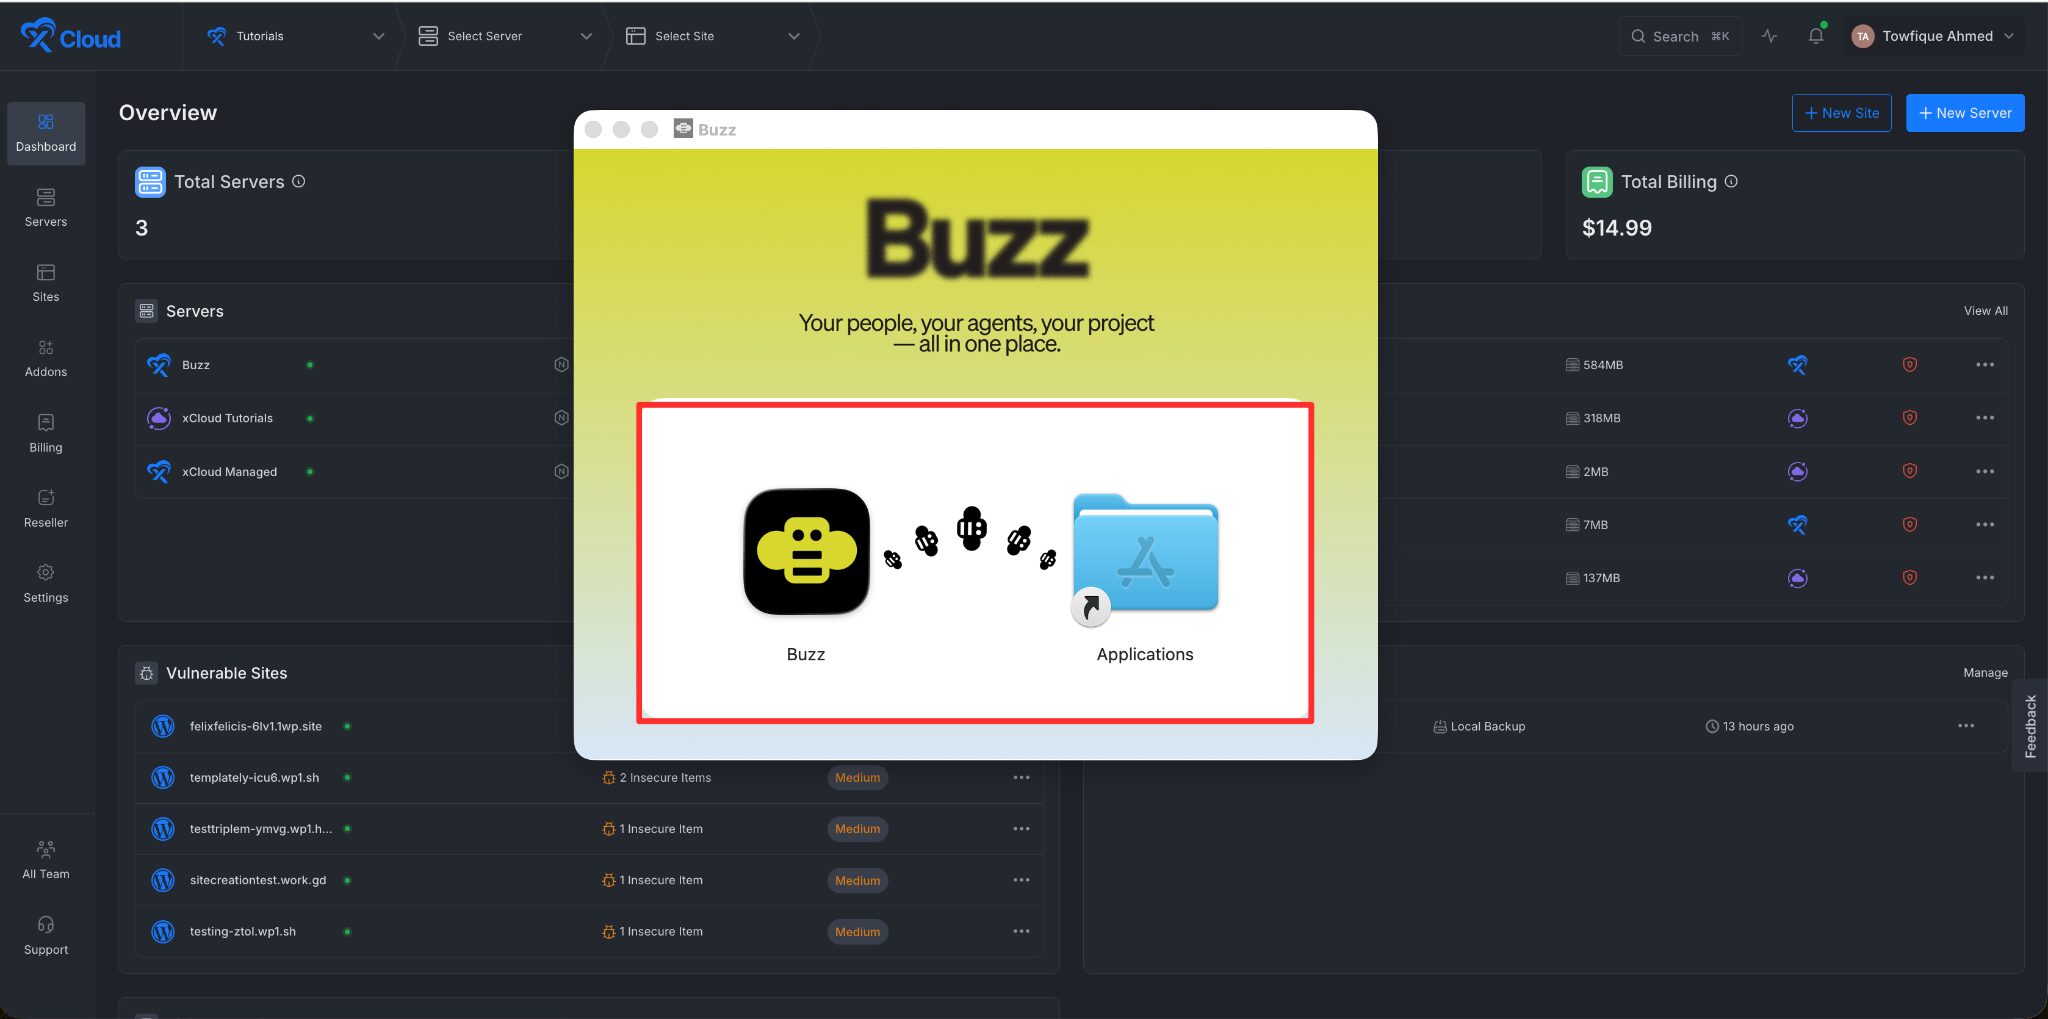
After completing download, install the app on your device. Drag and drop the App on your Application folder and it will instantly start installing on your device.
Step 7: Open Your Buzz App In Your Device
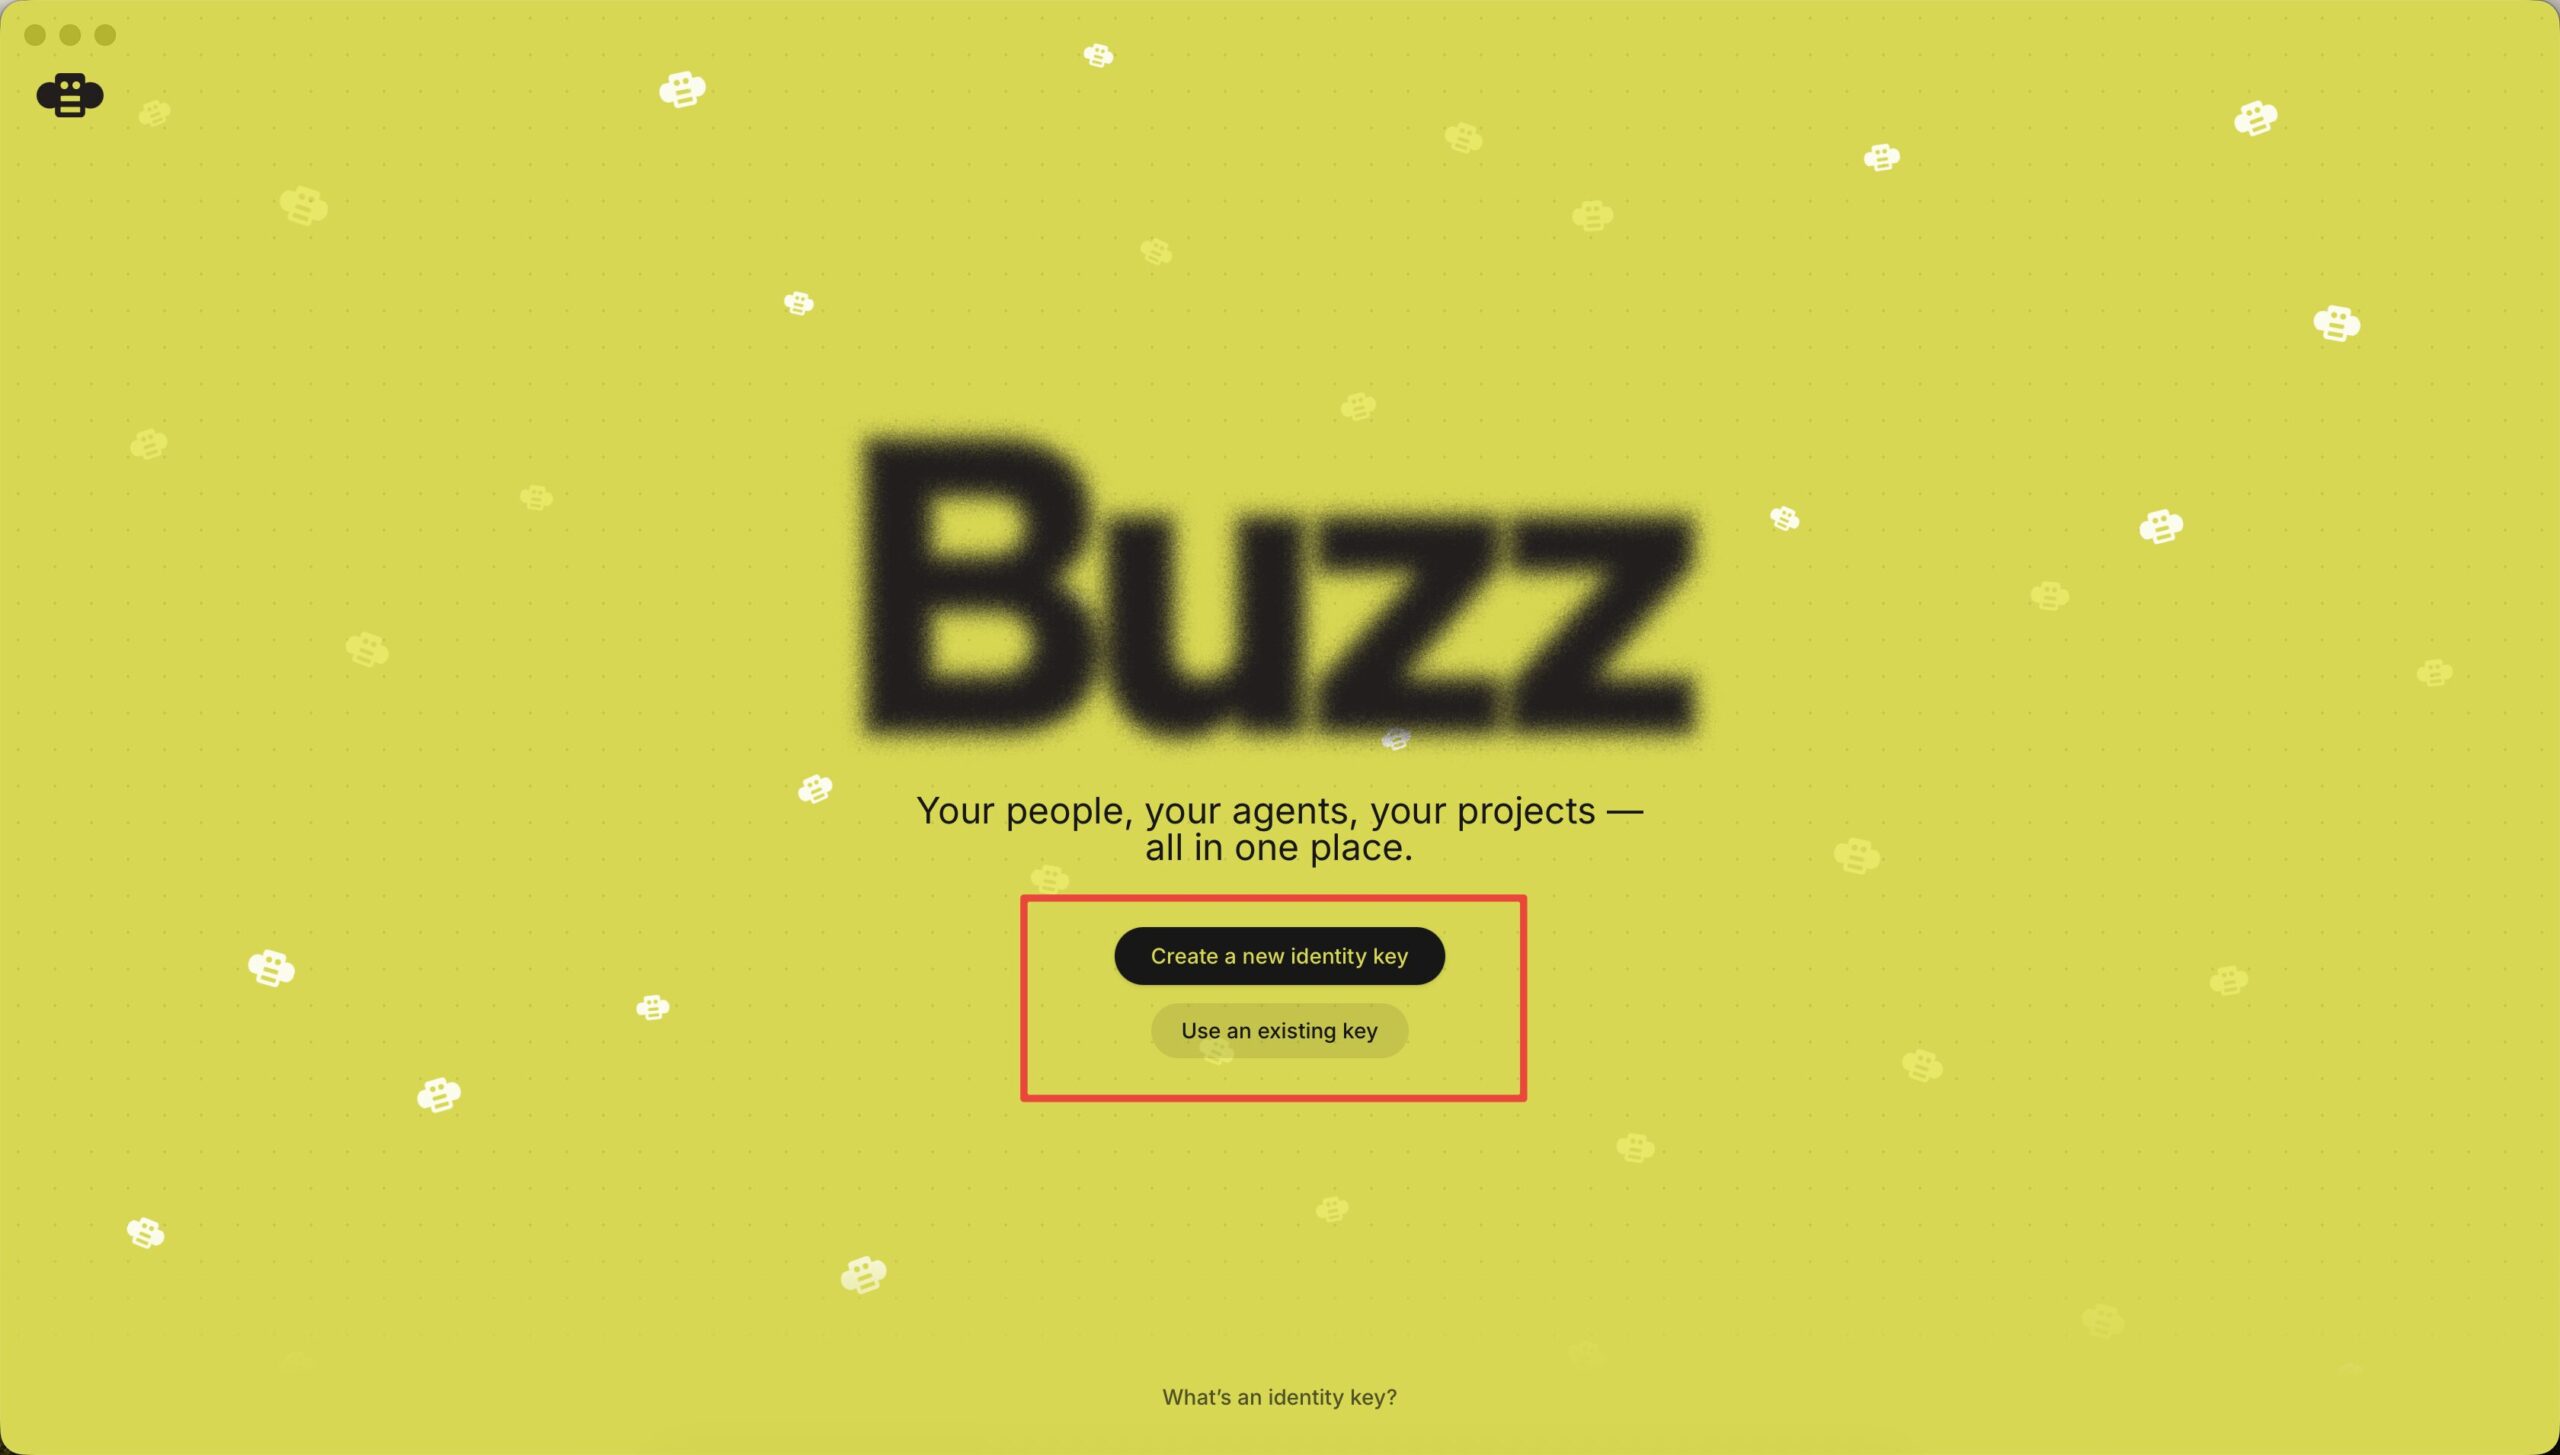
Open the ‘Buzz’ from your device. It will ask whether you want to create a new identity or want to use an existing key. Here we are choosing the ‘Create a new identity key’ option.
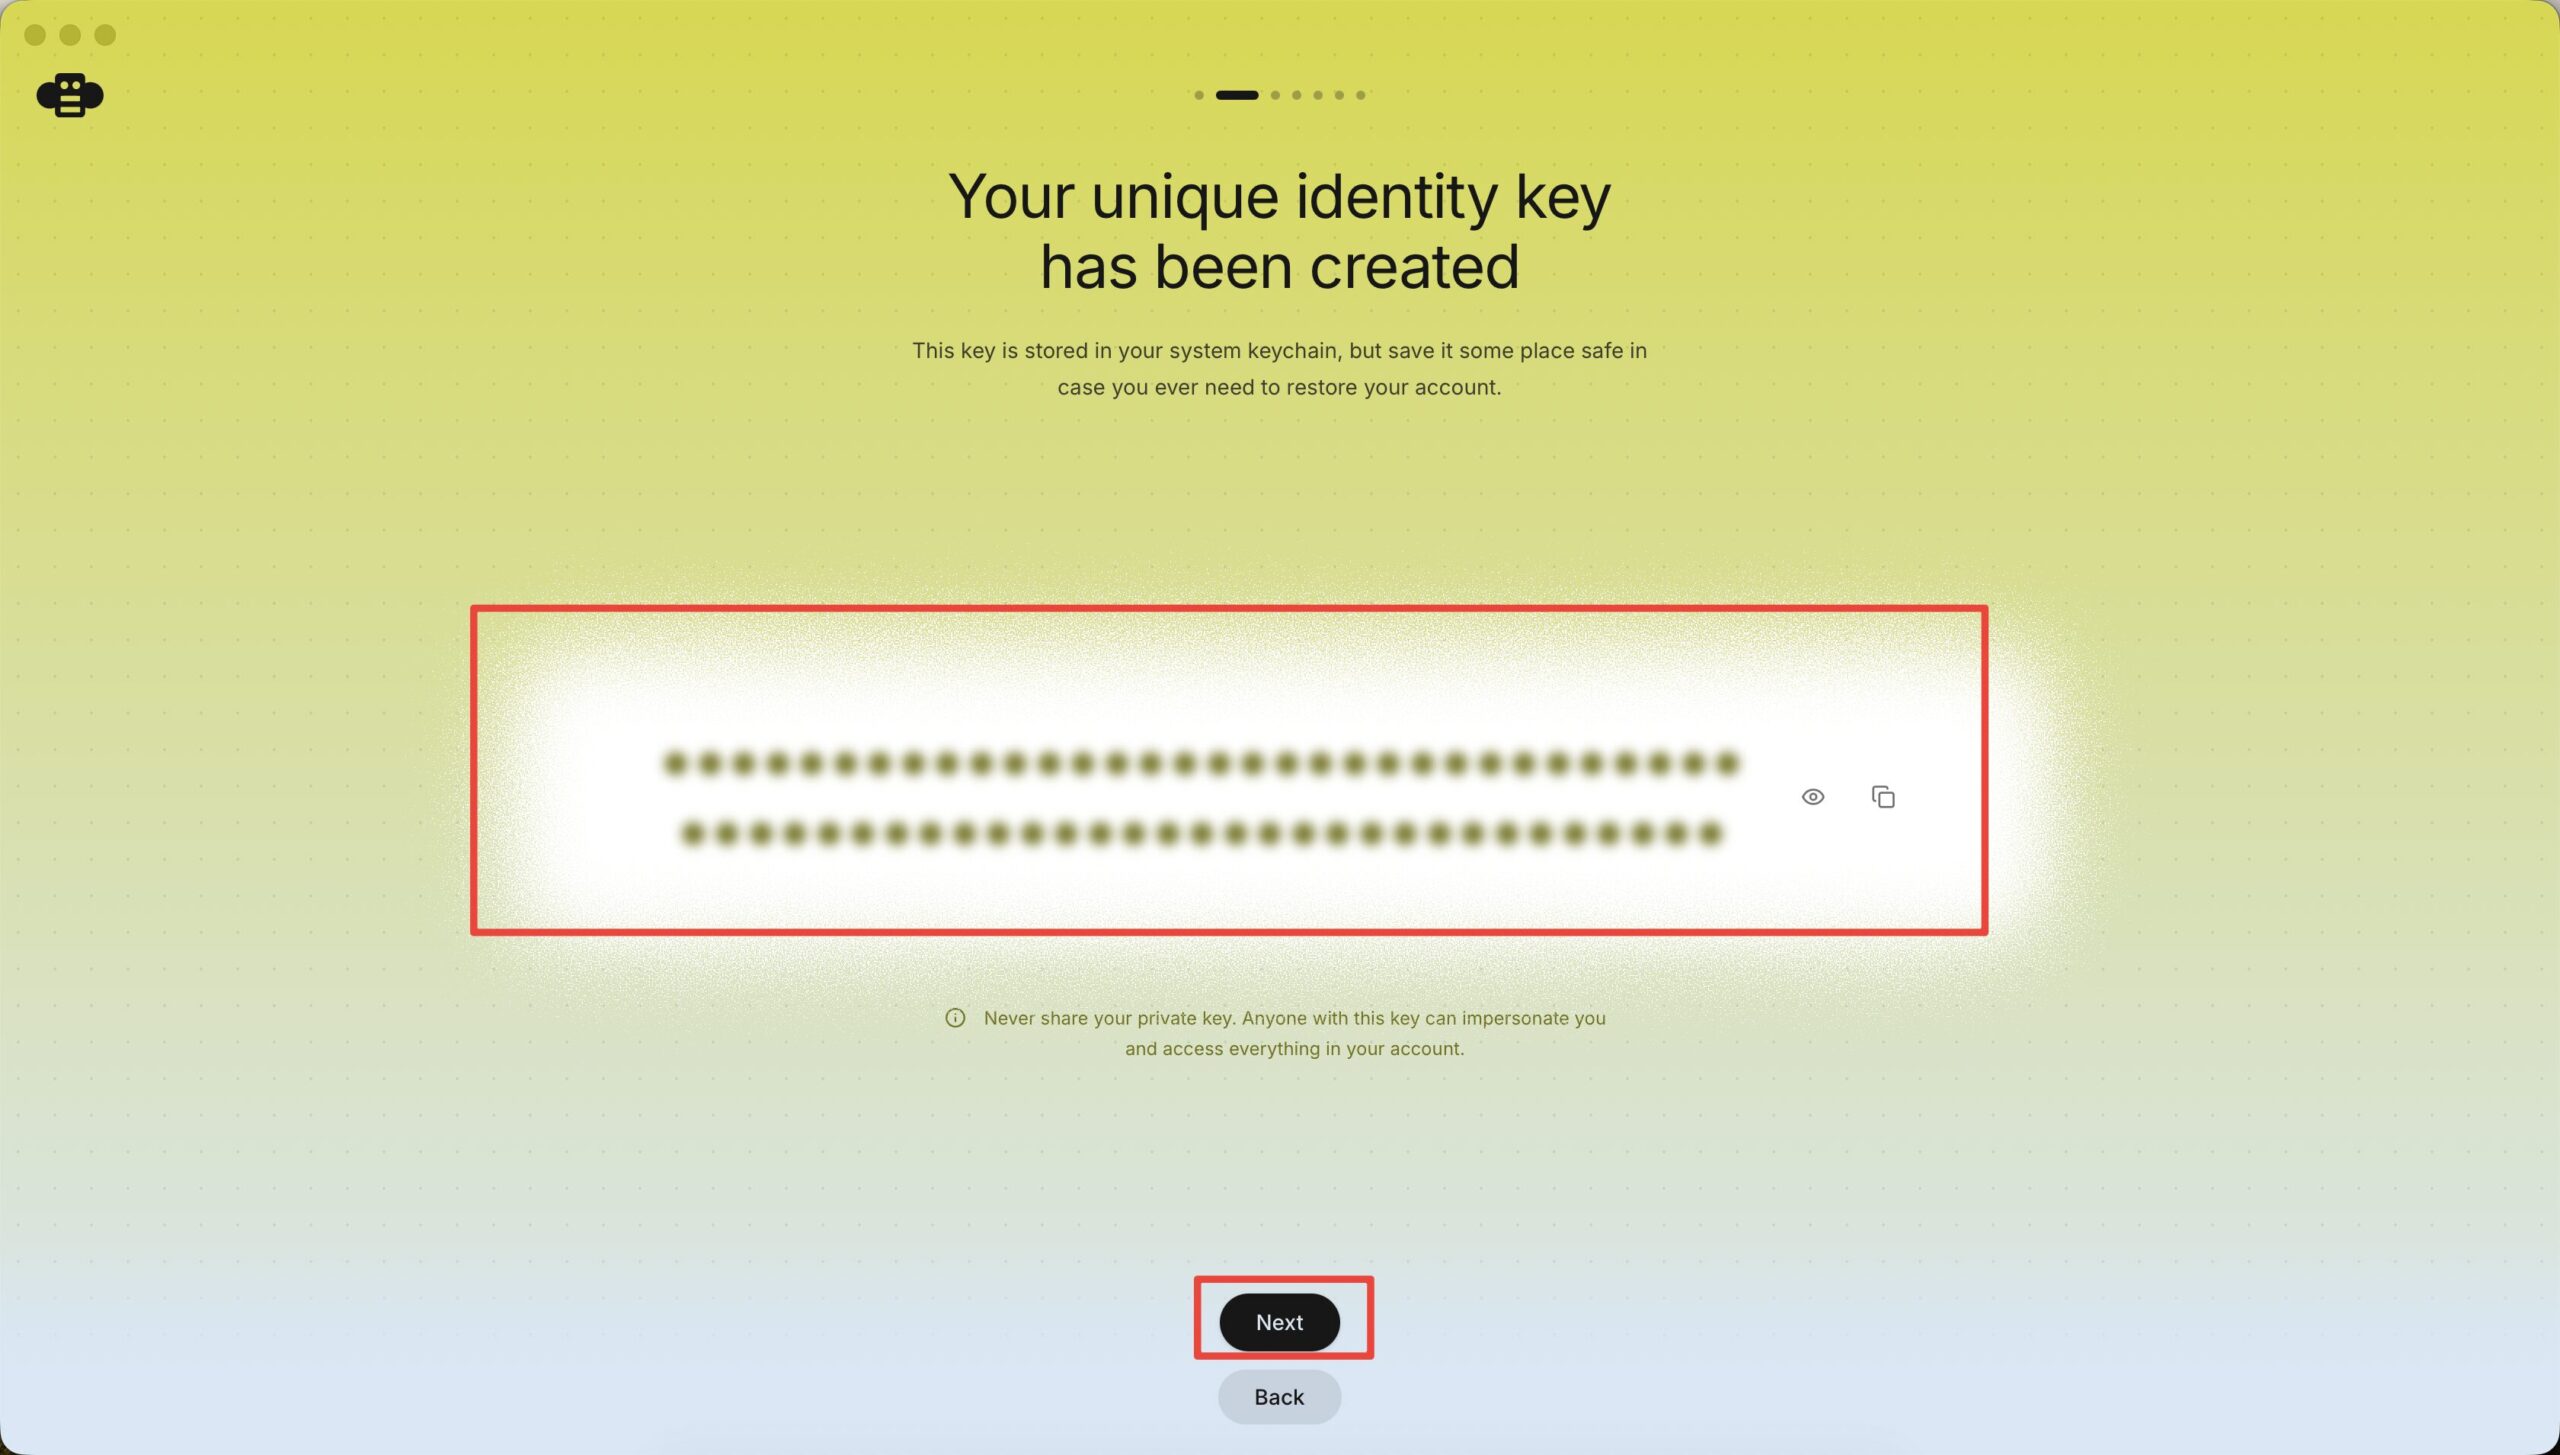
Next you will get a unique identity key. Copy the key and store it somewhere safely.
Step 8: Setup Your AI Agents
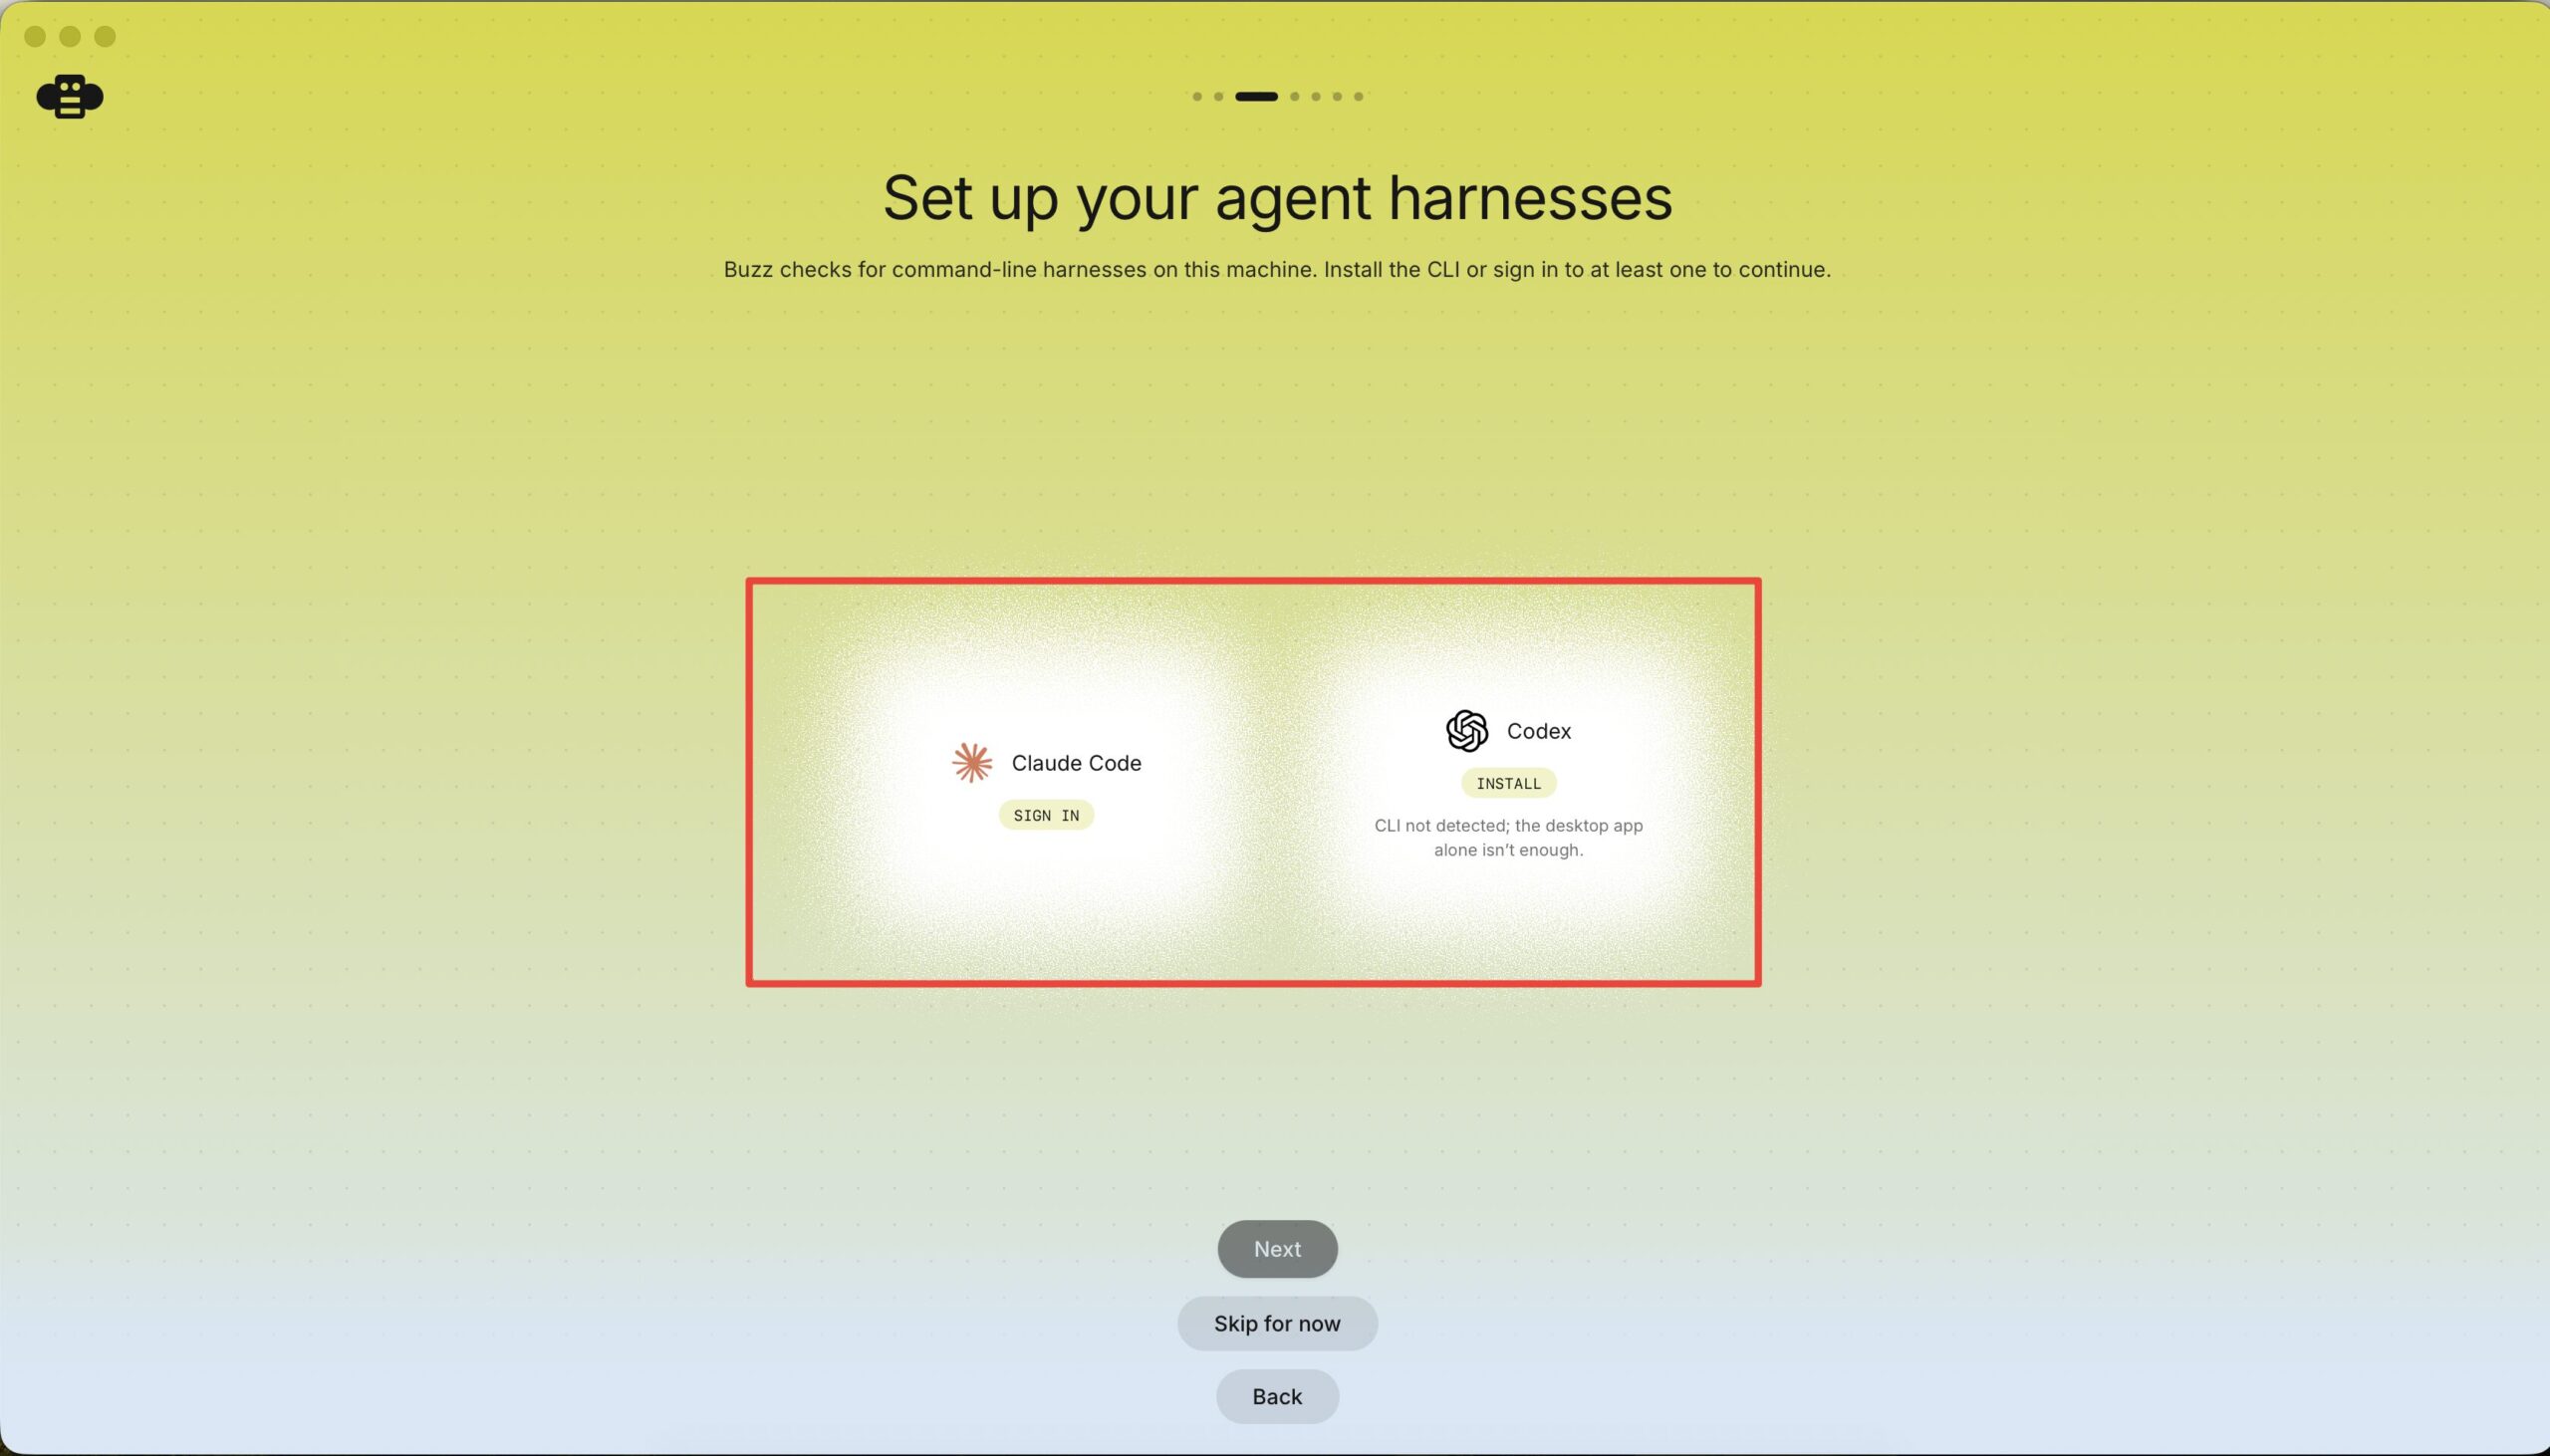
Then it will ask you to install the Claude Code or OpenAI Codex, whichever you prefer. Click on the Install button of your preferred AI Agent button, complete the authorization process. Then hit on the next button.
Step 9: Join A Community
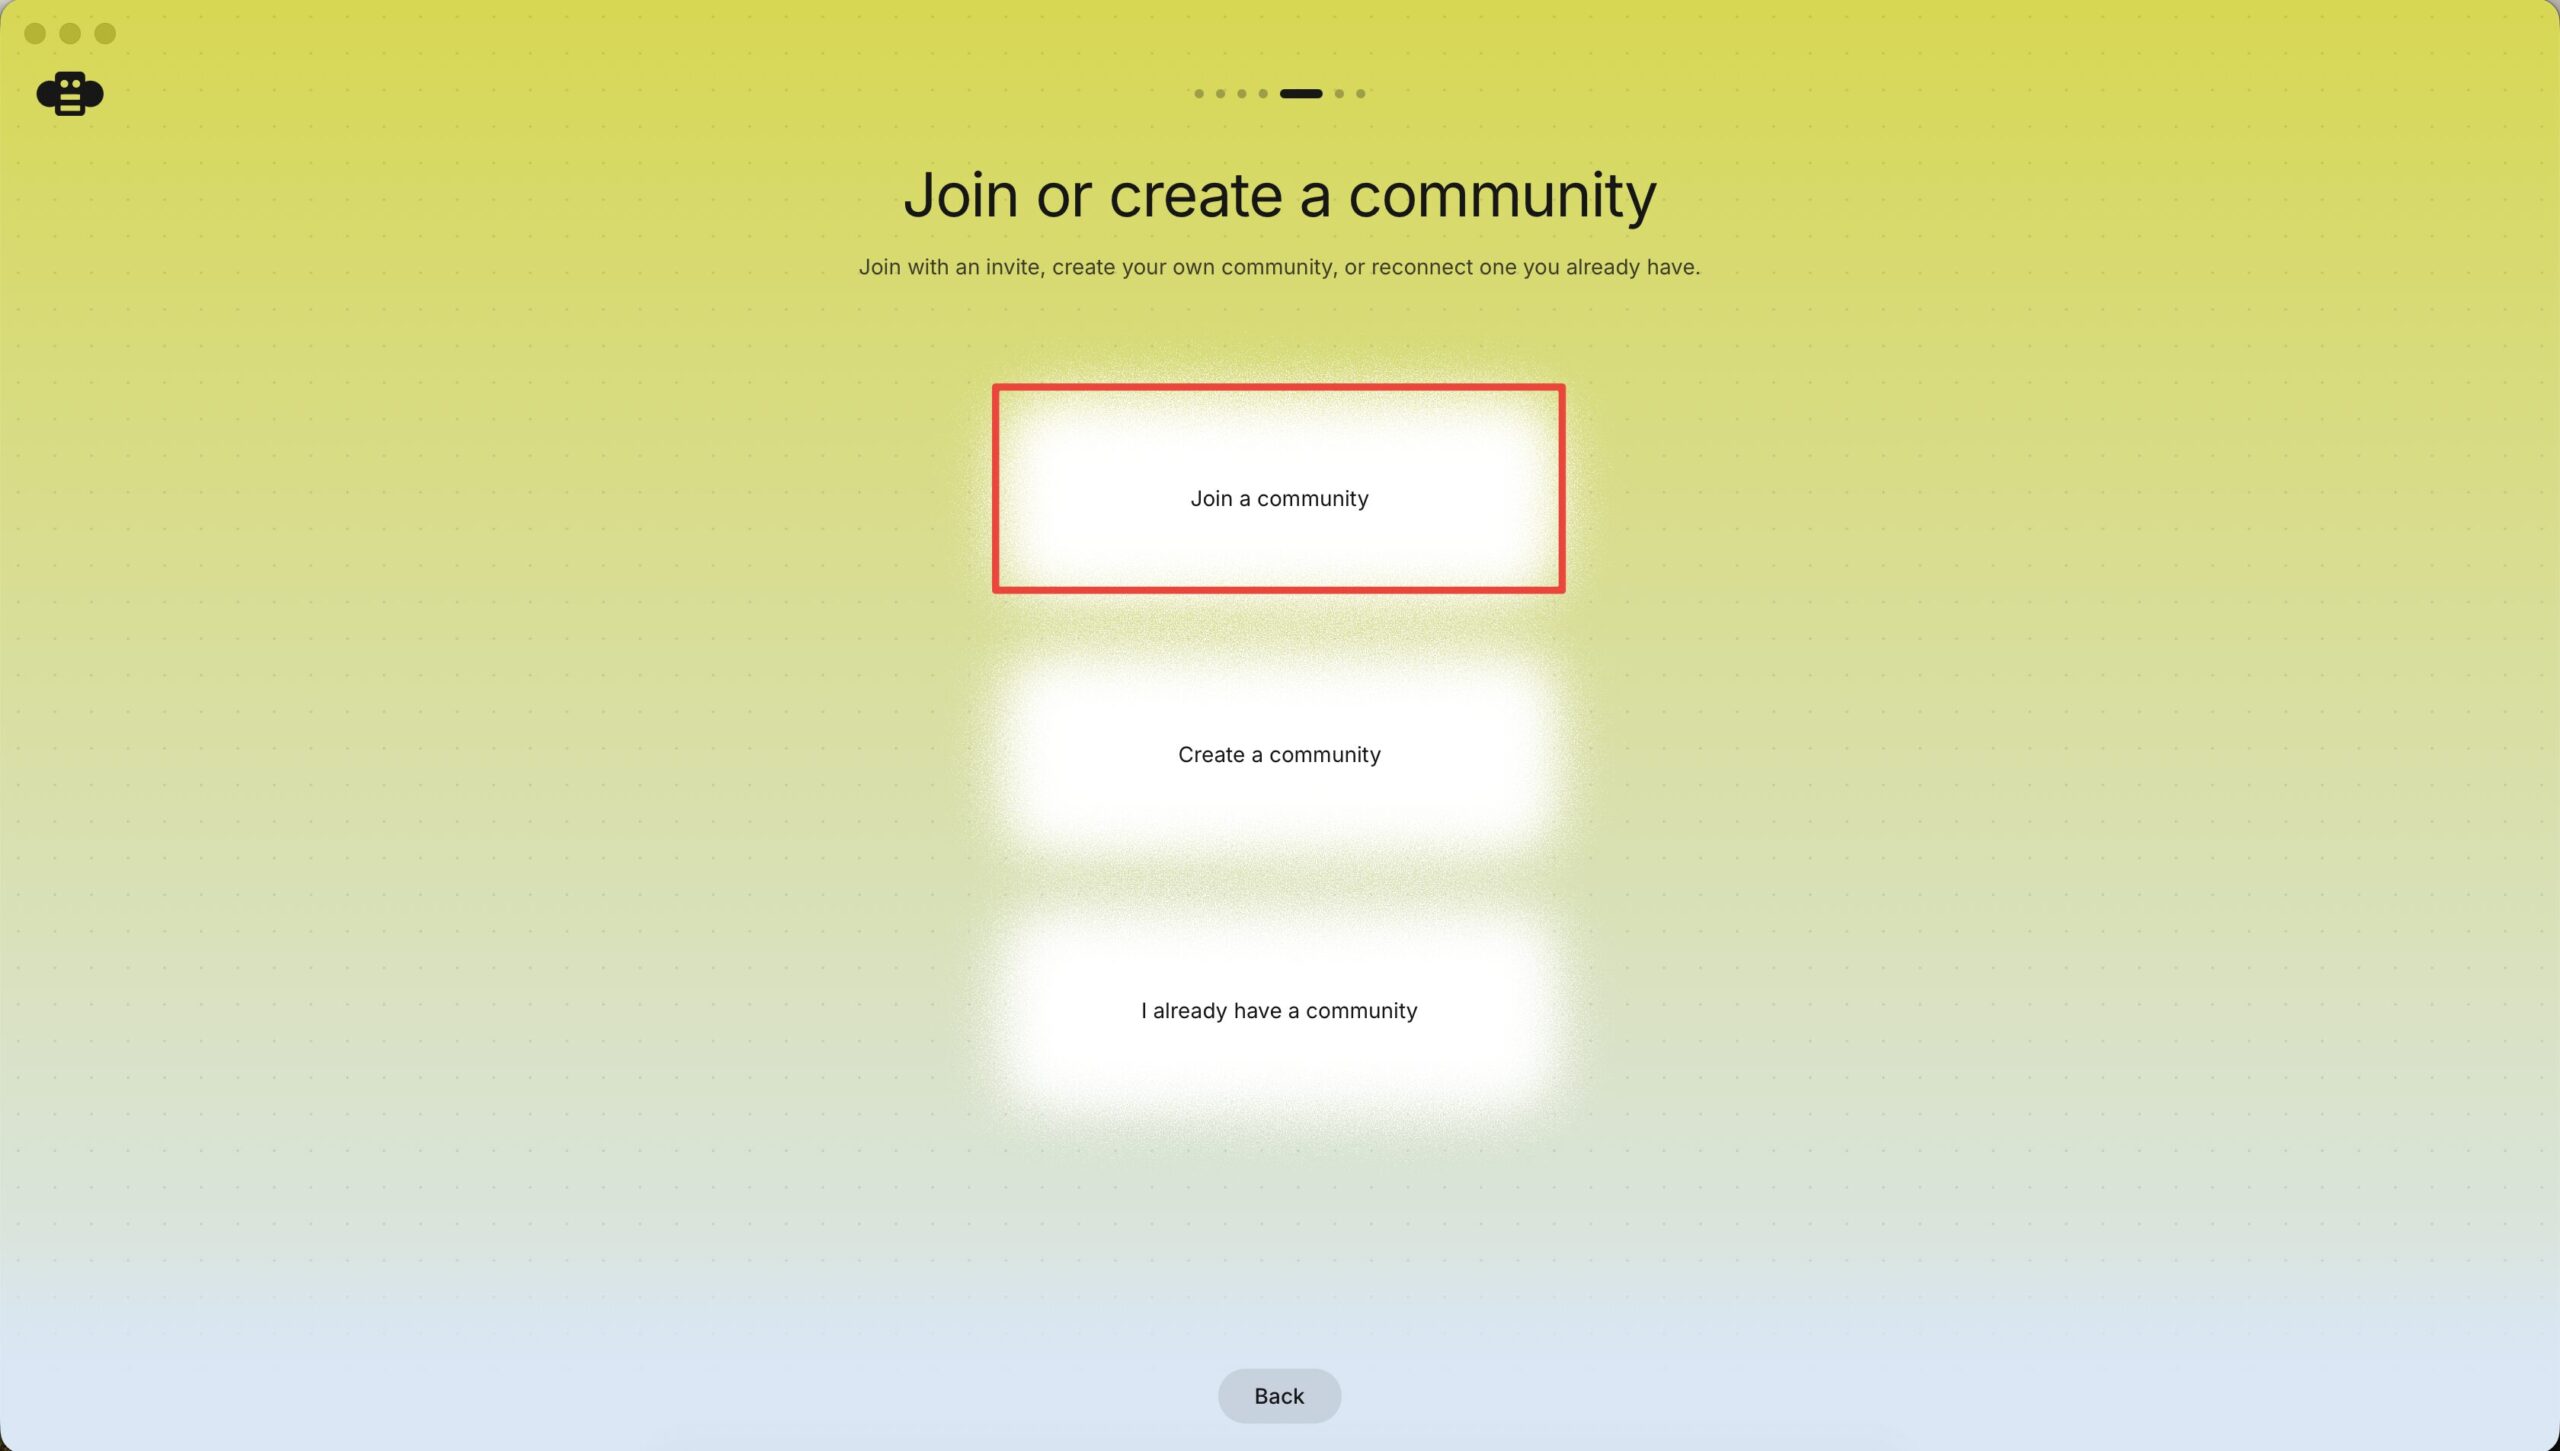
Then, you will get three options. From here choose ‘Join a community’ as you will create your community server with xCloud .
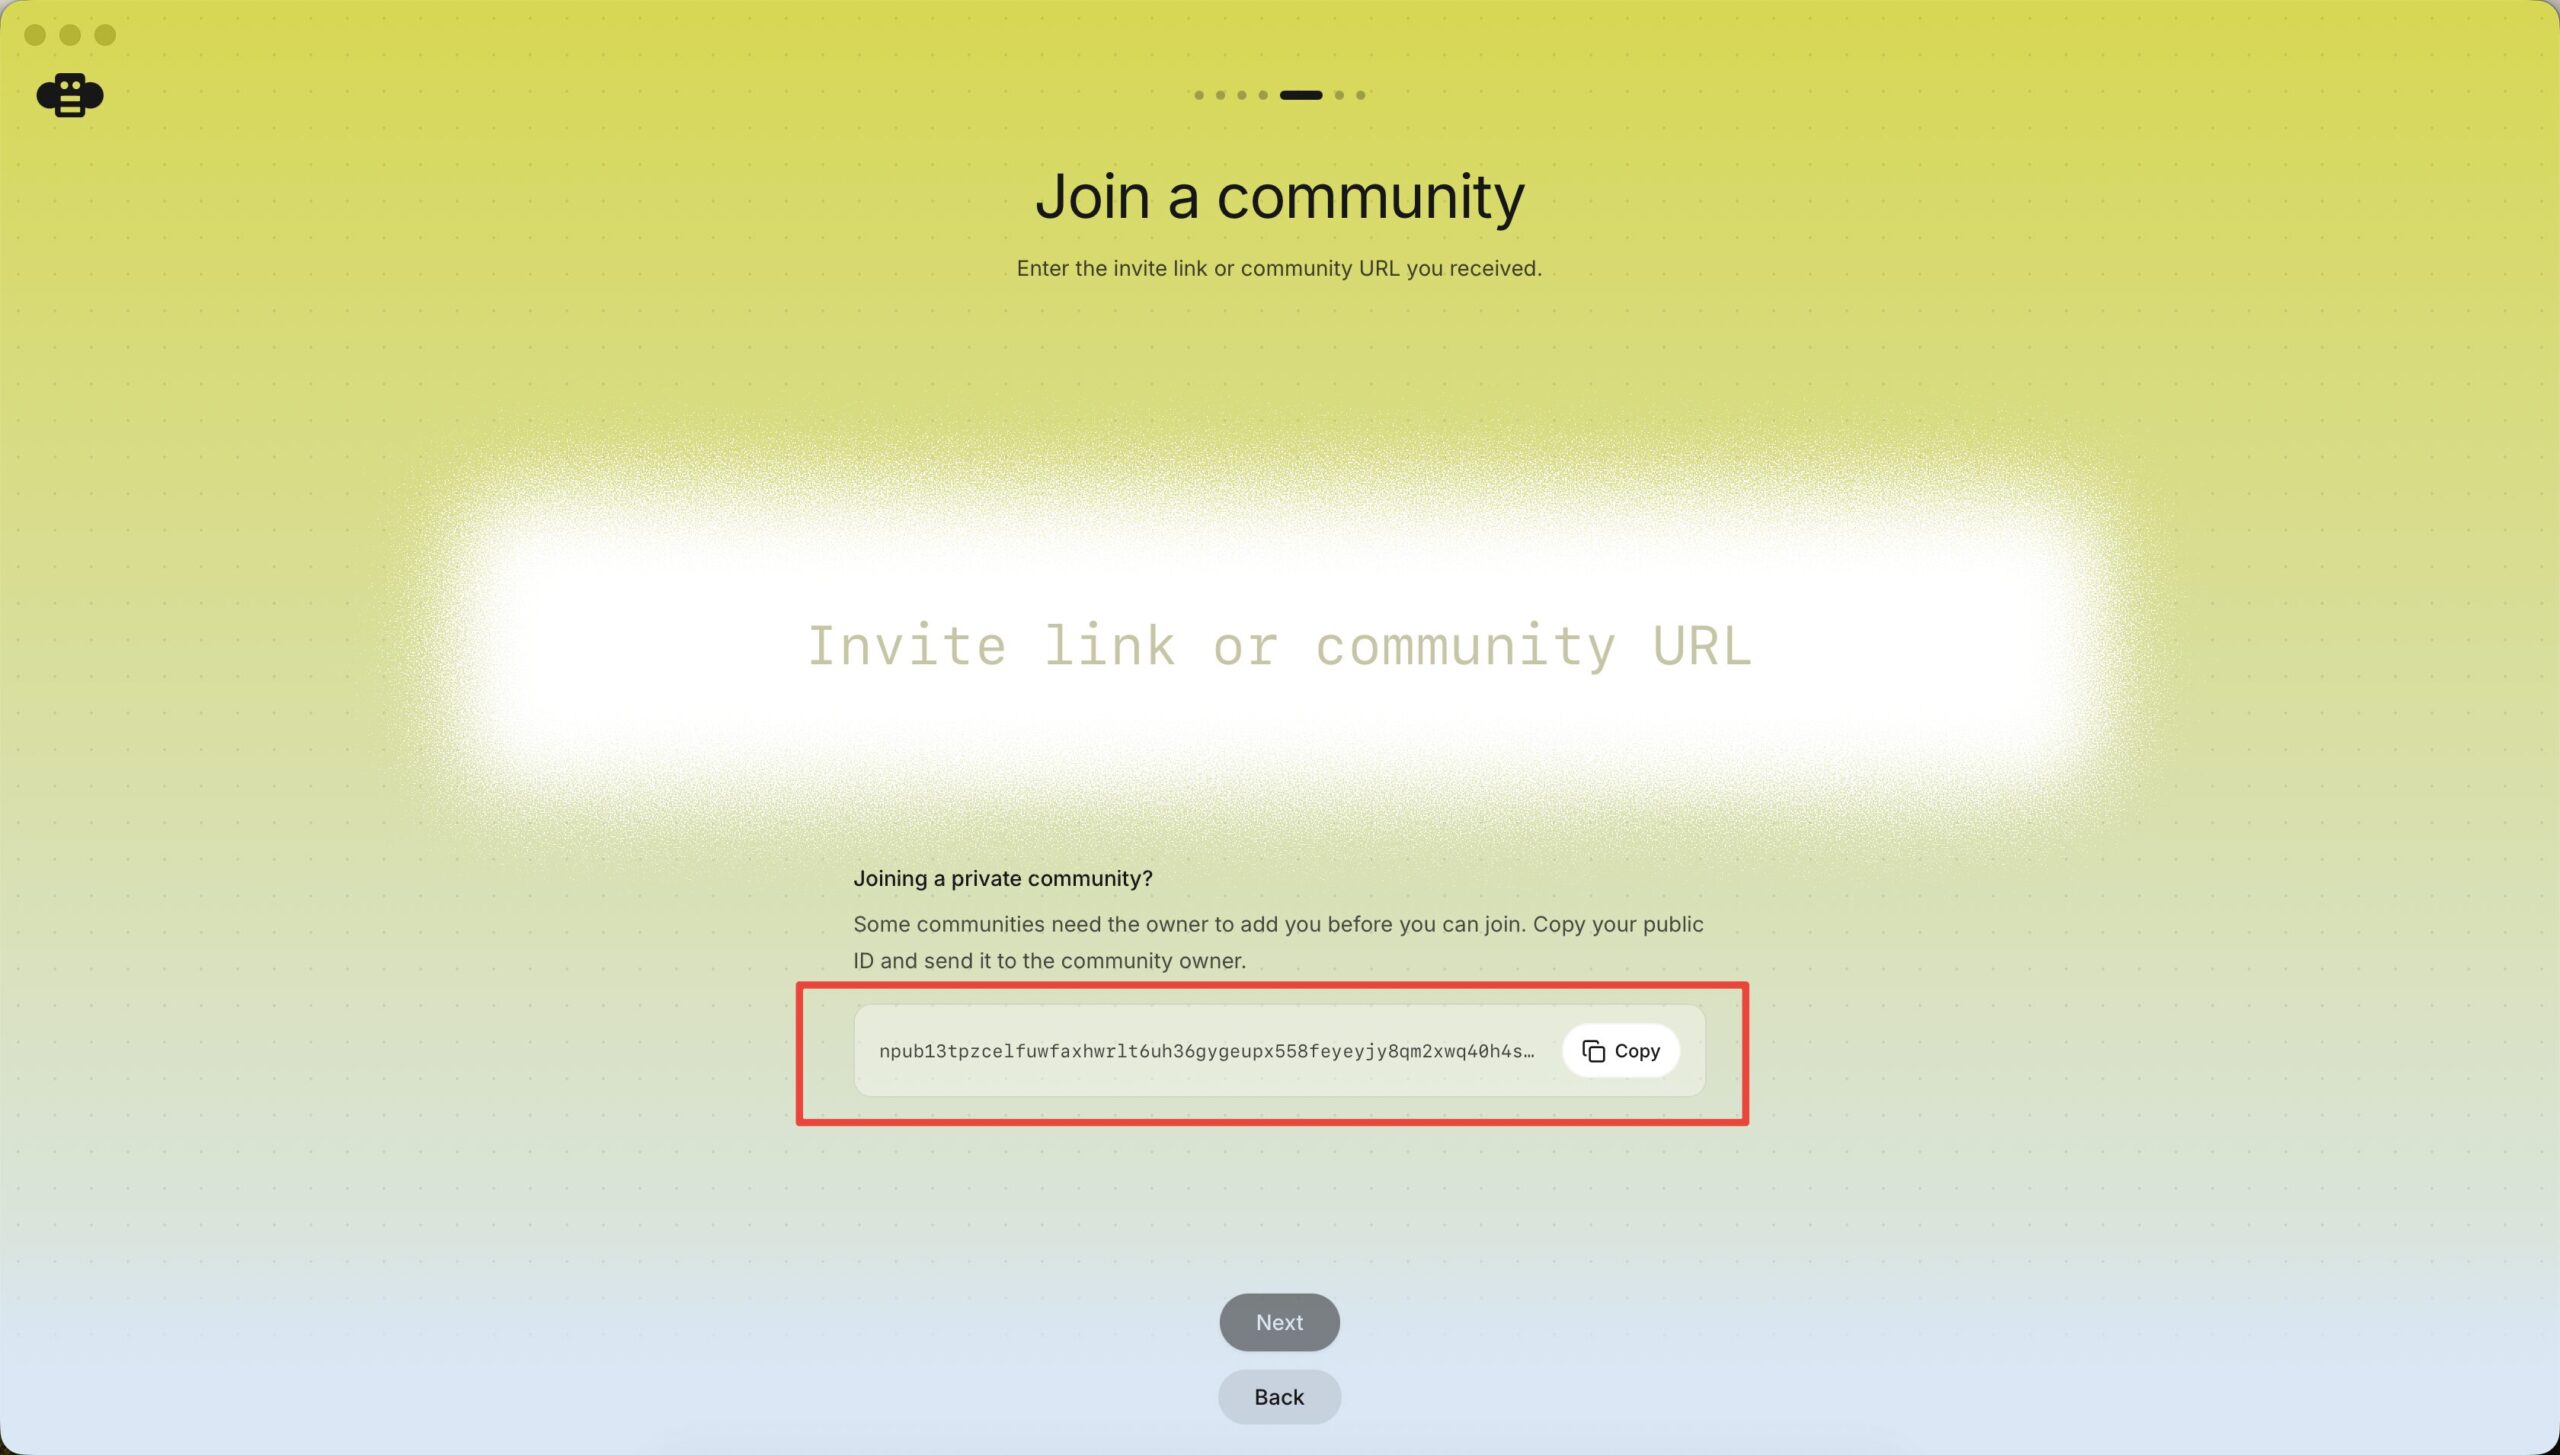
Here you will get a public ID. Copy the ID and visit this site NostrTool.
Step 10: Go to The NostrTool Site
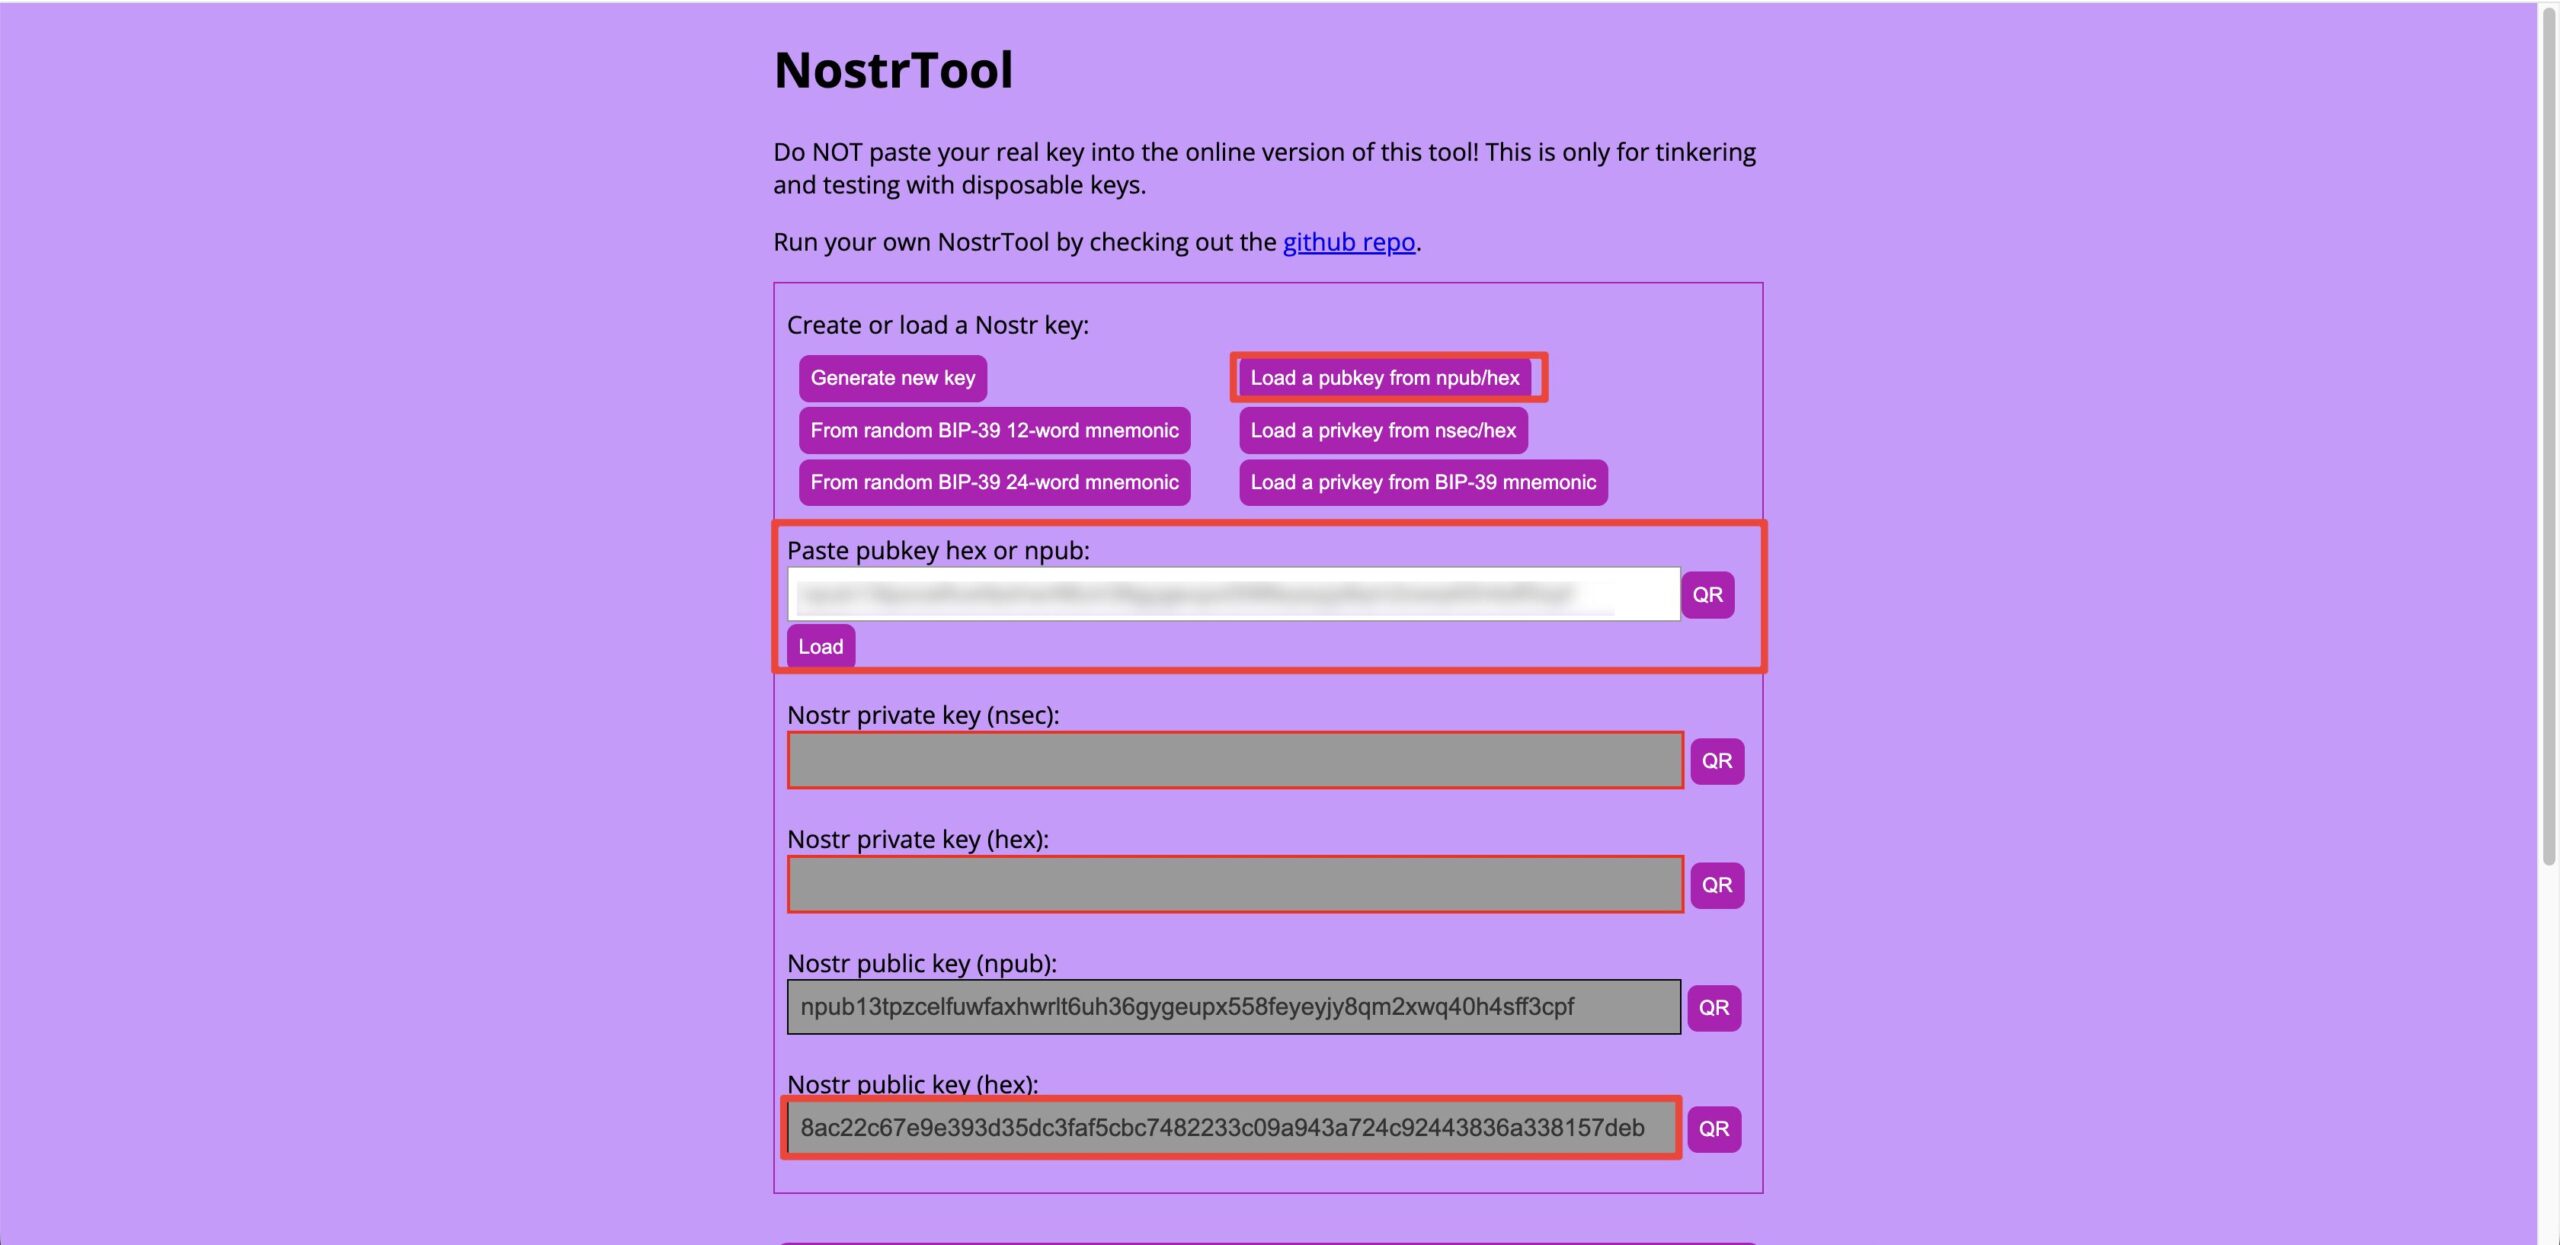
Next visit the NostrTool and choose the “Load a pubkey from npub/hex” option. Then enter the key you had copied from the Buzz app and click on the ‘Load Button. Then You will find a ‘Nostr public key (hex)”. Copy it and store somewhere safe.
You need to add this key as ‘Relay Owner Public Key’ inside the xCloud dashboard that is mentioned in Step 5.
Once you collect the key, go back to the xCloud dashboard and enter the key and complete the application setup process.
Step 12: Complete the Community Setup
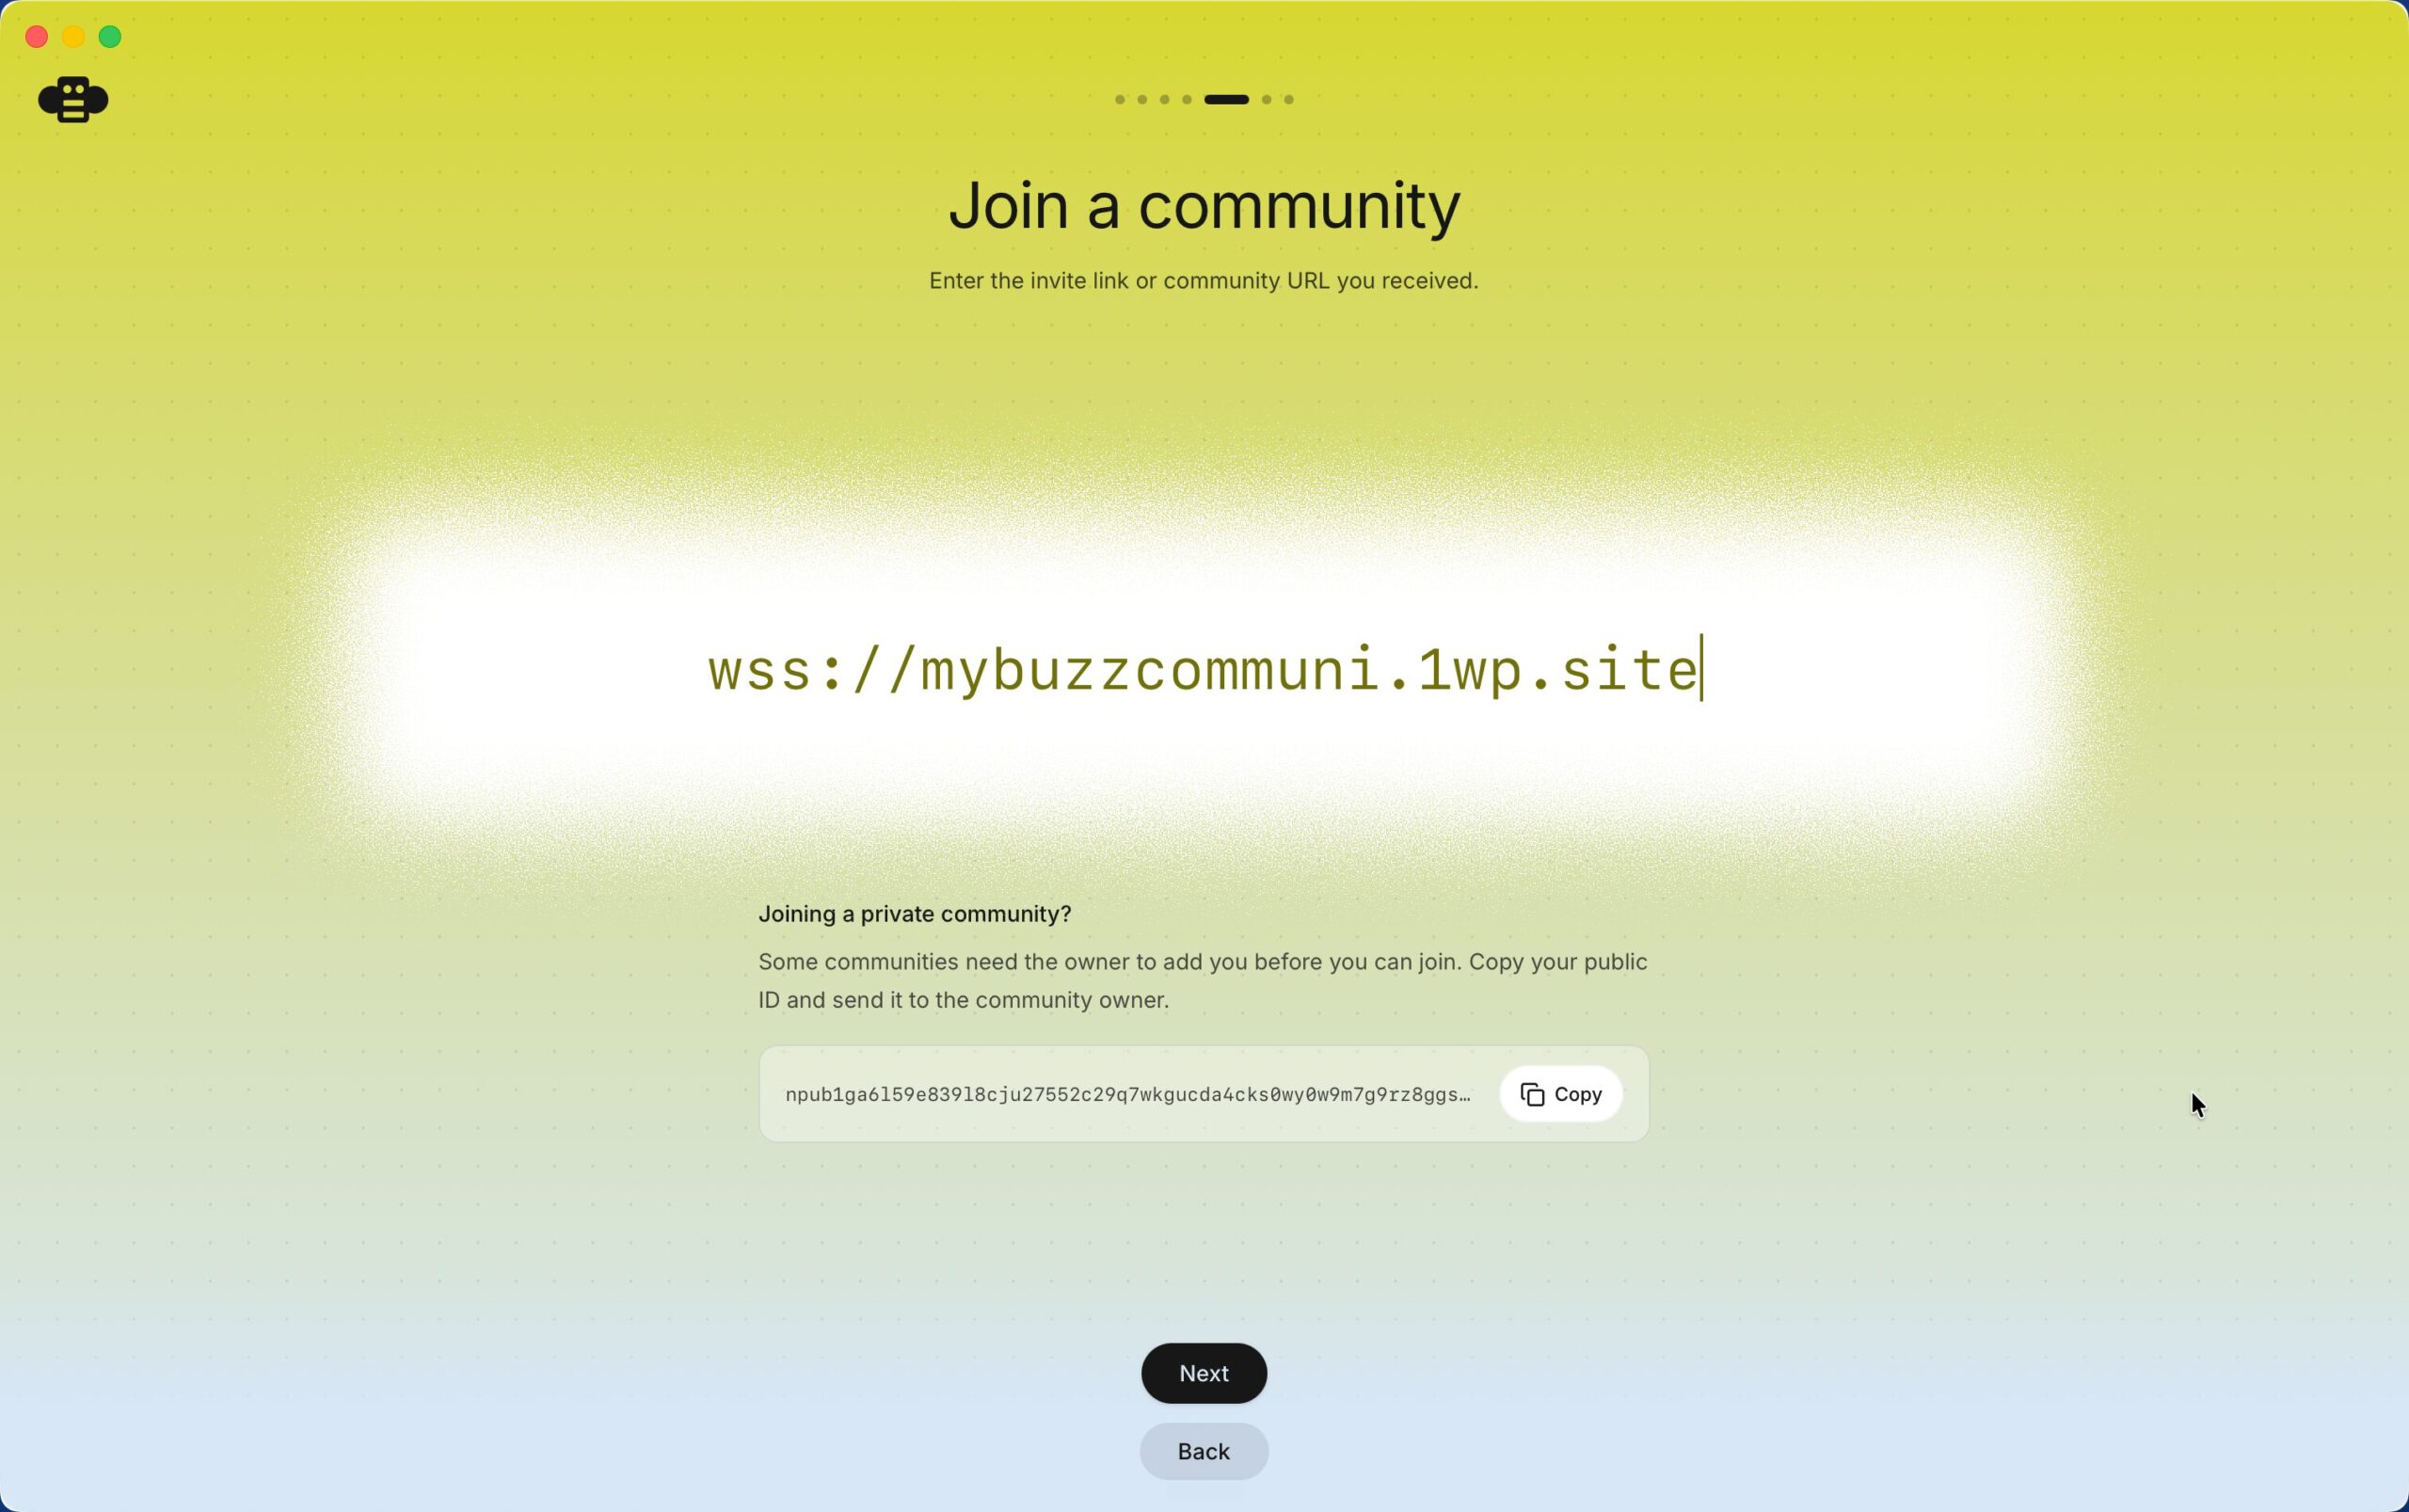
Next come back to the Buzz app and enter the site URL where you are deploying the community in xCloud with a “wss” prefix. Remember you need to enter “wss” instead of “https” or “http” before the URL. After that click on the Next button
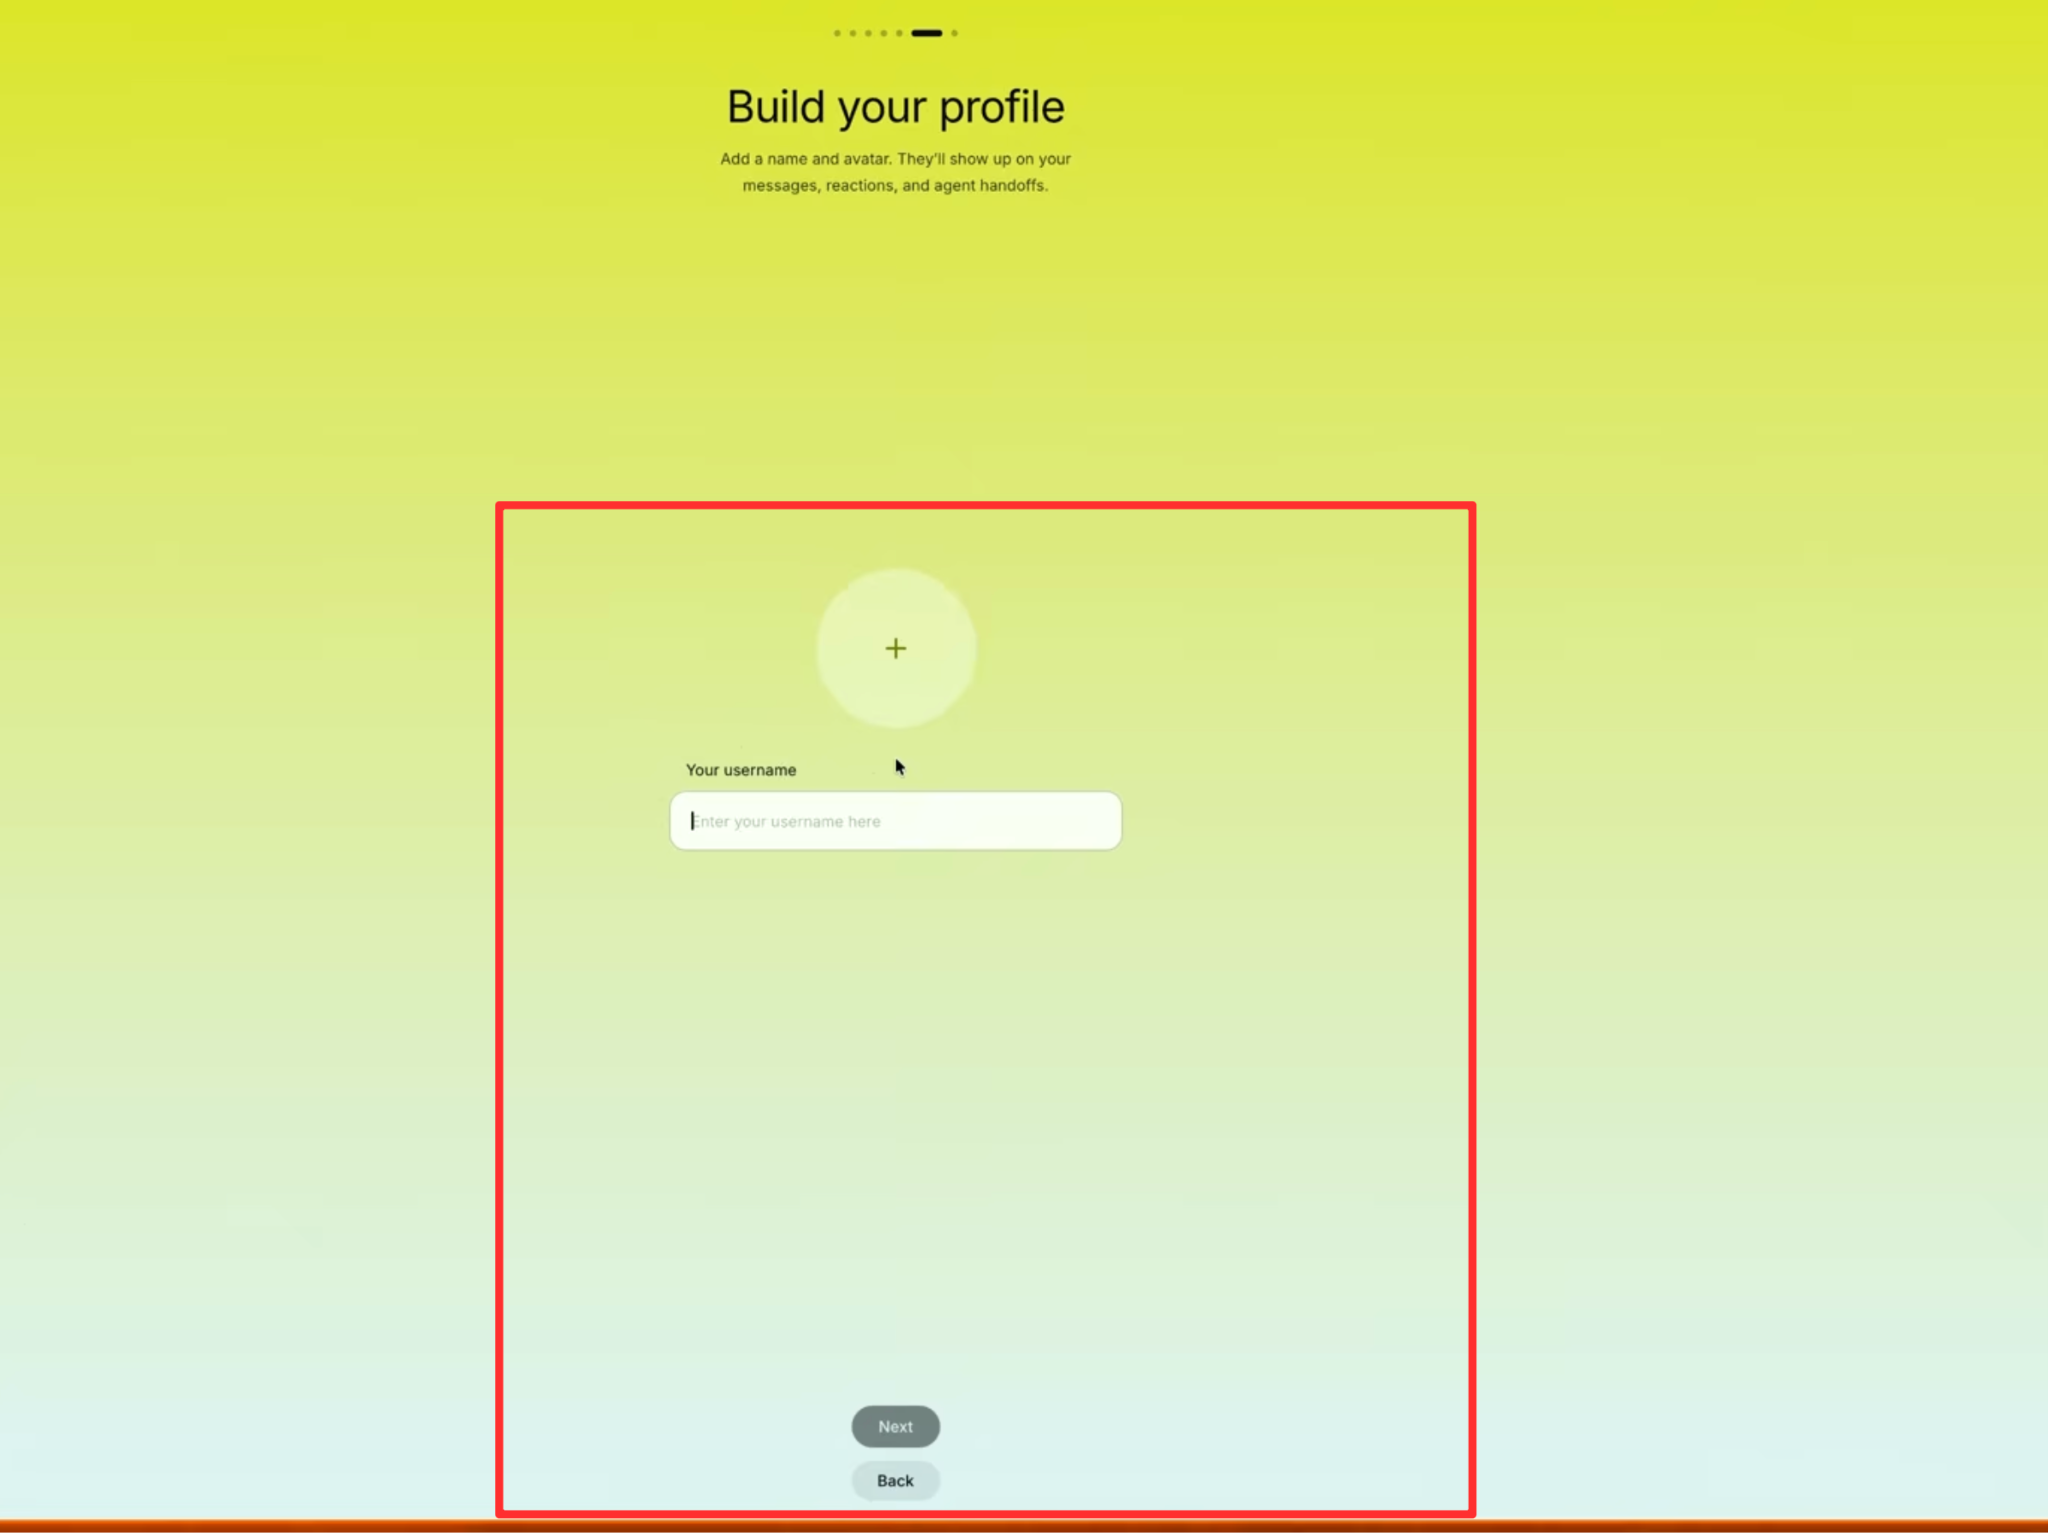
You will be asked to enter a username and a profile picture for your Buzz profile.
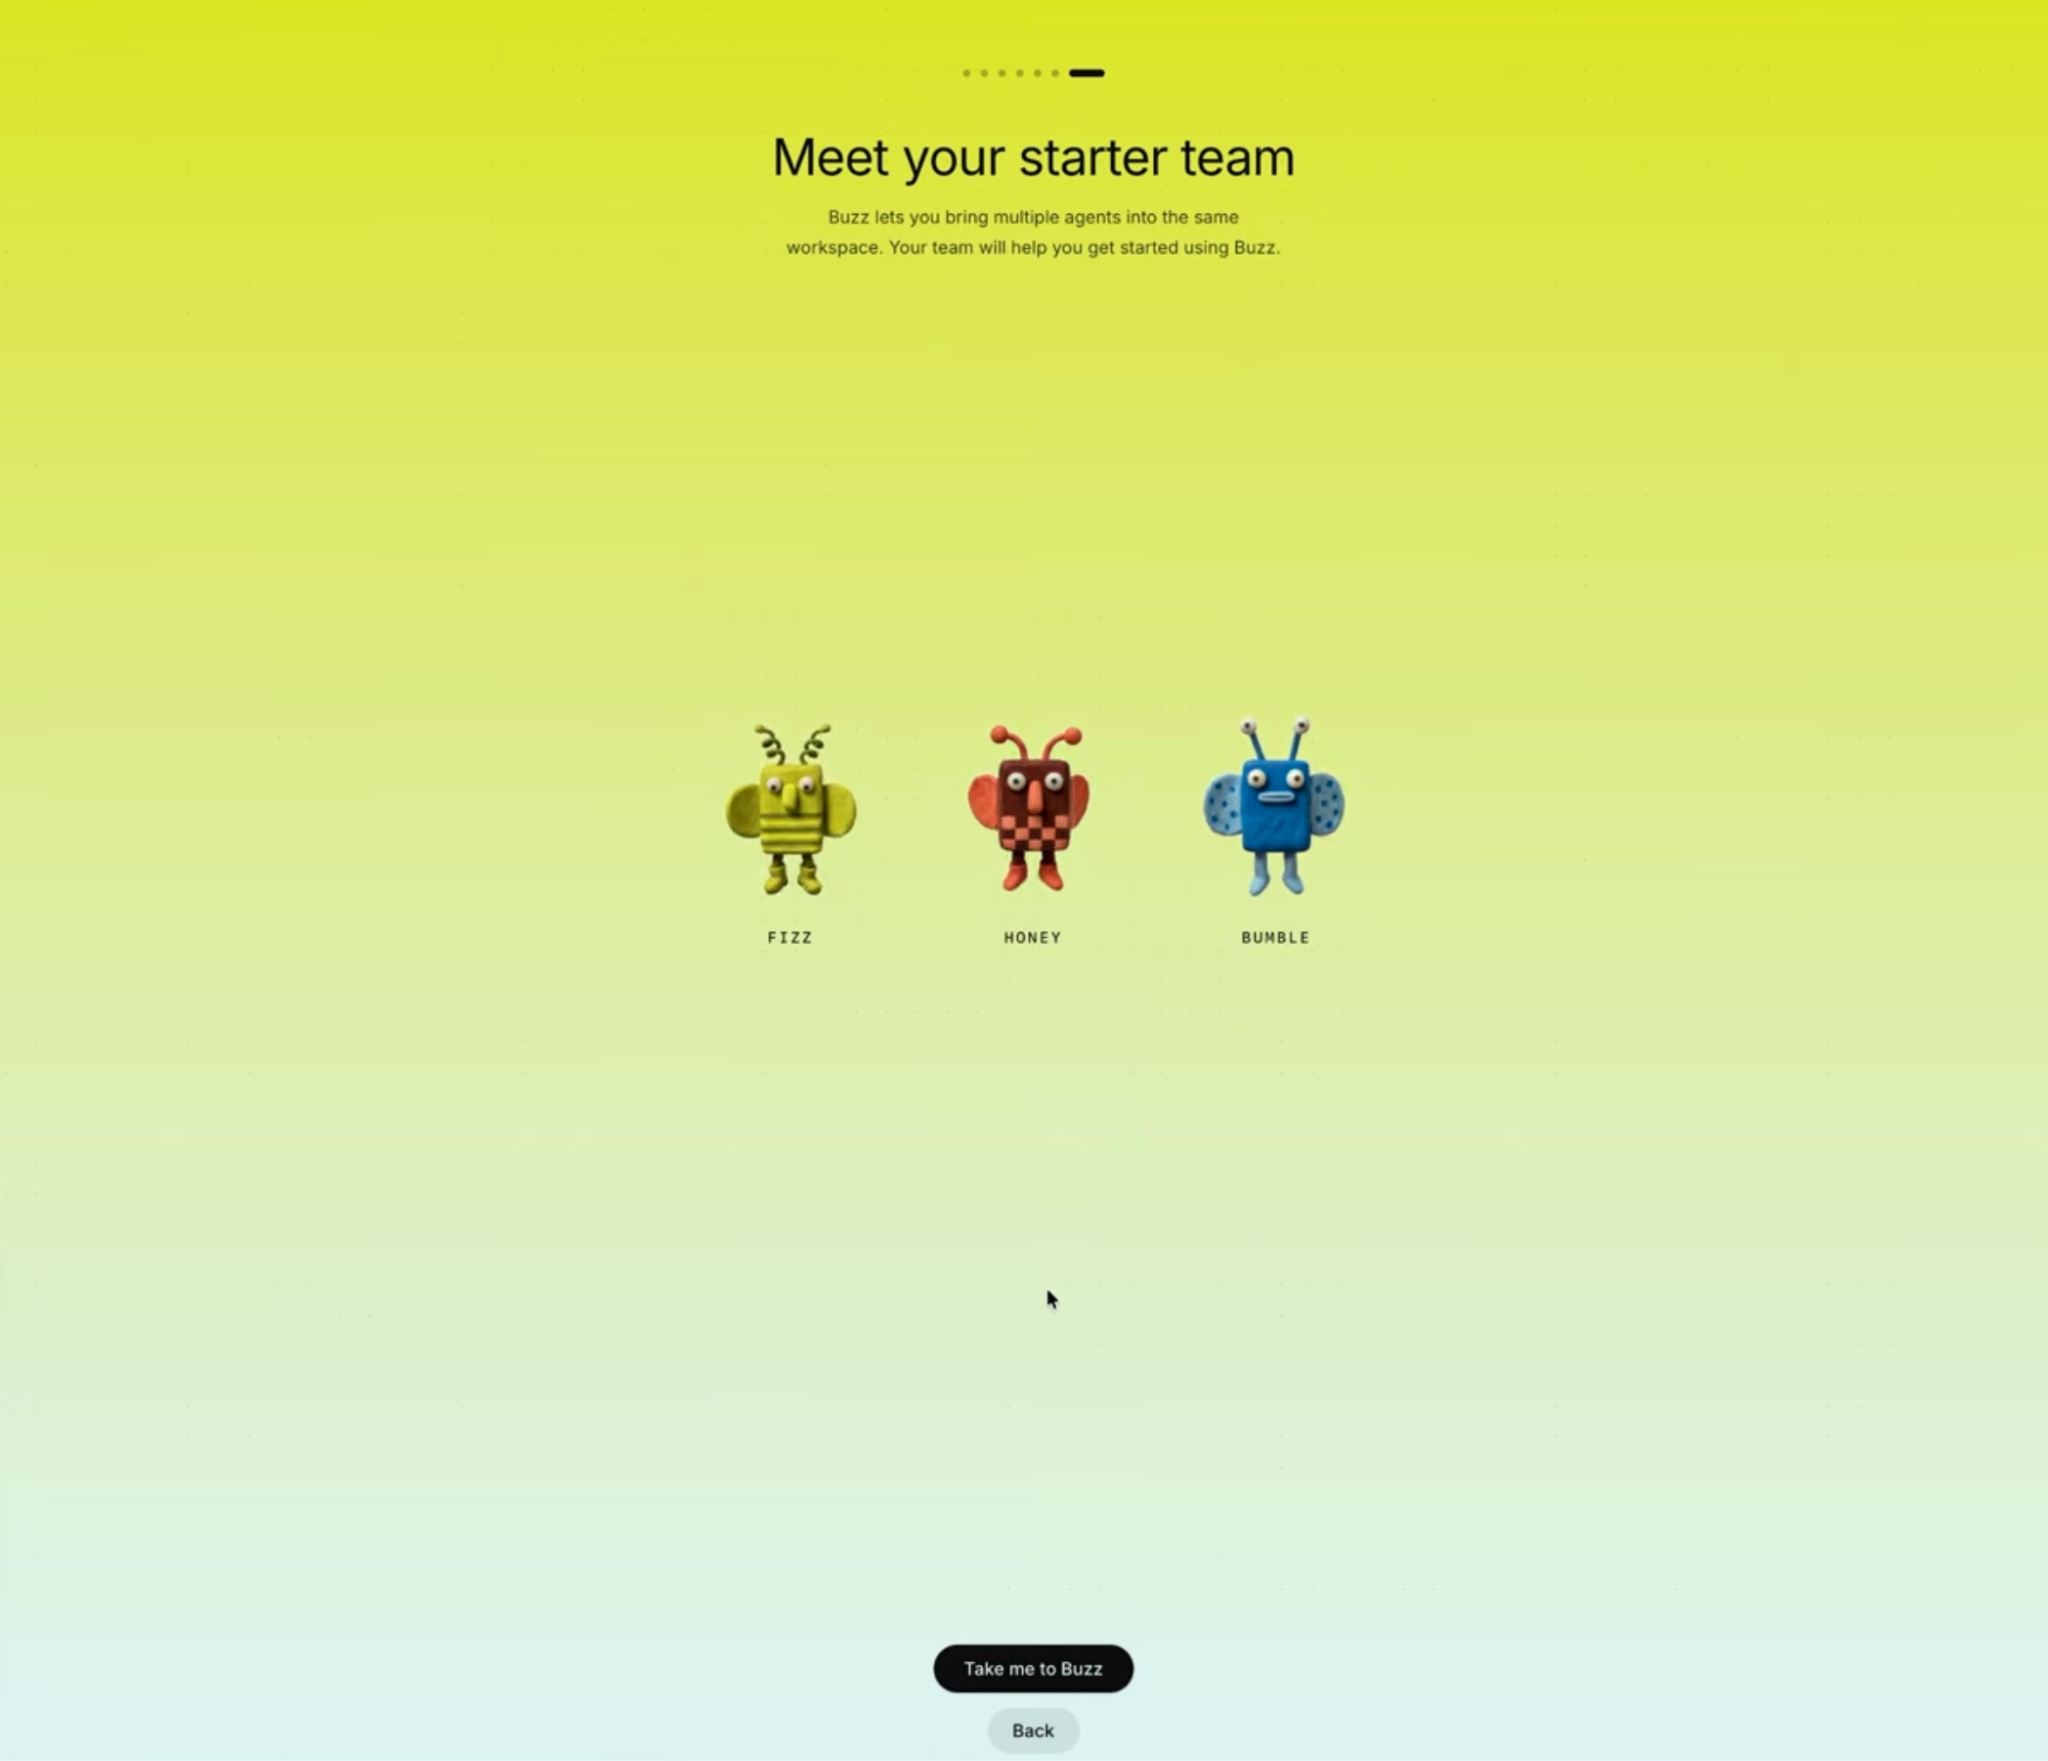
Once done, you will see that Buzz is almost ready, asking you to talk to the agents. Click the ‘Talk me to Buzz’ button. It will take you to the interface.
Once done, you will be in the Buzz app, where you can create agents as you prefer.
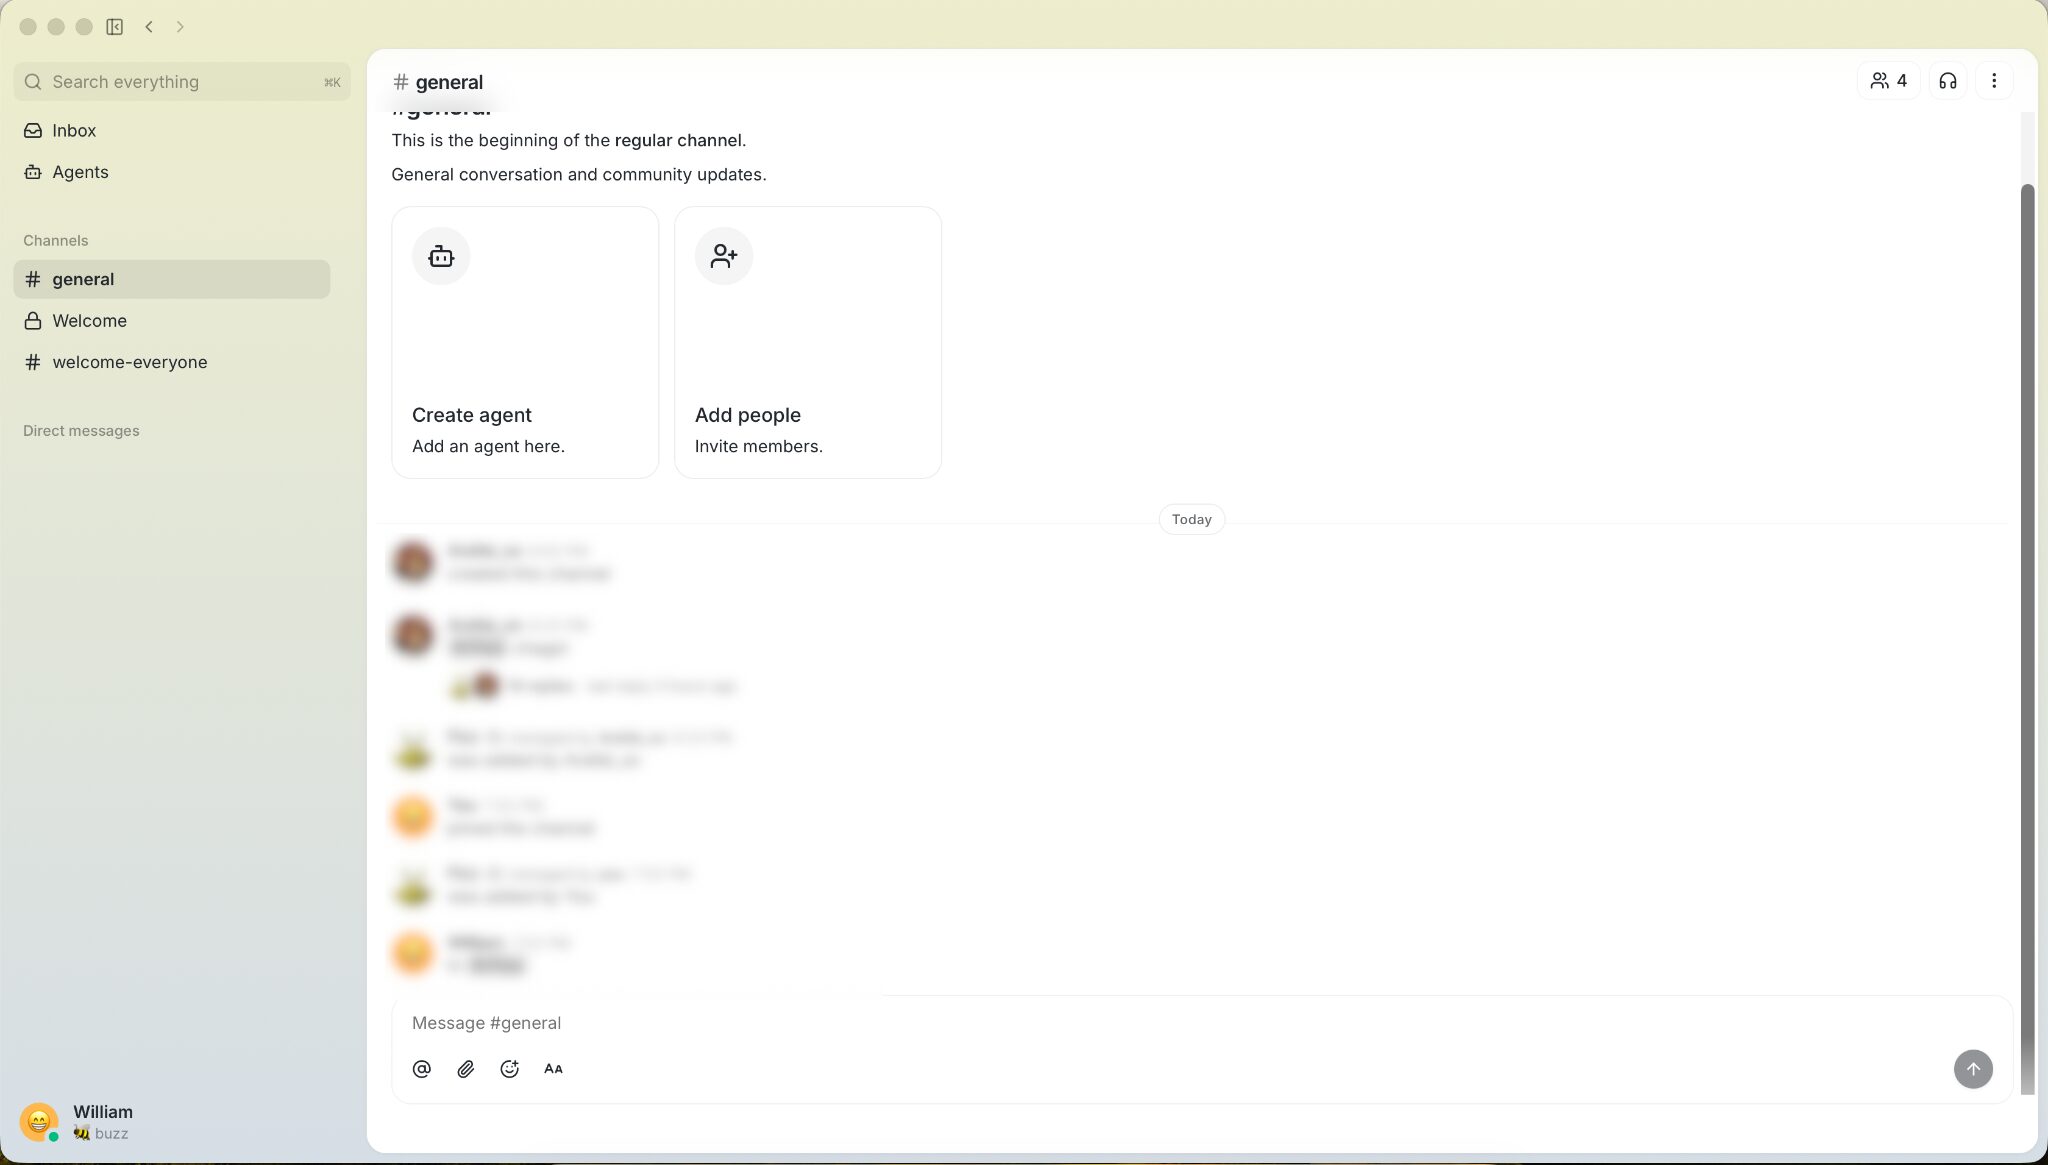
That’s it. Your Buzz relay is live on xCloud, your app is connected to it, and your community is ready for people and agents to start working in.
From here you can add agents, invite teammates with a link, and swap the demo domain for your own custom domain whenever you’re ready to go live properly. Your server keeps running under xCloud’s management, so backups, SSL renewals, and updates are handled without you touching the command line.
If you get stuck at any point, our support team is available around the clock from your xCloud dashboard.